
My sister Maya bought a 900-square-foot starter house with a one-car garage, and for the first eight months the only thing that lived in it was a pile. A bike with a flat tire, three half-empty paint cans, two folding chairs, a box labeled “misc cables,” and a lawn mower wedged behind everything.
When I came to help her sort it out, we couldn’t open the side door all the way. Her car had spent the entire winter parked on the street.
I’ve lived in small apartments for most of my adult life, so I tend to approach a garage the same way I’d approach a tiny closet: it isn’t about owning less stuff so much as giving every item a specific home, and using the walls and ceiling instead of the floor.
If you’re coming from apartment life yourself, my guide to apartment living for beginners covers the mindset, and the same logic carries straight into a small garage.
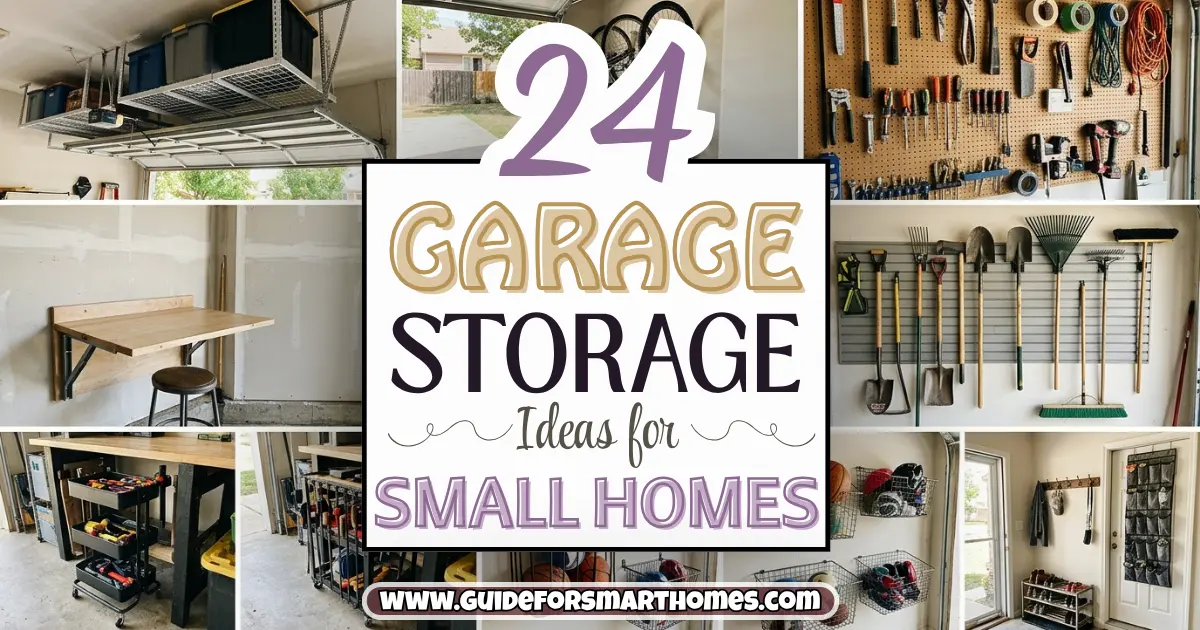
Below are 24 garage storage ideas for small homes, organized roughly from “do this first” to “finishing touches.” Most work in a one-car or even a half-usable garage, many are renter-friendly, and I’ve put rough costs on everything because that’s the first question people ask.
There’s a comparison table of the main storage systems, a short list of things you shouldn’t store in a garage at all, a budget breakdown, and FAQs. Prices are ballpark ranges and vary by store and region, so check current listings before buying.
1. Declutter Before You Buy a Single Shelf
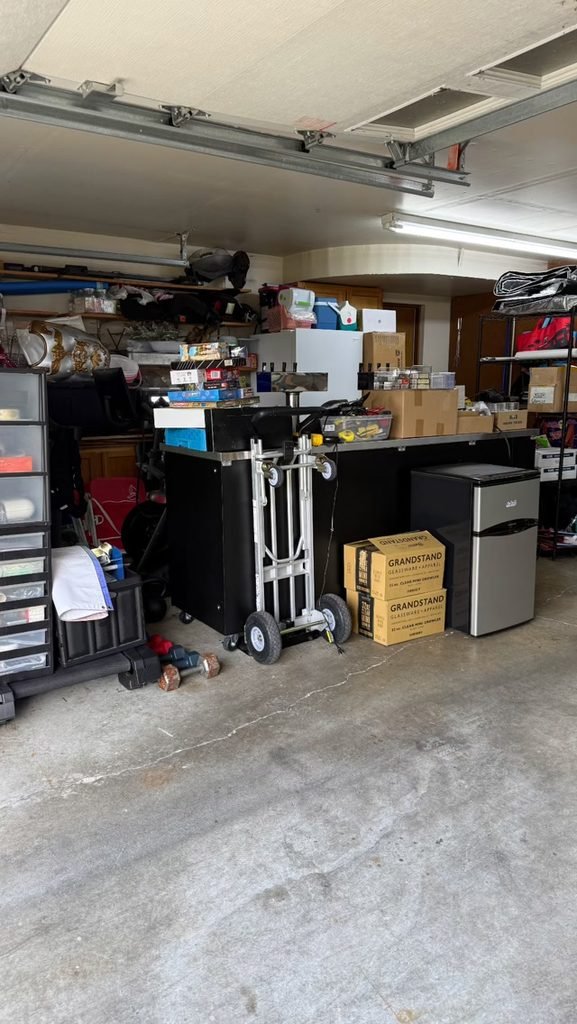
The biggest mistake with garage organization is buying storage first. You end up organizing things you don’t need, and the garage fills right back up.
Pull everything out onto the driveway if the weather allows, and sort it into four piles: keep, donate or sell, trash, and “belongs in the house.”
That last pile is bigger than you’d expect. If the overflow is coming from inside, it helps to tackle the rooms first, and my guide to home organization ideas shows how to sort the rest of the house so the garage doesn’t become the dumping ground.
Living room clutter is the usual culprit, and my small living room ideas post shows how to keep that room clear so nothing needs to migrate.
Pro tip: Set a deadline for the “maybe” pile, like six months. Tape the items in a box with a date, and if you haven’t opened it by then, it goes.
2. Divide the Garage Into Zones
Once you know what you’re keeping, group it by use: tools, garden, sports and bikes, seasonal items, cleaning supplies, and automotive.
Give each group its own area so you always know where to look. This is the same idea I use for open layouts, and my guide on how to zone a studio apartment explains how defining zones makes one big space feel organized.
Put the things you use weekly at eye level near the door, and the things you use once a year up high or in the back. It sounds obvious, but most garages are organized the opposite way.
3. Install a Wall Track or Rail System
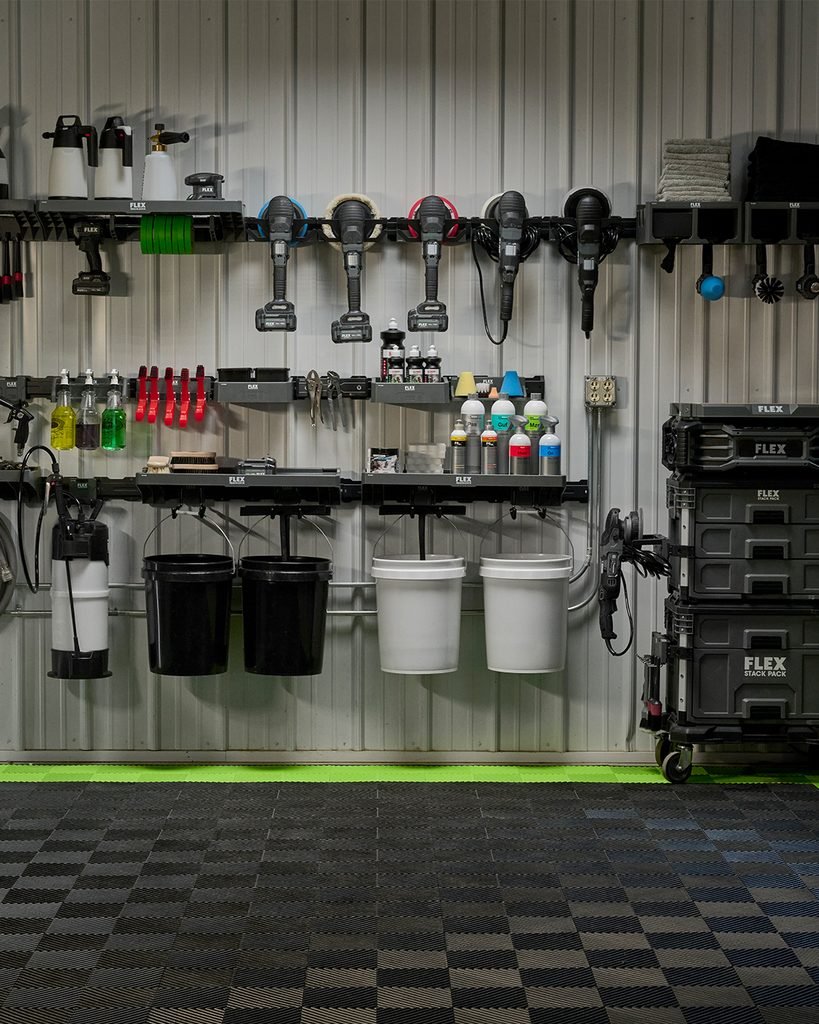
A wall track system, which is a set of rails you mount on the wall with hooks, baskets, and shelves that slide along them, is the most flexible way to use wall space. You can rearrange it whenever your needs change, which matters in a small garage where every inch counts.
Expect roughly $50-300 depending on size and whether you buy a kit or build your own. Mount the rails into studs, not just drywall, and check the weight rating on each hook.
The trade-off is that a full wall of track can get expensive, so start with one section and add more as you go.
4. Hang a Pegboard for Hand Tools
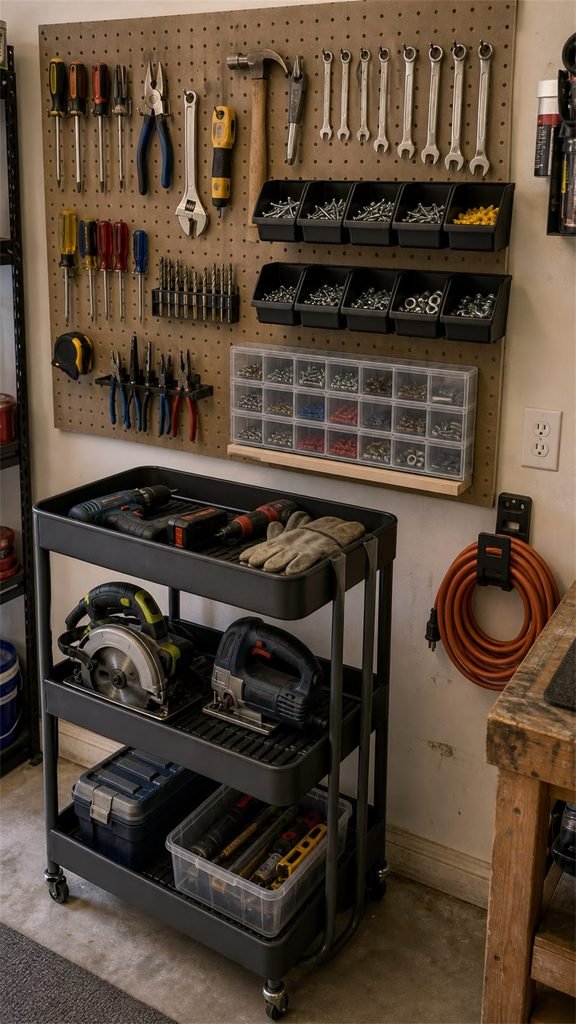
A pegboard is the budget version of a track system, and it’s still hard to beat for hand tools. Hang hammers, screwdrivers, pliers, and wrenches where you can see them, and draw an outline around each tool so you know where it goes back. A panel costs about $20-60 plus hooks.
If you don’t own a lot of tools yet, my first apartment checklist lists the basic set most people actually need, which is a good filter before you fill a pegboard with things you’ll never use.
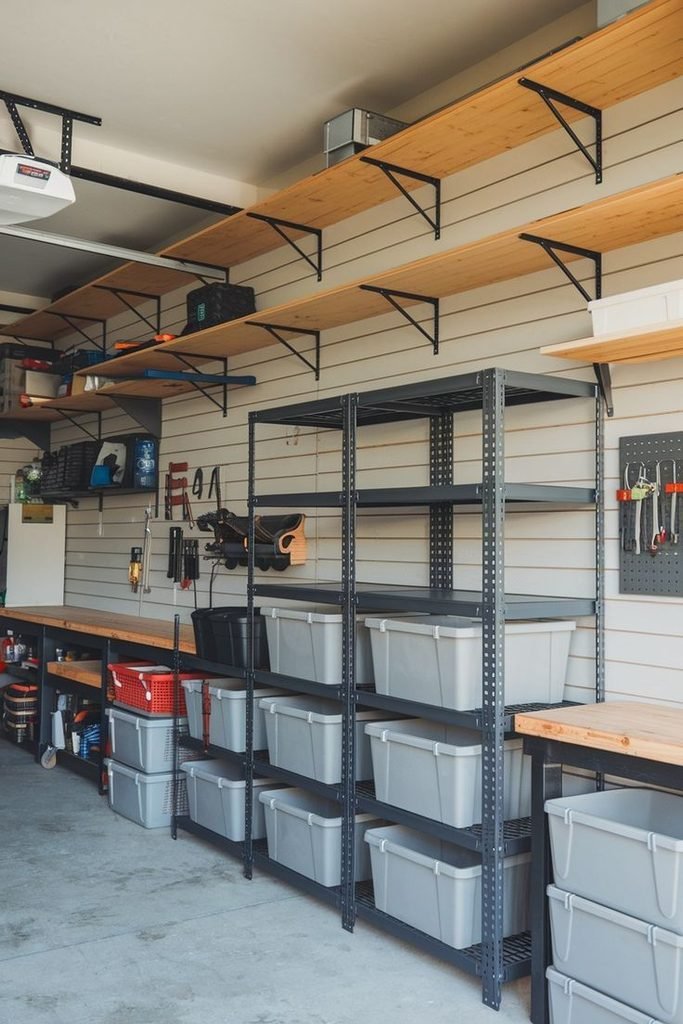
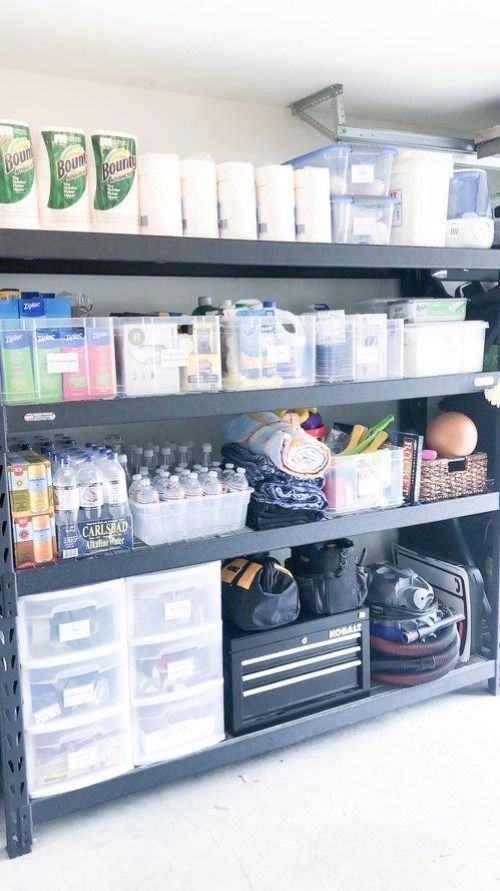
5. Add Heavy-Duty Freestanding Shelving
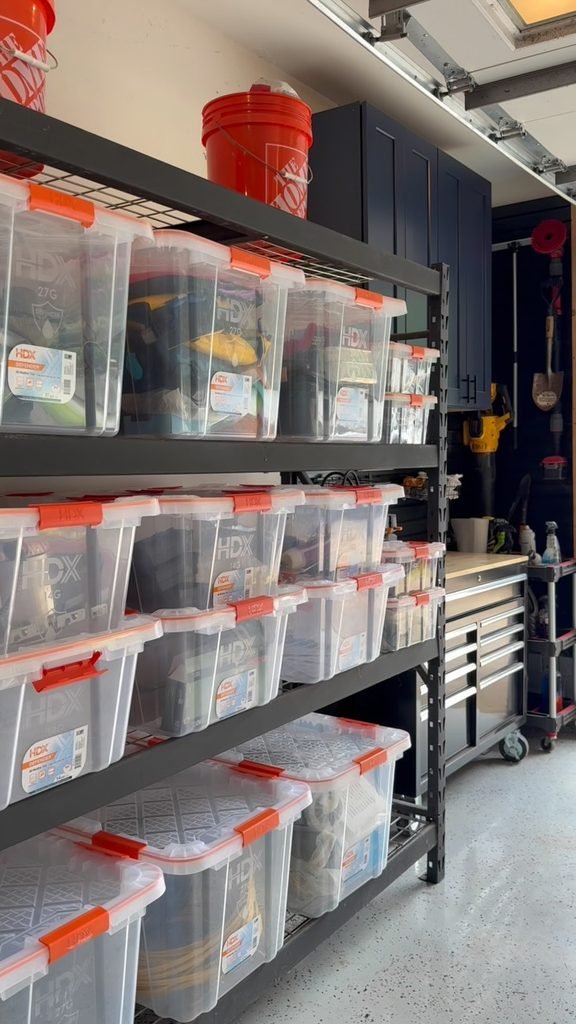
A sturdy steel or heavy-duty plastic shelving unit is the workhorse of any garage. It holds bins, paint, cleaning supplies, and bulky items without needing to be mounted to anything, which makes it ideal for rentals and for people who want to avoid drilling.
Look for a unit rated for at least 200 to 400 pounds per shelf, adjustable shelf heights, and a depth that fits your space.
Prices run about $60-250. Anchor tall units to the wall to prevent tipping, especially if kids or pets are around. If you’re also trying to use height inside the house, my maximize vertical space in a small apartment guide covers the same principles.
6. Install Overhead Ceiling Racks
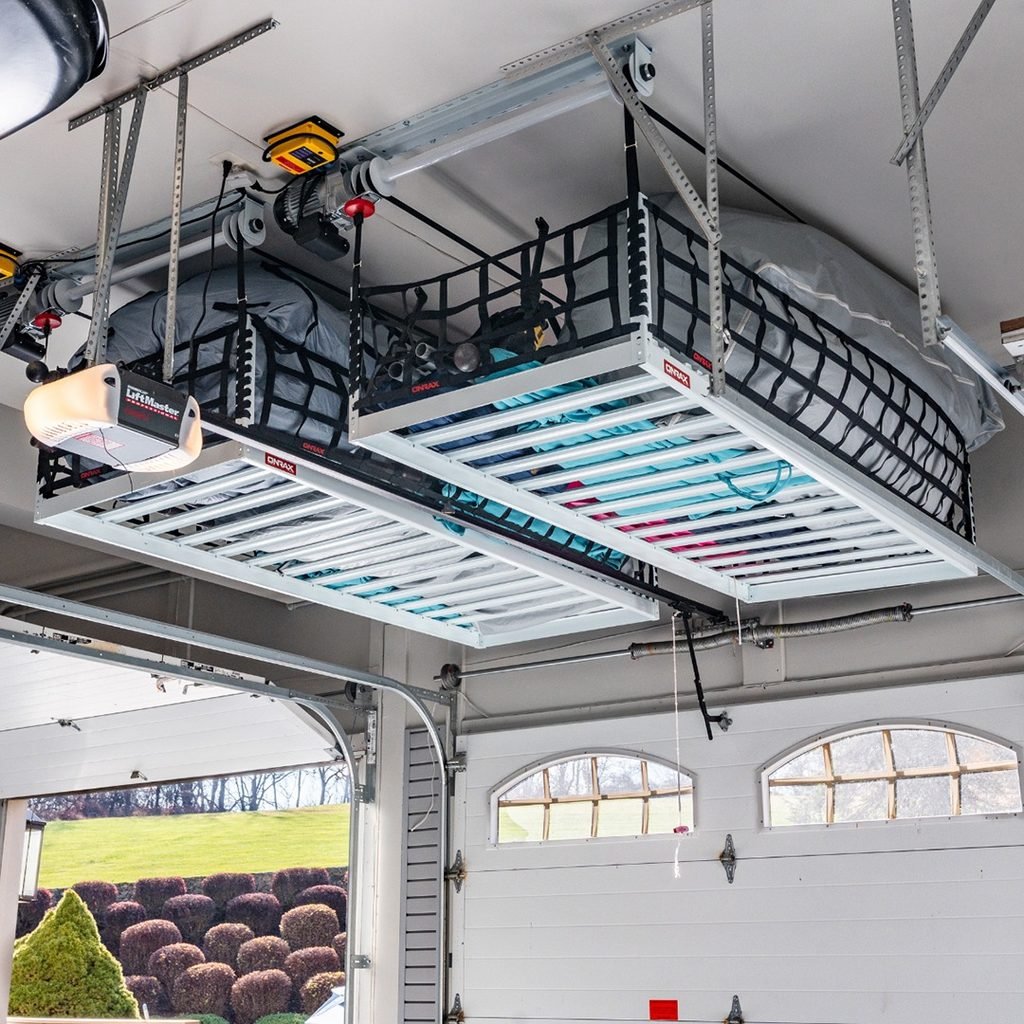
The ceiling is the most underused space in any garage. Overhead racks hold seasonal bins, camping gear, and rarely used items, and they free up the floor entirely.
Most racks mount into the ceiling joists and hang about 18 to 24 inches below the ceiling.
Expect about $80-300 plus installation. Check the weight rating carefully and be sure the rack is mounted into joists, not just drywall, since a falling rack is a real hazard.
If you’re not comfortable installing one, hire a handyman. Keep heavy items low and the lightest on top, and always leave clearance for the garage door to open.
7. Use Clear, Lidded, Labeled Bins
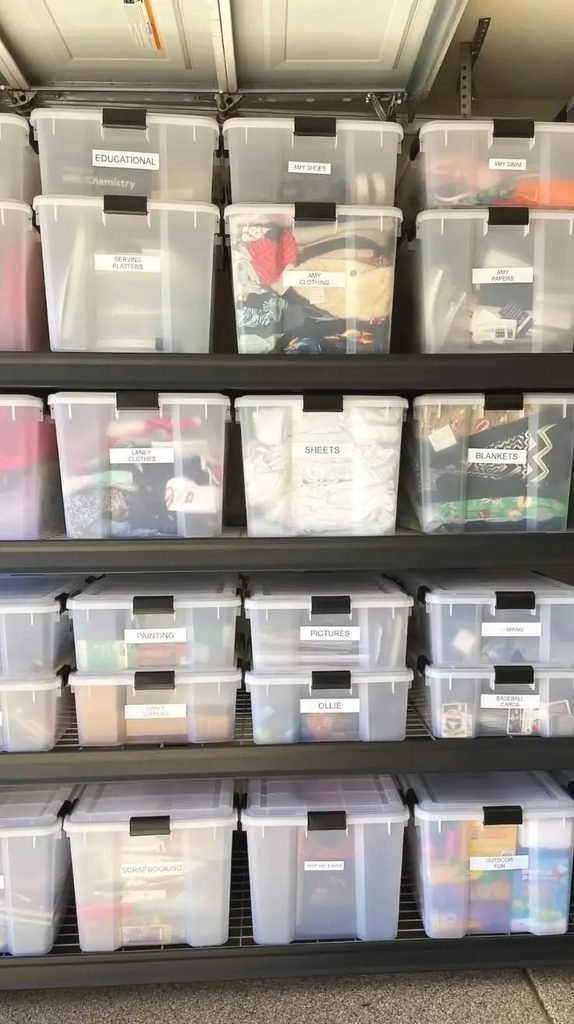
Clear bins let you see what’s inside without opening them, and lids keep dust, moisture, and pests out. Label the front and the side of every bin, since you’ll see different sides depending on how they’re stacked.
Prices run about $5-25 per bin depending on size. Stick to one or two sizes, which stack neatly and look tidy. The same trick works in the house, and my guide to closet organization on a budget shows how matching bins turn chaos into calm for very little money.
8. Hang Bikes on the Wall or Ceiling
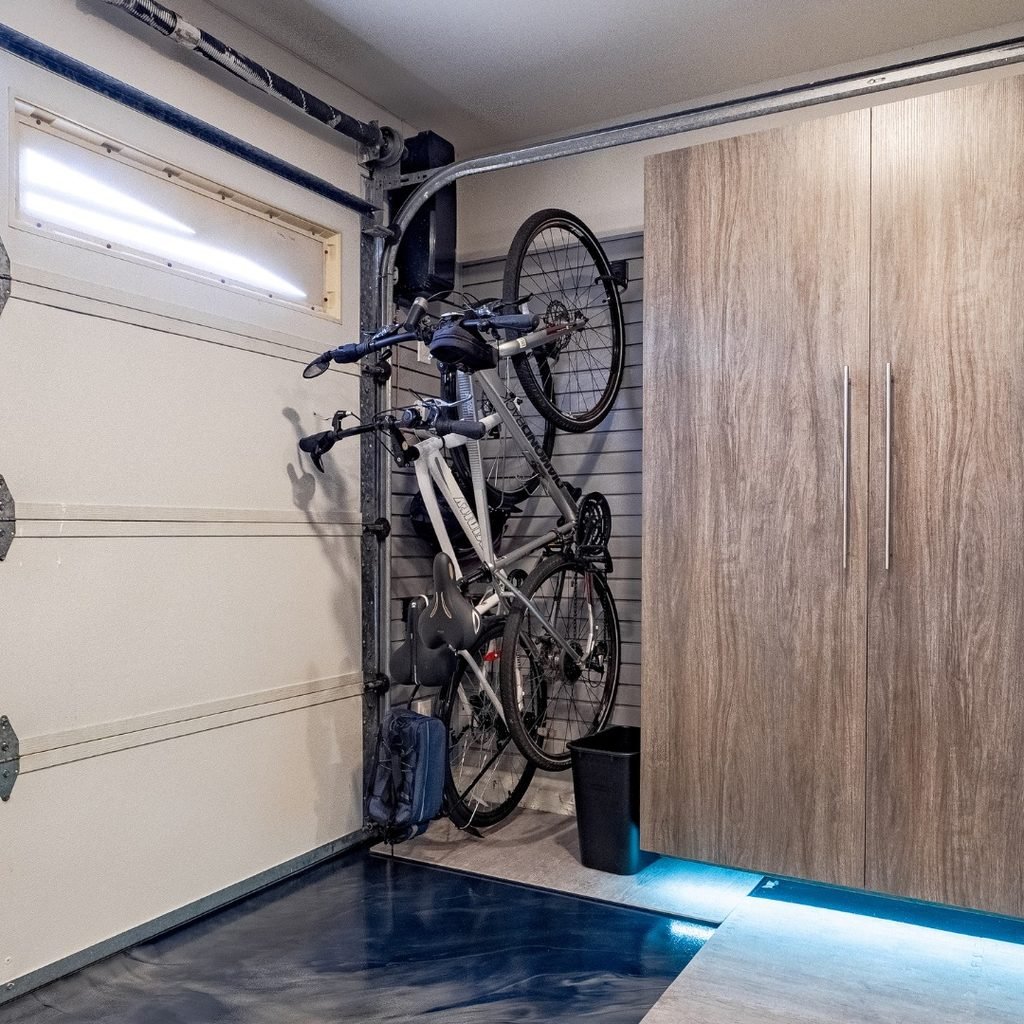
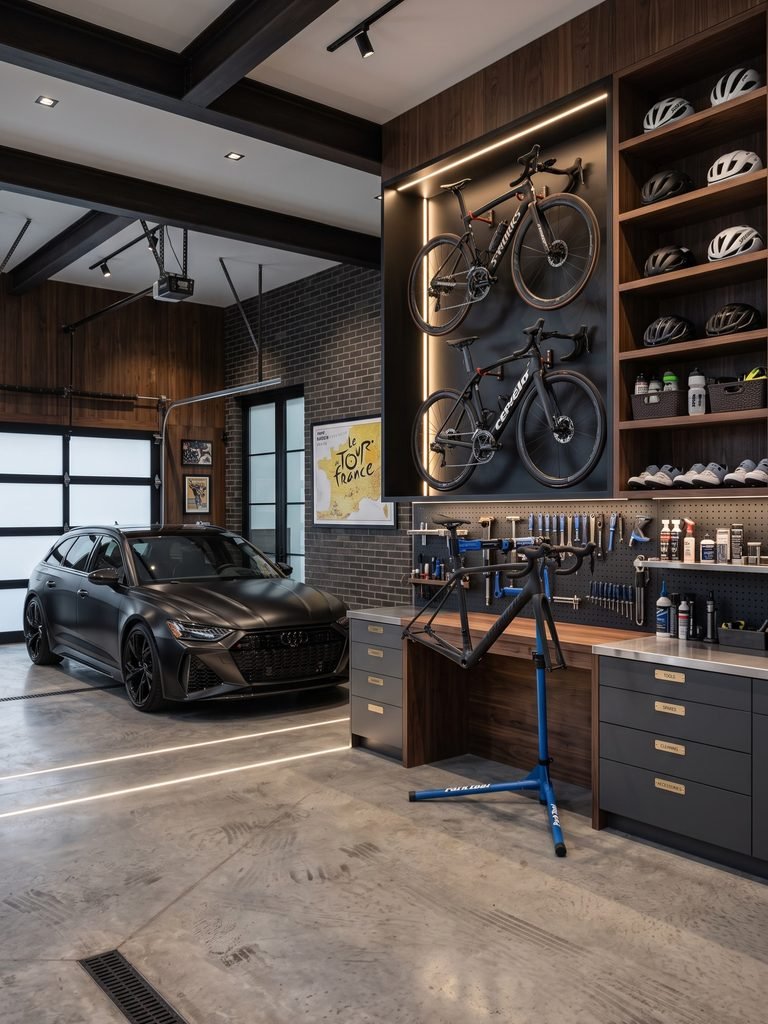
Bikes are one of the biggest space hogs in a small garage. A wall-mounted hook or rack lifts them off the floor and out of the way, and ceiling hoists can raise them completely. Vertical racks hold bikes upright against the wall, which works well in narrow garages.
Expect about $10-40 per hook and $30-150 for a rack or hoist. Mount into studs, and hang bikes at a height you can reach comfortably.
If you have several bikes, a staggered setup, where handlebars alternate heights, lets them sit closer together.
9. Create a Garden Tool Wall
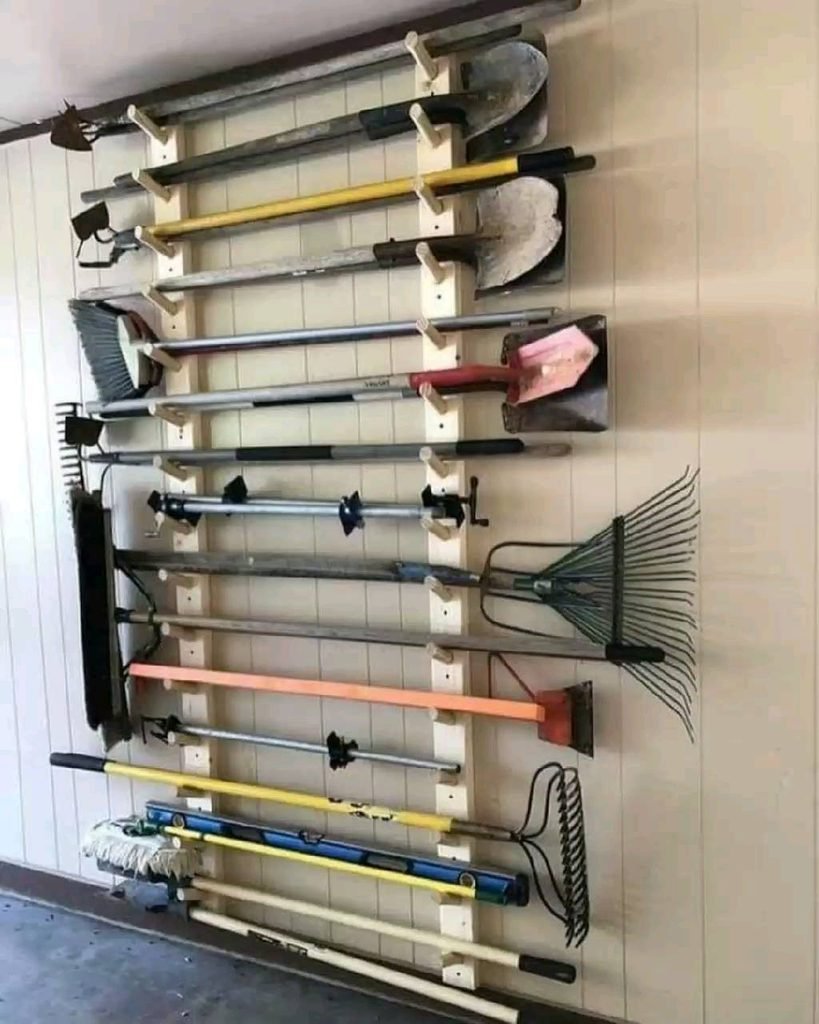
Long-handled tools like rakes, shovels, and brooms fall over, tangle, and take up floor space. A rail with spring clips or simple hooks keeps them upright and accessible. You can buy a ready-made rail for about $15-40 or make your own with a strip of wood and a few hooks.
Group tools by type and hang them in the order you use them. Hose and extension cord reels on the same wall keep everything near the door and out of tripping range.
10. Choose Cabinets With Doors for the Messy Stuff
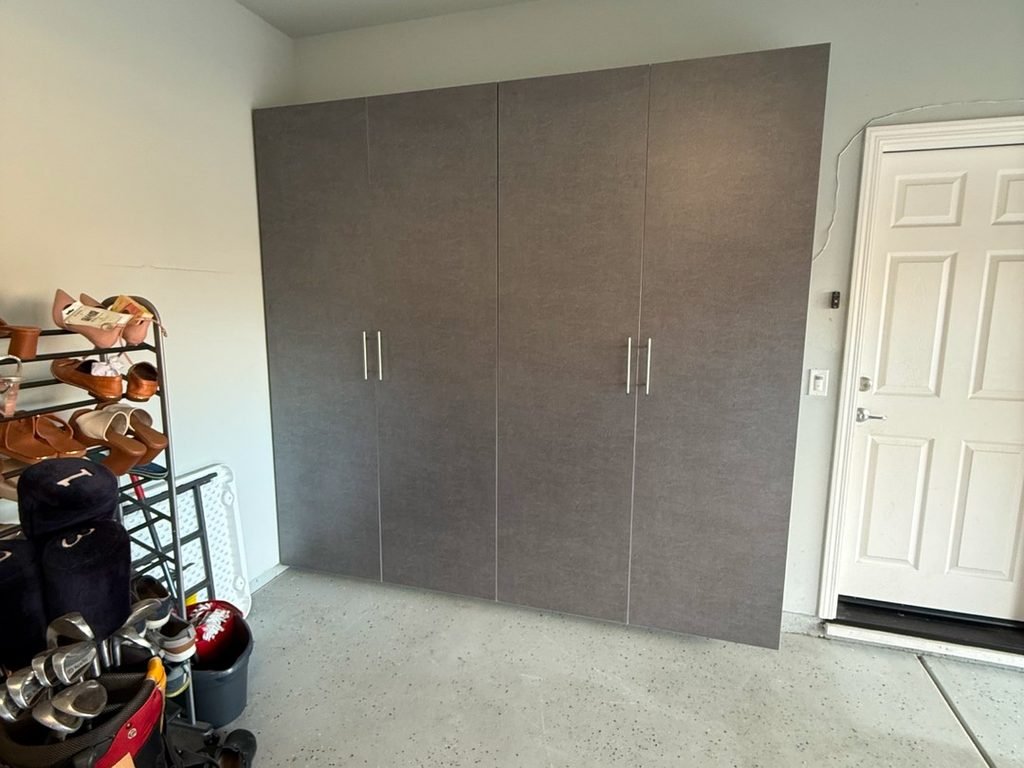
Closed storage hides the visual chaos and keeps dust and pests off your belongings. Garage cabinets with doors are worth the money for chemicals, paint, and anything you’d rather not see or have kids get into. A single wall cabinet can make a small garage feel instantly tidier.
Prices run about $100-600 depending on size and material. If you like this look, the same closed-storage logic applies inside the house, and my guide to storage furniture for apartments explains which pieces hold the most for their size.
Metal or plastic cabinets resist moisture better than particleboard in a damp garage.
11. Build or Buy a Fold-Down Workbench
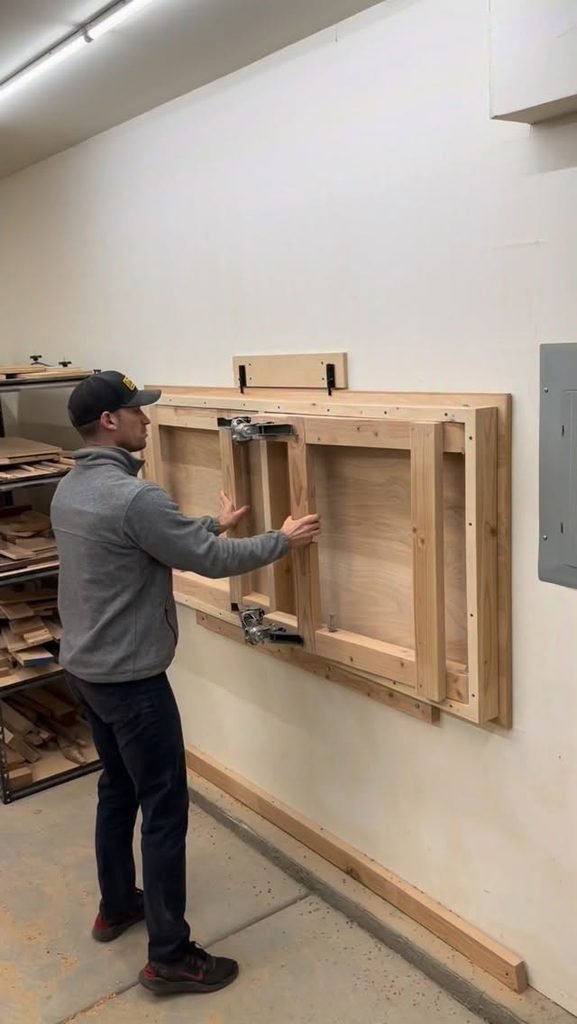
If you do any projects, a workbench is worth having, but a full-size one eats a small garage. A wall-mounted fold-down bench gives you a solid surface when you need it and folds flat against the wall when you don’t. Expect about $80-400 for a ready-made one.
It’s the garage version of a fold-down desk, and it ties into the ideas in my space-saving furniture guide. Mount it securely into studs and test the weight limit before you use it for heavy work.
12. Use Magnetic Strips for Metal Tools
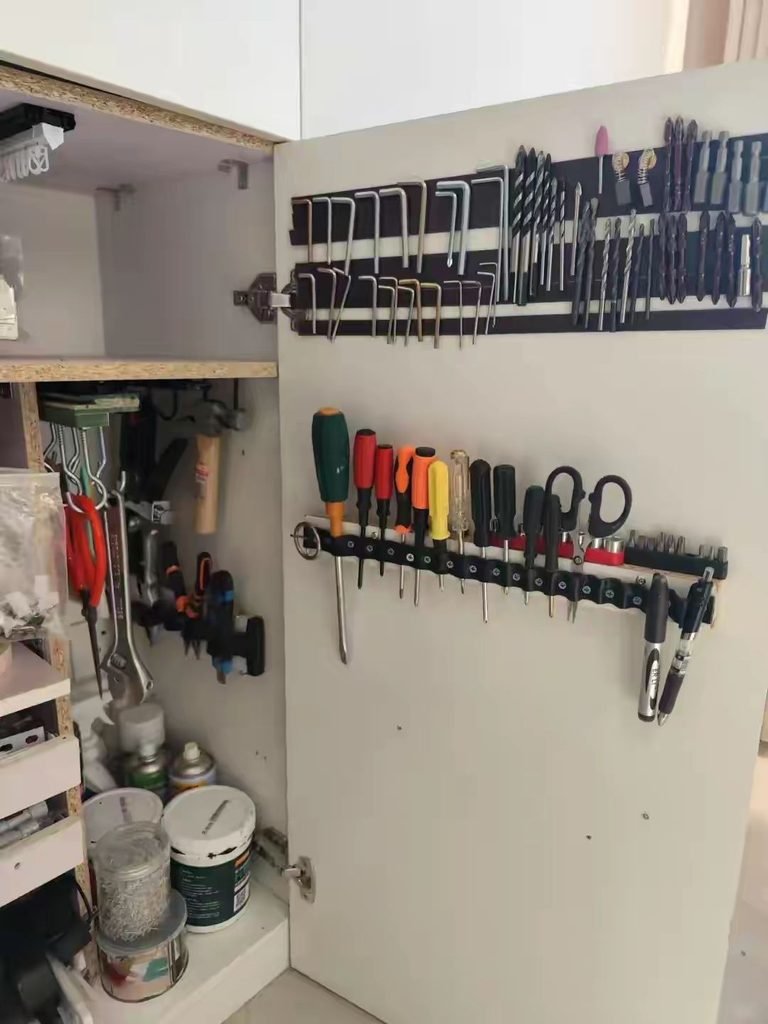
A magnetic tool strip is a cheap, small-footprint way to keep screwdrivers, wrenches, and drill bits visible and within reach.
Mount it above your workbench or on the side of a cabinet, and everything stays put without taking up drawer space.
A strip costs about $8-25 and takes minutes to install. The trade-off is that it only works for ferrous metal tools, so use hooks or bins for everything else.
13. Put Storage on the Back of the Entry Door
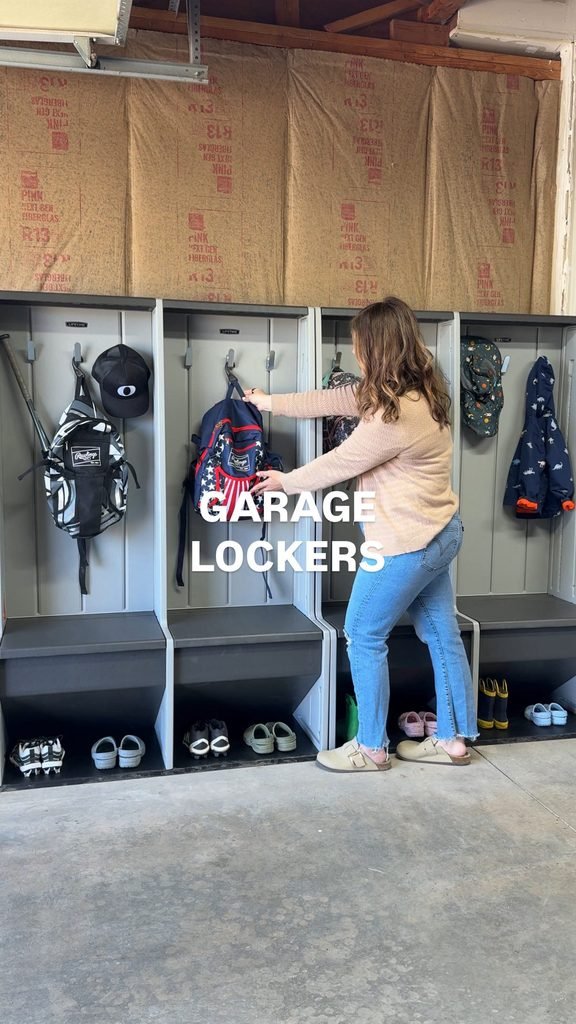
The door between the garage and the house, or the side door, is free real estate. An over-the-door organizer with pockets holds gloves, flashlights, work towels, or small tools, and hooks hold bags, aprons, or jackets. Most cost $10-25 and need no drilling.
Check that the door still closes fully, and that nothing blocks the entryway. In a tiny garage, this is the easiest quick win, and it’s also a good idea in a rental, as I explain in my post on apartment renter mistakes, where avoiding damage to doors and walls saves a lot of deposit headaches.
14. Organize Sports Gear With Bins and Cages
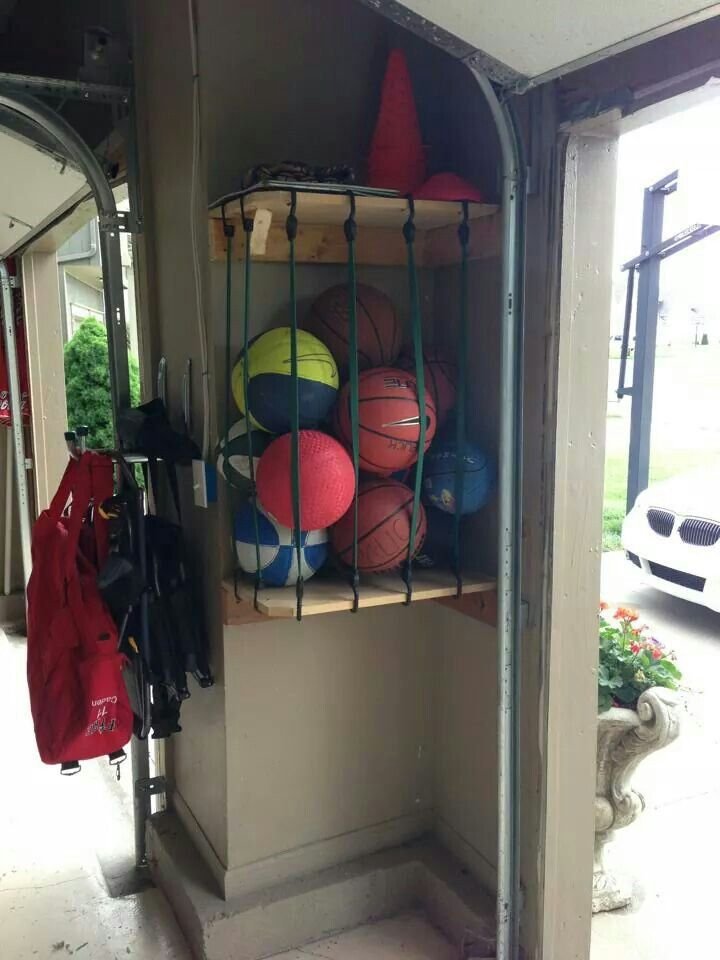
Balls, helmets, bats, and rackets are awkward shapes that end up all over the floor. A wall-mounted ball cage or a bungee-cord corral keeps balls in one place, and a bin or a tall basket handles helmets and pads. Hooks hold bats and rackets.
These cost about $15-60 for most options. Give each family member their own bin or hook, and label them, so everyone knows where their things go and the kids can put gear away themselves.
15. Store Paint and Chemicals Safely
Paint, solvents, fertilizers, and cleaners need a dedicated, secure spot, ideally in a closed cabinet or on a high shelf away from heat and out of reach of children and pets.
Follow the product labels for storage temperatures, since many paints are damaged by freezing or extreme heat, and keep flammable products away from ignition sources like water heaters.
Check your local rules and the manufacturer’s instructions for anything hazardous, including propane and fuel. When in doubt, store it outside the living area as directed and dispose of old products properly through a local collection program rather than letting them pile up.
16. Tame Ladders, Hoses, and Cords
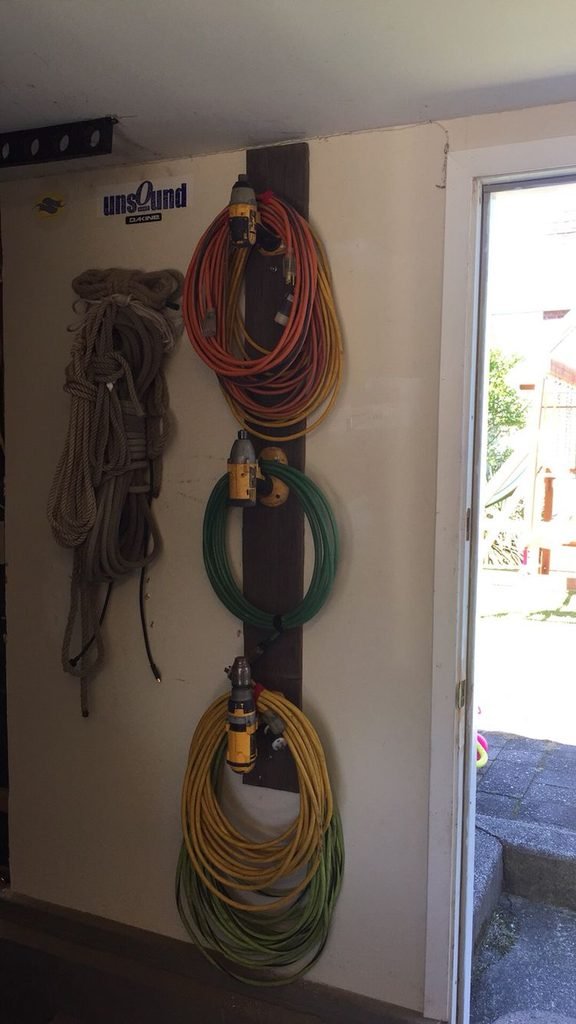
Big awkward items can be hung on heavy-duty hooks along the wall or ceiling.
A ladder lies flat on a pair of horizontal hooks or hangs from a ceiling rack, and a hose coils neatly on a hose hanger. Extension cords wrap around a simple reel or hang on a wide hook.
Expect about $5-30 per item. Keep the heaviest items low and within easy reach, and don’t hang anything over a spot where you walk or park.
17. Give Seasonal Decor a Proper Home
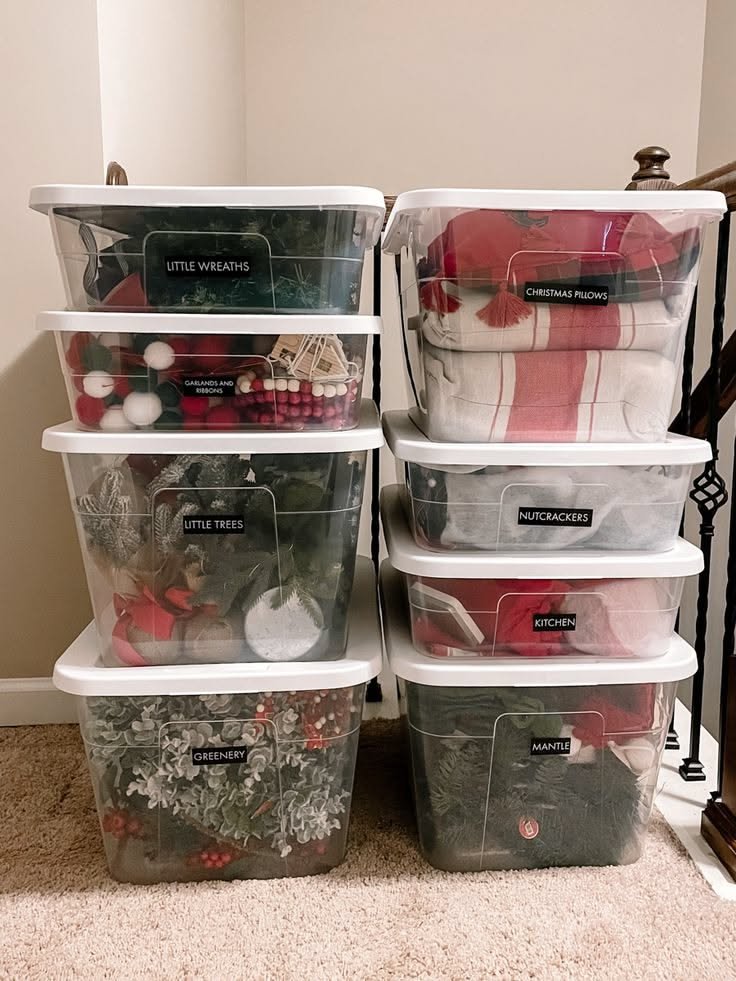
Holiday decorations, wreaths, lights, and artificial trees are perfect candidates for high shelves or overhead racks, since you only touch them once or twice a year. Use sturdy, lidded bins, label them by holiday, and keep them in the same spot every year.
It also makes decorating faster. When you know exactly where the fall box is, setting up the ideas in my fall apartment decor ideas or the tree and lights in my small apartment Christmas decor guide takes a fraction of the time.
Seal bins well to keep out moisture and pests, since garages can get damp.
18. Add a Rolling Tool Chest or Utility Cart
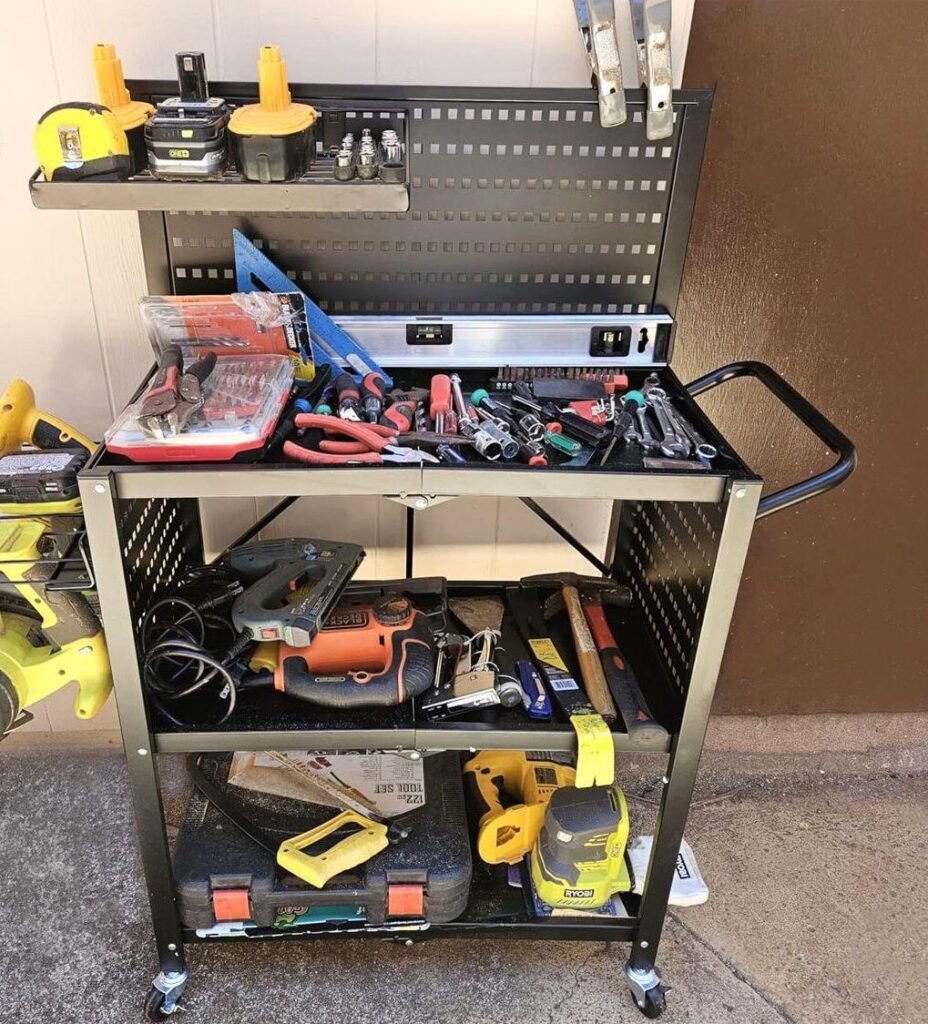
A rolling cart gives you mobile storage for tools, paint supplies, or craft gear. You can wheel it to wherever you’re working and tuck it into a corner when you’re not. Choose one with locking wheels and sturdy drawers.
Prices run about $60-400. A friend of mine, Jenna, swapped her heavy floor toolbox for a rolling cart and said it freed up an entire shelf and made small jobs much quicker.
The trade-off is that very cheap carts can wobble when loaded, so check the weight rating. A cart that doubles as a work surface and storage is the garage version of the pieces in my multi-functional furniture guide.
19. Make the Most of Corners
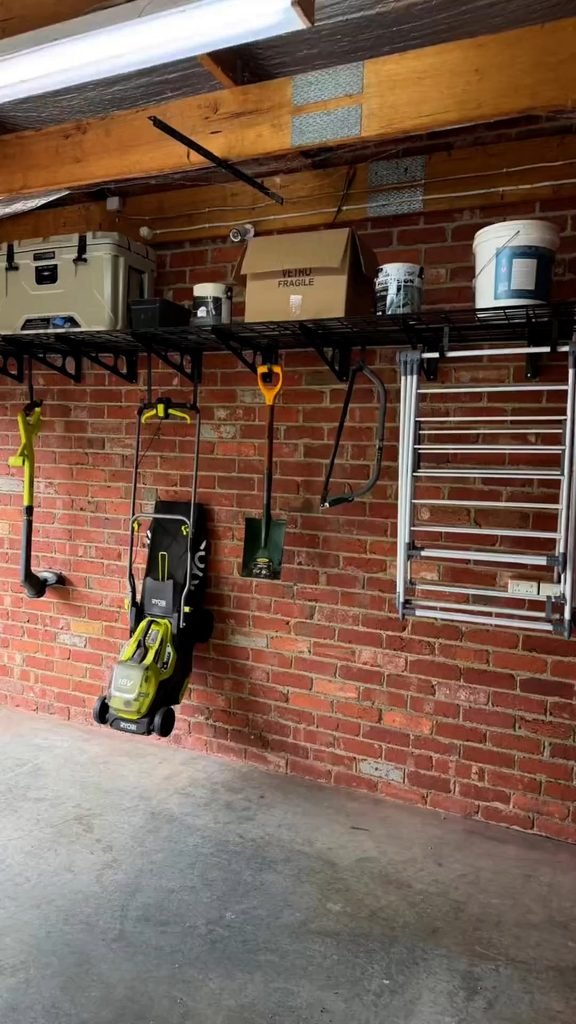
Corners are awkward, and most garages waste them. Corner shelves, a tall slim cabinet, or a corner rack for long items like fishing rods and skis turn dead space into storage. Put the least-used items there, since they’re harder to reach.
Corner units cost about $30-150. Make sure there’s enough clearance for doors and for the garage door tracks, and keep the area clear enough to move through safely.
20. Use the Space Above the Garage Door and Windows
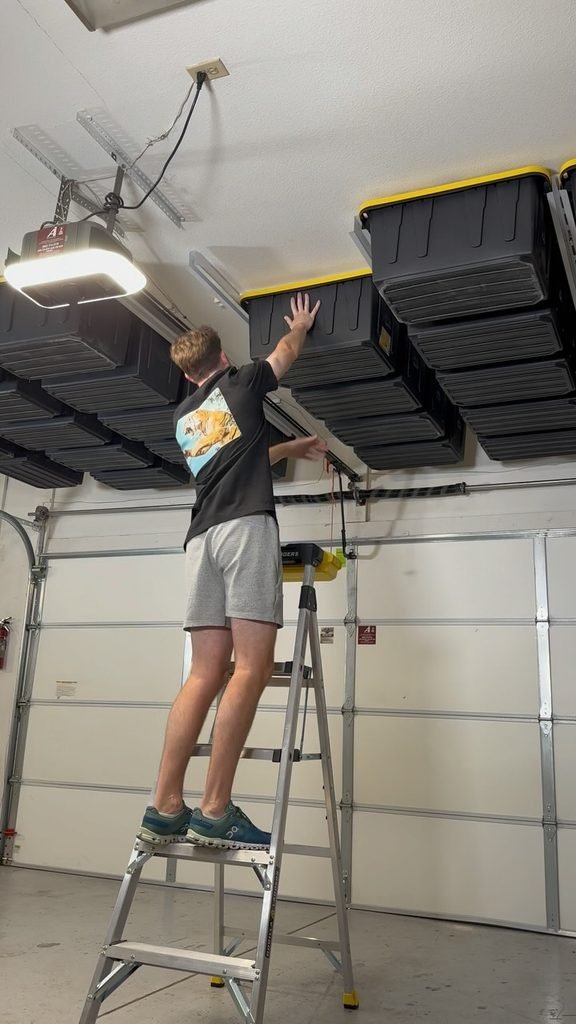
When the garage door is closed, the area above it is often empty. A shelf or rack mounted above the door track can hold long, light items like lumber, pool noodles, or seasonal gear. Just be careful to leave clearance for the door mechanism.
You can also hang a shelf above windows or along the top of walls. This is the same “use the dead space” idea as in my make a small apartment feel bigger guide, where clearing the floor and using height makes a tight space feel more open.
Always check weight ratings and mount into structure, never just drywall. If the garage has a window, a simple shade or curtain keeps sun off stored items and adds privacy, and my guide to hanging curtains to make a small room look bigger covers the hardware basics.
21. Store Tires on a Rack, Not on the Floor
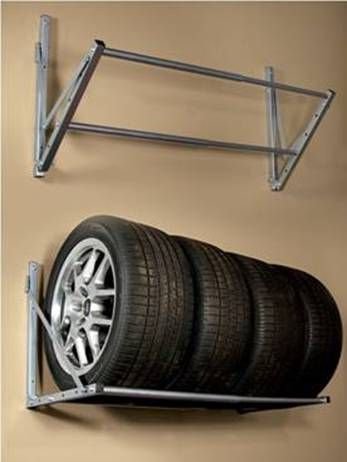
If you keep a spare set of tires, a wall-mounted or freestanding tire rack keeps them off the floor and organized. Stack them flat or hang them, and keep them away from heat sources and direct sunlight. A rack costs about $30-100.
It’s one of those items that’s easy to ignore until it takes up a quarter of your floor, so give it a clear spot early on.
22. Sort Small Parts With Drawer Organizers
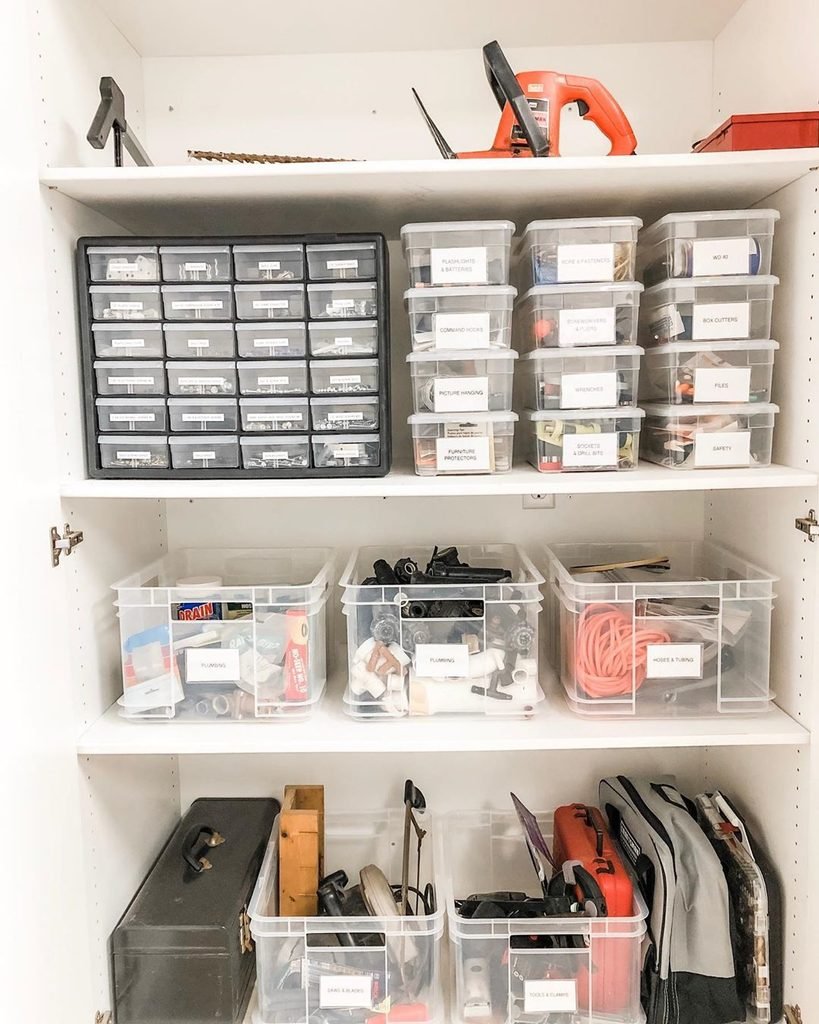
Screws, nails, washers, and fuses are the things that disappear into a messy drawer. A small-parts cabinet with clear drawers, or a set of jars with lids screwed under a shelf, keeps everything visible and sorted. Cabinets cost about $15-50.
Label each drawer, and group items by size and type. It takes an afternoon to set up and saves hours of rummaging later.
23. Upgrade the Lighting
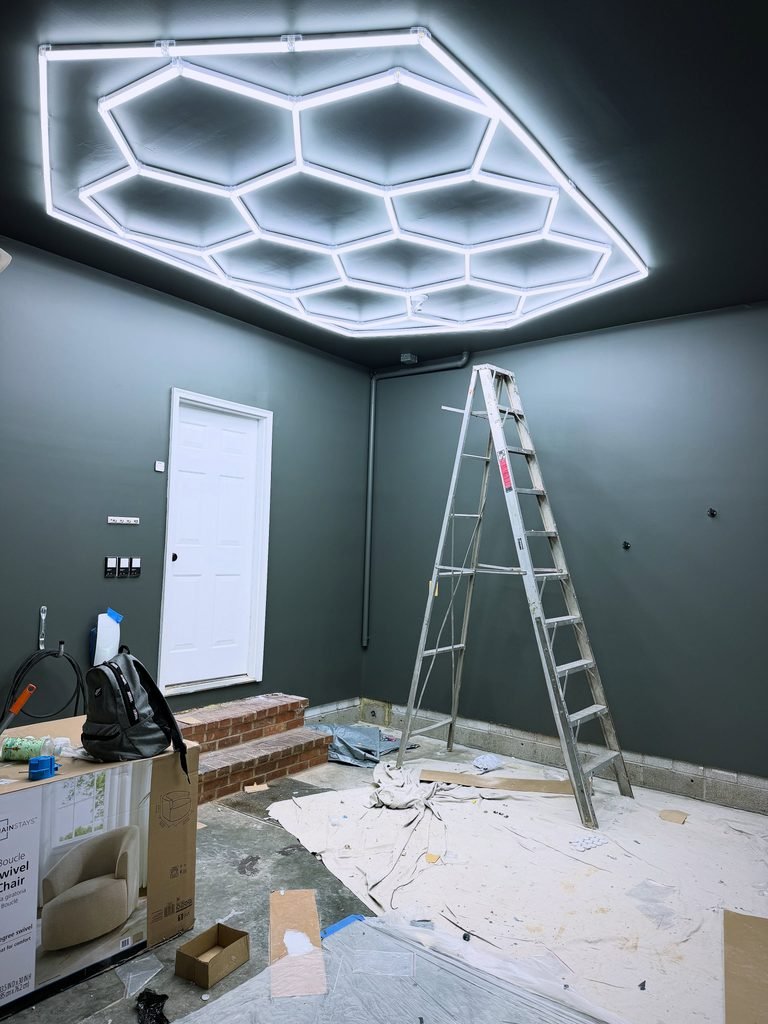
A dim garage makes everything harder to find, and it makes you less likely to keep it tidy. LED shop lights are cheap, bright, and energy-efficient, and they can be hung from the ceiling or plugged into an existing outlet. Expect about $20-60 per fixture.
If your garage doubles as a workspace, good light and a few extra outlets make a big difference.
The same idea applies to any corner you work in, and my guide to a home office in a small apartment goes into task lighting. For anything involving wiring, use a qualified electrician.
24. Protect the Floor and Keep Things Off It

Garage floors collect moisture, oil, and dirt. Keep storage off the concrete with shelves, risers, or pallets, especially for anything that can absorb water, like cardboard, fabric, and wood.
A sealed floor or a set of interlocking mats also makes cleaning easier and helps the whole space look more finished.
Sweep regularly, and leave about two to three feet beside the car if you park inside, so doors can open without hitting shelves. A tidy floor also tells you immediately when something is out of place.
Garage Storage Systems Compared
| System | Approx. Cost | Best For | Install Effort | Watch Out For |
|---|---|---|---|---|
| Wall track or rail system | $50-300 | Flexible wall storage | Medium, needs studs | Weight limits per hook |
| Pegboard | $20-60 | Hand tools | Low to medium | Hooks can slip |
| Freestanding steel shelving | $60-250 | Bins, bulky items | Low | Tipping if not anchored |
| Overhead ceiling racks | $80-300 | Seasonal bins, gear | High, needs joists | Weight and door clearance |
| Cabinets with doors | $100-600 | Chemicals, hiding clutter | Medium | Moisture in damp garages |
| Fold-down workbench | $80-400 | Small projects | Medium to high | Mounting strength |
| Rolling cart or chest | $60-400 | Mobile tools | None | Wobble on cheap models |
| Clear lidded bins | $5-25 each | Everything small | None | Mixed sizes look messy |
What Not to Store in a Garage
| Item | Why It Doesn’t Belong | Better Spot |
|---|---|---|
| Photos, documents, keepsakes | Heat, damp, and pests can ruin them | Closet or sealed bin indoors |
| Mattresses and upholstered furniture | Moisture, mildew, and pests | Indoor storage or a convertible piece, see my guide to convertible sofa beds for small spaces |
| Electronics and batteries | Temperature swings shorten their life | Indoor shelf or closet |
| Food and pet food | Attracts pests and spoils in heat | Pantry or sealed indoor bin |
| Anything with temperature limits (some paints, adhesives) | Freezing or heat can damage them | Indoor cabinet, per the label |
Rough Budget Tiers for a Small Garage
| Tier | Rough Total | What You Get |
|---|---|---|
| Bare bones | $60-150 | Bins, a few hooks, a pegboard, a freestanding shelf |
| Solid setup | $250-600 | Steel shelving, wall rails, bike hooks, a cabinet, better lighting |
| Full makeover | $700-1,800 | Overhead racks, wall system, cabinets, workbench, flooring or mats |
These are rough numbers and will vary by region and by how much you do yourself. If your budget is tight, my guide to furnishing a small apartment on a budget has tips on buying secondhand shelving and bins that apply just as well to a garage.
Small Touches That Make a Garage Feel Finished
Once everything has a home, a few small touches keep it from sliding back. A light coat of paint on the walls, a good set of labels, and a small sign or chalkboard for a shopping list make the space feel cared for.
For styling inspiration that carries from the house to the garage, my small apartment decor trends post shows warm, simple looks that also work on a pegboard wall.
It’s also worth thinking about how the garage connects to the rest of your layout. If you ever convert part of it into living space or a hobby room, my studio apartment layout ideas are a useful reference for fitting multiple functions into one room, and if you’re weighing a smaller home overall, my studio vs one-bedroom apartment comparison shows how much storage changes by layout.
Mistakes That Make Garages Messy Again
The most common mistake is buying storage before decluttering. The second is mounting heavy things into drywall instead of studs or joists. The third is storing items that don’t belong in a garage, like photos or mattresses, and the fourth is ignoring safety, such as blocked exits, loose overhead racks, or unlabeled chemicals.
Another trap is making the system too complicated. If putting something away takes more than a few seconds, it won’t happen. Keep it simple, label everything, and do a quick reset every few months.
If I Were Starting Maya’s Garage From Scratch
I’d start with the declutter and a donation run, then buy two sturdy steel shelves, a pegboard, and a set of matching clear bins. That’s around $200-350, and it would take a weekend.
After that I’d add bike hooks, a cabinet for chemicals, and overhead racks if the floor still felt crowded. Maya’s car now lives inside, and she told me the first morning she didn’t scrape frost off the windshield felt like a small miracle.
The best garage storage ideas for small homes aren’t the fanciest, they’re the ones that fit your space, hold up to real use, and make it easy to put things away.
Start with the wall and the ceiling, label everything, and leave room to walk. Once the garage is sorted, my small apartment decorating ideas post is a good next step for styling the rest of the house.
FAQs
How do I organize a small garage on a budget?
Declutter first, then use free or cheap options like wall hooks, a pegboard, and matching bins. Look for secondhand shelving and add pieces slowly as you learn what you need.
What is the best storage for a one-car garage?
A mix of wall storage (rails or pegboard), freestanding shelving, and overhead racks works best, since it uses walls and ceiling and keeps the floor clear for the car.
How much space should I leave beside my car?
Many people aim for about two to three feet on the driver’s side so the door opens without hitting shelves or bikes. Measure your own car and doors to be sure.
Can I install garage storage in a rental?
Often yes with freestanding shelves, rolling carts, and over-the-door organizers, but check your lease before drilling into walls or ceilings, and ask your landlord first.
What should I never store in a garage?
Photos, documents, mattresses, electronics, food, and anything with temperature limits listed on its label. Heat, damp, and pests can damage them, so keep them indoors in a stable spot.
Are overhead garage racks safe?
They can be, if they’re mounted into ceiling joists, rated for the load, and used within their weight limits. If you’re not sure how to install one, hire a professional and follow the manufacturer’s instructions.










Leave a Reply