
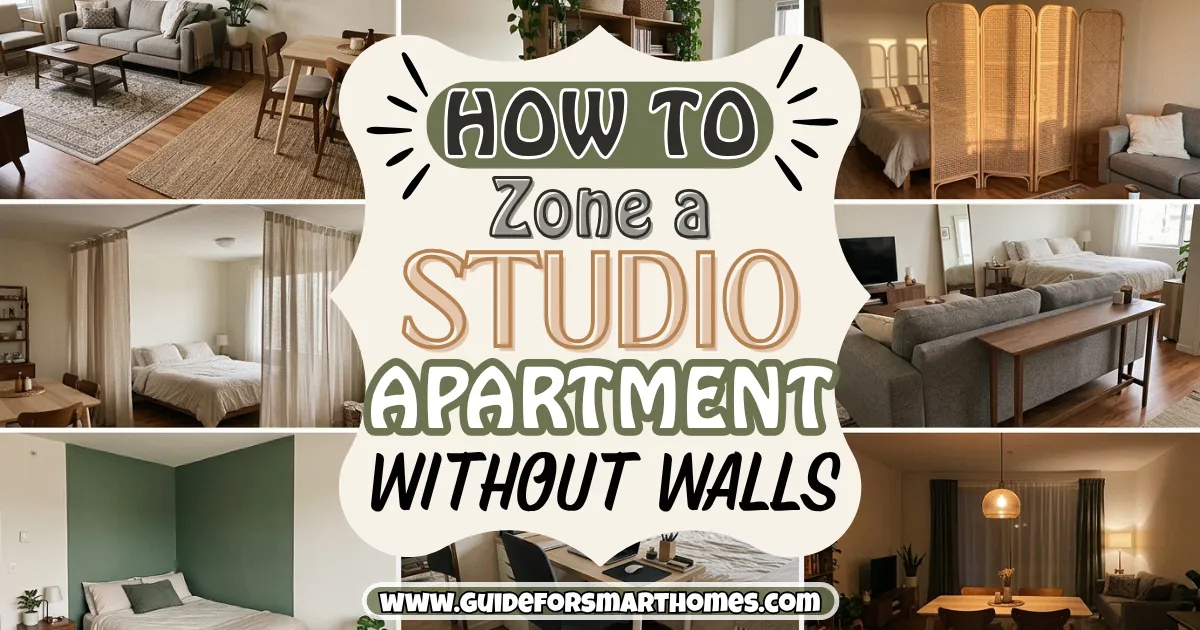
When I moved into my 410-square-foot studio, I did what most people do: pushed the bed against the far wall, plopped the couch in the middle, and wedged a desk wherever it fit. Within a week I was eating dinner on the bed, answering emails from the couch, and falling asleep with the kitchen light in my eyes. The room had no boundaries, so my day didn’t either.
Learning how to zone a studio apartment without walls changed that. Zoning just means giving each activity (sleeping, relaxing, working, eating, arriving) its own defined spot, using furniture, rugs, lighting, and a few clever dividers instead of drywall.
Done well, one open room starts to feel like a real home with distinct areas, and it’s the single biggest upgrade you can make to studio living. If you want the broader picture of arranging a single open room, my studio apartment layout ideas post is a good companion to this one.
Below are 17 methods, roughly in the order I’d actually do them, from planning through finishing touches. Everything is renter-friendly, and most cost under $60. There’s a divider comparison table in the middle, a section on layouts for different room shapes, and FAQs at the end.
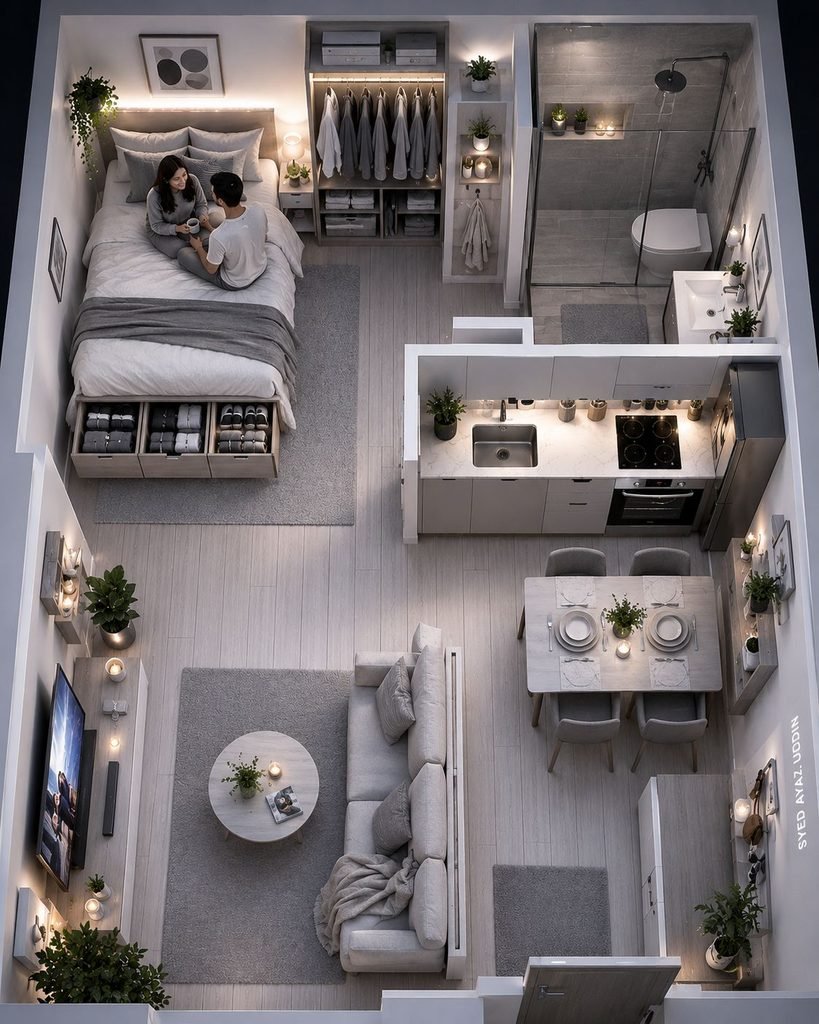
1. Start by Listing the Zones You Actually Need
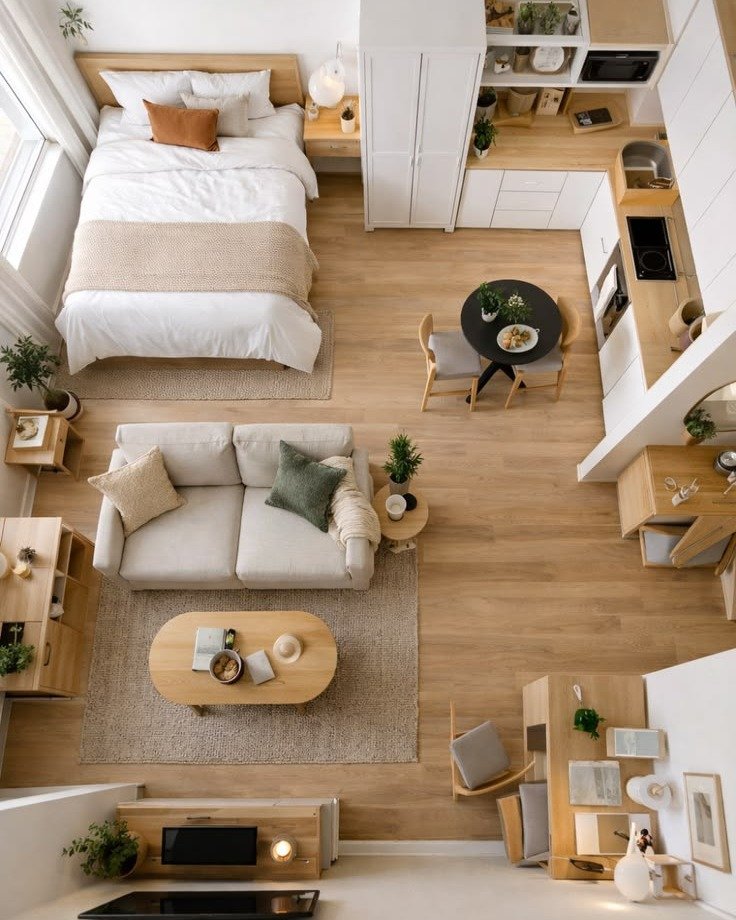
Before moving a single piece of furniture, write down how you really use the room. Most studios need five zones: sleeping, living, working, eating, and an entry or drop spot.
If you never host dinner, skip a dining zone and use that space for something you do need, like a workout corner or a reading chair.
Pro tip: Track your habits for three days before deciding. I assumed I needed a dining table, then realized I ate at the counter or on the couch every single time. That table was a $120 mistake.
2. Measure and Sketch Before You Move Anything
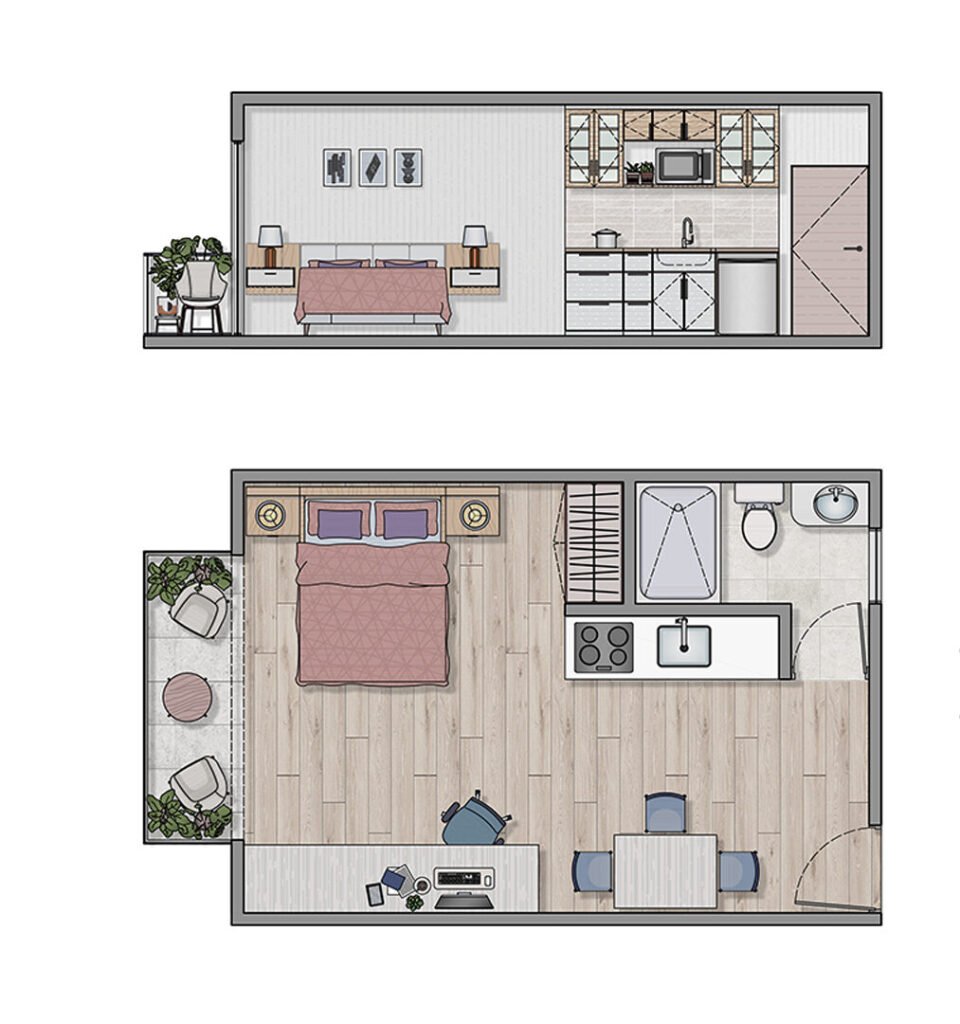
Draw a rough floor plan on graph paper or a free planning app, marking windows, doors, outlets, radiators, and the closet.
Zoning mistakes usually come from blocking a window or an outlet, and they’re easy to catch on paper and annoying to catch after you’ve moved a heavy sofa.
Leave at least 30 inches for main walkways, and about 24 inches around the bed on the sides you use. If your layout fails these numbers on paper, it will feel cramped in real life too.
3. Use Your Sofa as a Wall
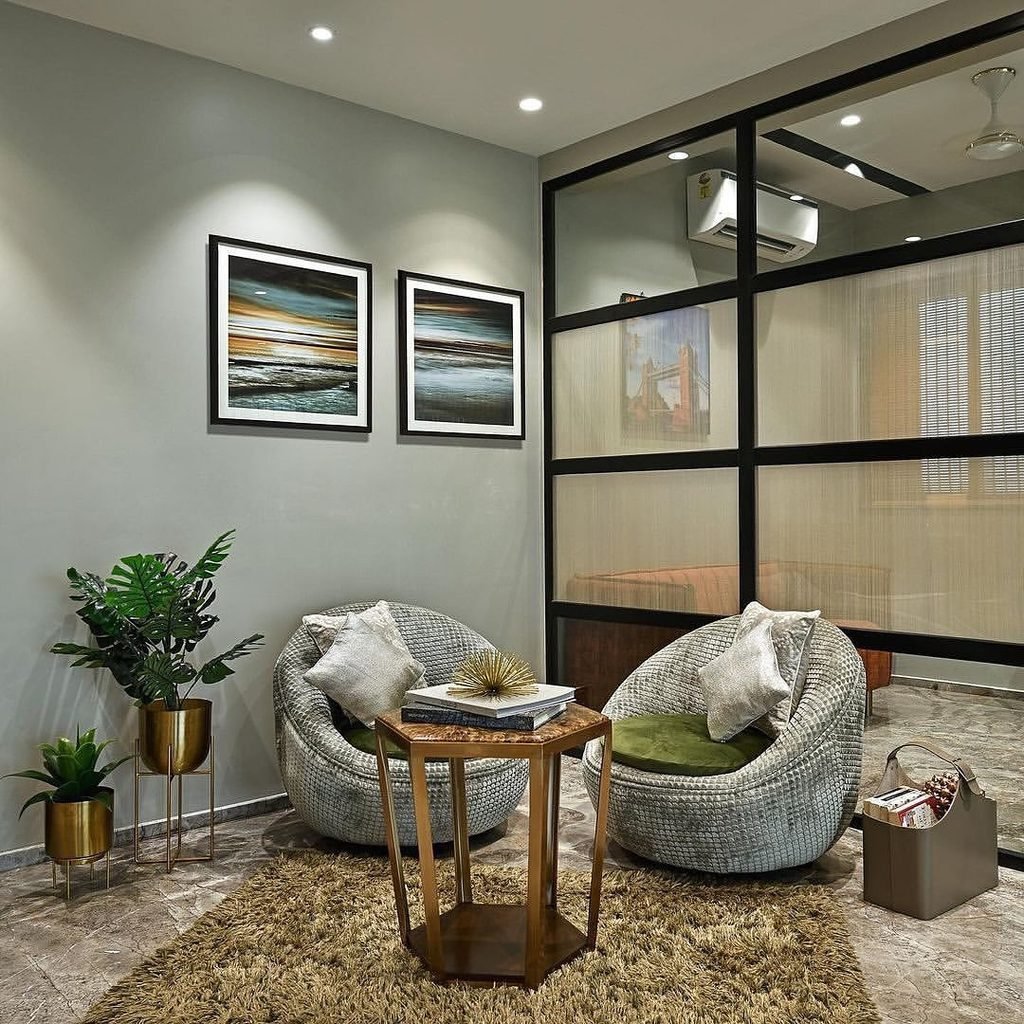
A sofa with its back to the sleeping area is the simplest divider in a studio, because you probably own one already. Float it a few feet off the wall so the back creates a clear boundary between the living and sleeping zones, and it signals “this side is for lounging, that side is for sleep.”
Put a narrow console or a long, low shelf behind it to hold lamps, books, or a plant, and the back of the sofa becomes a feature rather than a blank wall of upholstery. My small living room ideas post has more on arranging seating in tight spaces.
4. Anchor Each Zone With Its Own Rug
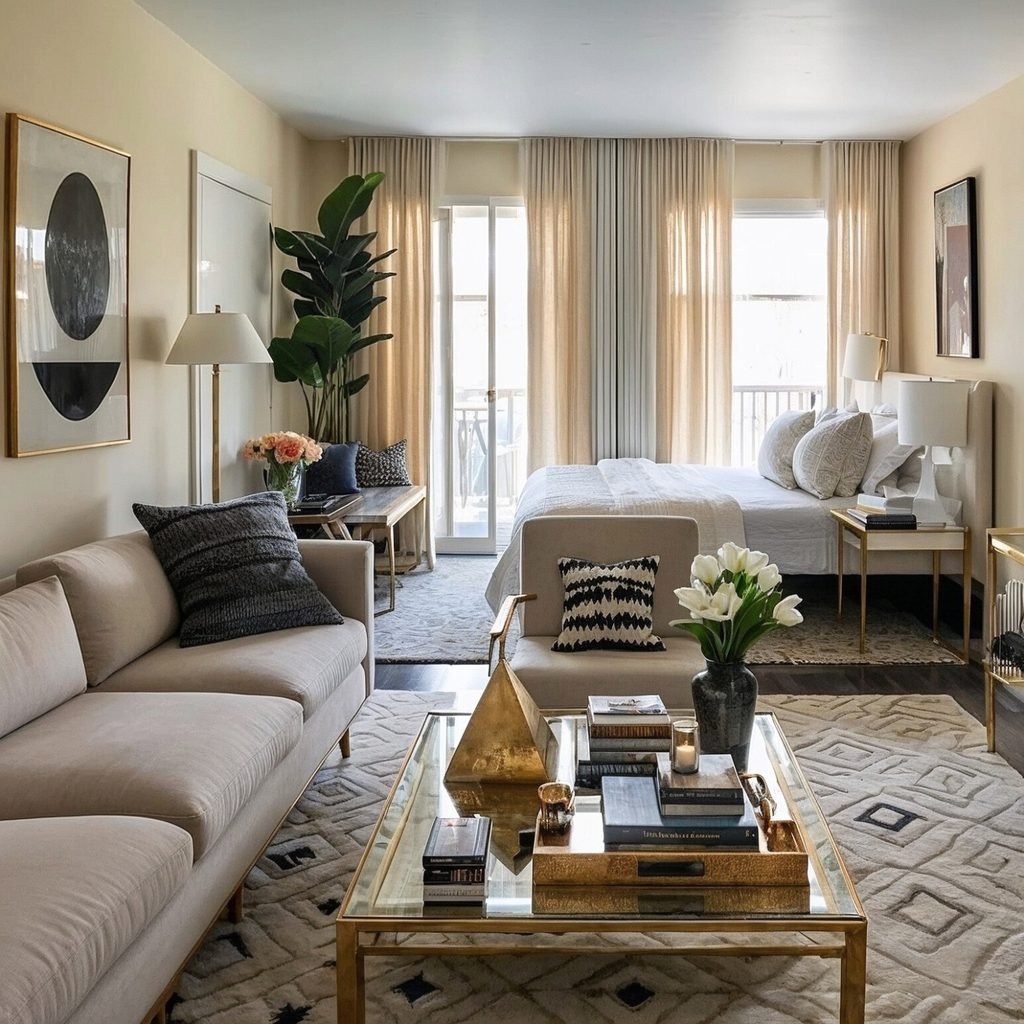
Rugs are zoning shortcuts. A rug under the sofa and coffee table defines the living area, a smaller one beside the bed marks the sleeping area, and a runner or mat near the door creates an entry. They add warmth and texture, and they cost far less than furniture.
Keep the rugs in the same color family so the room reads as cohesive, and make them different sizes so they don’t look like a mismatched set. Make sure edges don’t overlap awkwardly, and use a rug pad to keep them from sliding, which also protects the floor in a rental.
5. Add an Open Bookshelf as a Room Divider
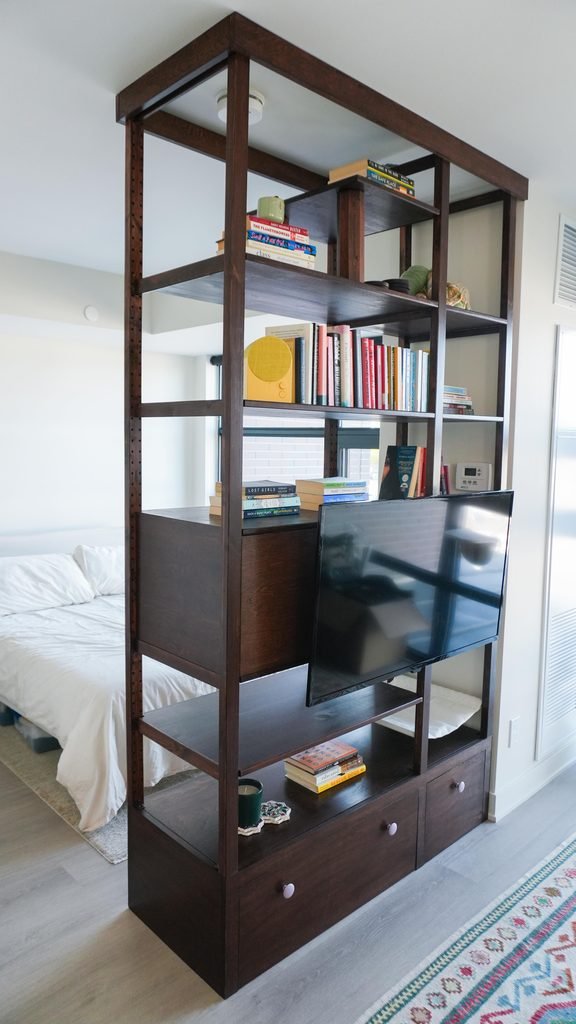
An open-back shelving unit, placed perpendicular to a wall, separates zones without blocking light or making the room feel smaller. Cube-style shelves and ladder shelves work well, and the shelves double as storage, which is a bonus when closet space is scarce.
The trade-off is that open shelves show everything, so style the side facing the main room with books, baskets, and a plant, and keep the messy stuff in closed bins. Anchor tall shelves to the wall with an anti-tip strap if your lease allows, or choose a low shelf if it doesn’t.
Pro tip: Keep the divider no taller than about 5 feet if you want light and airflow. A floor-to-ceiling bookcase gives more privacy but can make a small studio feel boxed in.
6. Hang a Curtain on a Ceiling Track or Tension Rod
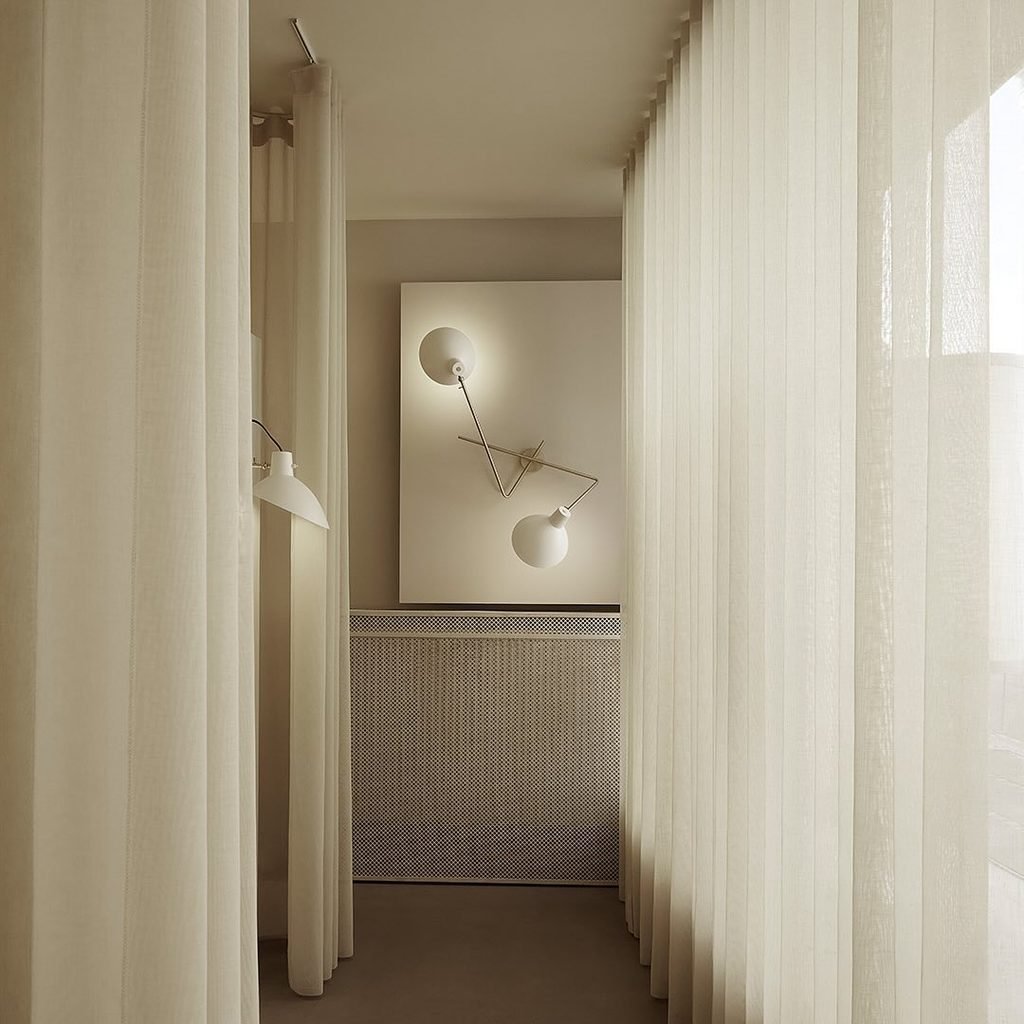
A curtain is the cheapest way to close off a bed at night and open it up during the day. A ceiling-mounted track works best, but if you can’t drill, a heavy-duty tension rod across an alcove or between two walls can do the job. Cost is roughly $30-80 including fabric.
A friend of mine, Marisol, hung a floor-length linen curtain on a tension rod around her sleeping nook and said it made the biggest difference in how “finished” her studio felt.
Choose a fabric thick enough to block light but not so heavy it overloads the rod, and make sure it clears the floor by a couple of inches.
7. Try a Folding Screen or Panel
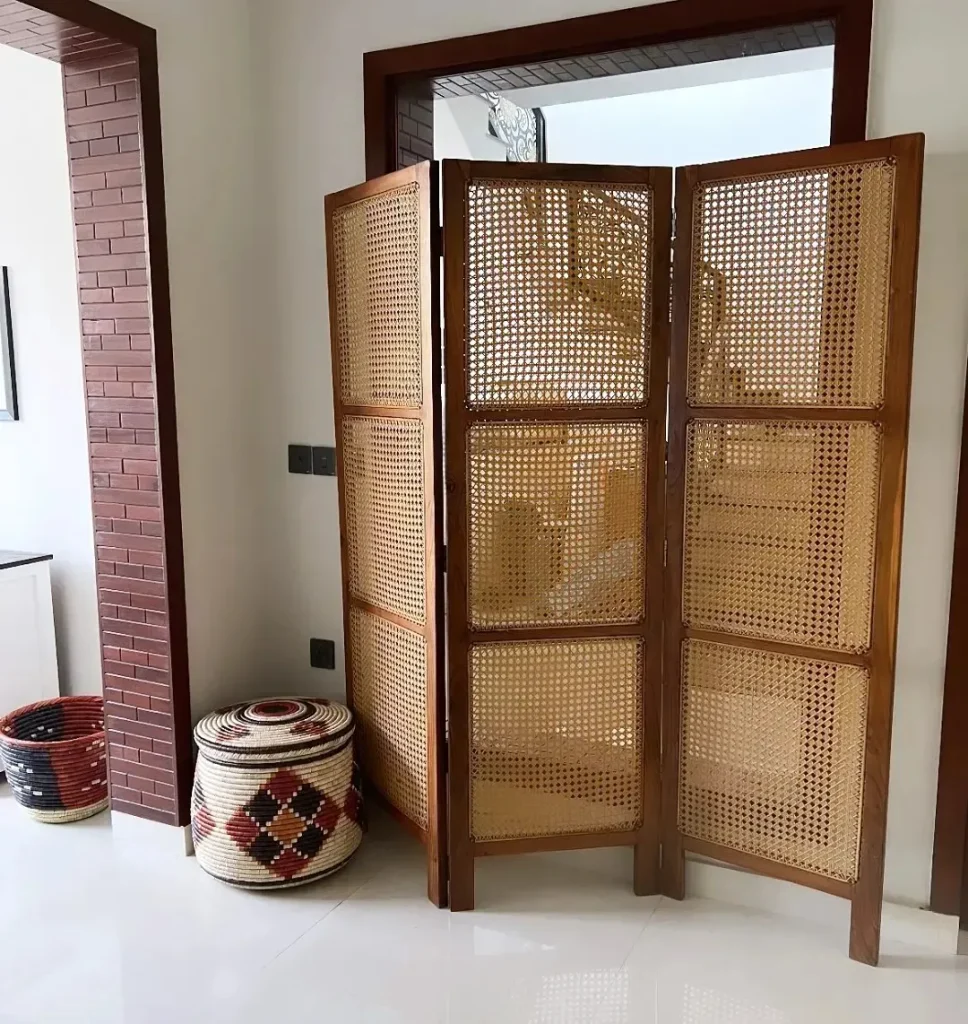
A folding screen is a movable wall. It’s great for hiding a bed, a messy desk, or a laundry corner, and you can fold it flat and slide it behind a dresser when you don’t need it.
Prices run about $40-120 depending on material, and wood-and-fabric or rattan screens tend to look more like furniture than cheap plastic ones.
If you’re deciding what furniture is worth the space, my multi-functional furniture guide helps you spot pieces that earn their keep.
8. Use Lighting to Mark Each Zone
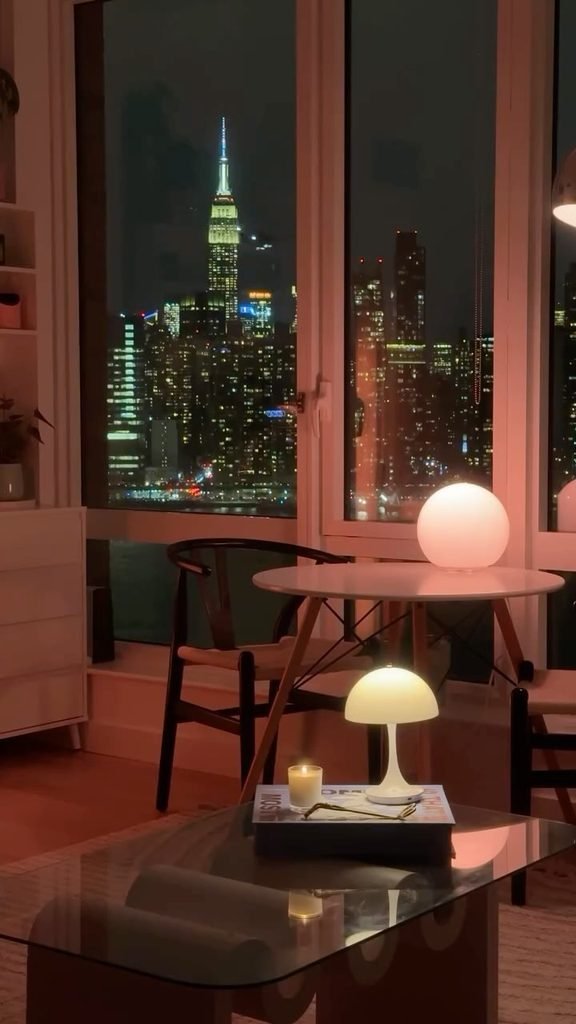
Lighting zones a room almost as well as furniture does. A floor lamp by the sofa, a bedside lamp, a desk lamp, and a small pendant or plug-in sconce over the dining spot each create a pool of light that tells your eye where one zone ends and another begins.
Use warm white bulbs in the living and sleeping zones, and a slightly brighter, cooler bulb at the desk for focus. Dimmers or smart plugs let you turn off the work light at the end of the day, which helps your brain switch modes.
This is also how I make small spaces feel cozier, and it carries nicely into the holidays, like the string-light ideas in my small apartment Christmas decor post.
9. Use Paint or Peel-and-Stick Wallpaper to Define a Zone
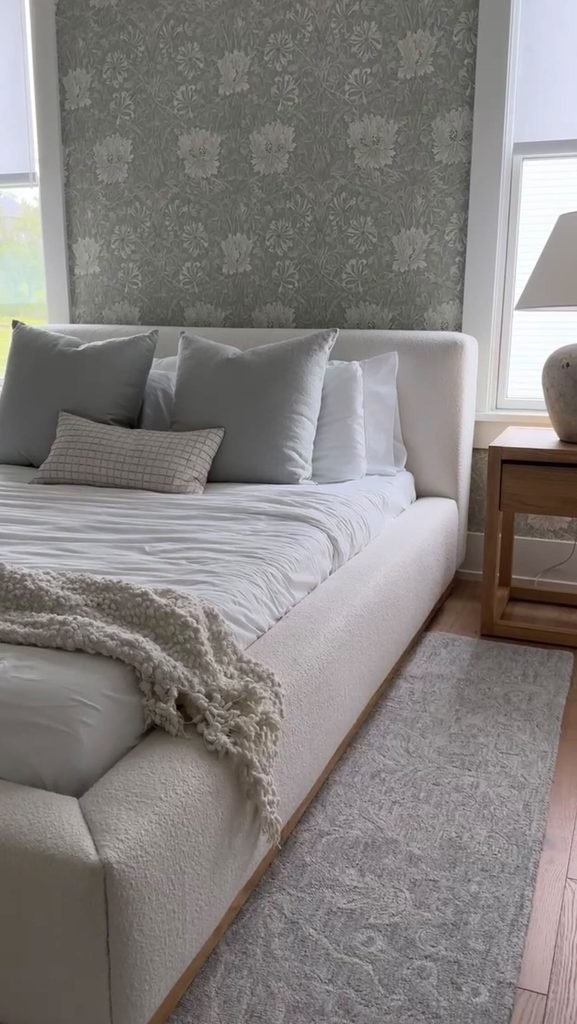
If your lease allows paint, a different color behind the bed or a painted frame around the sleeping area can mark a zone without any furniture.
If not, peel-and-stick wallpaper on a single wall or behind a headboard does the same thing and comes off cleanly in most cases when applied and removed carefully.
Keep the color palette tight so the studio doesn’t feel chopped up. One accent wall is usually plenty, and it’s worth testing a small piece in a hidden spot first.
10. Use Plants as Soft Dividers
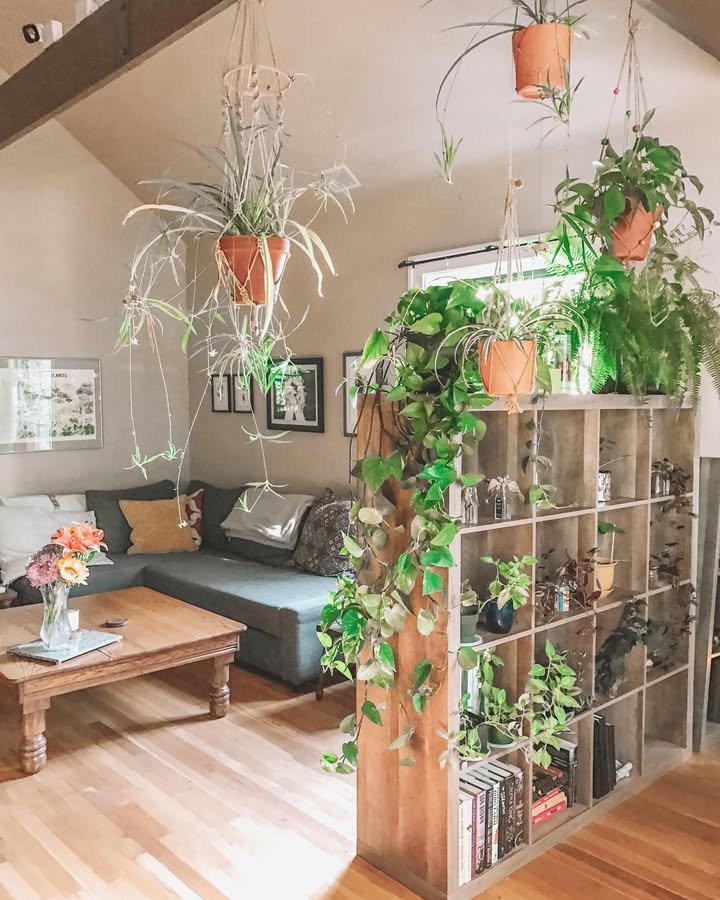
A row of plants on a low shelf or a tall plant like a fiddle-leaf fig or a rubber plant in a corner softens the edge of a zone and adds life. Plants also add privacy without the visual weight of a solid divider.
If your natural light is limited, choose low-light plants like pothos, snake plants, or ZZ plants, or go for good-quality faux ones.
A hanging plant from a ceiling hook creates a subtle boundary at eye level without using any floor space.
11. Build a Proper Sleeping Zone
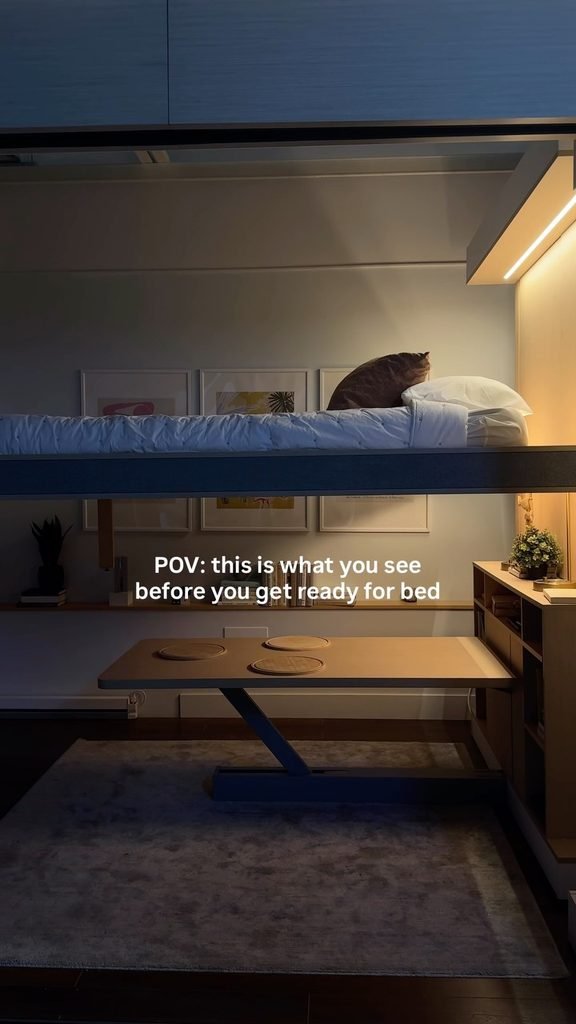
The bed is the biggest piece of furniture in a studio, so it deserves the most thought. Place it away from the front door and the kitchen if you can, ideally against a wall or in a corner to protect floor space. A headboard, a canopy, or a curtain gives it the feel of its own nook.
Bed risers and under-bed storage bins keep clutter out of sight, and a tall dresser at the foot of the bed can double as a divider.
Pro tip: If you can only afford one upgrade here, get blackout curtains for the windows near the bed. They improve sleep more than almost any other single purchase.
12. Create a Work Zone That You Can Close Down
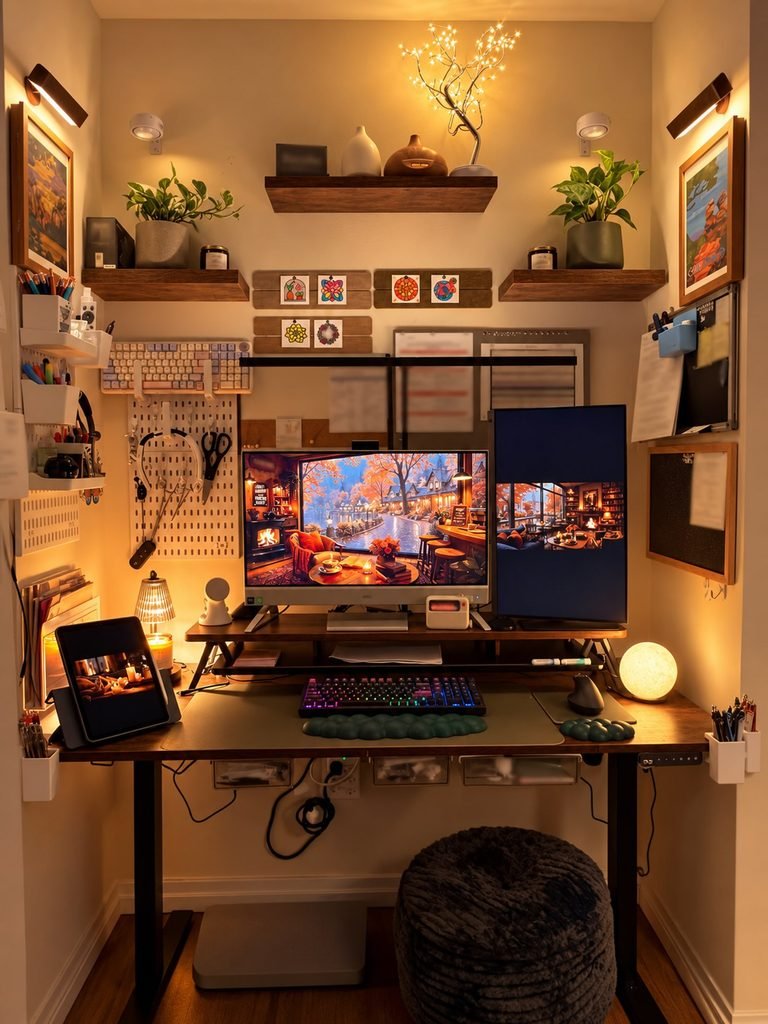
If you work from home, put the desk as far from the bed as the room allows, and ideally facing a wall or window rather than the bed. A fold-down wall desk, a narrow console, or a secretary-style desk that closes shut lets you “end the workday” by hiding the laptop and papers.
That visual closure matters more than people expect. I started covering my desk with a simple linen cloth at the end of the day, and it made it much easier to stop checking email at 9 p.m.
13. Define a Dining or Eating Zone, Even a Tiny One
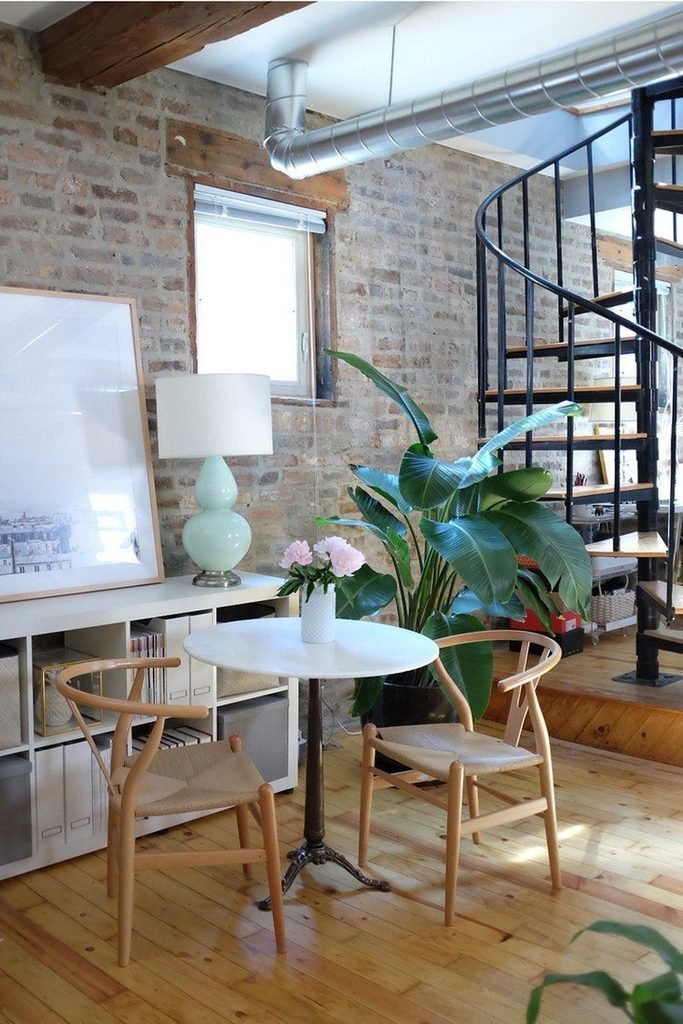
A drop-leaf table, a bar-height counter with two stools, or a small round bistro table near the kitchen gives you a place to eat that isn’t your bed.
Even a tray table with a chair can serve as a dining nook if you set it up deliberately and use it consistently.
Use a rug or a pendant light over the table to mark the zone. If you’re choosing between layouts, my studio vs one-bedroom apartment comparison covers how each handles dining and hosting.
14. Make an Entry Zone So the Room Doesn’t Start in Chaos
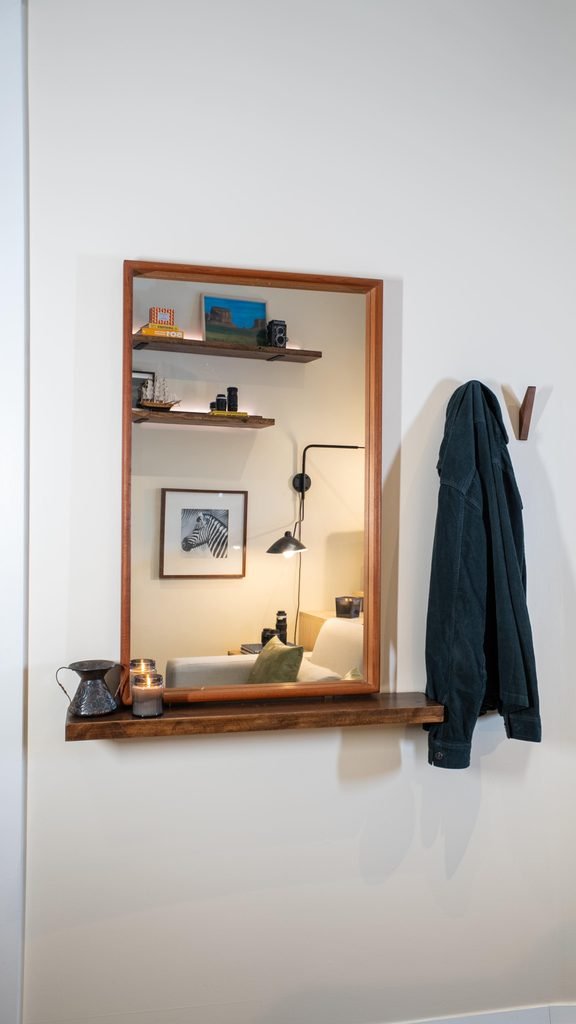
A small console, a wall-mounted shelf with hooks, or even a shoe tray and a mirror by the door creates an arrival spot where keys, bags, and shoes go. Without one, the entire studio ends up as an extension of your coat closet.
A narrow bench with hidden shoe storage runs about $60-120 and handles seating and storage in one footprint. It also signals “this is the door zone” before anyone steps into the living area.
15. Vary Furniture Heights to Keep Sightlines Open
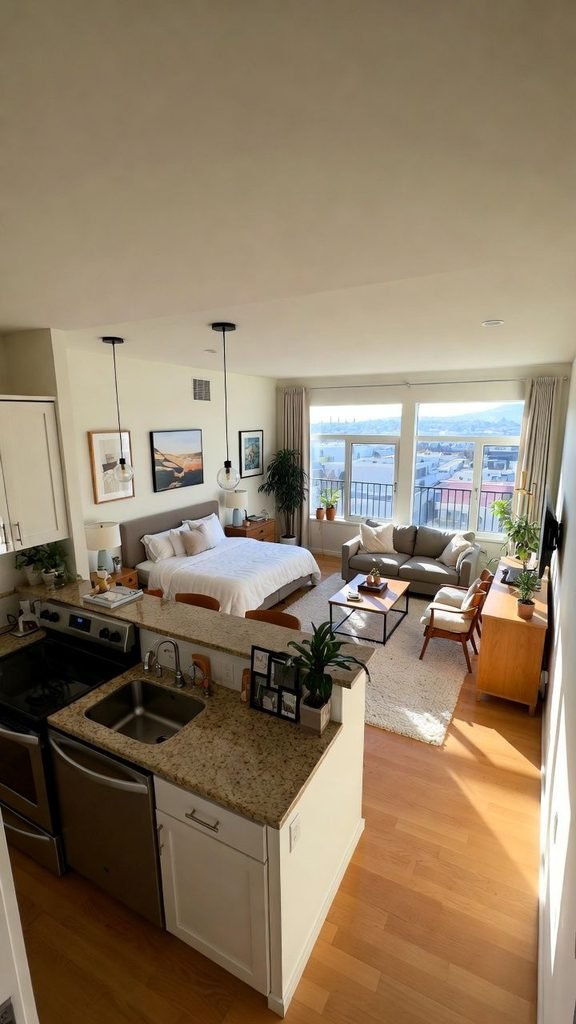
Low furniture near windows and taller pieces along walls keeps light moving and makes the room feel larger. If everything is the same height, or if tall pieces block the windows, a studio can feel like a storage unit.
These sightline tricks are the same ones I recommend in make a small apartment feel bigger, since a zoned room feels spacious only if you can still see across it.
16. Layouts by Room Shape: Long, Square, and L-Shaped
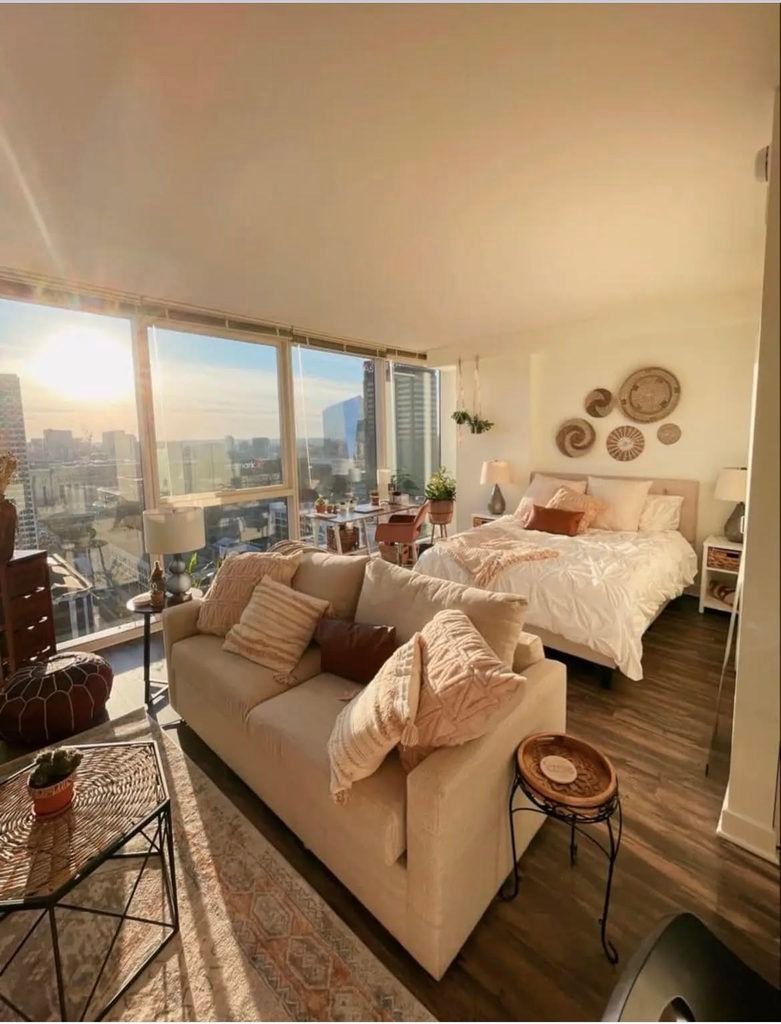
A long rectangular studio works best with zones in a line: entry and kitchen first, then living, then sleeping at the far end, with a divider between living and sleep.
A square studio usually does best with the bed in one corner, the sofa floating opposite it, and the desk or dining zone in a third corner.
An L-shaped studio is the easiest to zone, since the short leg of the L makes a natural sleeping alcove.
Whatever your shape, try to keep the bed and desk in separate “ends” of the room and use the sofa or a shelf as the transition between them.
Which Divider Should You Use?
| Divider | Approx. Cost | Privacy | Blocks Light? | Renter-Friendly? |
|---|---|---|---|---|
| Sofa with console behind | $0-80 (if you own the sofa) | Low to medium | No | Yes |
| Open bookshelf | $50-200 | Low | Little | Yes |
| Ceiling-track or tension-rod curtain | $30-80 | High | Some, depending on fabric | Tension rod yes, track depends on lease |
| Folding screen | $40-120 | Medium to high | Some | Yes |
| Large plants | $20-80 | Low | Little | Yes |
| Rug and lighting only | $40-150 | None (visual only) | No | Yes |
17. Avoid the Mistakes That Make Zoning Backfire
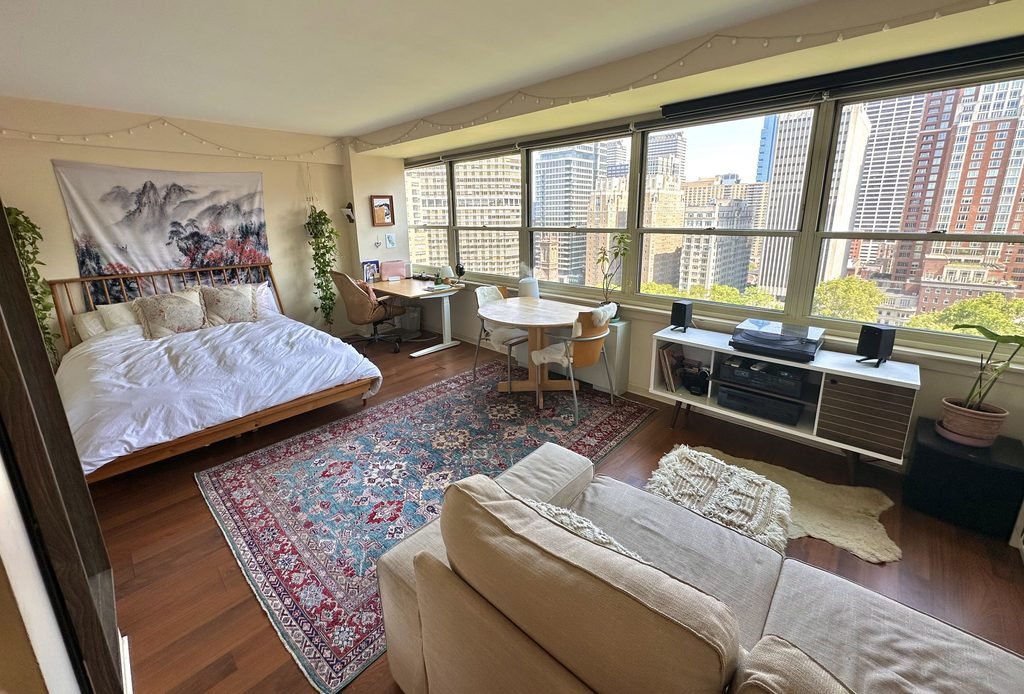
The most common mistake is overdividing. Too many screens, shelves, and curtains turn a studio into a maze, and you lose the openness that makes a small space livable. Pick one or two dividers and let rugs and lighting do the rest.
The other mistakes I see constantly are blocking windows with tall furniture, ignoring walkway width, and buying furniture before measuring.
For current looks that work well in tight layouts, my roundup of small apartment decor trends shows what’s popular without sacrificing function, and my small apartment decorating ideas post covers the styling side once your zones are set.
If I Were Zoning My Studio From Scratch
I’d start with three things: float the sofa to separate the sleeping area, add a rug under the living zone, and put a lamp in each zone. That’s maybe $150 total and it changes the whole feel of the room. Then I’d add a curtain or a low bookshelf for more privacy if I still needed it, and stop there.
Zoning a studio apartment without walls is less about clever tricks and more about being deliberate: give each activity a home, mark it clearly, and keep the paths between zones open.
Once you do that, a single room starts to feel like a real, layered home, and you stop eating dinner in bed. If the seasons change and you want the look to follow, my fall apartment decor ideas work well within any zoned layout.
FAQs
How do I separate the bed from the living area in a studio?
Float a sofa with its back toward the bed, add an open bookshelf, hang a curtain on a tension rod or ceiling track, or use a folding screen. Pair any of these with a rug and a lamp on each side so the zones feel distinct.
What’s the cheapest way to zone a studio apartment?
Rugs and lighting are the cheapest tools, often under $100 total. Rearranging furniture you already own, like turning a sofa into a divider, costs nothing and works surprisingly well.
Can I zone a studio without drilling into the walls?
Yes. Tension rods, freestanding shelves, folding screens, rugs, plants, and lamps all work without damaging walls. If you use a tall shelf, check whether it needs anchoring and ask your landlord if you’re unsure.
How do I keep a studio from feeling cramped after adding dividers?
Use low or open dividers, keep walkways at least 30 inches wide, and avoid blocking windows. Stick to one or two dividers rather than several, and keep your color palette cohesive.
Where should the bed go in a studio apartment?
Usually as far from the front door and kitchen as possible, often in a corner or alcove. This keeps the sleeping area quieter and makes the rest of the room feel like a proper living space.
How do I set up a work zone in a studio without it taking over the room?
Choose a compact desk, such as a wall-mounted or console-style one, place it away from the bed, and use a cloth, a closing cabinet, or a screen to hide it at the end of the workday. That small ritual helps you separate work from rest.









Leave a Reply