
The first time I decided to “get organized,” I woke up on a Saturday, pulled every single thing out of my bedroom closet, and dumped it on the bed. By noon I was sitting on a mountain of clothes, surrounded by shoeboxes, with no idea what to do next and nowhere to sleep that night. I ended up shoving it all back in and ordering takeout, which is the least organized move I’ve ever made.
If you’re searching for home organization for beginners, I want you to skip that Saturday. Starting is the hardest part, mostly because nobody tells you the order. You don’t start by buying bins, and you don’t start by tackling the biggest, scariest room. You start small, with a few simple steps, and you build a system that fits your life. The very first of those steps is decluttering, and my guide on how to declutter your home goes deeper on it once you’re ready for more.
Below is the exact plan I’d give a friend who’s never organized anything before, from picking your first spot to a four-week starter schedule. There are three tables, one to choose which room to start in, one for a weekly routine, and one for a starter budget, plus FAQs. Prices are rough and vary by store, and every home and family is different, so adjust to what works for you.
Step 1: Figure Out Why You Feel Overwhelmed (and What You Want)

Before you touch a single item, take two minutes to write down what’s bugging you most. Is it not finding your keys? A kitchen counter you can’t cook on? A closet you can’t close? Being specific tells you where to start and gives you a goal you can actually measure, like “I want to cook dinner without moving six things first.”
Overwhelm usually comes from trying to fix everything at once. When you name one real problem, the whole project shrinks to something you can finish. It also keeps you motivated, since you’ll notice the difference right away.
Pro tip: Take a “before” photo of the spot you choose. It’s a surprisingly strong motivator when you look at the “after” an hour later.
Step 2: Start With One Small Win, Not Your Whole House
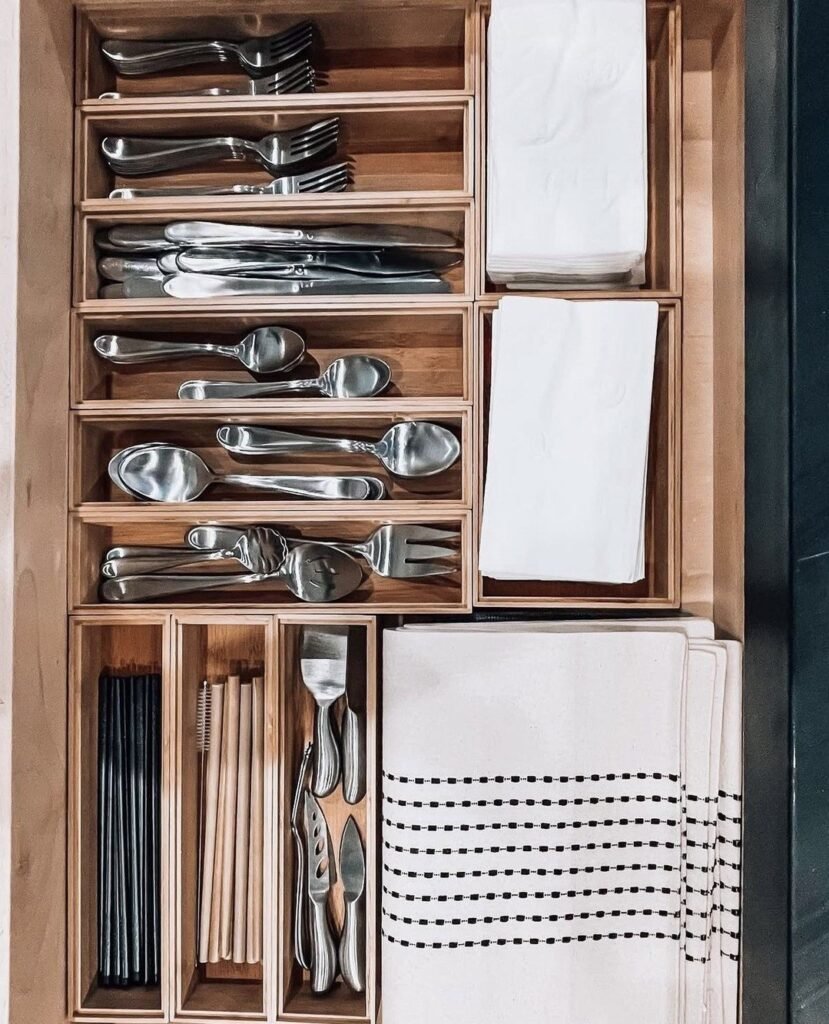
Pick something small enough to finish in 15 to 30 minutes: one drawer, one shelf, the top of the fridge, your nightstand. A quick win builds confidence and shows you how the process works before you tackle anything big.
The junk drawer is a classic first win because it’s small, it’s annoying, and the result is immediately satisfying. If you want a step-by-step for that one, my guide on how to organize a junk drawer walks you through it. A friend of mine, Leila, started with her bathroom drawer and said the satisfaction of that one tidy drawer pushed her to do the rest of the house over the next month.
Step 3: Gather Only the Basics (Don’t Shop Yet)
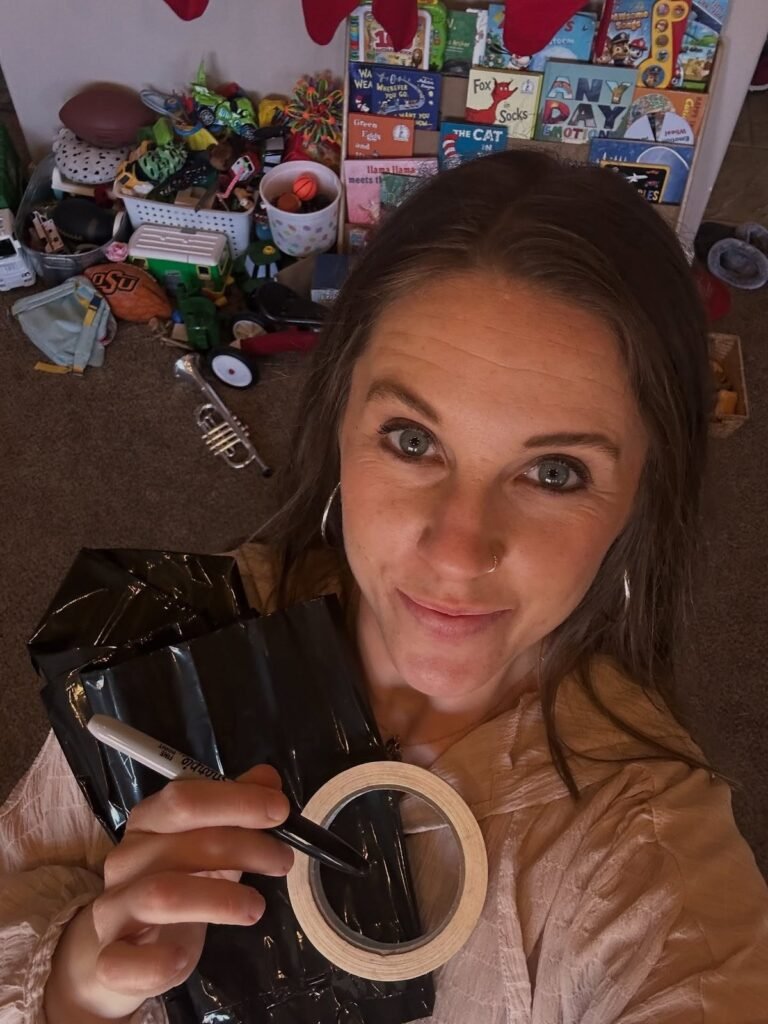
You don’t need a cart full of organizers to begin. All you need is a few trash bags, a box or bag for donations, a marker and some tape for labels, a damp cloth, and a timer. That’s it.
Resist the urge to buy containers first. It feels productive, but it almost always backfires, because you end up buying the wrong size for things you haven’t even sorted yet. Storage comes after you know what you’re keeping.
Step 4: Use the Four-Box Method to Sort

Label four boxes or piles: keep, donate or sell, trash or recycle, and relocate (things that belong somewhere else in the house). As you go through your chosen spot, put every item in exactly one pile. No “maybe” pile at first, since that’s where decisions go to hide.
If you truly can’t decide, put the item in a “maybe” box, tape it shut, and write a date six months from now. If you haven’t opened it by then, it can go. It’s a gentle way to let go without second-guessing every item.
Step 5: Let Go of the Easy Stuff First
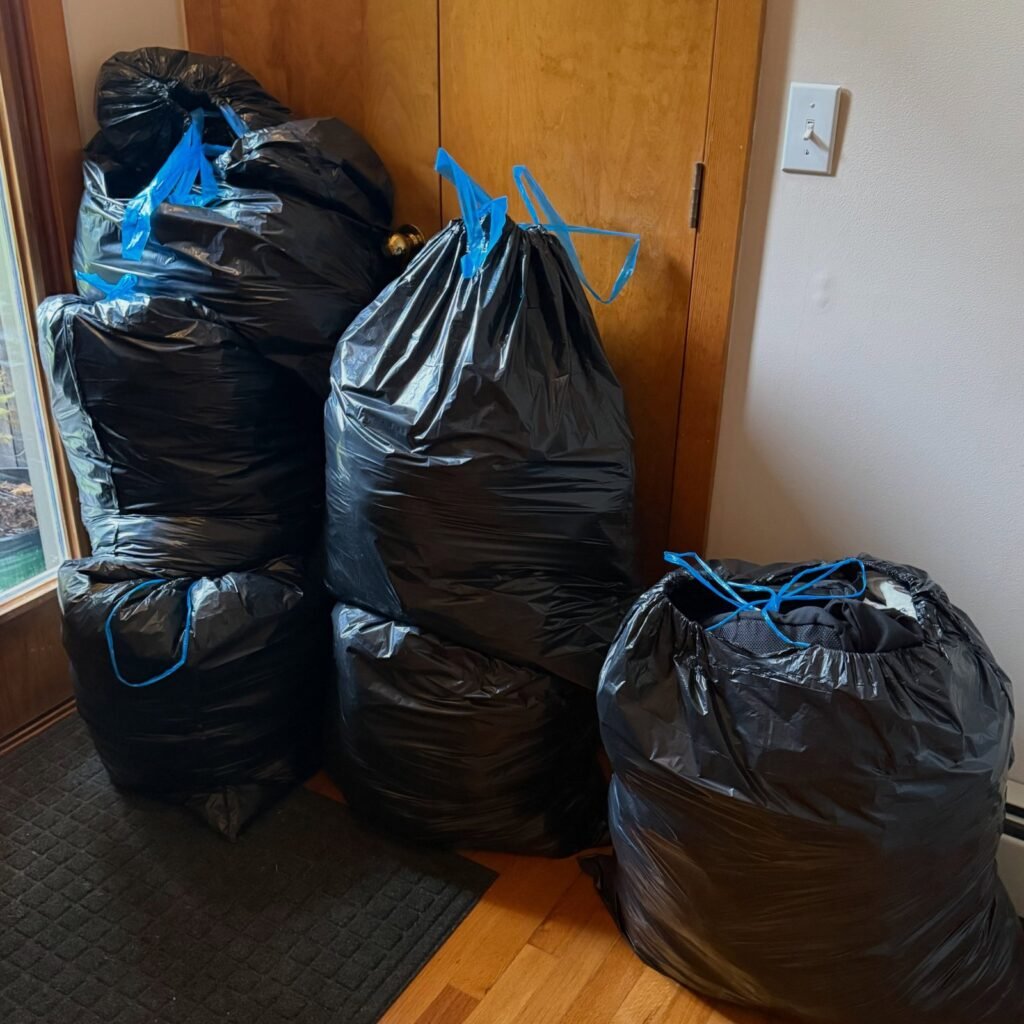
Start with trash: expired products, broken things, dried-out pens, old receipts, single socks, mystery cables. Then move to duplicates and things you clearly don’t use. Leave the sentimental items and tough decisions for last, when you’ve built some momentum.
This order keeps you from getting stuck on a hard decision in the first ten minutes and giving up. By the time you reach the harder items, you’ve already cleared a lot of space, which makes the process feel doable.
Step 6: Decide Where Things Live
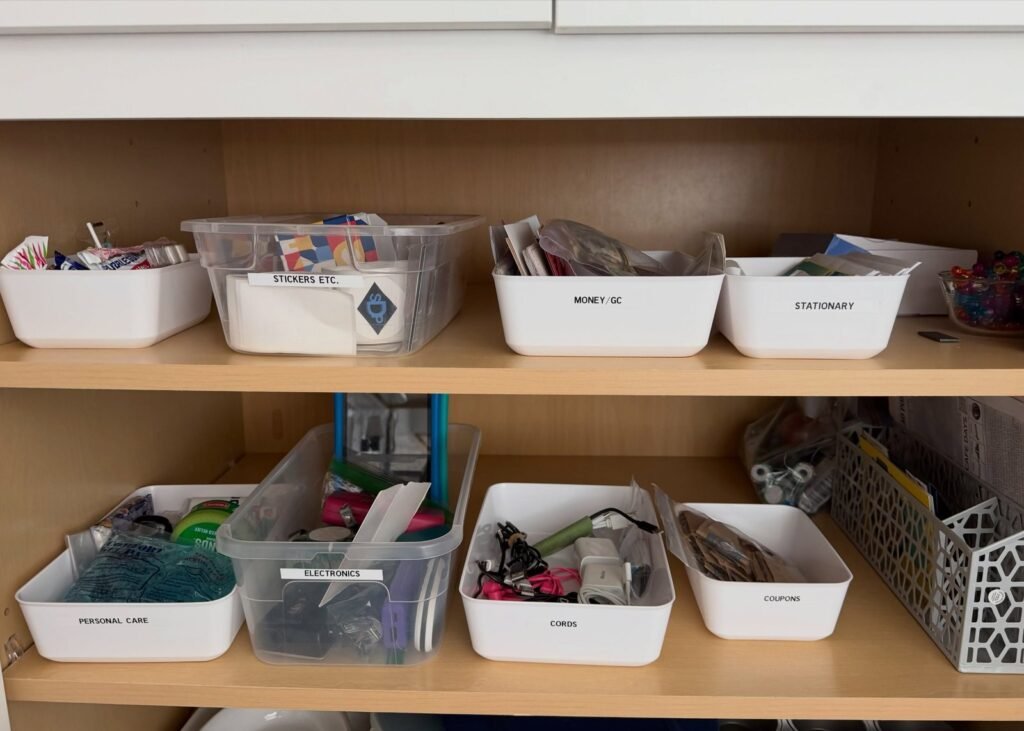
This is the heart of organization: every item needs one home. Think about how you use it. Things you use daily should live close and be easy to reach, and things you use rarely can go high, low, or in the back. Keep like with like, so all batteries, all cleaning supplies, or all chargers are together.
A good test is this: if you were looking for it, where would you check first? Put it there. A home that makes sense to you is a home you’ll actually use, which is why borrowed systems from magazines often fail.
Which Room Should You Start With?
| Spot | Time Needed | Difficulty | Daily Impact | Why Start Here |
|---|---|---|---|---|
| One drawer or shelf | 15-30 minutes | Easy | Medium | Fast win, builds confidence |
| Entryway | 30-60 minutes | Easy to medium | High | Affects every day, sets the tone |
| Kitchen counter | 30-60 minutes | Easy to medium | High | Makes cooking easier right away |
| Bathroom | 30-60 minutes | Easy | Medium to high | Small, many expired items to toss |
| Bedroom closet | 1-3 hours | Medium | High | Big payoff, but save for after a few wins |
| Living room | 1-2 hours | Medium | Medium to high | Visible and shared |
| Garage or storage area | Half a day or more | Hard | Low to medium | Leave for later |
Step 7: Take On a Small Closet After You’ve Built Momentum
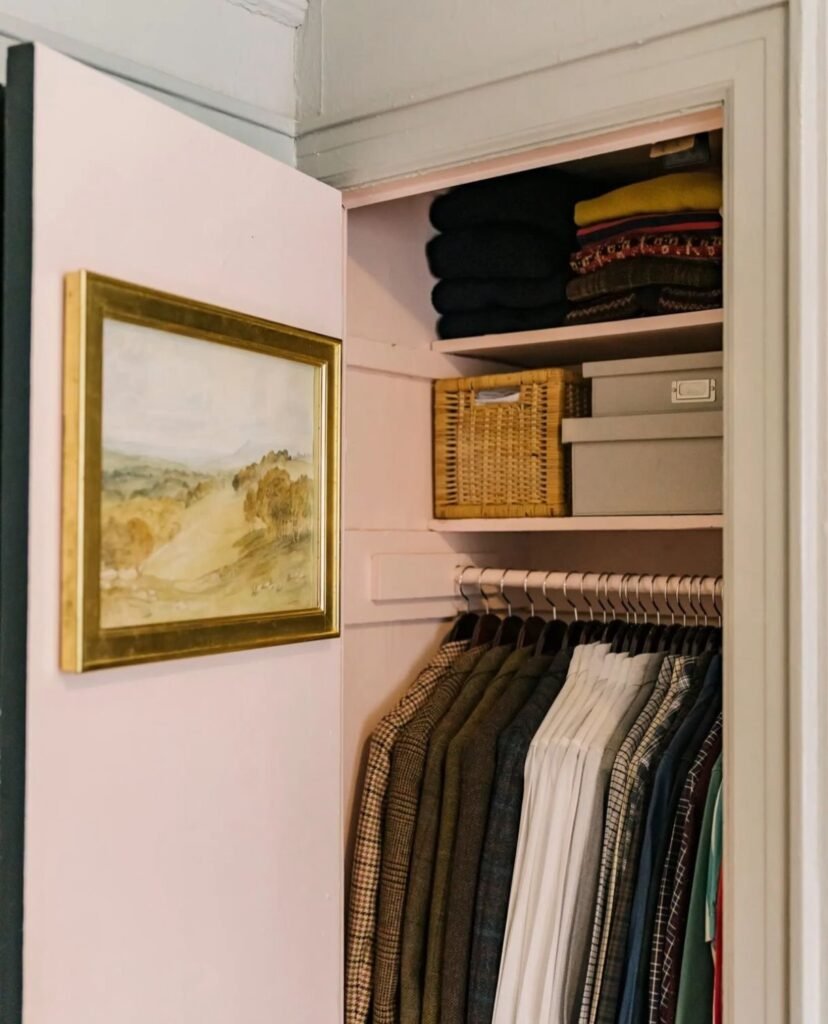
Closets are one of the most rewarding spots, and one of the easiest to get stuck on, so tackle one after you’ve had a couple of wins. Take everything out, sort with the four boxes, and put back only what you wear and love, with the everyday items at easy reach.
You don’t need to spend much to make it work. My guide to closet organization on a budget covers slim hangers, shelf dividers, and simple bins that make a small closet far more useful for very little money.
Step 8: Buy Containers Last, and Only After You Measure
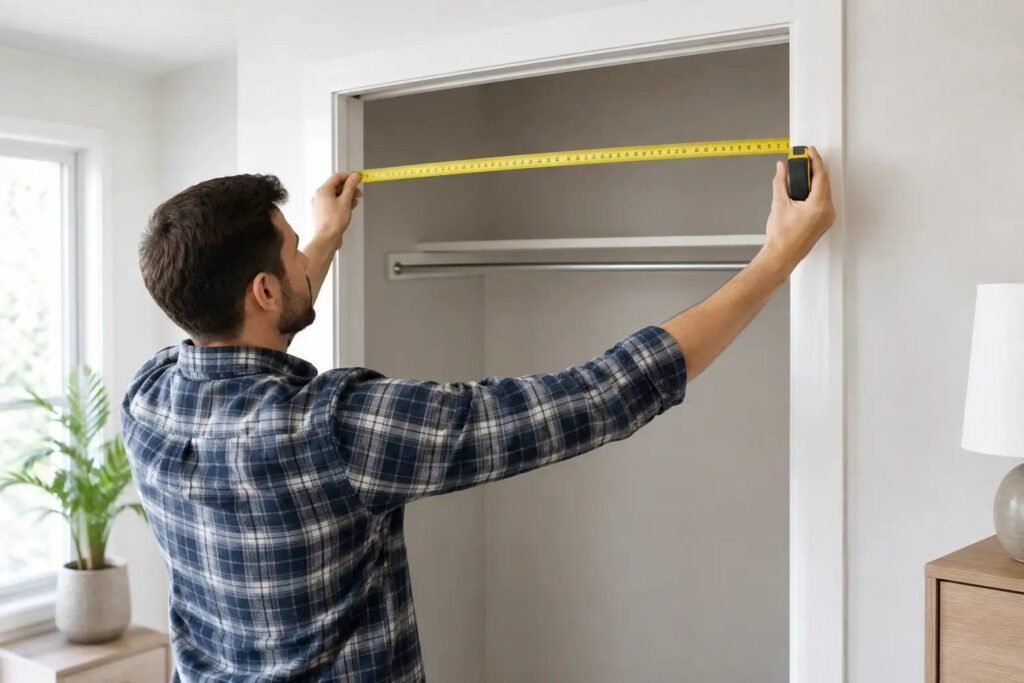
Once you’ve sorted and decided what stays, then you can think about storage. Measure the space, count the items in each category, and buy only what you need. Stick to one or two styles so everything matches, and buy one first to test before you buy a set.
It might surprise you how little you need. Often a few bins, a handful of hooks, and some drawer dividers are plenty, and some people find they don’t need anything new at all.
Rough Starter Budget for a Beginner
| Item | Approx. Cost | When to Buy It |
|---|---|---|
| Trash bags, markers, tape, labels | $5-15 | Before you start |
| Donation box or bags | Free-$10 | Before you start |
| Drawer dividers or small trays | $8-25 | After sorting a drawer |
| A few matching bins or baskets | $20-60 | After you know what you’re keeping |
| Hooks (renter-friendly, check weight limits) | $8-20 | For entryway or closet |
| Slim, matching hangers | $15-30 | If you’re doing a closet |
A full starter kit can cost under $100, and you can build it up over weeks. Spending nothing for the first week is perfectly fine, and it’s the best way to avoid buying things you don’t need.
Step 9: Label Things So Everyone Can Follow the System
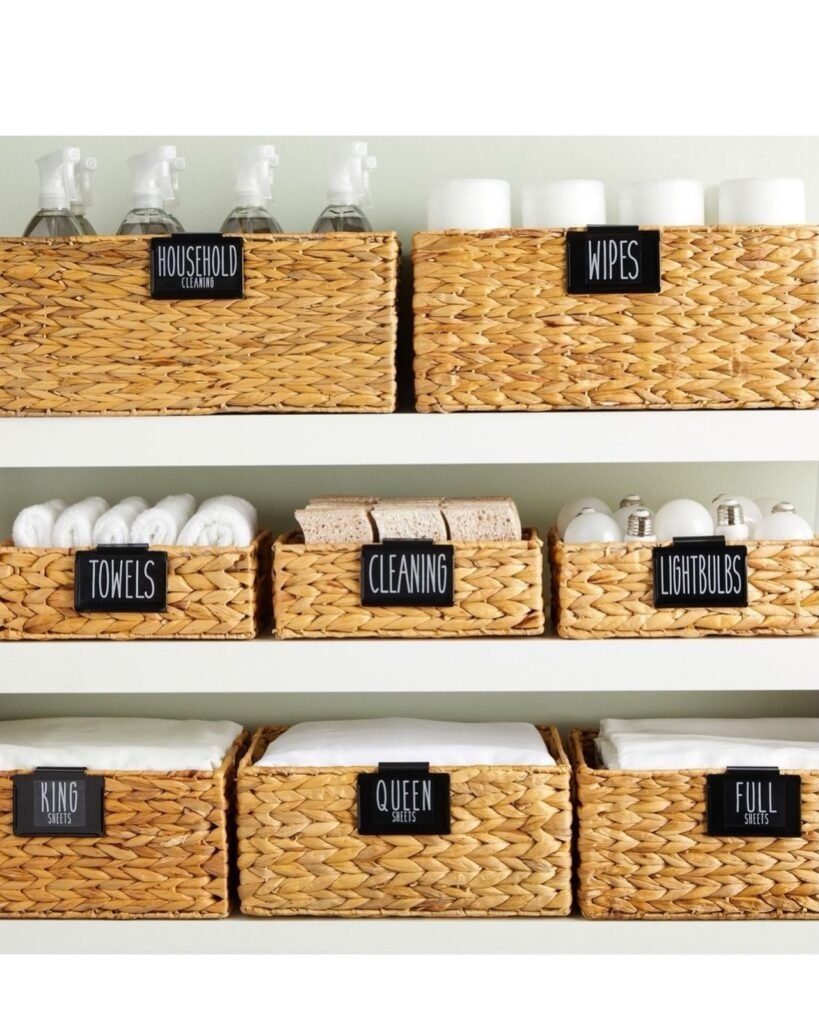
Labels turn a good system into one that survives real life. A strip of masking tape with a marker works as well as a label maker. Label bins, shelves, and drawers, especially if other people use them, so there’s no guessing about where things go.
Keep labels simple and specific. “Batteries” beats “misc,” and “winter gloves” beats “winter stuff.” The clearer the label, the less often things end up in the wrong place.
Step 10: Build Three Tiny Daily Habits
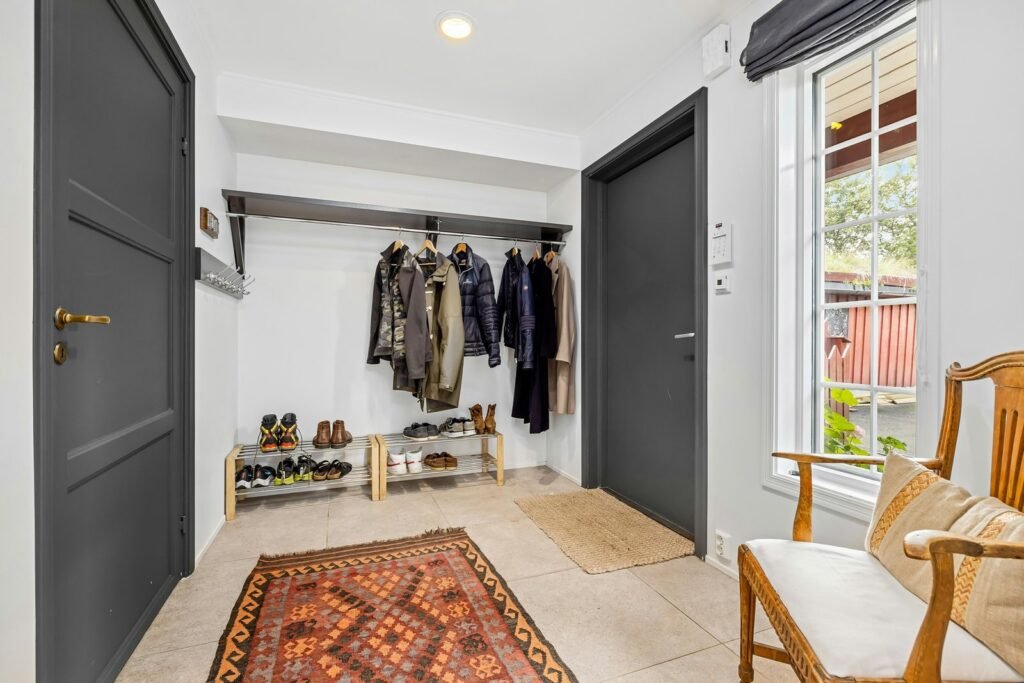
An organized home is mostly maintained by small habits, not big overhauls. Start with three: put things back in their home right after using them, do a ten-minute reset in the evening, and clear the “landing zone” (counter, table, entry) before bed.
These habits matter more than any product you buy. If you want a deeper look at routines that keep clutter from coming back, my clutter-free home tips cover simple systems that stick, even on busy weeks.
A Simple Maintenance Routine
| When | What | Time |
|---|---|---|
| Daily | Put things back, clear the landing zone, wipe one surface | 10 minutes |
| Weekly | Quick sweep of each room, empty donation bag, tidy the entry | 20-30 minutes |
| Monthly | Review one drawer, shelf, or closet section | 30-60 minutes |
| Seasonally | Swap clothes and decor, donate what no longer fits or works | 1-2 hours |
Step 11: Handle Sentimental Items and Paper Without Stress
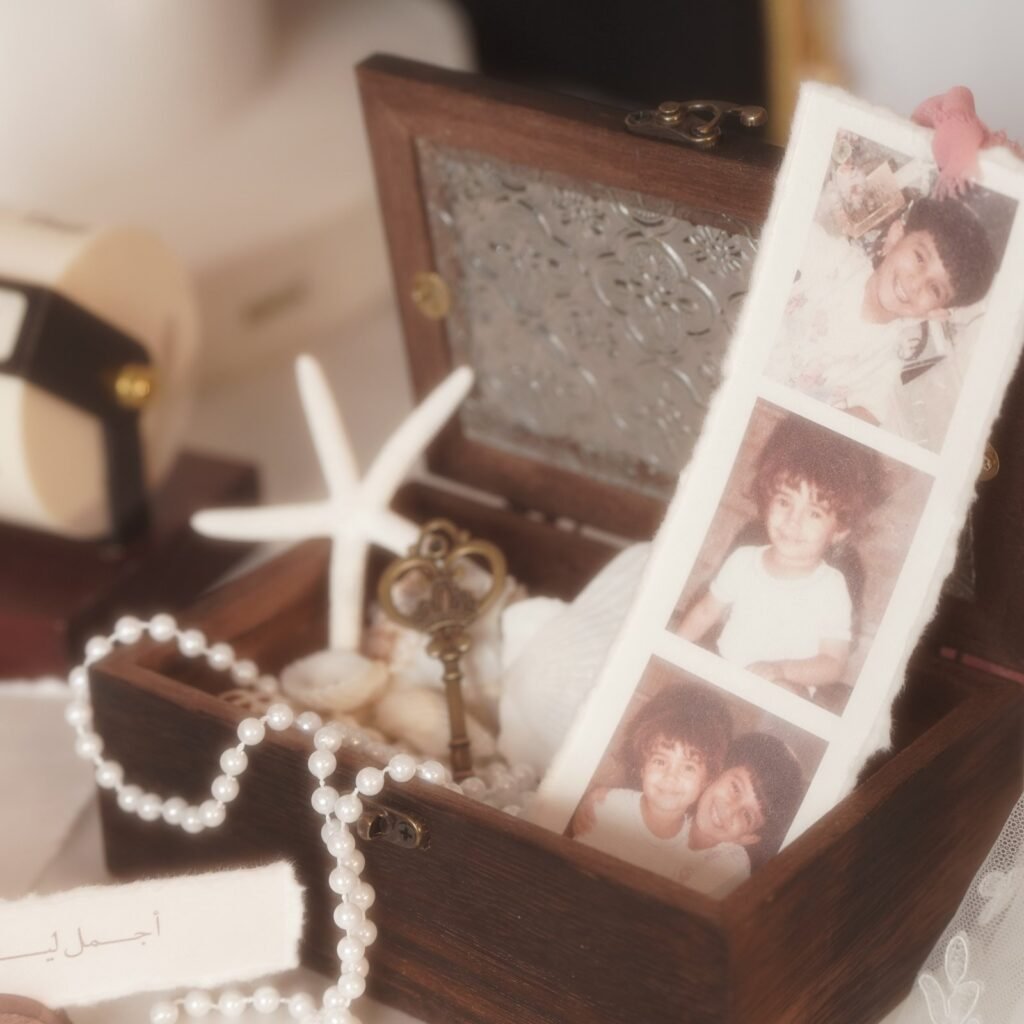
Sentimental things are hard, so give them their own gentle process. Keep one box per person for the things you truly treasure, photograph the rest, and let go of what you’re keeping only out of guilt. There’s no rule that you have to keep everything to honor a memory.
For paper, set up three simple categories: act on it, file it, or recycle it. Open mail over the recycling bin, and keep a small folder for the few important documents you need to hold on to. Take it slowly, and don’t try to deal with years of paper in one sitting.
Step 12: Get Everyone in the Home on Board
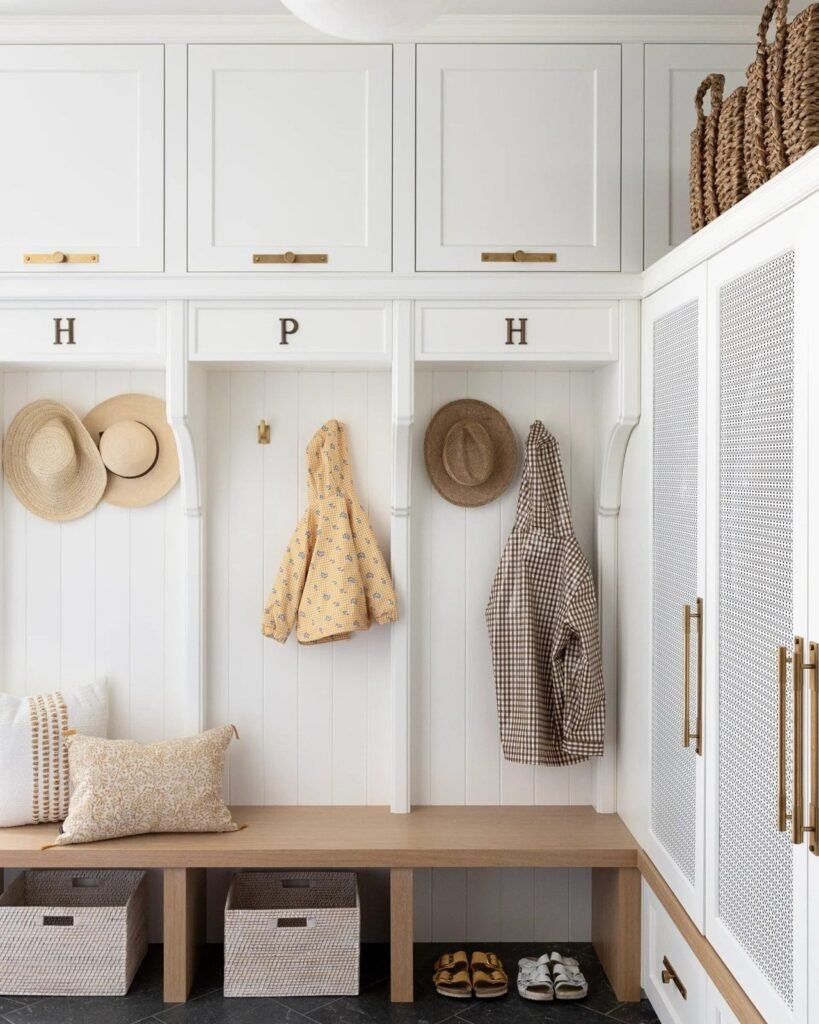
If you live with others, a system only works if everyone agrees on it. Explain the plan, ask for input, and give each person a space they control. Keep the rules simple and visible, like a labeled bin or a hook with a name on it, and be patient as habits change.
Don’t organize other people’s belongings without asking, since it can create friction. Focus on shared spaces first, and invite others to join once they see the results.
Step 13: Follow a Simple Four-Week Starter Plan
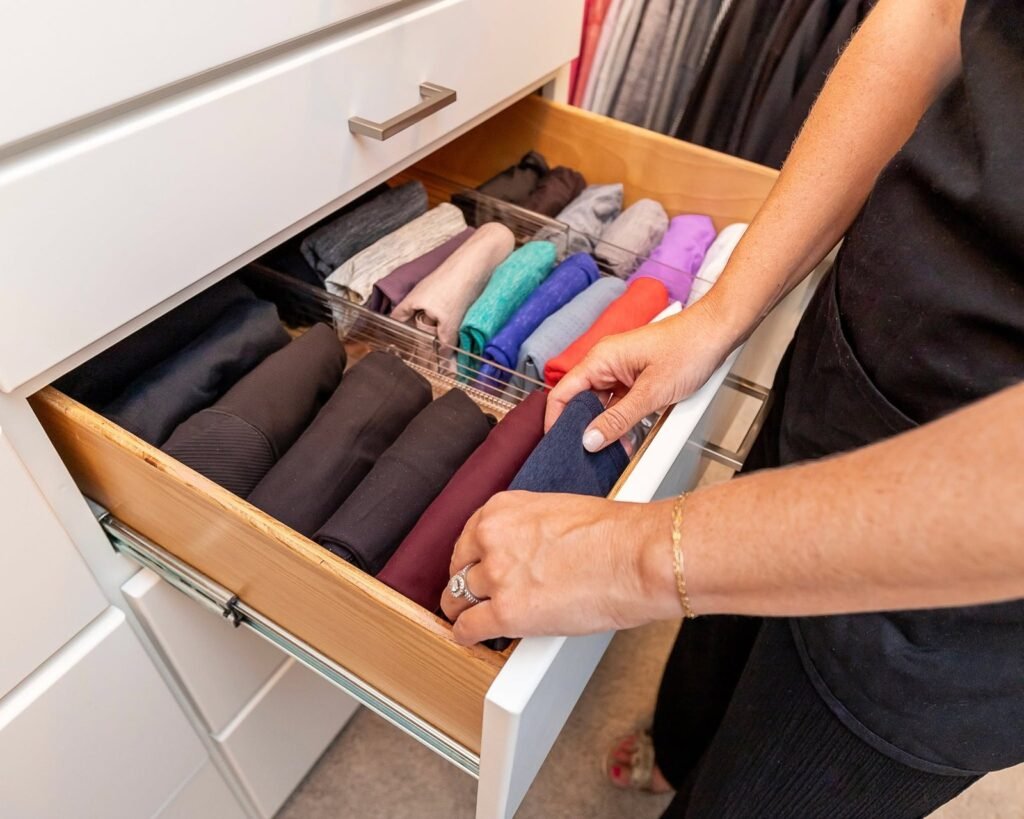
If you like a schedule, here’s an easy one. Week one: pick one drawer or shelf each day and finish it in 15 minutes. Week two: tackle the entryway and the kitchen counter. Week three: do the bathroom and one closet. Week four: add your daily habits, label what you’ve done, and make a short list of anything that still bugs you.
By the end of the month, you’ll have a handful of organized spaces, a few new habits, and a much clearer sense of what your home actually needs. And you’ll be doing it without any big weekend marathon.
Mistakes Beginners Make (and How to Avoid Them)
The biggest one is buying organizers before decluttering, which is the same trap I fell into. The second is trying to do the whole house at once, which leads to burnout. The third is aiming for a perfect, magazine-style result, when a system that works on a busy day is far better than one that only looks pretty.
Another common one is skipping the “relocate” step, so items you’ve moved just pile up in another room. Give each item a real home, and put it there right away. And finally, don’t compare yourself to anyone else’s home. Yours only has to work for you.
If I Were Starting Over Tomorrow
I’d pick one drawer, set a 20-minute timer, and use the four-box method. Then I’d move to the entryway, add a hook and a tray, and start a ten-minute evening reset. I wouldn’t buy anything until the second week, and I’d skip that disastrous Saturday of dumping the closet on my bed. It would cost almost nothing and would keep me from burning out.
Home organization for beginners really comes down to this: start small, sort before you buy, give everything a home, and build tiny habits that last. You don’t need a perfect home, just one that works. When you’re ready to go beyond the basics, my home organization ideas post is the natural next step, with room-by-room systems to try.
FAQs
Where should I start when organizing my home?
Start with one small, annoying spot, like a drawer, a shelf, or your entryway. A quick win builds confidence and shows you how the process works before you tackle anything bigger.
Should I buy organizers before I declutter?
No. Sort and declutter first, then measure and buy only what you need. Buying storage first usually leads to the wrong sizes and extra clutter.
How long does it take to organize a home?
It depends on the size of your home and how much you own. Small spaces can take a few hours, while a whole house can take weeks or months if you work in short sessions. A little progress each day adds up.
How much does it cost to get organized?
You can start for under $20 with trash bags, a marker, and tape, and a full starter kit with bins, hooks, and dividers often costs under $100. Spending slowly helps you avoid things you won’t use.
How do I stay organized once I’ve started?
Keep systems simple, give every item a home, and build small daily habits like a ten-minute evening reset. A quick weekly check and a monthly look at one area keep things from slipping.
What if I live with people who aren’t organized?
Focus on shared spaces first, keep systems simple and visible, and give each person their own area to manage. Patience and clear labels help more than rules.






Leave a Reply