
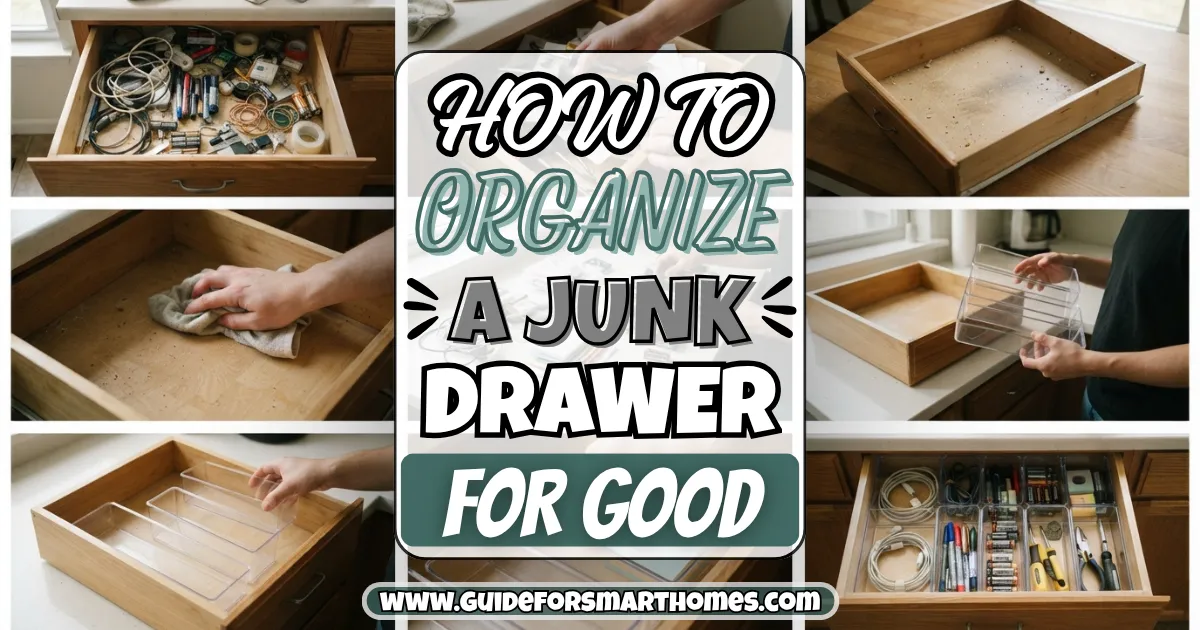
When I finally emptied my junk drawer, I counted what was in there before I sorted anything. Eleven takeout menus, nine dead batteries, four keys that opened nothing I could identify, a single chopstick, a birthday candle shaped like the number 3, and a tangle of charging cables from phones I no longer owned. I’d opened that drawer at least five times a day for two years and never once looked at it.
That’s the thing about junk drawers: they aren’t a sign that you’re messy, they’re a sign that you don’t have a category for small stuff that doesn’t belong anywhere else. Learning how to organize a junk drawer for good isn’t about buying the prettiest dividers, it’s about giving the drawer a clear job, getting rid of what doesn’t belong, and putting a few rules in place so it can’t quietly fill up again.
If you want the bigger framework for every room, my home organization ideas guide is a good place to start.
Below is the process I use, step by step, from picking the right drawer to the habits that keep it tidy. There are two tables, one for what belongs in the drawer and one comparing divider options with costs, plus a list of what to buy and FAQs. Prices are rough and vary by store, and the safety notes are general, so check the labels on your products and your local disposal rules.
Step 1: Understand Why Junk Drawers Happen
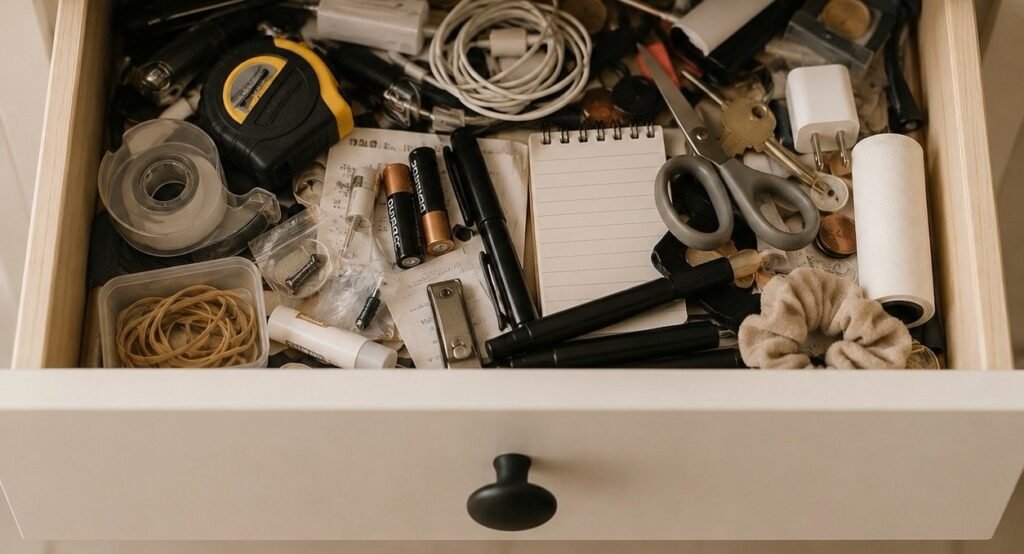
A junk drawer fills up because small, awkward items need a place to go in the moment. A key you found, a rubber band, a pen that might still work, a coupon you might use. Without a rule for what belongs there, everything gets a free pass, and the drawer becomes a holding pen for decisions you haven’t made yet.
The fix is a drawer with a job description. Instead of “stuff I don’t know where to put,” decide it’s for “everyday small tools and supplies I use weekly.” Everything else has to earn its way in, or find another home.
Pro tip: Write the drawer’s job on a sticky note and put it inside the lid or on the front for the first month. It’s a surprisingly effective reminder when you’re about to toss in one more random thing.
Step 2: Choose the Right Drawer
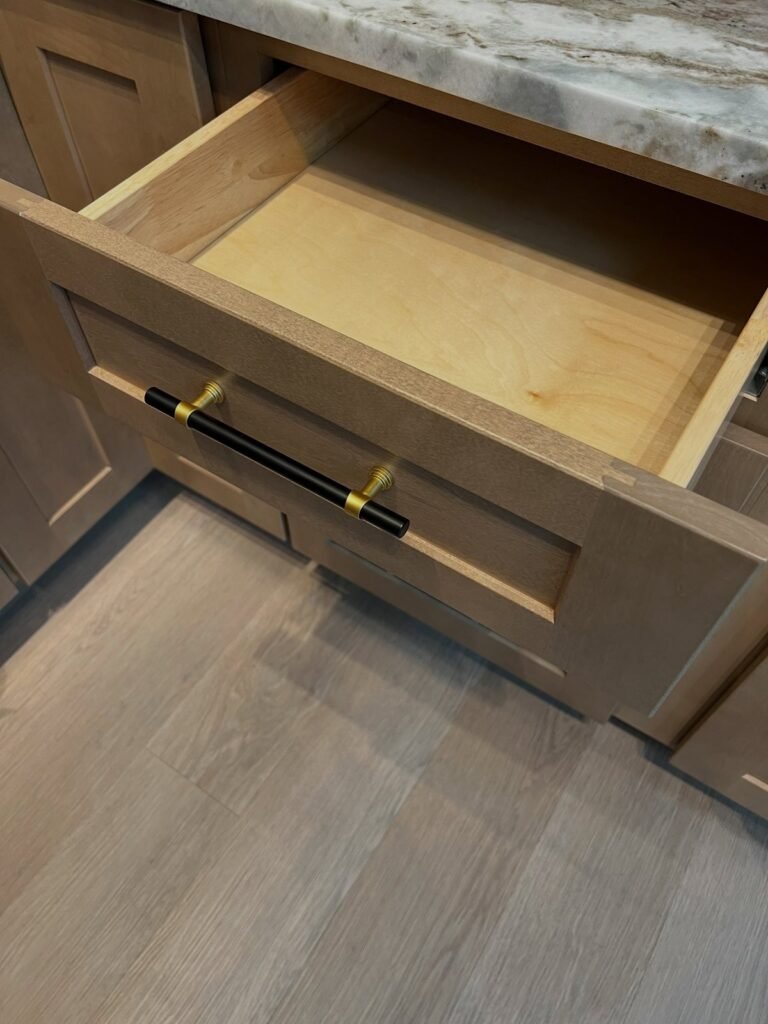
If you have more than one possible drawer, pick the one closest to where you actually use the contents, usually in the kitchen near the entry or the main work counter. A drawer that’s shallow, about 2 to 4 inches deep, is easier to organize than a deep one, since nothing can hide under a pile.
Avoid putting the junk drawer next to the stove or dishwasher, where heat and moisture can affect batteries, tape, and papers. A spot you can reach in two seconds is the one you’ll use correctly.
Step 3: Empty the Drawer and Clean It Out
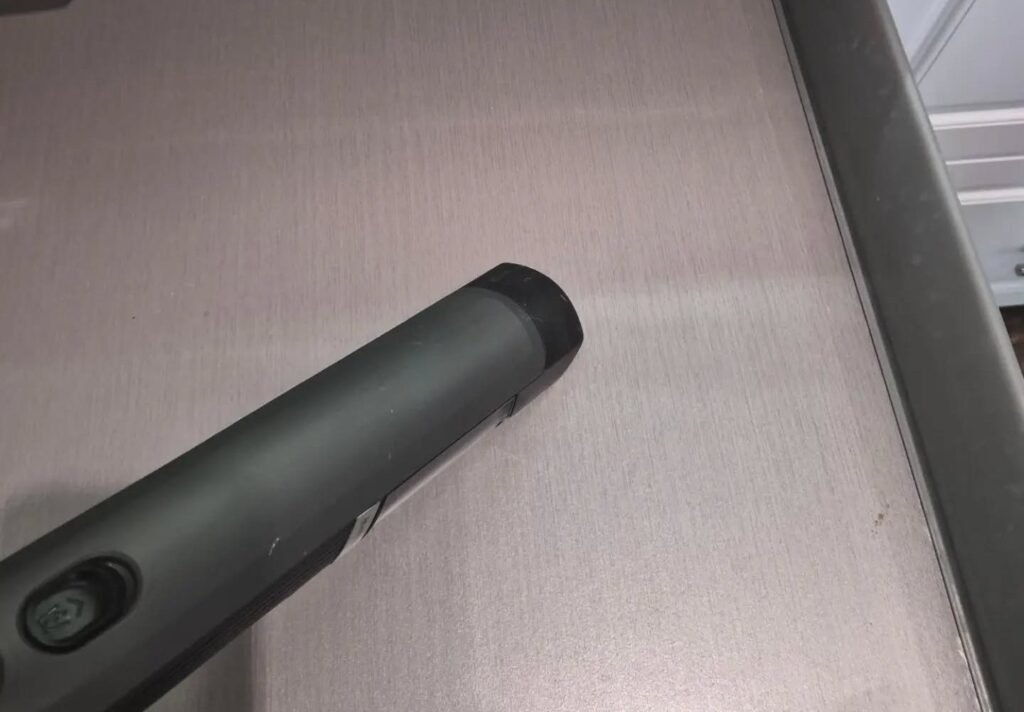
Dump everything onto a table or counter so you can see what you’ve got. Wipe the drawer with a damp cloth, and vacuum out crumbs and dust from the corners. Check the bottom for stains or stickiness, and let it dry fully before you put anything back.
It’s much easier to make decisions when the items are laid out in front of you than when you’re pulling them from a dark drawer one at a time. Give yourself ten to fifteen minutes and a trash bag.
Step 4: Sort Everything Into Categories
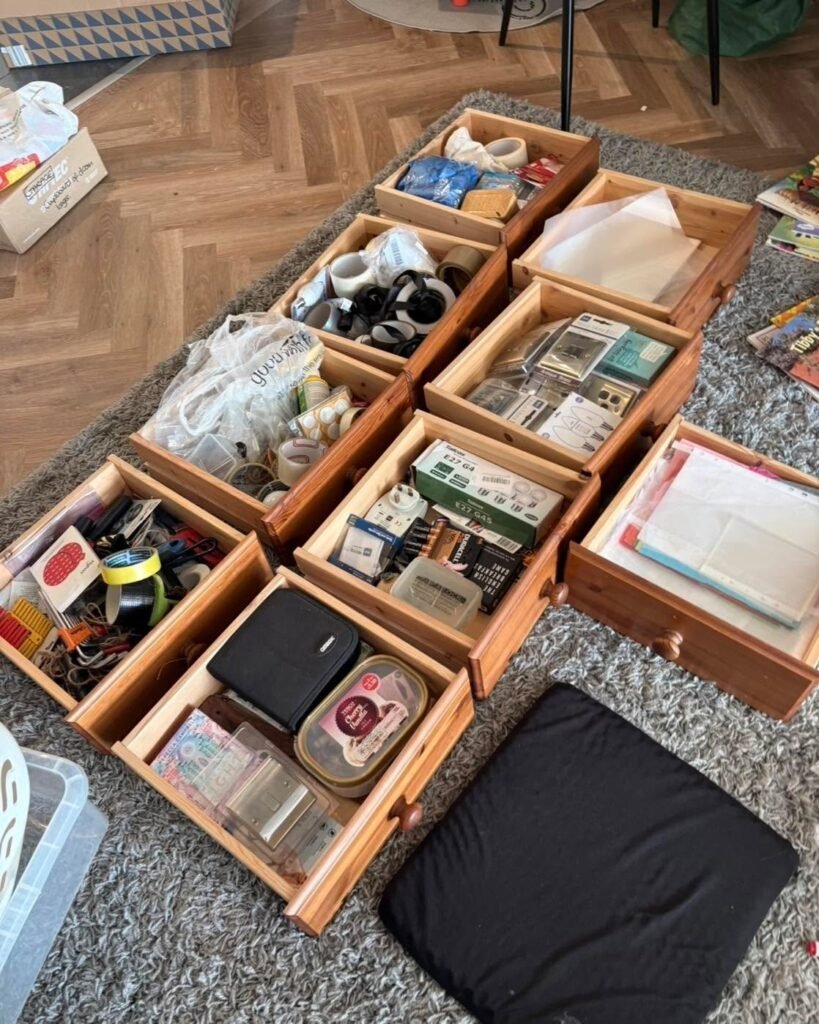
Group like with like: writing tools, tape and adhesives, small tools, batteries and bulbs, keys, cords and chargers, paper, and miscellaneous. Seeing the piles is often a shock, like discovering you own fourteen pens or six pairs of scissors.
This step shows you what the drawer is really being used for. If three-quarters of it is cords, you may need a better cord solution. If most of it is paper, the real problem isn’t the drawer.
Step 5: Decide What Stays With the “Weekly Use” Test
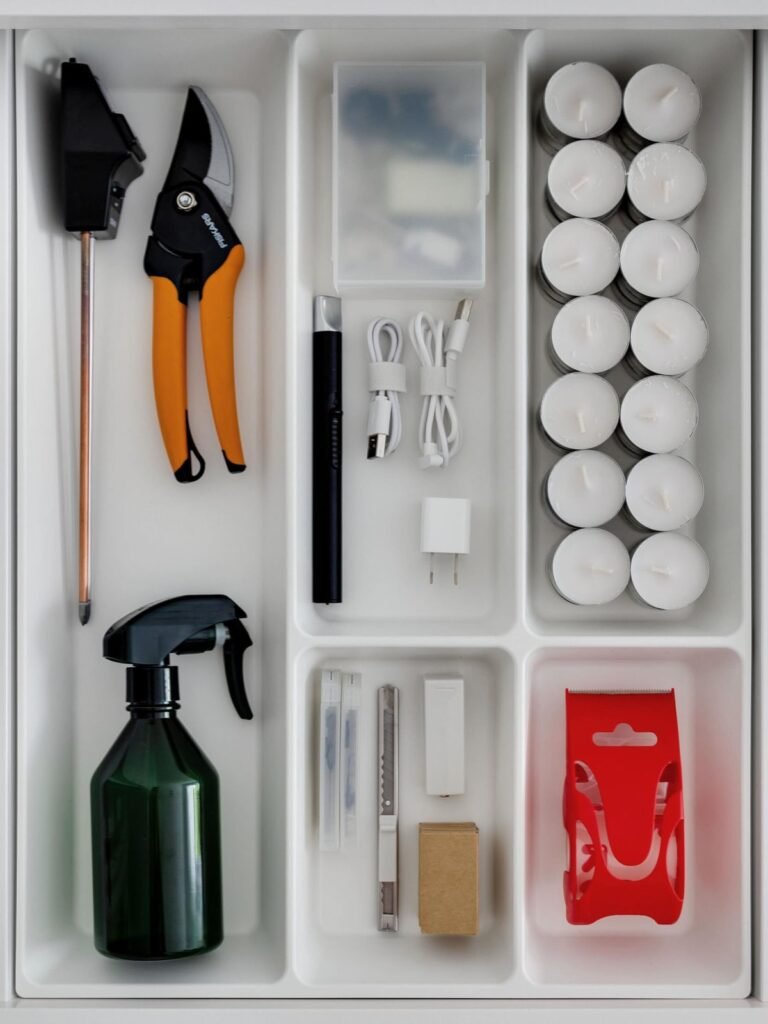
For each item, ask: do I use this at least weekly, and does it belong in the kitchen or entry area? If yes, it stays. If it’s something you use rarely, it goes to a better home. If it’s broken, dried out, expired, or you don’t know what it is, it goes in the trash or recycling.
Be honest about duplicates. You rarely need more than two pairs of scissors, one tape measure, and a handful of pens. If you’re setting up your first place, my first apartment checklist lists the basic tools and supplies a home actually needs, which is a useful guide for what earns a spot in the drawer.
Step 6: Handle Batteries, Cords, and Keys Safely and Smartly
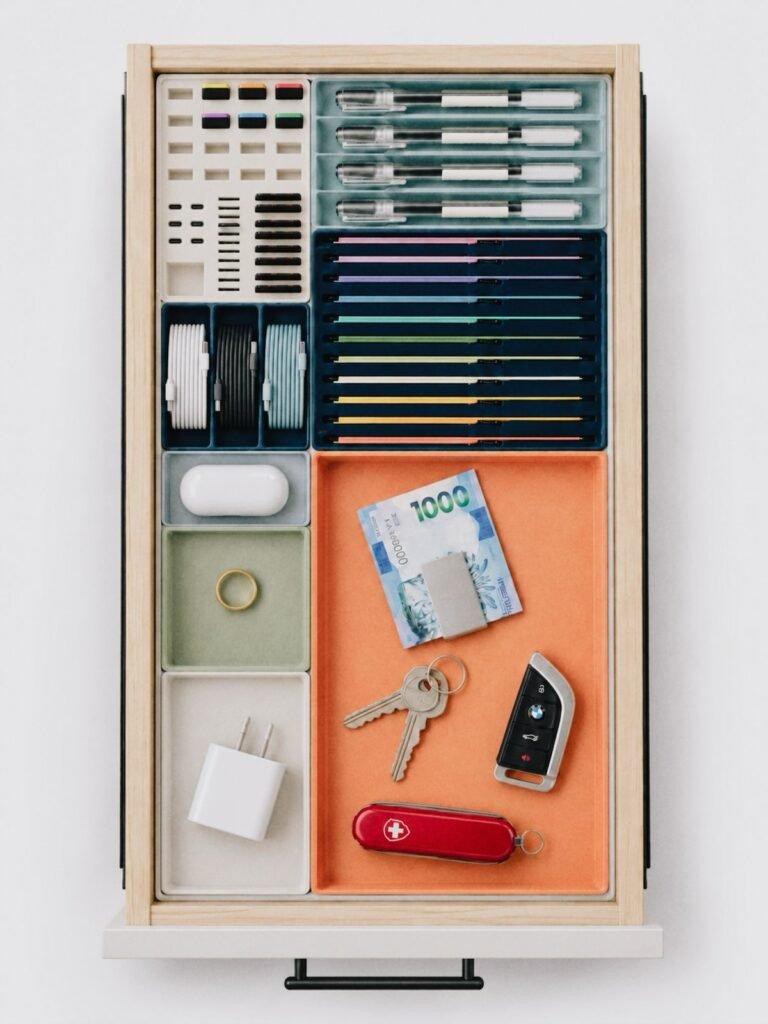
Dead batteries shouldn’t live in the drawer. Many areas have battery recycling drop-offs at stores or collection sites, so check your local rules. For lithium and coin-type batteries, it’s commonly advised to cover the terminals with tape before disposal, and to keep small button batteries well away from young children and pets.
Store good spare batteries in their original packaging or a small case, not loose where metal items can touch the contacts. For cords, bundle each one with a twist tie or a small velcro strap and label what it’s for. For keys, test each one, label the ones you want to keep with a tag or a bit of colored tape, and toss the rest.
What Belongs in the Junk Drawer and Where Everything Else Goes
| Keep in the Drawer | Move to a Better Home | Toss or Recycle |
|---|---|---|
| Pens, pencils, a marker (a few) | Extra pens and office supplies to a desk bin | Dried-out pens and markers |
| Scissors, tape, a ruler | Gift wrap and craft supplies to a craft bin | Tape with no adhesive left |
| Small screwdriver, tape measure | Full toolkit to a closet or garage | Rusty or broken tools |
| A few spare batteries, in a case | Light bulbs to a shelf or closet | Dead batteries (recycle properly) |
| Labeled keys and a few key tags | Spare keys to a hook or key box | Keys you can’t identify |
| A few rubber bands, clips, and twist ties | Sewing supplies to a small kit | Dried-out rubber bands |
| A lighter or matches, stored safely | Candles to a decor or emergency box | Expired coupons and old receipts |
| A small flashlight | Takeout menus to a folder or your phone | Unlabeled cords and chargers for devices you no longer own |
Step 7: Relocate Everything That Doesn’t Belong
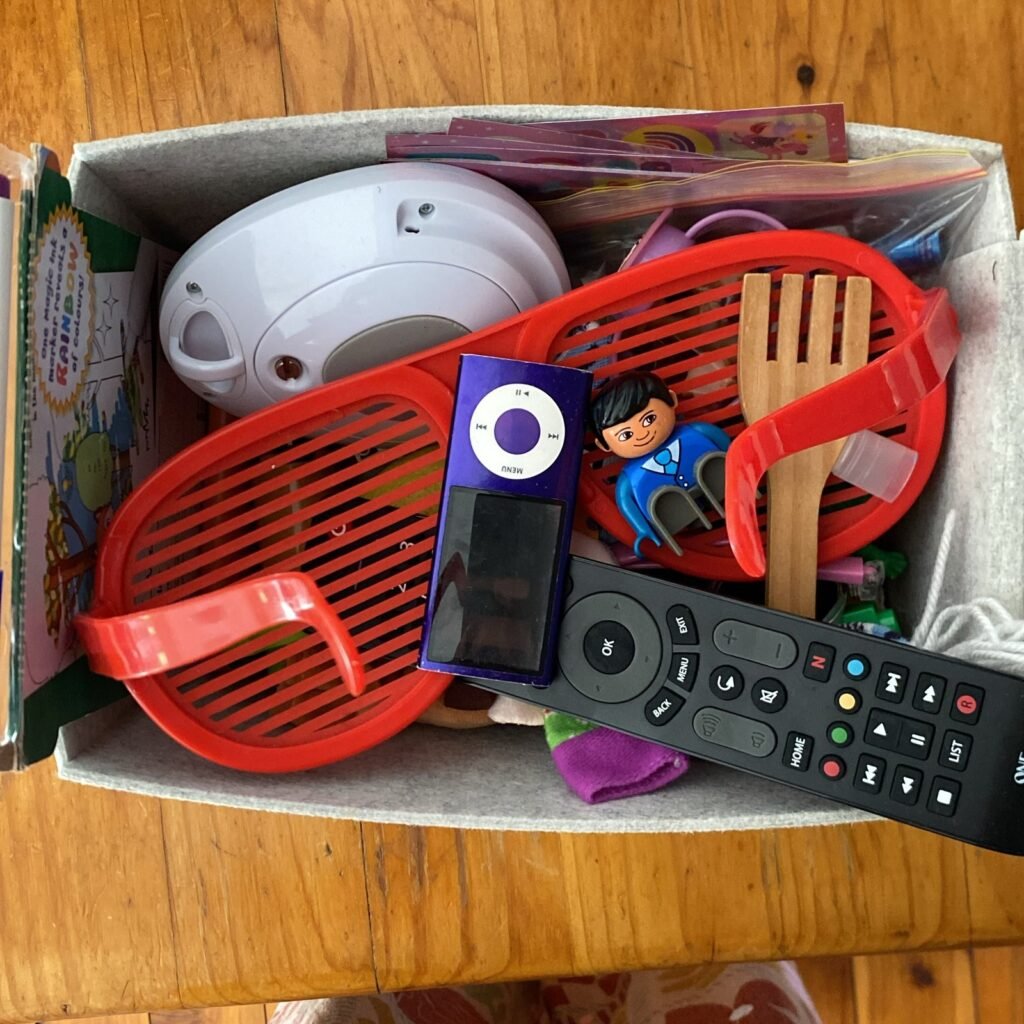
This is where most people stall. Items that don’t belong in the drawer need real homes, or they’ll drift back. Create a small “relocate” box and, within a day, put each thing where it lives: tools to the toolbox, papers to a folder, gift wrap to the closet, batteries to a case.
If you don’t have the right home for something, that’s a sign it needs a decision, not a spot in the junk drawer. Donate it, sell it, or let it go. For a wider guide to deciding what stays and what goes, my how to declutter your home post walks through the full process, room by room.
Step 8: Measure the Drawer and Choose Dividers
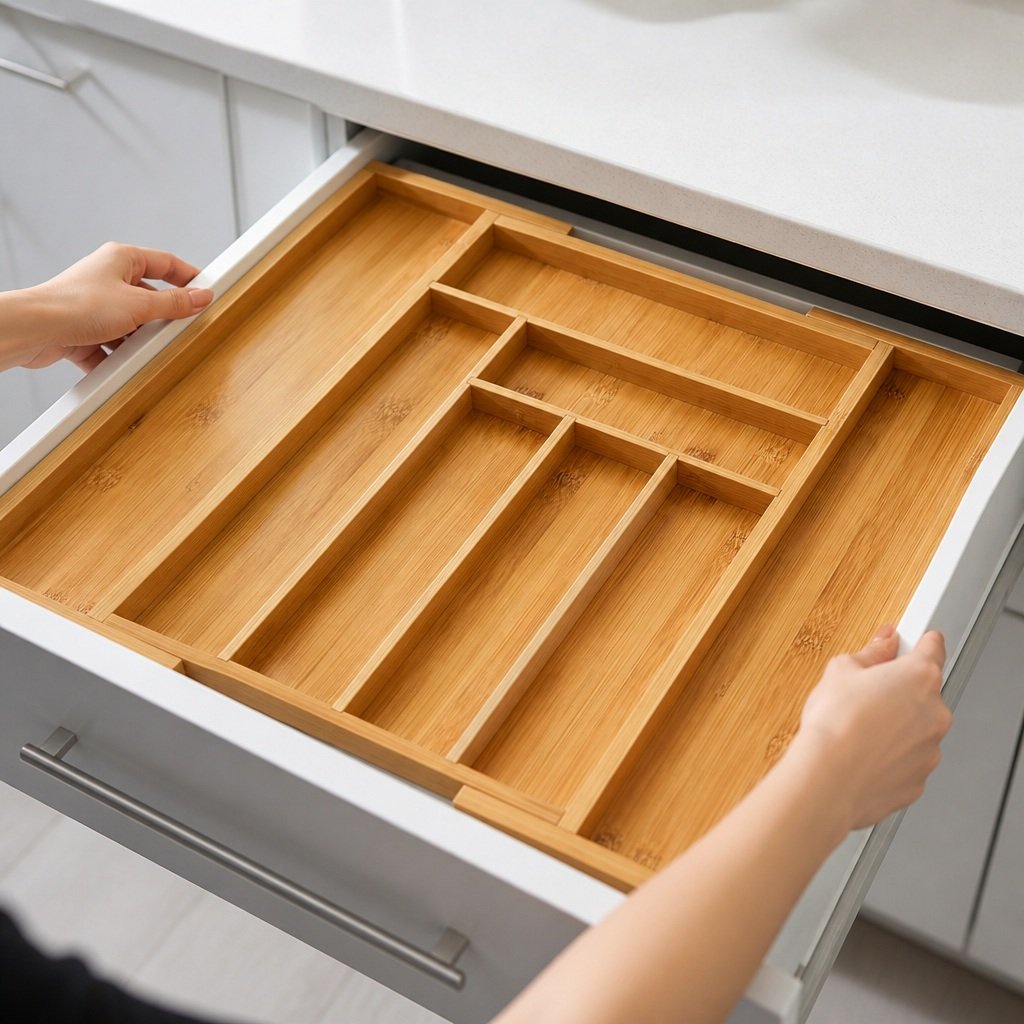
Measure the width, length, and depth of your drawer before buying anything. Dividers come in several forms, and the best choice depends on your budget and the shape of your drawer. Adjustable bamboo or plastic dividers are the most flexible, while small bins or trays are good for odd shapes.
Drawer Divider Options Compared
| Option | Approx. Cost | Best For | Watch Out For |
|---|---|---|---|
| Adjustable expandable dividers | $12-30 | Most drawers, flexible layouts | Can slide if the drawer has no liner |
| Set of small trays or bins | $10-25 | Odd shapes, mixed small items | Measure so they fit with no gaps |
| Bamboo organizer insert | $15-40 | Neat, permanent look | Fixed sizes may not fit every drawer |
| DIY: small boxes, jar lids, cardboard | Free-$5 | Testing a layout before buying | Less durable, but a good trial run |
| Non-slip drawer liner | $5-15 | Keeping everything in place | Trim to fit and clean regularly |
Pro tip: Try the layout with shoeboxes or the lids from jars first. A free trial run shows you what size compartments you actually need before you spend money on an organizer.
Step 9: Arrange the Drawer in Zones
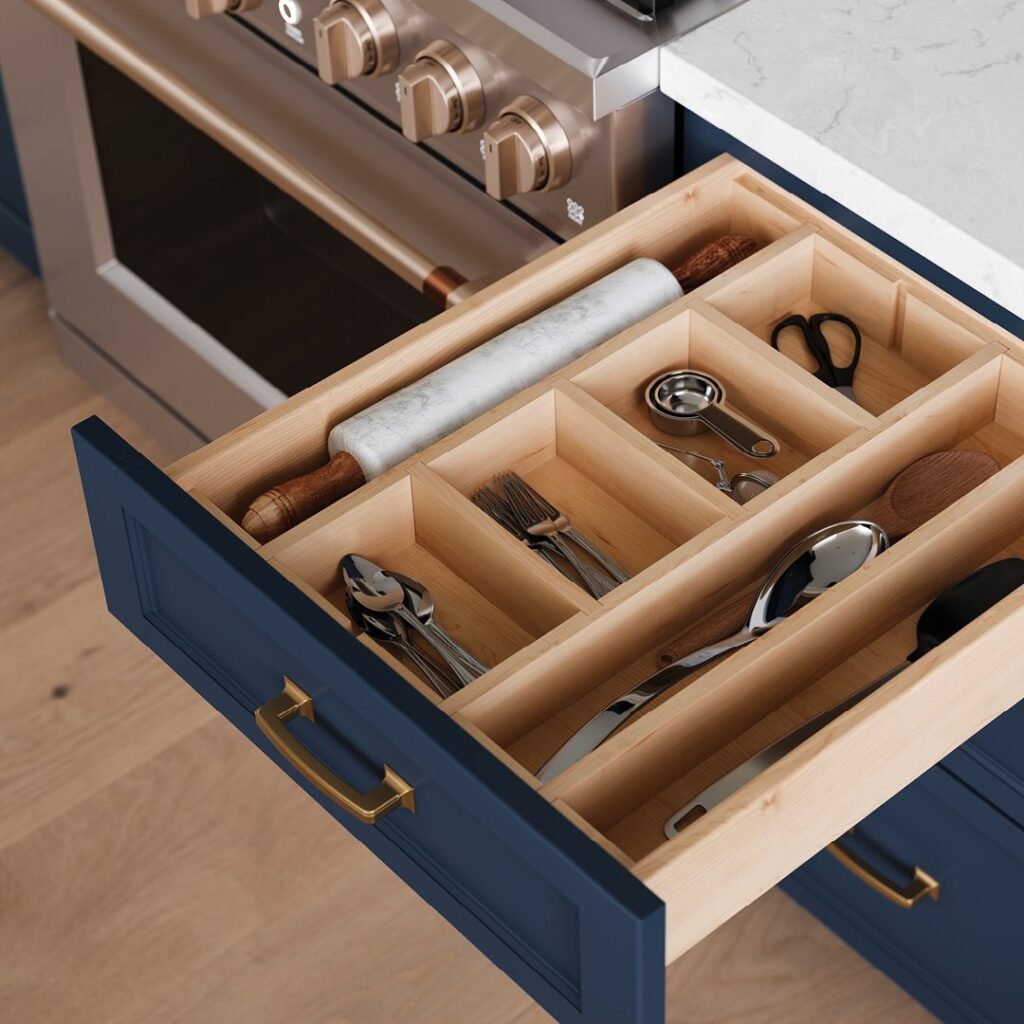
Put the most-used items at the front, where you can see them: pens, scissors, tape. Place less-used items like the tape measure, spare batteries, and small tools in the middle, and put rarely used items, like a few spare keys, at the back. A tray for loose items, such as clips, rubber bands, and twist ties, keeps the small stuff from sliding into everything else.
Stand tall items on their side if the drawer is shallow, and keep sharp items, like scissors and craft knives, safely stored with the points down or covered. If you share the home with children, consider a latch on the drawer.
Step 10: Tame Cords, Chargers, and Papers
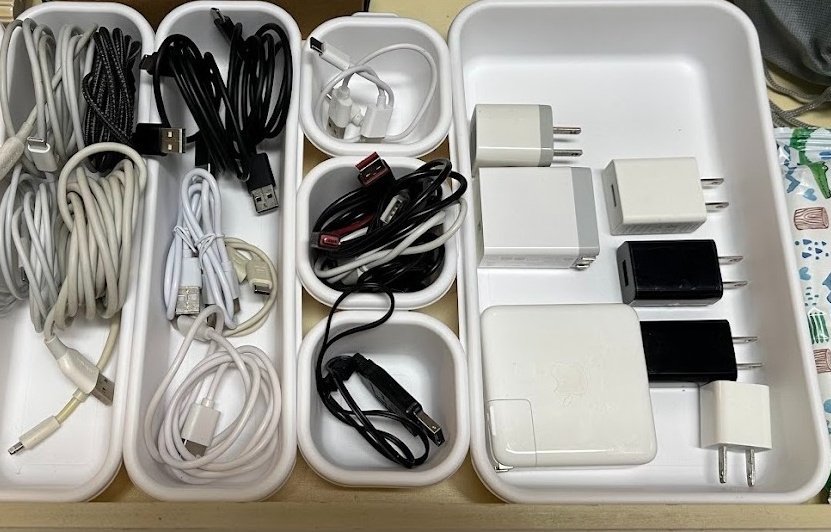
Cords are the biggest source of tangles. Wind each one loosely, secure it with a velcro tie, and label it with a bit of tape. Keep only the chargers for devices you currently use, and put the rest in a labeled bag in a closet or donate them.
For paper, set a limit: a few takeout menus at most, or snap a photo of them and recycle the paper. Warranty cards, manuals, and receipts belong in a folder, not in the drawer. Most manuals are available online anyway.
Step 11: Label It and Add a Liner
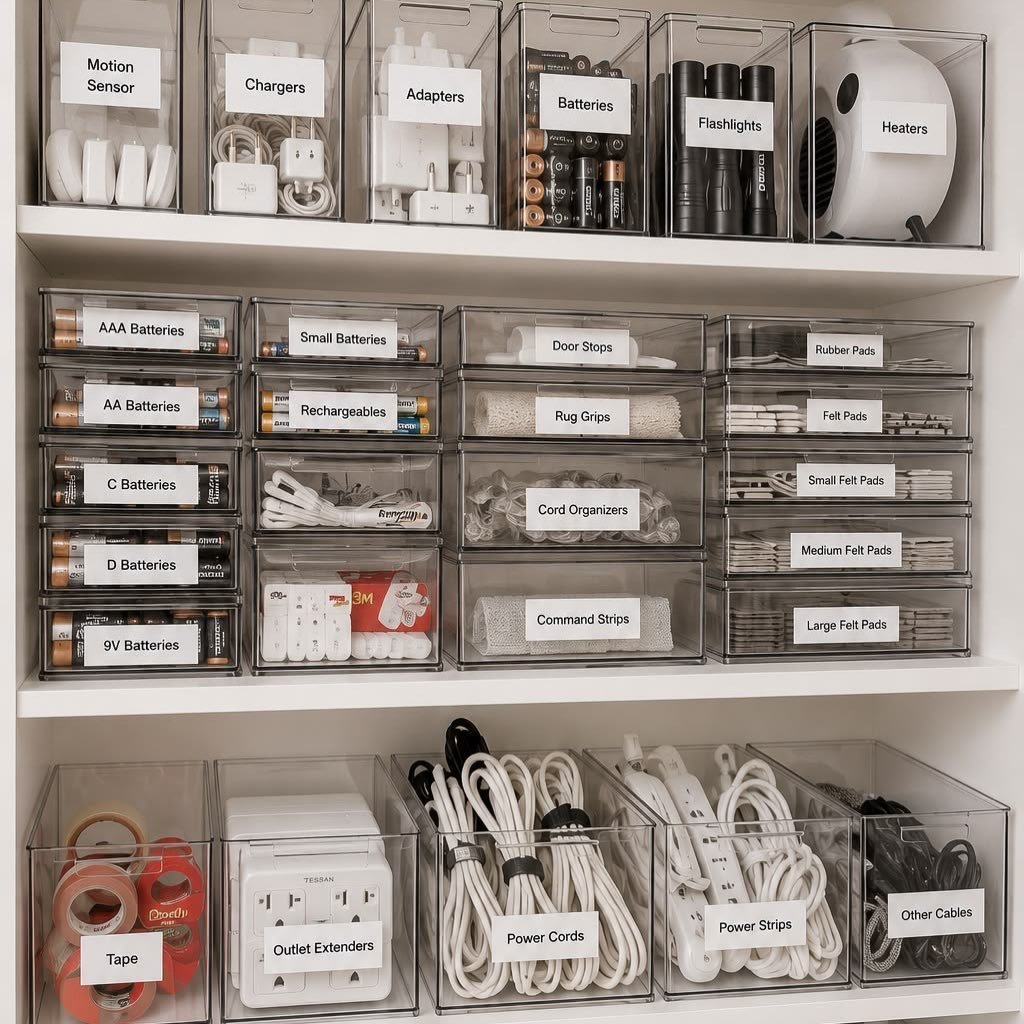
A non-slip liner keeps everything from sliding every time you open and close the drawer, which is what usually undoes the neat layout in a week. Add small labels to the dividers or the front of the drawer if other people use it, so everyone knows where things go.
Labels don’t need to be fancy. A strip of masking tape with a marker works just as well as a label maker, and it’s easy to change when your needs change.
Step 12: Set the Rules That Keep It Organized
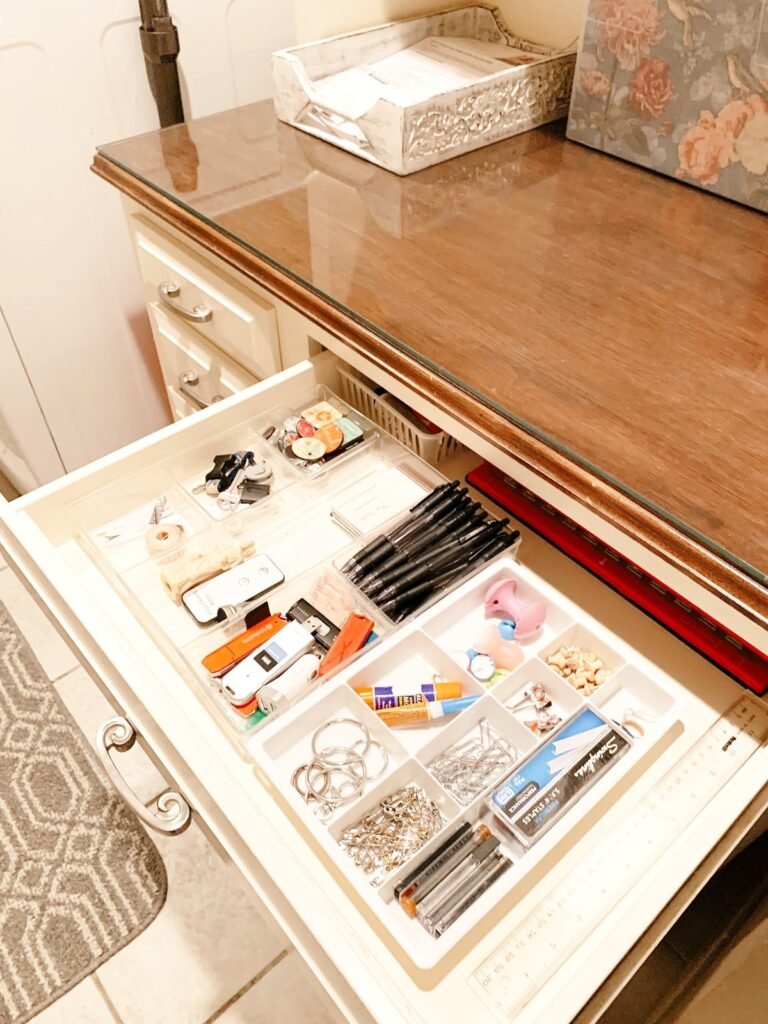
This is the “for good” part. Make three simple rules: if it doesn’t fit in its spot, something else has to go, nothing gets added without a home, and once a month you do a two-minute check to toss anything that’s crept in. Tell everyone who uses the drawer, so it becomes a household habit.
These habits are the same ones that keep the whole house in order, and my clutter-free home tips go through simple routines that stop clutter from building up in the first place. A friend of mine, Ines, started a “monthly drawer check” on the first of each month, and said her junk drawer has stayed under control for over a year.
What If You Have Several Junk Drawers or No Drawer at All?
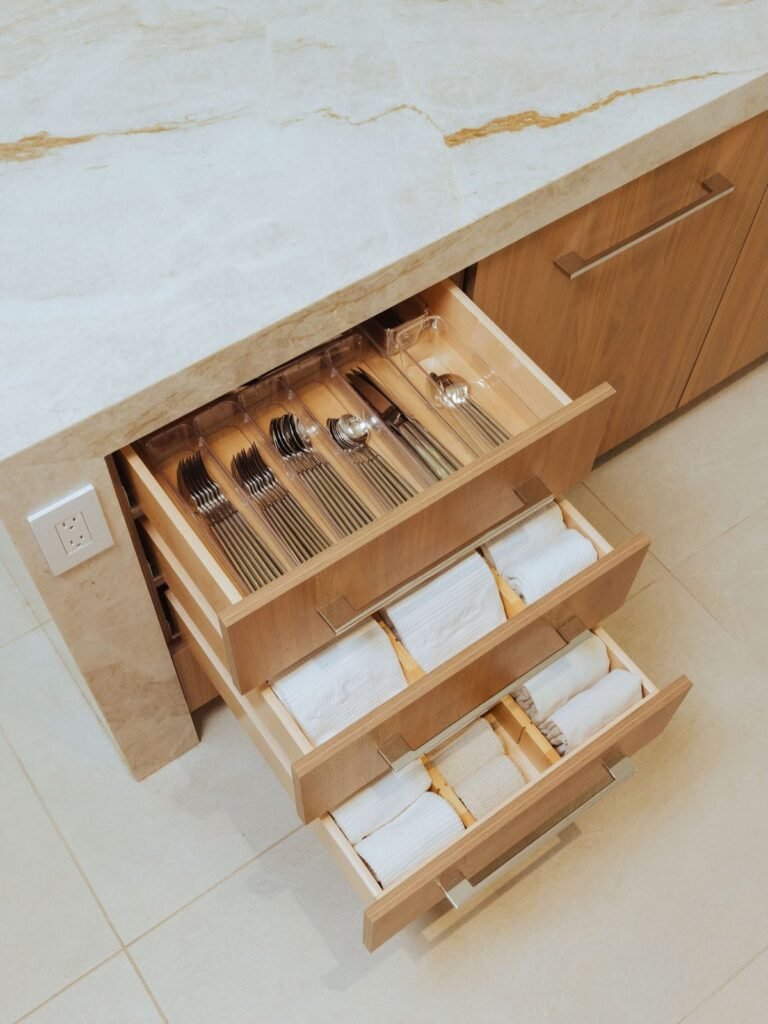
If you have more than one, treat each as a different drawer with its own job: one for kitchen tools, one for office supplies, one for batteries and tools. Combining them into a single, well-organized drawer is often the better move, since two half-empty junk drawers are twice the work.
If you don’t have a spare drawer, a small caddy or bin on a shelf, or a slim organizer in a cabinet door, can serve the same purpose. Under the sink is another spot that often needs a rescue, and my guide on how to organize under the kitchen sink is a good next project once the drawer is done.
Common Mistakes That Bring the Mess Back
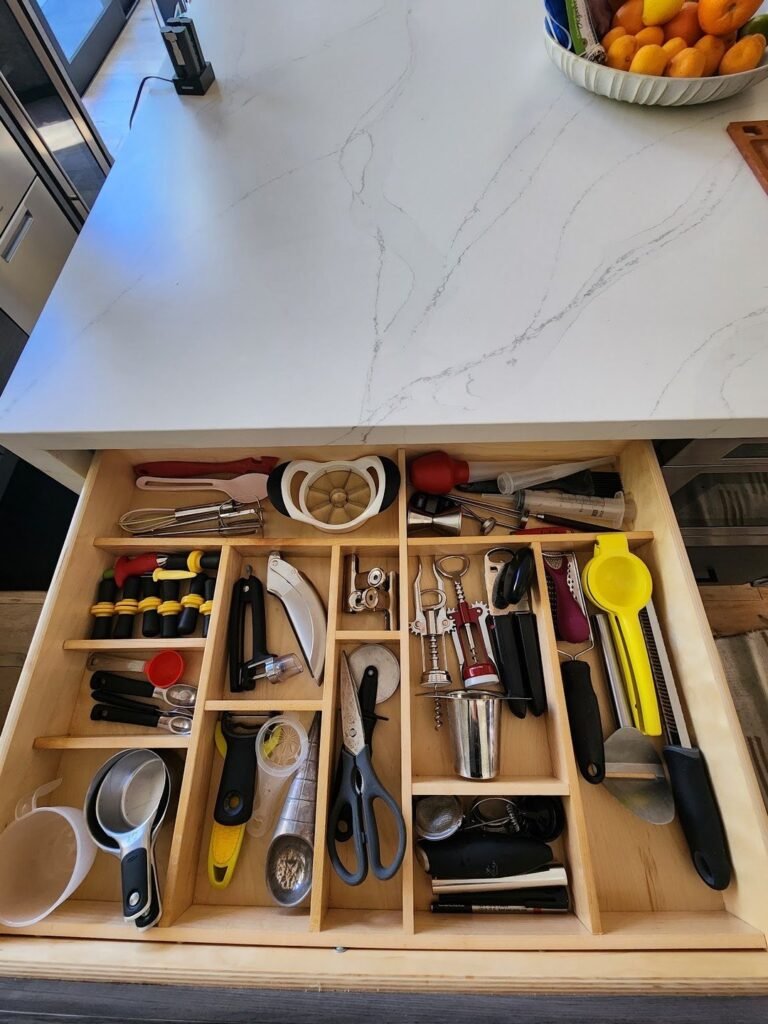
The biggest mistake is buying dividers before you sort and toss, since you end up organizing things you shouldn’t keep. The second is not giving the drawer a job, so it slowly becomes a catch-all again. The third is skipping the relocate step, so the extra items end up in a pile on the counter and then back in the drawer.
Another trap is over-organizing. If the system is too complicated, no one will follow it. A few simple zones are better than a perfect, detailed layout that falls apart when someone is in a hurry.
If I Were Starting Over With Mine
I’d empty the drawer onto the counter, toss the dead batteries and mystery keys, and put the menus and papers where they belong. Then I’d use a few small trays and a liner, give the drawer a clear job, and set a reminder to check it on the first of the month. That’s about $15-30 and an hour, and it would stay tidy far longer than my first attempt, which lasted about three weeks.
Learning how to organize a junk drawer for good is really learning how to make decisions about small things once, instead of every day. Give it a purpose, give every item a home, and put a simple habit in place. Do that, and the drawer becomes something you reach for with confidence, not something you’re afraid to open.
FAQs
What should go in a junk drawer?
Everyday small tools and supplies you use often, like scissors, tape, pens, a tape measure, spare batteries in a case, labeled keys, and a small flashlight. Everything else should find a better home.
How do I keep a junk drawer organized long term?
Give it a clear job, use dividers and a liner, follow a one-in, one-out rule, and do a quick check once a month. Don’t add anything that doesn’t have a spot.
What do I do with old batteries and cords?
Recycle batteries at a local collection point, following your area’s rules, and cover the terminals of lithium and coin batteries with tape first. Keep only the chargers you use, and donate or recycle the rest.
What are the best dividers for a junk drawer?
Adjustable expandable dividers work for most drawers, small trays work for odd shapes, and free options like jar lids and small boxes are good for testing a layout. Measure your drawer first.
How much does it cost to organize a junk drawer?
Usually $15-50, including dividers and a liner, and it can be free if you use boxes and lids you already own. Sort and toss first, so you buy only what you need.
What if my junk drawer is too small?
Move less-used items to a closet or toolbox, use a slim organizer for the rest, and keep only what you use weekly. If it still overflows, it’s a sign there’s too much in it.










Leave a Reply