
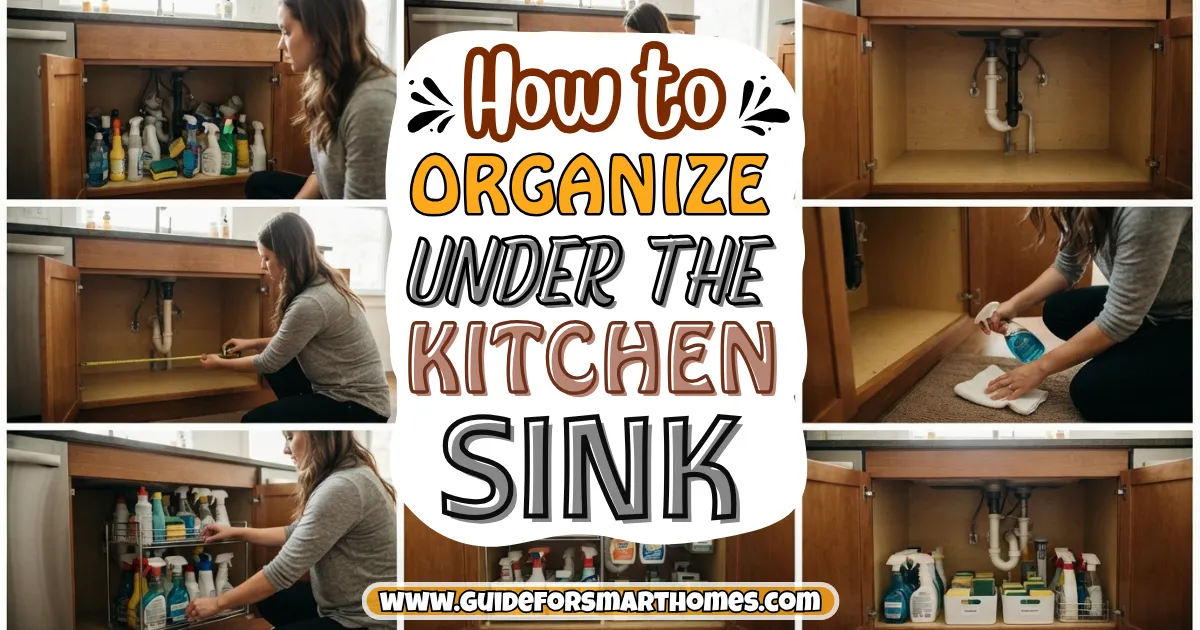
The day I finally emptied the cabinet under my kitchen sink, I found two bottles of the same dish soap, a sponge that had basically fossilized, a half-empty spray that had leaked into a sticky ring, and, behind all of it, a small puddle that told me my sink trap had been quietly dripping for weeks. I’d been shoving things in and out of that cabinet every day and never once looked at it properly.
If you’re wondering how to organize under the kitchen sink, here’s the honest truth: it’s one of the hardest spots in the house to organize, and it’s also one of the most worth doing. It’s an awkward, dark, damp space full of pipes, and it’s where you keep the products you use daily and the ones you really don’t want a toddler or a pet to get into.
Done well, it saves you time every single day and can even catch a leak early. If you want the bigger picture for the rest of your home, my home organization ideas guide is a good place to start.
Below is the process I follow, step by step, from checking for leaks to the small habits that keep it tidy. There’s a table of storage options with costs, a “keep here or move elsewhere” table, tips for different sink setups, and FAQs. Prices are rough and vary by store, and a few safety notes are general, so always follow the labels on your products and check your own plumbing.
Step 1: Check for Leaks and Moisture Before Anything Else
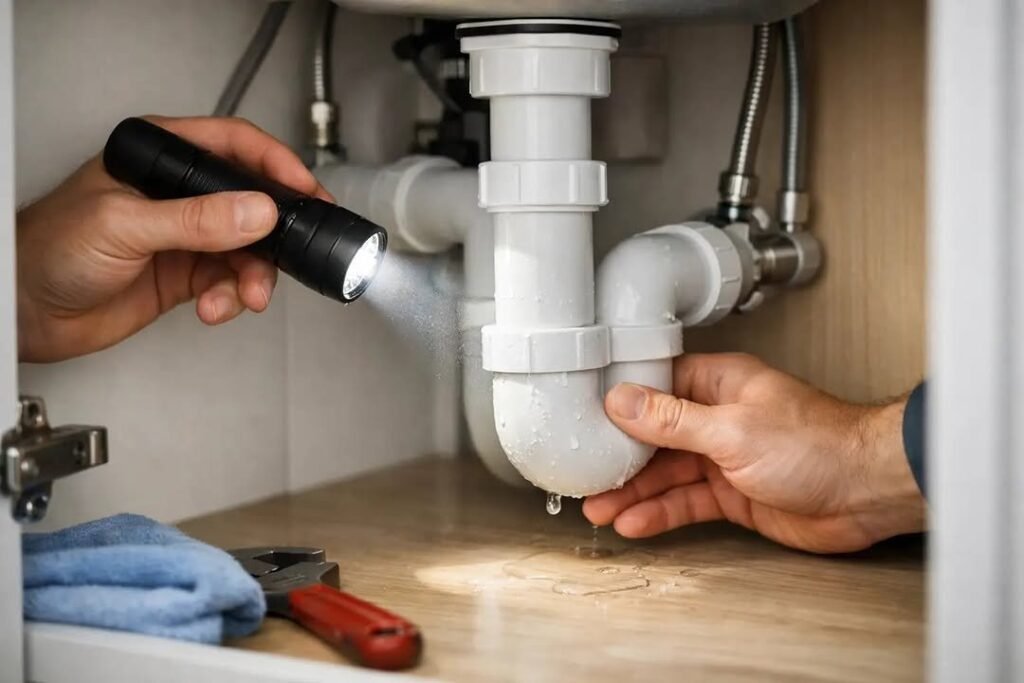
Take everything out first, then look at the cabinet floor and the pipes with a flashlight. Feel for dampness, look for water stains, swollen wood, mold, or a musty smell, and run the tap for a minute to watch for drips at the joints and under the trap. A slow leak is easy to miss when the cabinet is full.
If you find moisture, fix it or call your landlord or a plumber before you organize anything, because organizing around a leak just hides the problem. A friend of mine, Rhea, found a drip this way and said it saved her from replacing a rotted cabinet floor.
Pro tip: Wipe the cabinet floor dry, then lay a sheet of paper towel under the trap overnight. If it’s damp in the morning, you have a leak, even a tiny one.
Step 2: Empty Everything and Clean the Cabinet
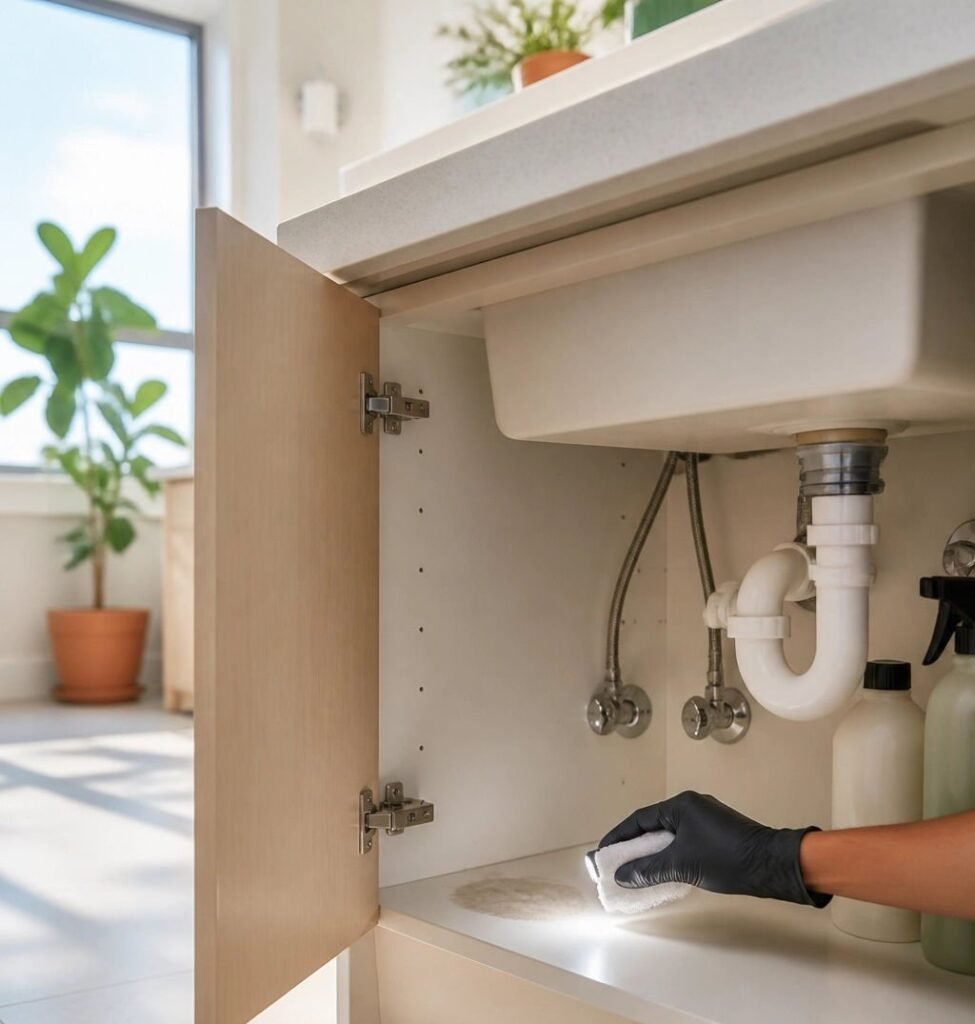
Pull out every item and set it on the counter or a towel so you can see exactly what you own. Wipe the cabinet with a mild cleaner, let it dry fully, and check the back and corners where grime and pests like to hide. A clean, dry starting point makes the whole job easier.
While it’s empty, take a quick look at the shutoff valves for the hot and cold lines, usually on the supply lines near the back. Know where they are and that you can reach them, because in an emergency you want to turn off the water in seconds, not dig through a pile of sponges.
Step 3: Sort Into Keep, Move, and Toss
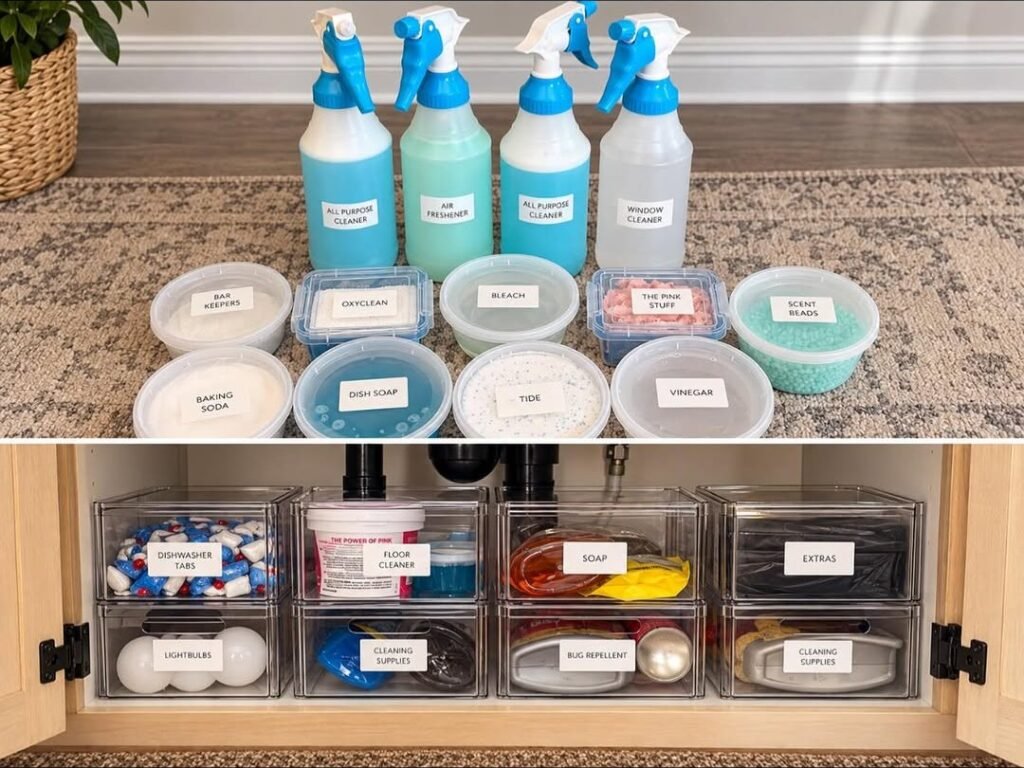
Group everything into three piles. Keep what you use regularly and belongs under the sink. Move things that belong elsewhere, like bulk paper towels, extra light bulbs, or pet supplies. Toss anything expired, leaking, rusty, empty, or duplicated.
This is the step that makes the biggest difference. Most under-sink cabinets are full of products that were bought twice, half-used, or never touched. If you’re setting up a place for the first time, my first apartment checklist lists the cleaning basics you actually need, which is a handy filter before you refill the cabinet.
Step 4: Put Safety First With Chemicals
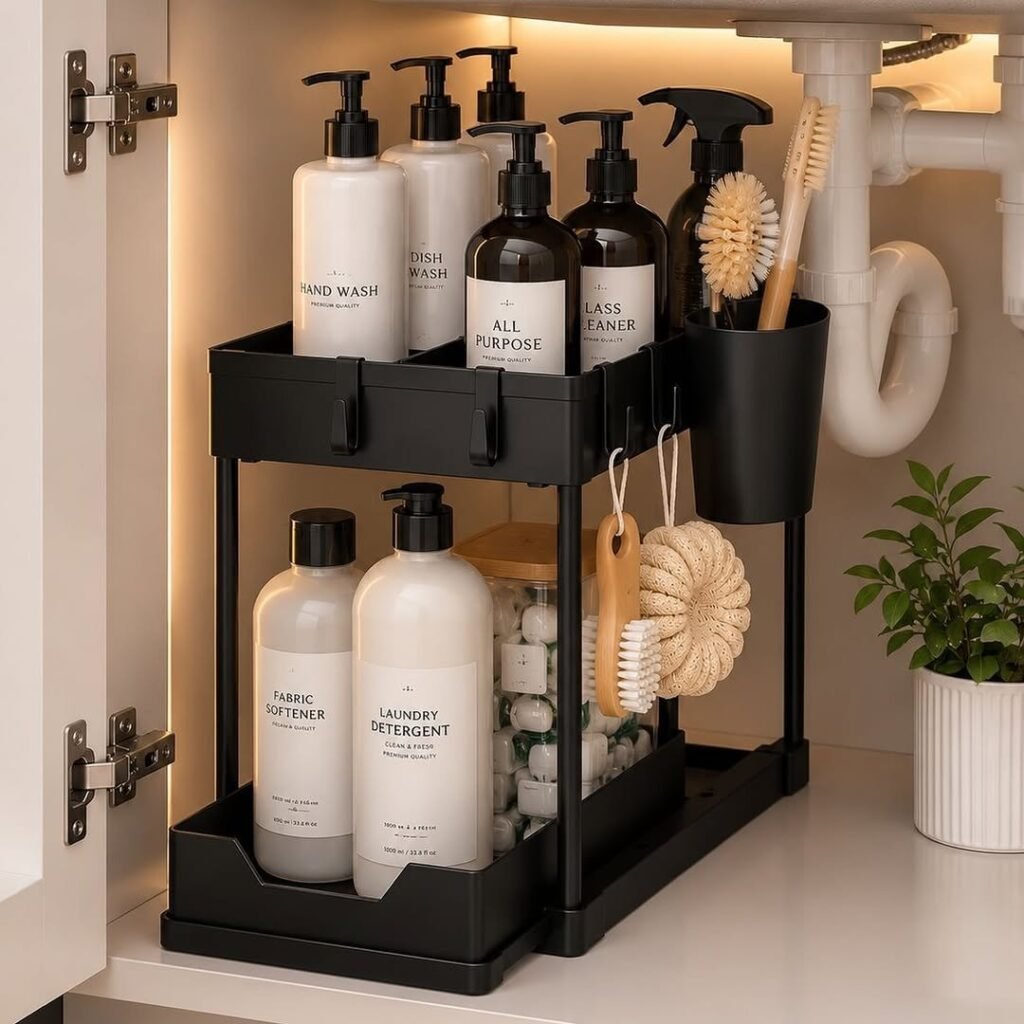
This cabinet usually holds the products that are most hazardous to children and pets, so treat storage seriously. Keep cleaners in their original, labeled containers, never move them into food or drink containers, and don’t mix products, since some combinations, like bleach with ammonia or certain acids, can release dangerous fumes. Follow the label for storage and ventilation.
If you have small children or curious pets, add a child-safety latch to the cabinet door. Store aerosols and anything flammable away from heat sources, and keep the heaviest or most hazardous items on a low shelf, in a bin with sides, so a leak or spill is contained. When in doubt, follow the manufacturer’s instructions and local guidance.
Step 5: Measure the Space and Map the Obstacles
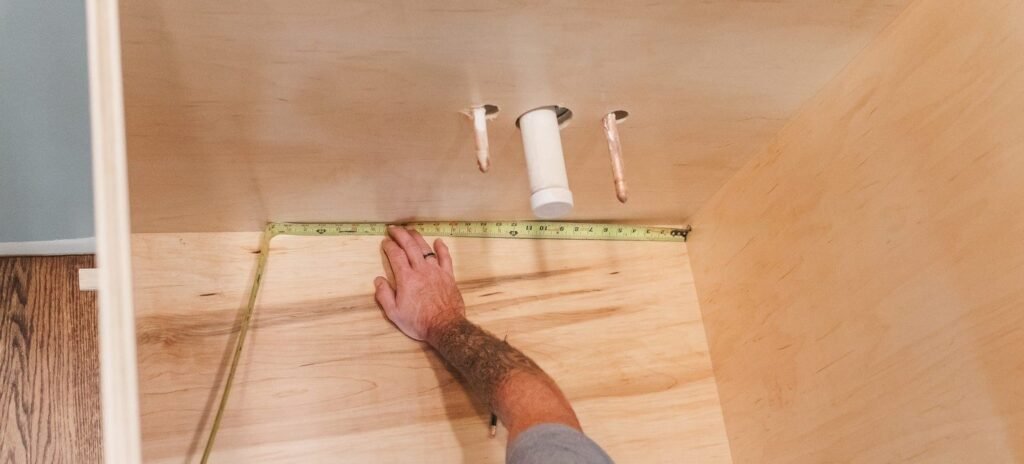
Under-sink space isn’t a clean rectangle. Measure the width, depth, and height of the cabinet, then note the drain pipe, the garbage disposal, the water supply lines, and any shutoff valves. Sketch it on paper, or take a photo from above with a ruler in the shot.
These measurements let you buy storage that actually fits instead of returning three things. In many cabinets, the usable height is only 12 to 16 inches on the pipe side, so low, stackable solutions work better than tall ones.
Step 6: Protect the Cabinet Floor With a Liner or Tray
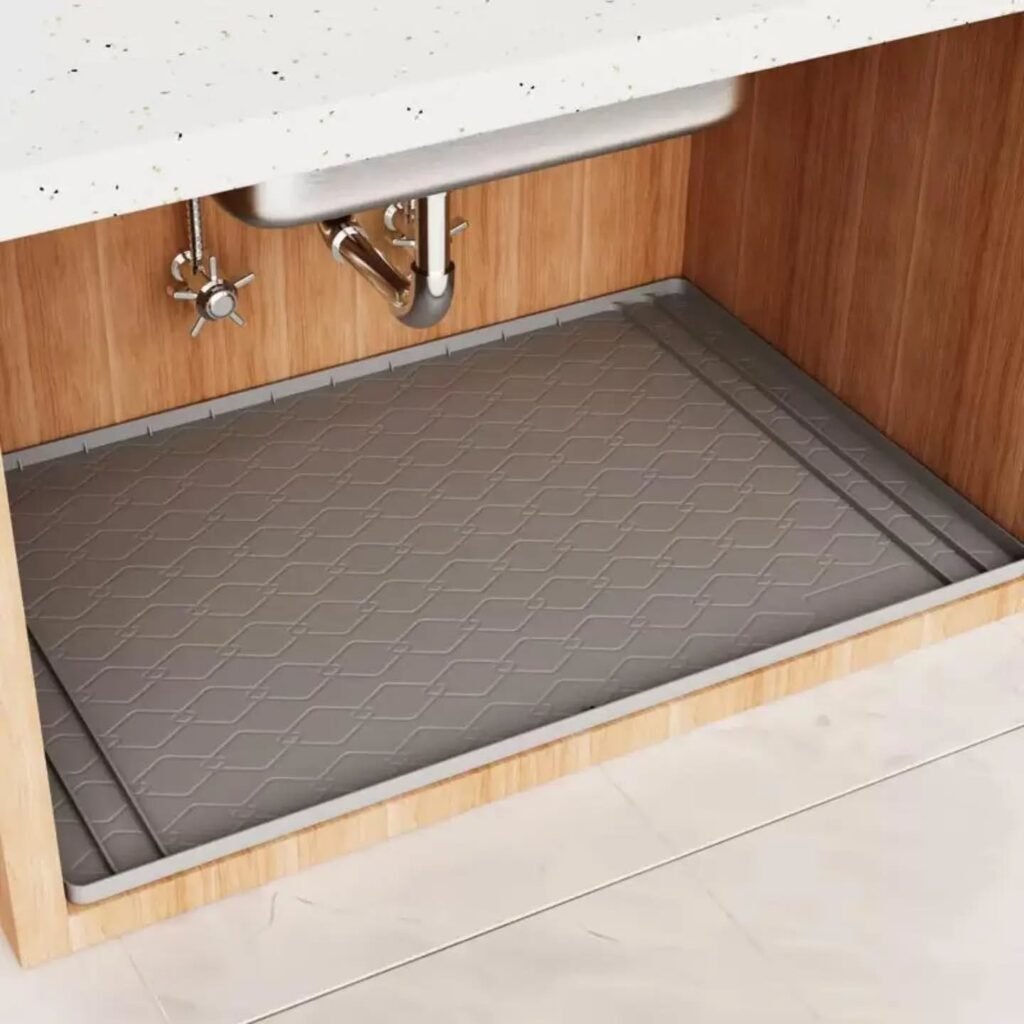
A waterproof liner catches drips and spills and makes cleaning easy. Options include a silicone mat with raised edges, a shallow plastic tray, or a roll of waterproof shelf liner cut to fit. Prices run about $8-30.
Choose something with a lip so liquid stays contained, and avoid anything that traps moisture under it for long periods. If a bottle leaks, lift the liner, dry the cabinet, and replace it. This is also a renter’s best friend, since it protects the cabinet from stains and damage, which fits with what I cover in my guide to apartment renter mistakes.
Step 7: Zone the Cabinet by How You Use It
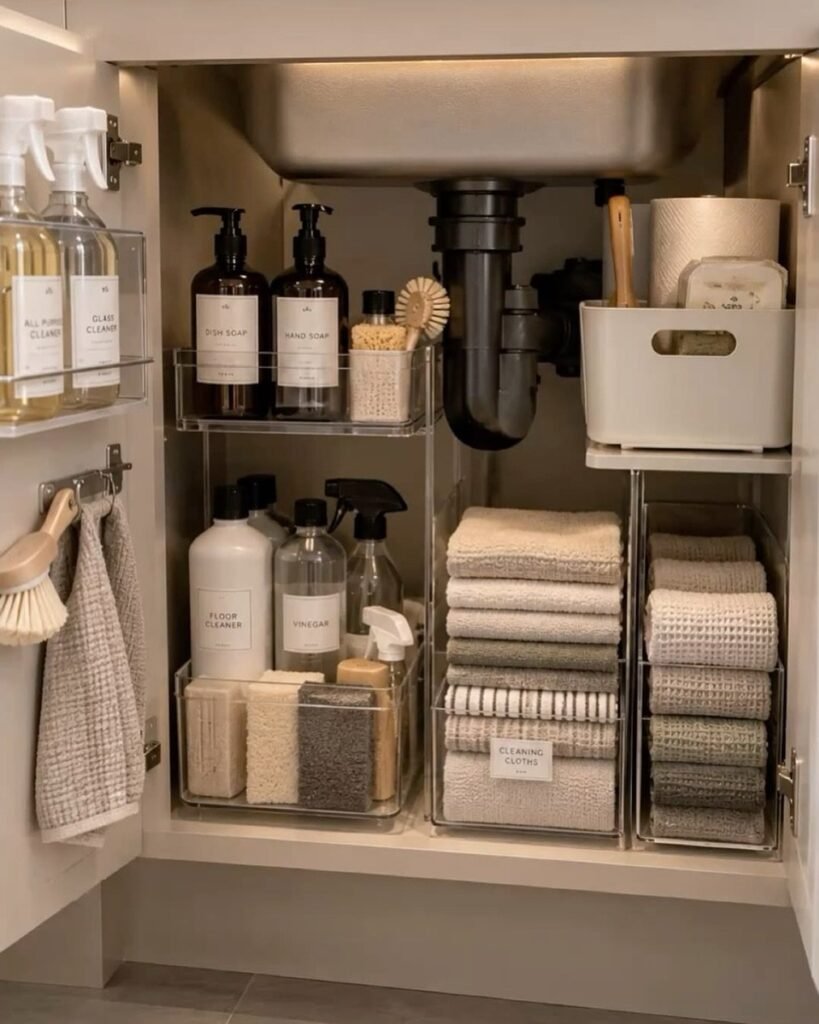
Divide the space into zones: daily cleaning (dish soap, sponges, a spray), laundry or heavy cleaning (if it lives here), trash bags and disposal supplies, and a small emergency spot for a towel, a bucket, and a few basic tools. Put the daily items in front and the rarely used ones in the back.
Think about reach. If you bend down ten times a day for the same two bottles, they belong where you can grab them without moving anything else.
Step 8: Use a Caddy for Daily Cleaners
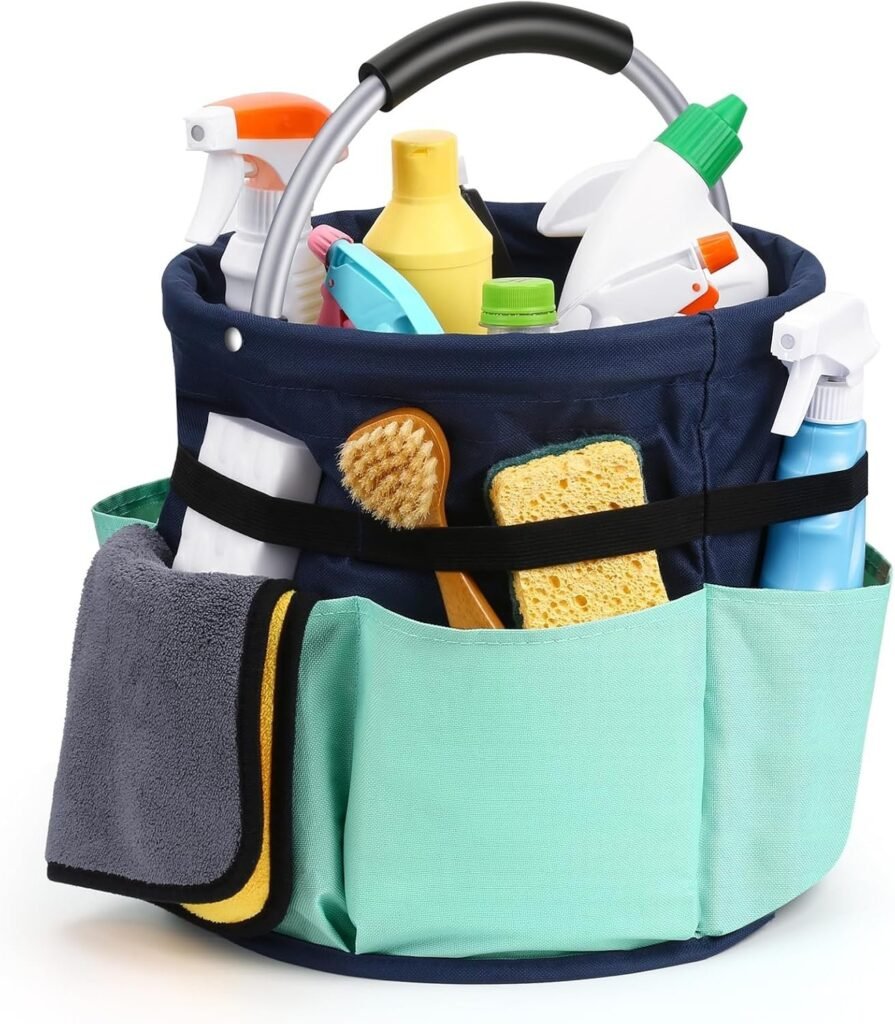
A simple caddy with a handle holds your most-used sprays, a scrub brush, and a sponge, and you can pull it out in one move and carry it to wherever you’re cleaning. It keeps products together instead of scattered, and it’s easy to lift out if you need to access the pipes.
Caddies cost about $10-25. Choose one with a divider and a sturdy bottom, and make sure it fits the width of your cabinet.
Step 9: Add Stackable Shelves or a Two-Tier Rack
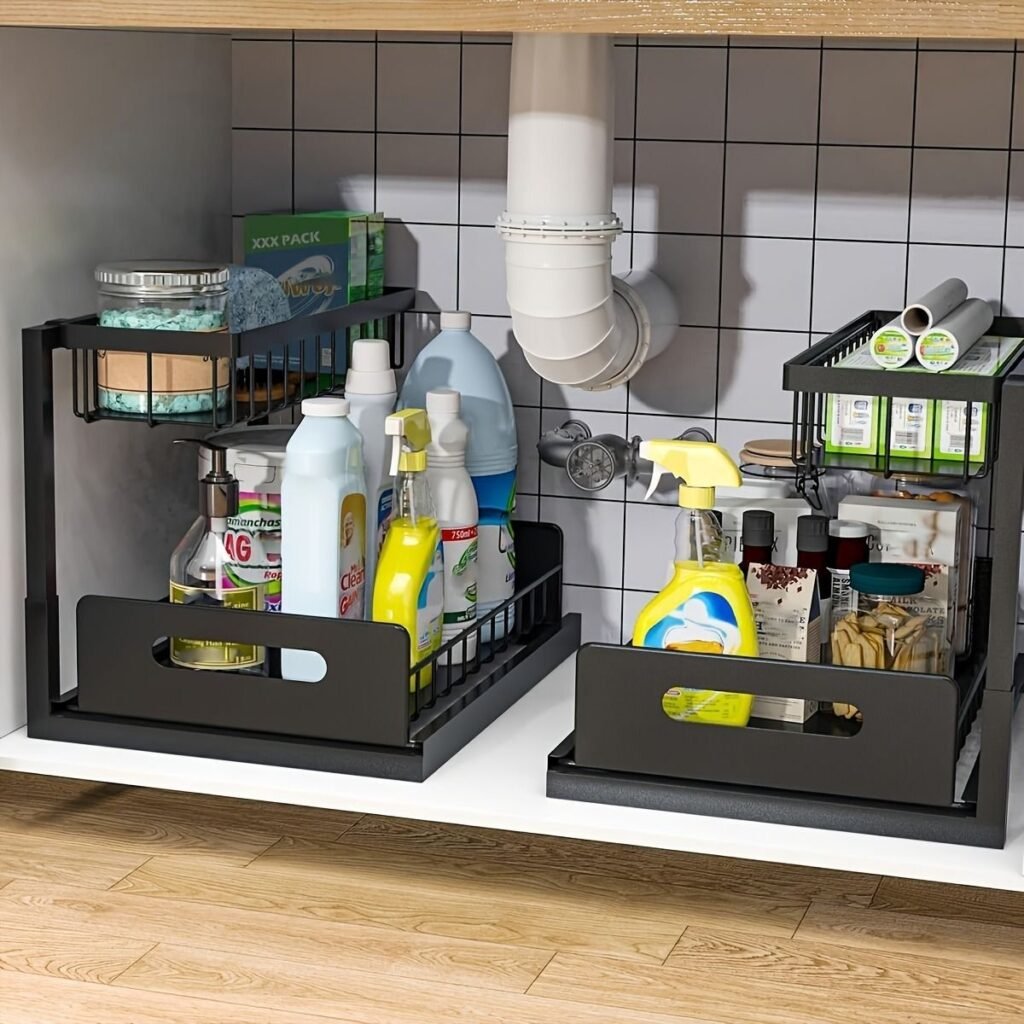
Stackable shelves double your usable space by letting you use the height above your bins. Look for adjustable or U-shaped racks that fit around the pipe, so you can use the cabinet’s full width without bumping into the drain. Prices run about $15-40.
Keep heavier items on the lower level and lighter ones on top. This is the same idea as in my guide to maximizing vertical space in a small apartment: when floor space is limited, build up instead of out.
Step 10: Install Pull-Out Drawers if You Want Easy Access
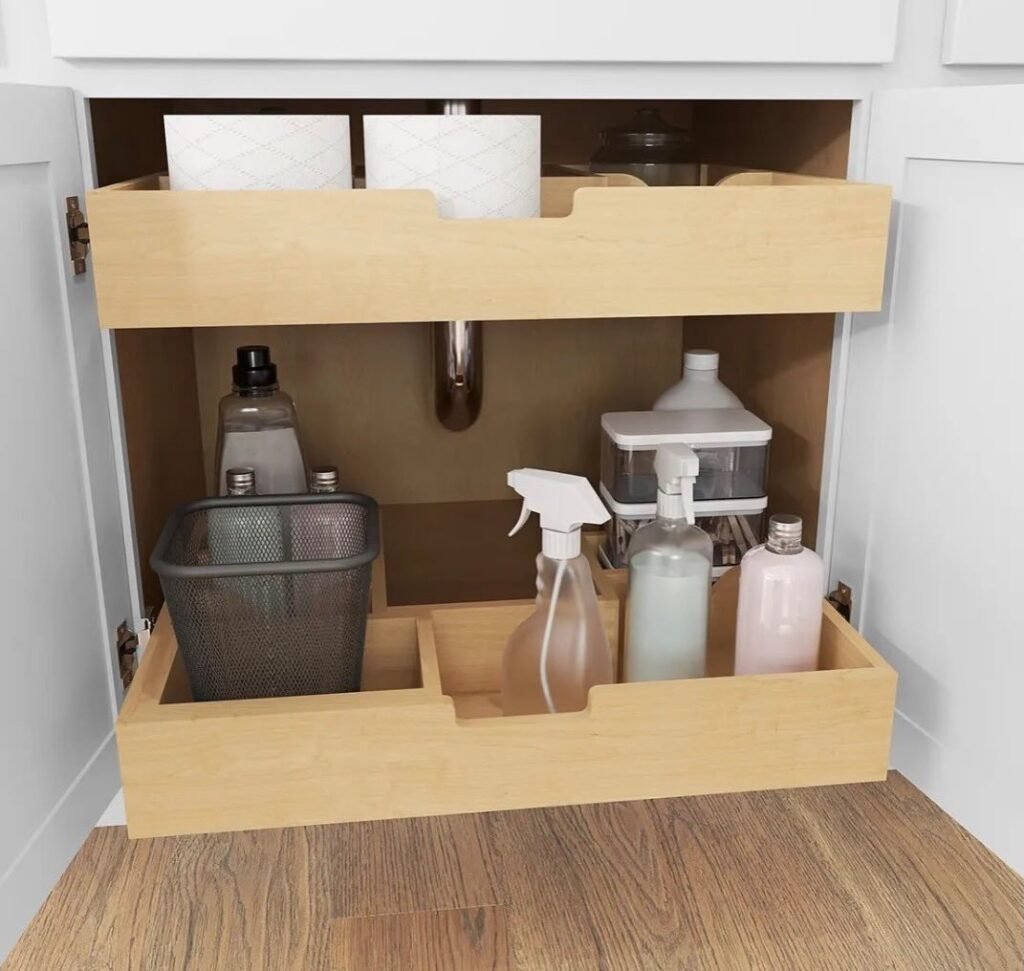
Pull-out drawers or sliding organizers bring everything to you, so you don’t have to reach into the dark back corner. They work especially well in deep cabinets and cost about $30-120 depending on size and quality.
The trade-off is that some require drilling or a bit of installation, which may not be allowed in a rental. Look for freestanding sliding bins that sit on the cabinet floor, and check that they clear the pipes and the garbage disposal before buying.
Step 11: Hang Spray Bottles on a Tension Rod
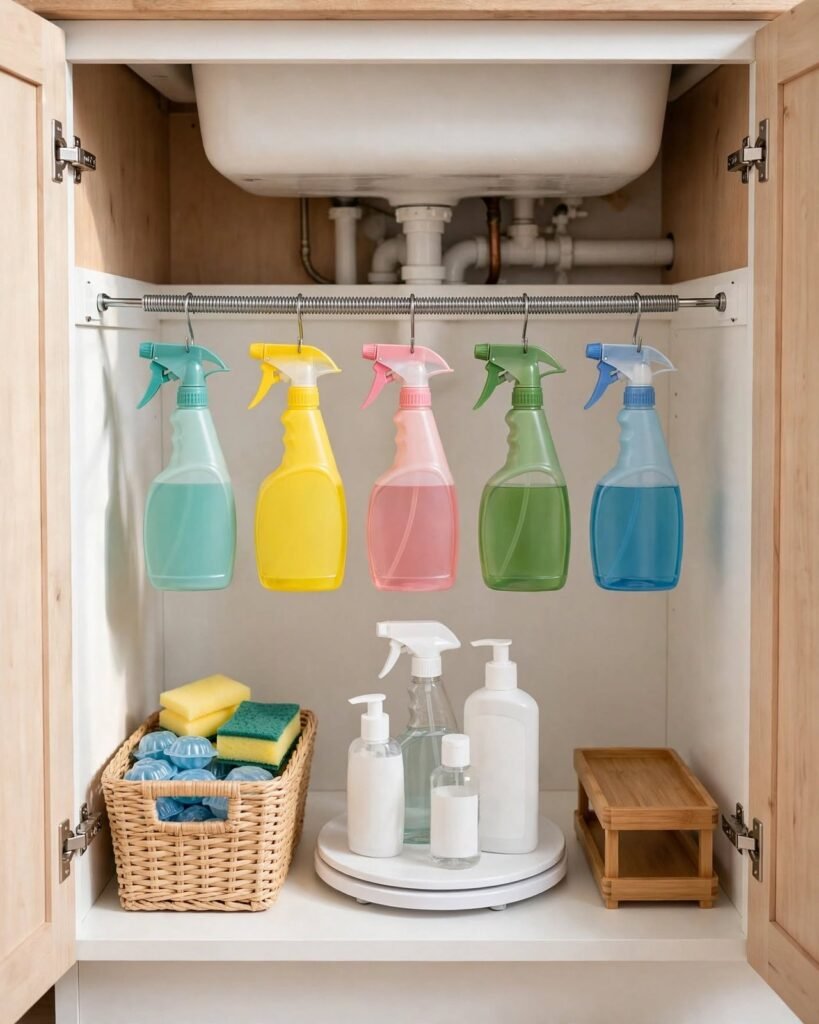
A tension rod placed across the cabinet, just below the top, lets you hang spray bottles by their triggers. It frees up floor space and keeps bottles upright and visible, and it needs no tools. A rod costs about $8-15.
Make sure the rod is the right length and gripped firmly, and don’t overload it. Hang only lighter items, and keep heavier bottles on the shelf.
Step 12: Use the Back of the Cabinet Door
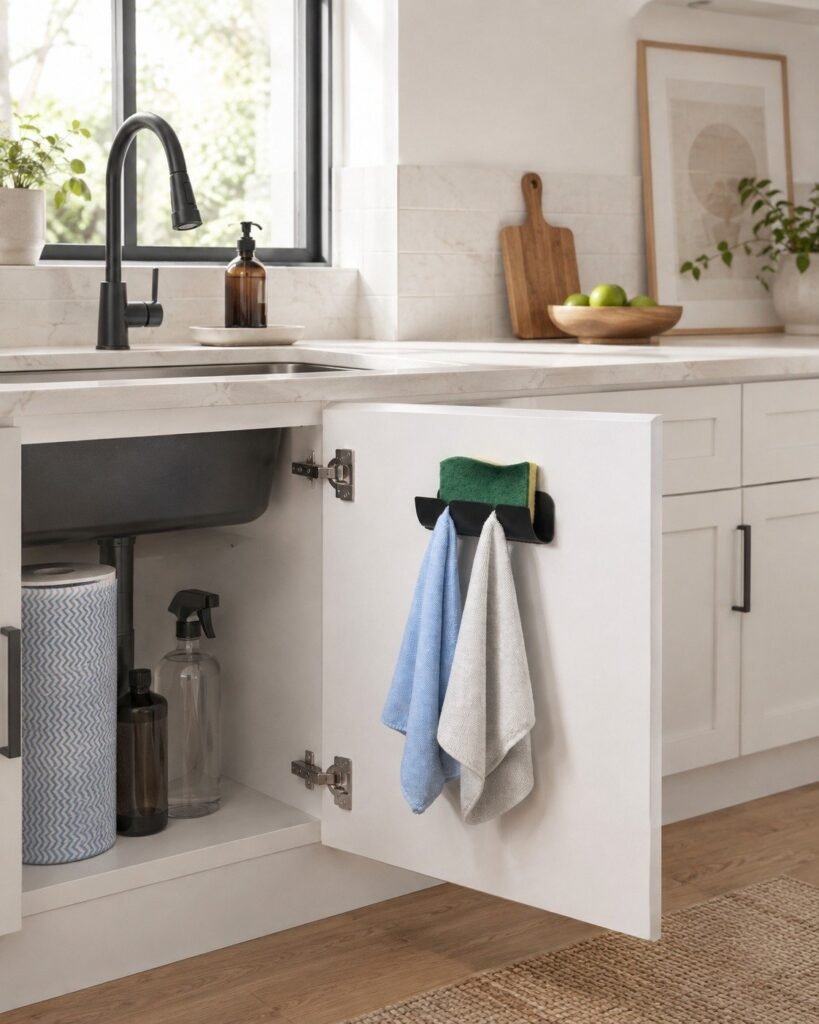
The inside of the door is free storage. Hooks, a slim rack, or a small caddy can hold sponges, gloves, trash bags, and a dish brush. A bag dispenser mounted on the door keeps trash bags handy without taking up shelf space.
Use removable adhesive hooks or over-the-door-style racks, and check weight limits so the door still closes. Keep the door’s hinges and swing in mind, because adding too much can make it hard to close.
Step 13: Add a Slim Trash Bin if You Have the Space
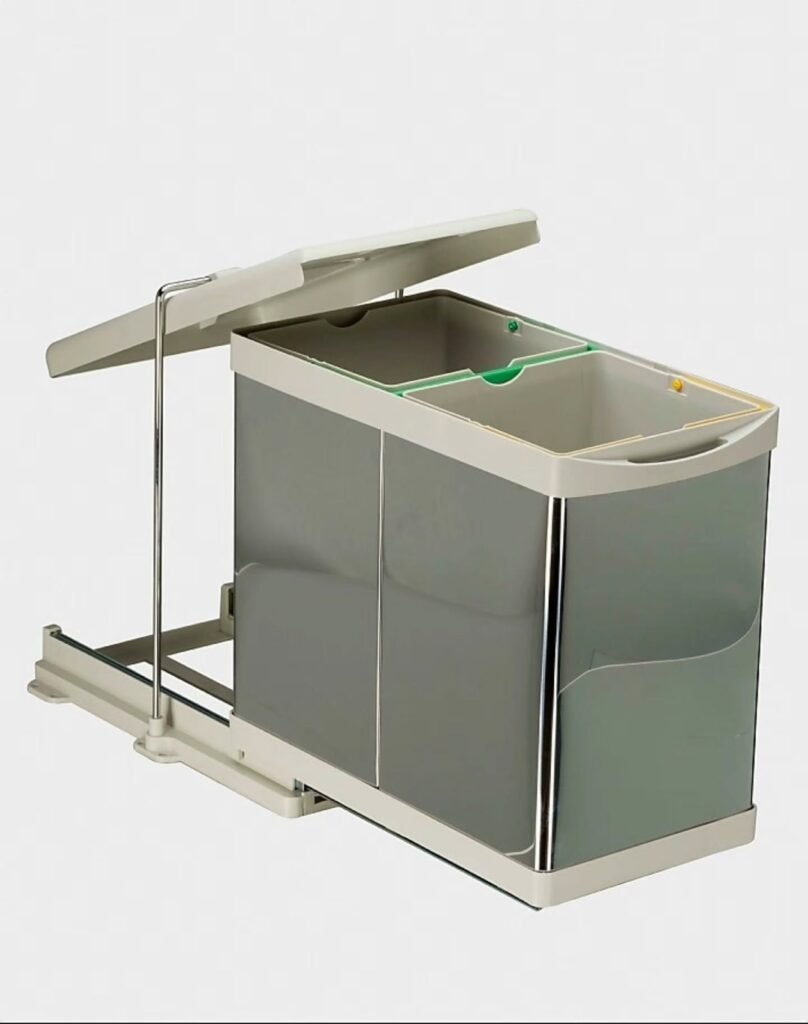
Some people keep the kitchen trash under the sink. A slim pull-out bin or a door-mounted bin saves counter space, but it also takes up a big chunk of the cabinet. If you choose this, use a bin with a lid to contain odors, and empty it often so moisture and food waste don’t attract pests.
If the cabinet is already tight, it may be better to keep the trash somewhere else and use the under-sink space for cleaning supplies.
Step 14: Group Small Items in Labeled Bins
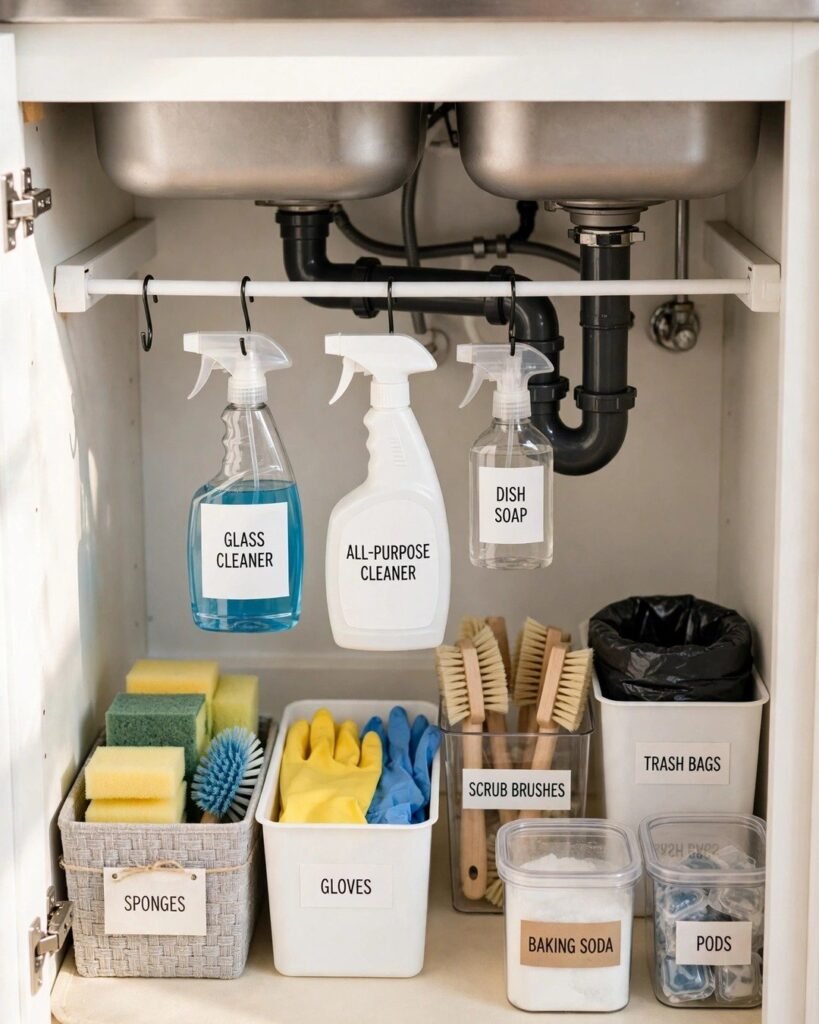
Gloves, sponges, spare scrubbers, rags, and dish tablets disappear in a pile. Small bins or baskets with labels keep each type together and visible. Choose bins with open or low sides so you can see inside quickly, and use only waterproof materials, such as plastic or silicone.
A set of three or four bins costs about $10-30. Label them clearly so everyone in the house knows where things go.
Under-Sink Storage Options Compared
| Option | Approx. Cost | Works Around Pipes? | Best For | Watch Out For |
|---|---|---|---|---|
| Waterproof liner or tray | $8-30 | Yes | Catching leaks and spills | Moisture trapped under it |
| Cleaning caddy | $10-25 | Yes | Daily sprays and sponges | Overfilling makes it heavy |
| Two-tier or U-shaped shelf | $15-40 | Yes, if U-shaped | Doubling space | Measure the pipe clearance |
| Pull-out drawer or sliding bin | $30-120 | Depends on model | Deep cabinets, easy access | Installation in rentals |
| Tension rod | $8-15 | Yes | Hanging spray bottles | Weight limit |
| Door-mounted rack or hooks | $10-25 | Yes | Sponges, gloves, bags | Door clearance |
| Small bins with labels | $10-30 | Yes | Grouping small items | Choose waterproof material |
What to Keep Under the Sink and What to Move
| Keep Under the Sink | Move Elsewhere |
|---|---|
| Dish soap, sponges, scrub brushes | Paper towels and napkins (humidity) |
| All-purpose and glass spray | Food, pet food, snacks |
| Dishwasher tablets | Light bulbs and batteries |
| Gloves and rags | Medications and vitamins |
| Trash bags | Paint and strong solvents (garage or a vented spot, per the label) |
| A small bucket and towel for emergencies | Anything in an unlabeled bottle |
Different Sink Setups and How to Adapt
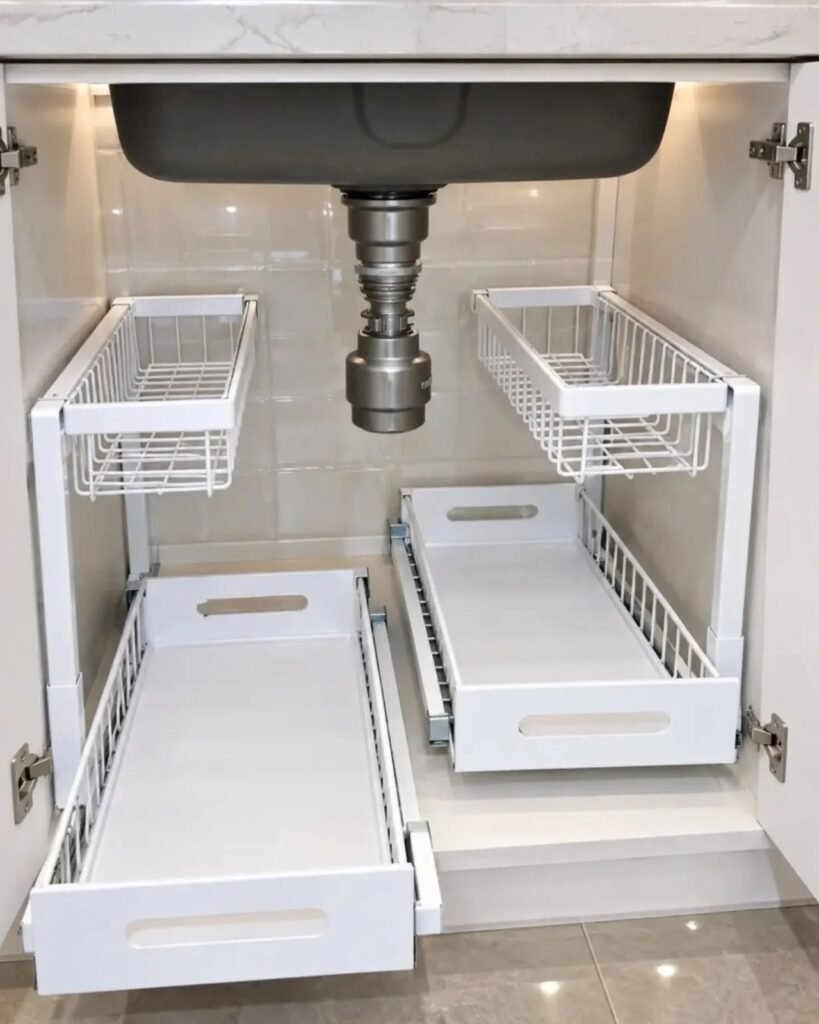
If you have a garbage disposal, it takes up a big chunk of the cabinet, so use narrow shelves on the sides and keep the center clear.
A double-bowl sink usually means two pipes and a complicated middle, so U-shaped racks and tension rods work best. A farmhouse or apron-front sink often leaves a deeper, more open cabinet, which is great for pull-out bins.
In older kitchens, cabinets can be shallow or uneven, so measure carefully and favor small, flexible bins. If you also want to organize the rest of your kitchen storage, my guide on how to organize a pantry uses many of the same principles, like clear containers and zones.
Keep It Organized: Small Habits That Help
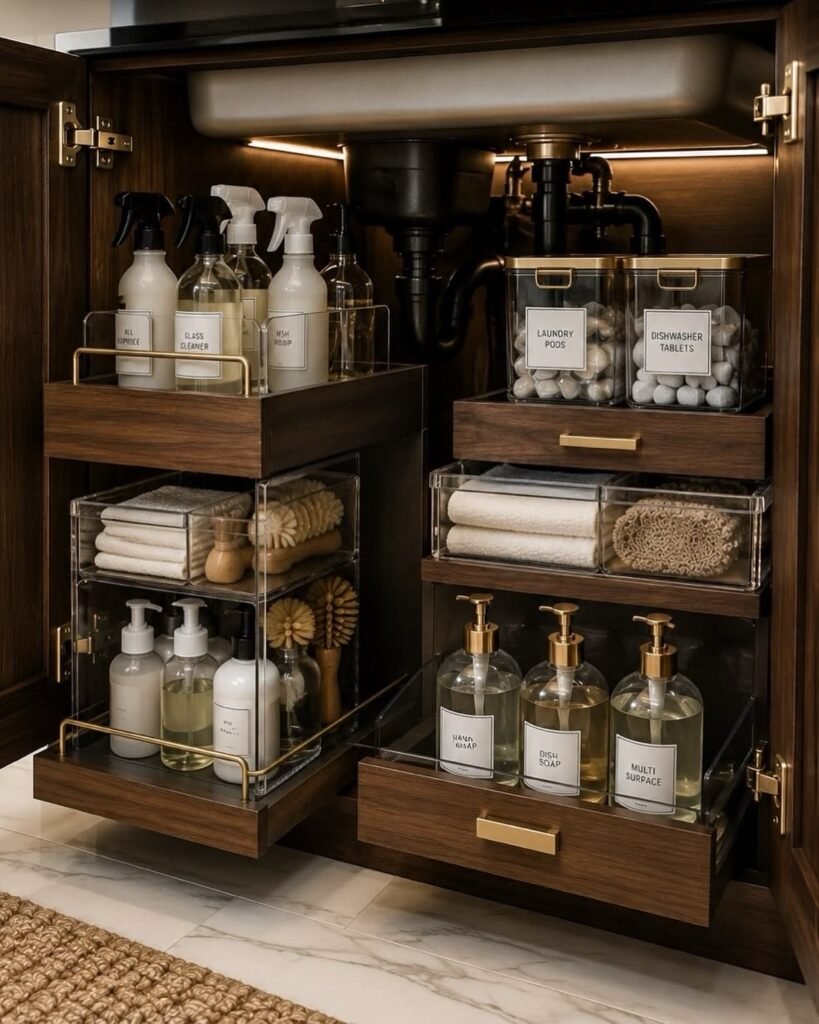
Once it’s set up, keep it that way with a few habits. Return items to their spot right after using them, wipe the liner once a month, and check for leaks every time you take something out. Do a quick purge every three or four months to remove empties and expired products.
Buy refills in sizes that fit the cabinet, since oversized bottles are what crowd everything out. If something doesn’t fit anywhere, that’s usually a sign you own too much of it.
Common Mistakes to Avoid
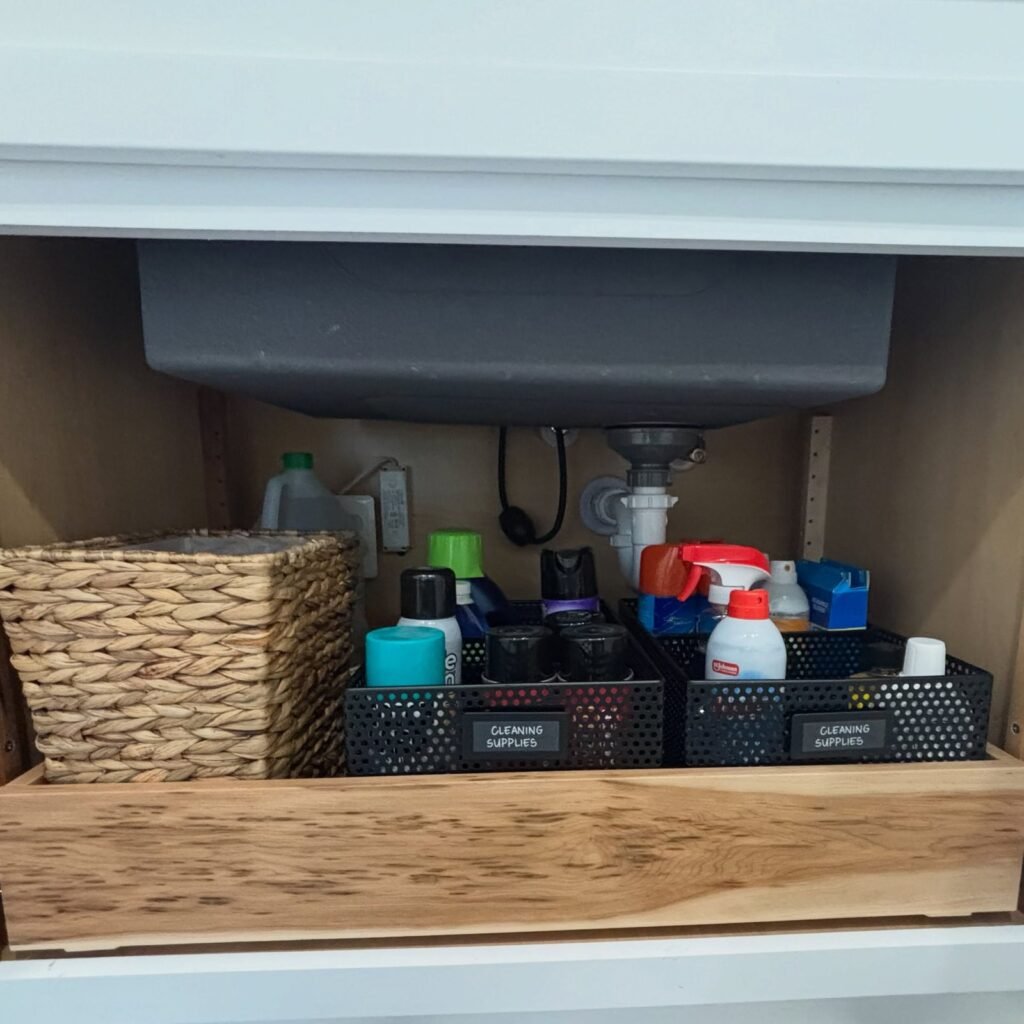
The most common mistake is buying organizers before measuring. The second is ignoring leaks and moisture, which can hide behind pretty bins. The third is storing chemicals unsafely, in unlabeled containers or within reach of children, and the fourth is overfilling the cabinet so nothing is easy to reach.
Another trap is spending too much. You don’t need an expensive system. A liner, a caddy, and one stackable shelf cover most cabinets for well under $75.
If I Were Starting Over With My Own Sink Cabinet
I’d empty everything and check for leaks, toss the duplicates and the sticky bottles, and put a liner in first. Then I’d add one caddy for my daily products, a U-shaped shelf around the pipe, and a tension rod for the spray bottles. That’s roughly $40-80 and about an hour, and it would make that cabinet something I’m not afraid to open.
Learning how to organize under the kitchen sink isn’t glamorous, but it’s one of those small projects that pays off every single day. Check for leaks, store chemicals safely, and use height and the cabinet door to your advantage, and you’ll never lose a sponge in the dark again.
FAQs
What is the best way to organize under a kitchen sink with pipes?
Use U-shaped or adjustable shelves that go around the drain, a caddy for daily products, a tension rod for spray bottles, and bins for small items. Measure the space and the pipes before buying anything.
What should I not store under the kitchen sink?
Food, pet food, medications, paper products, and anything damaged by moisture. Check the labels on strong solvents and paints, and store them as directed in a proper spot.
How do I keep chemicals safe from children and pets?
Keep products in their original labeled containers, add a child-safety latch to the cabinet, store hazardous items low in a bin with sides, and never mix products. Follow the manufacturer’s instructions on each label.
How much does it cost to organize under the sink?
A basic setup with a liner, a caddy, and a stackable shelf can cost around $30-75, while a fuller setup with pull-out drawers and bins can reach $100-150. Buying only what fits your cabinet keeps costs down.
Can I organize under the sink in a rental?
Yes. Freestanding shelves, tension rods, liners, and removable adhesive hooks all work without drilling. Check weight limits, and ask your landlord if you want to install anything permanent.
How often should I check under the sink for leaks?
A quick look every time you take something out is a good habit, plus a more careful check once a month. Catching a small drip early can prevent damage to the cabinet floor and mold.










Leave a Reply