
I own a label maker, and for about six months it was the most expensive paperweight in my house. I’d label a bin with something vague like “misc cables,” feel organized for a day, and then watch the bin fill with batteries, a stapler, and a single roller skate key. The label was neat. The system was useless. It took me an embarrassing amount of time to realize that the label isn’t the organization, the label is just the instruction for the organization.
That’s the main thing I want you to take from this guide to the best labeling systems for an organized home: a good label tells everyone, including future you, exactly what belongs here, and it does it in a way that survives a busy week. The right system depends on where it’s going, how long it needs to last, and whether anyone else in the home can read it. If you’re still at the “figure out the basics” stage, my home organization ideas guide covers the foundations, including why decluttering comes before labeling.
Below are 13 labeling systems I’d actually use, from a roll of masking tape to a printed label with a barcode, with rough prices, what each is best for, and an honest trade-off. After the list there’s a comparison table, a room-by-room guide, tips for writing labels that work, and FAQs. Prices are ballpark and vary by store, and I’ve sorted by type rather than brand because products change often.
Why Labels Work (and Why They Sometimes Don’t)
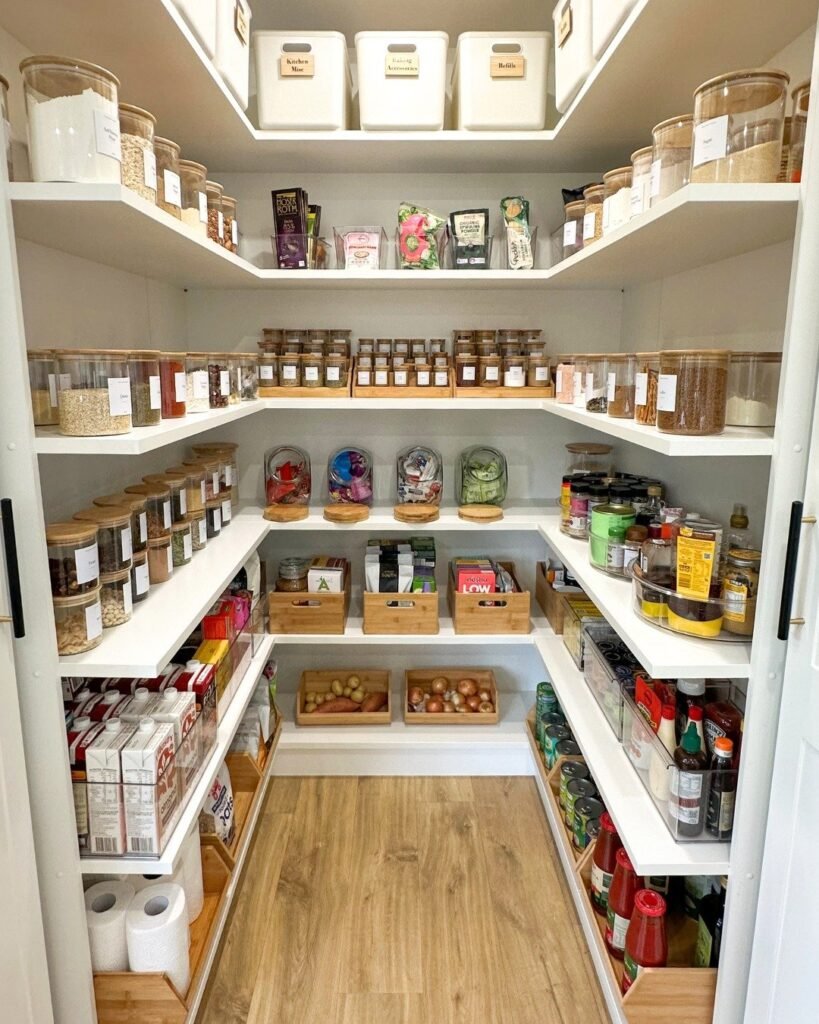
Labels work because they remove decisions. When every bin, shelf, and jar says what goes inside, putting things away takes seconds, and anyone in the household can do it without asking. That’s especially valuable in busy homes, shared spaces, and places where several people use the same cupboards.
They fail when they’re too vague, too fussy, or attached to a system that wasn’t decluttered first. A beautiful label on an overstuffed bin doesn’t fix anything. Declutter, sort, and decide what each space is for, then label.
Pro tip: Label the shelf or the bin, not both. Double labeling doubles the maintenance, and when the contents change, you’ll have two things to update.
1. A Handheld Thermal Label Maker
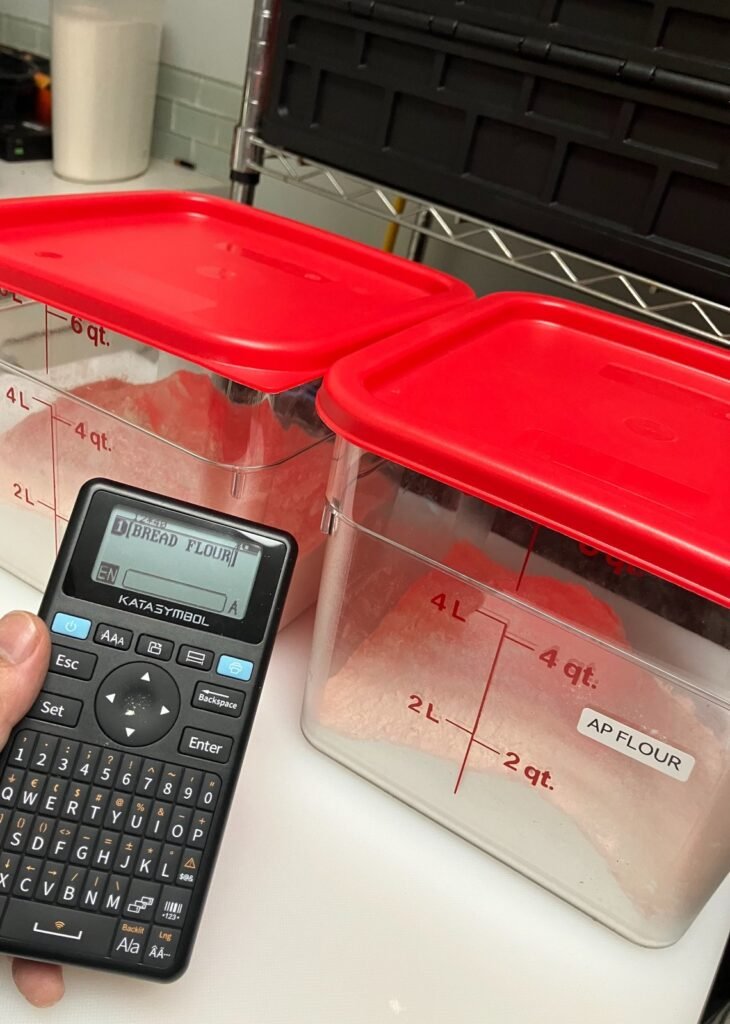
The classic. You type, press print, and peel. A basic label maker prints clean, uniform labels that stay put on plastic, metal, and glass, and the tape comes in many widths and colors. It’s the workhorse for pantry shelves, bins, and cable labels.
Expect about $20-60 for the machine and $8-20 for refill tape. The trade-off is ongoing tape cost, and cheap adhesive can lift from damp or textured surfaces. Print a test label and press it down firmly before you label a whole shelf.
2. A Bluetooth or Phone-App Label Printer
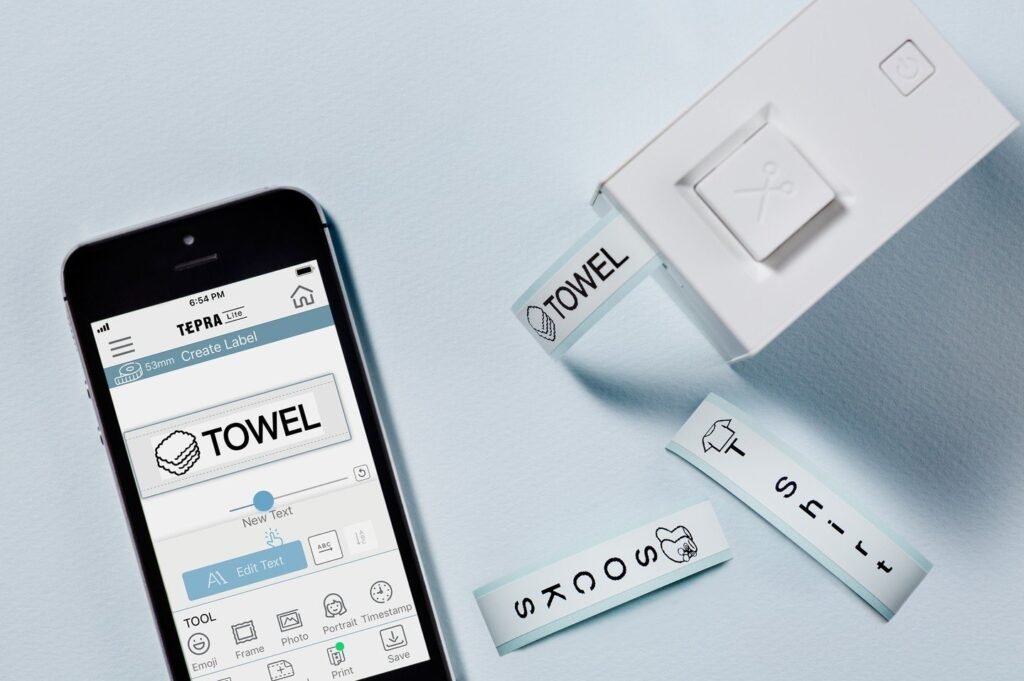
These small printers connect to your phone, so you can pick fonts, add icons, and save templates. They’re great if you like a polished look, want to label a lot of things quickly, or want the same design across the house.
Prices run about $30-90. The trade-off is that you need a charged device and a bit of setup, and the extra options can tempt you into fiddling with fonts for an hour. Pick one font and one size, save it as a template, and you’ll be done in minutes.
3. Printable Label Sheets (Use Your Home Printer)
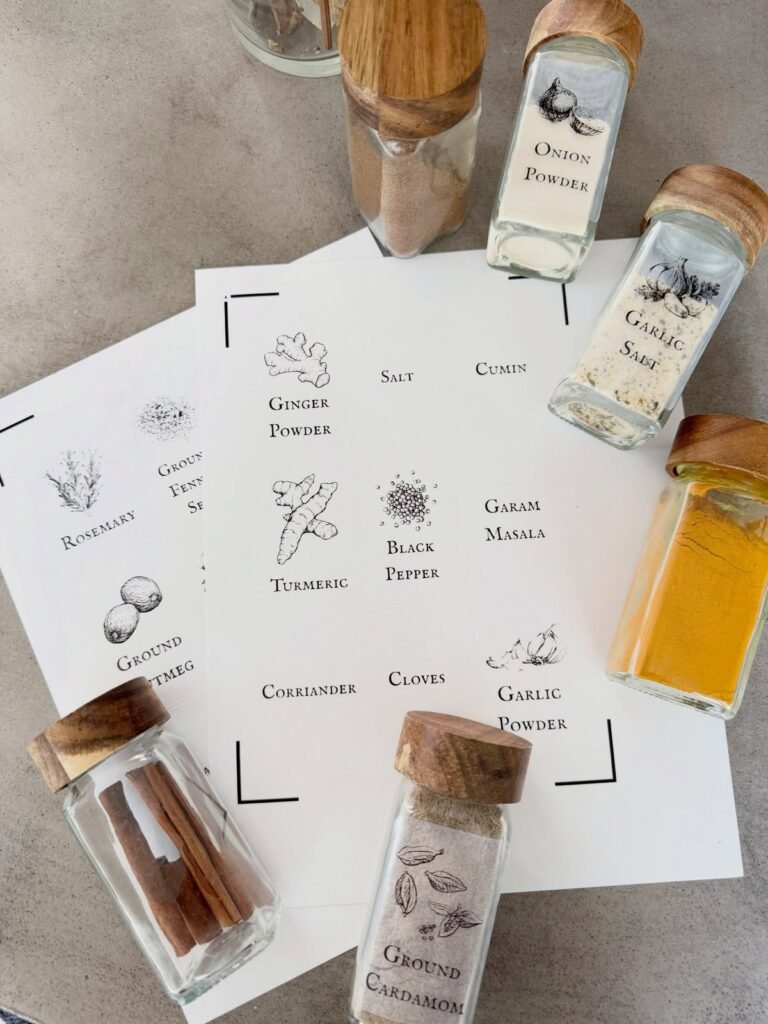
Printable sticker sheets in various sizes and finishes let you design labels on your computer and print many at once. They work well for pantry jars, spice containers, bins, and file folders, and they’re easy to reprint when something changes.
A pack costs about $8-20. Choose water-resistant or laminate-style sheets for kitchens and bathrooms, since regular paper labels can smear or peel. The trade-off is that home printing can smudge if the ink isn’t compatible with the sheet, so test a page first.
4. Pre-Printed Waterproof Label Sets
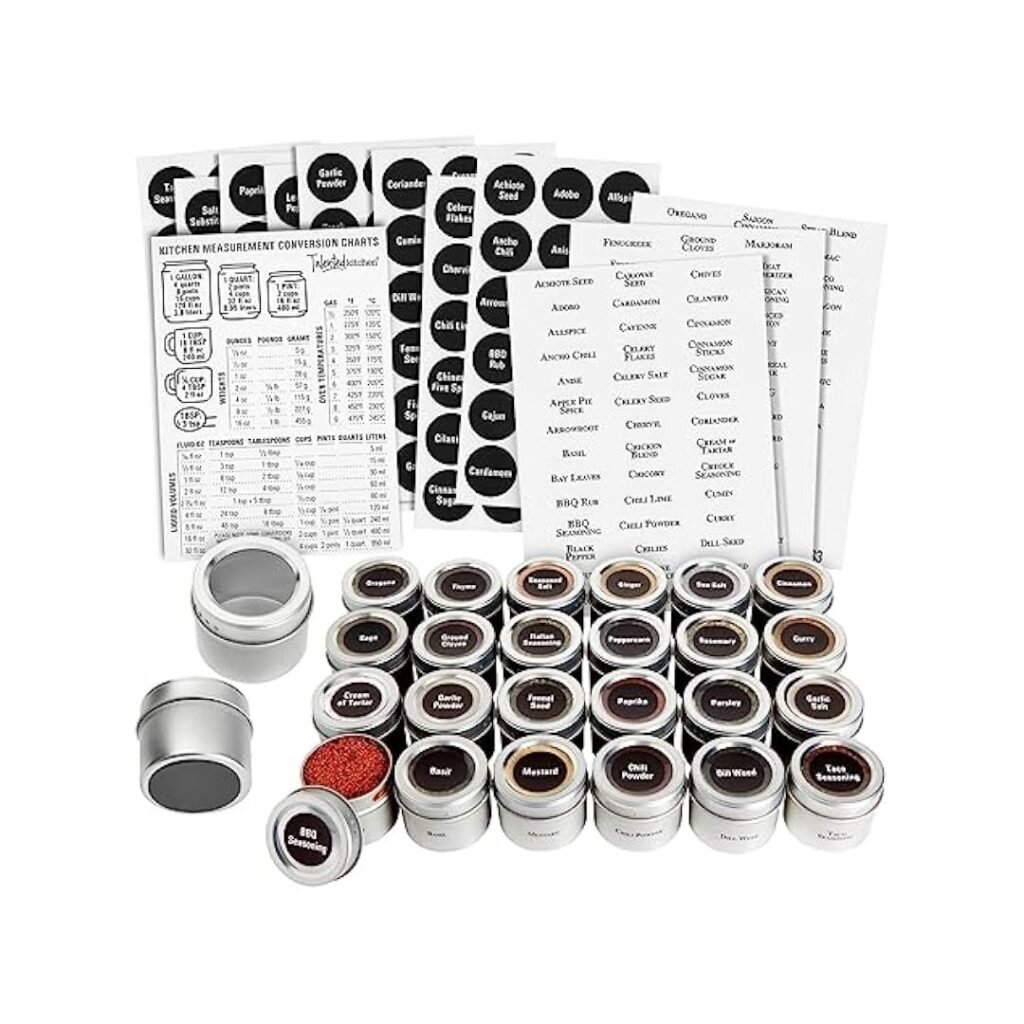
If you don’t want to print or type anything, pre-printed sets give you ready-made labels for pantry staples, cleaning products, spices, and toiletries. You just peel and stick, and many are waterproof and reusable on the same container.
Sets cost about $8-25. The trade-off is that you’re limited to the words they include, so check the list before buying. They’re a great choice for a quick pantry refresh, and my guide to how to organize a pantry shows how matching labels and clear containers work together.
5. Painter’s Tape or Masking Tape and a Marker
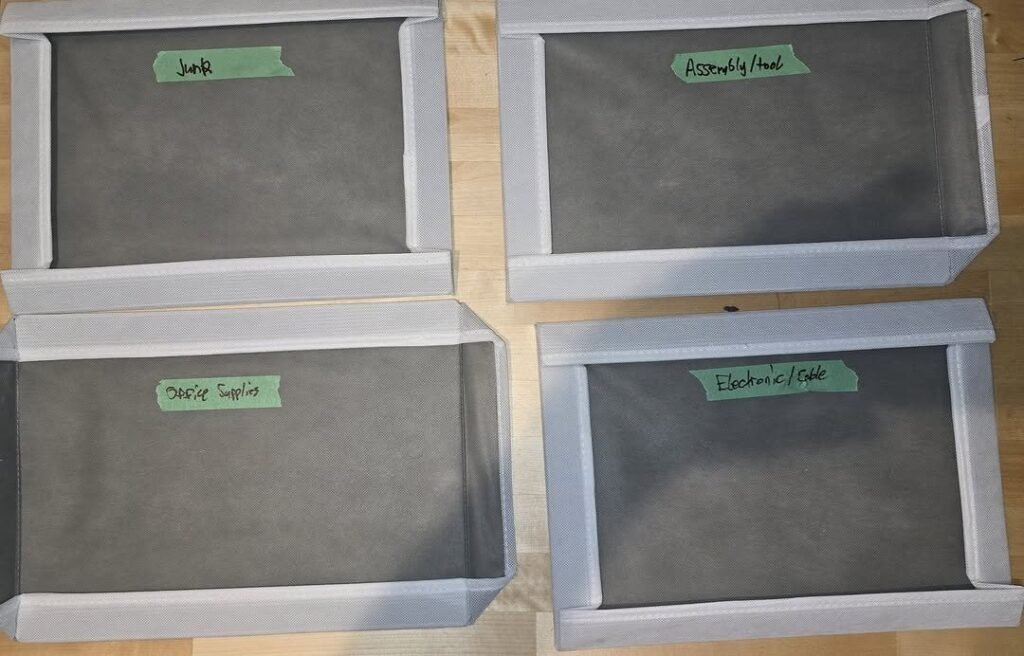
The free-ish, flexible option. A strip of painter’s tape and a permanent marker works on nearly any surface, peels off cleanly in most cases, and lets you change the label in seconds. It’s perfect for testing a system before you commit, and for things that change often, like freezer meals or leftovers.
A roll costs about $4-8. The trade-off is looks and durability, since handwriting varies and tape can curl at the edges over time. Use a marker that doesn’t smudge, and write in capital letters so it’s easy to read. A friend of mine, Odalys, labeled her entire freezer with masking tape and a marker and said the best part was never worrying about getting it wrong.
6. Chalkboard Labels and Chalk Markers
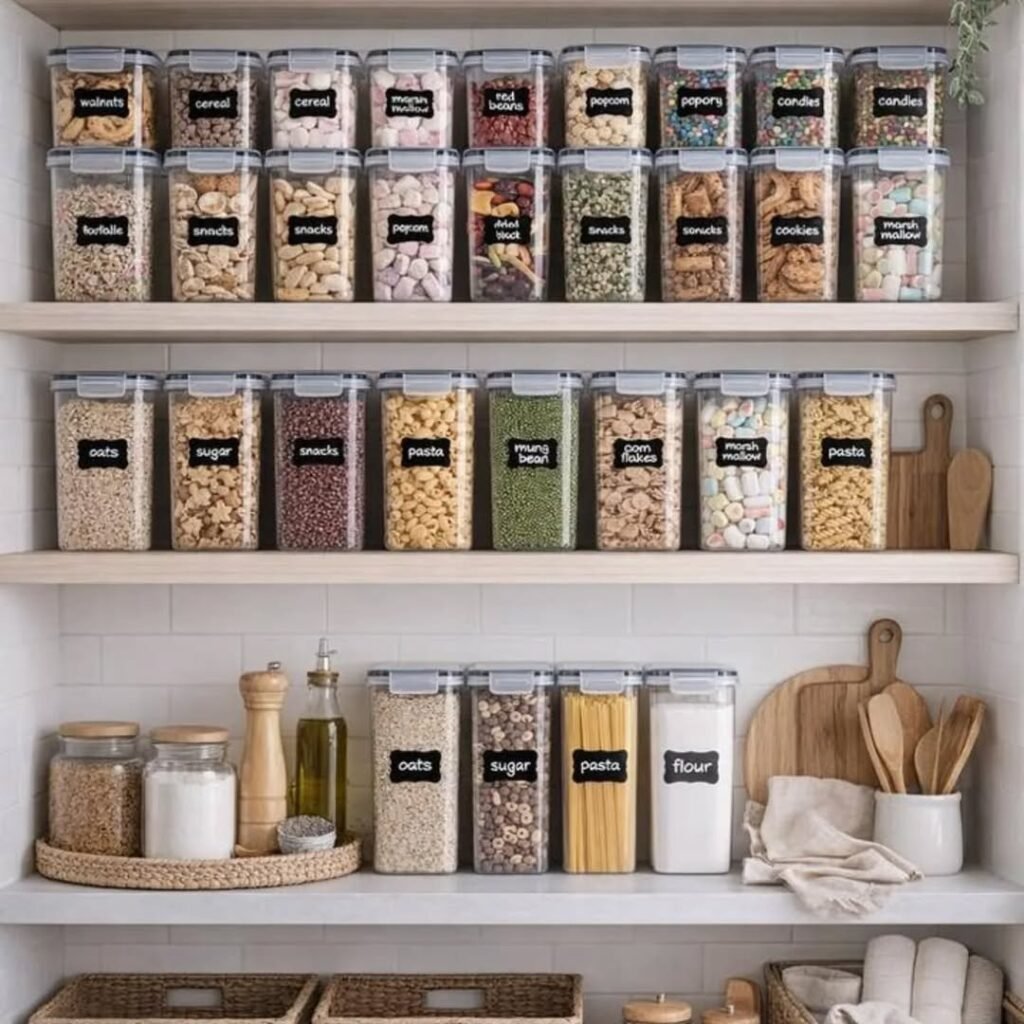
Chalkboard labels give you a reusable, farmhouse-style look. You write with a chalk marker, wipe it off with a damp cloth, and write something new. They’re lovely on jars, bins, and baskets, and they’re easy to change when your needs do.
Expect about $8-20 for a set of labels plus a marker. The trade-off is smudging, so they’re better for things you don’t handle constantly. Apply the label to a clean, dry surface and use a marker made for the label, not regular chalk.
7. Dry-Erase or Reusable Wipe-Off Labels
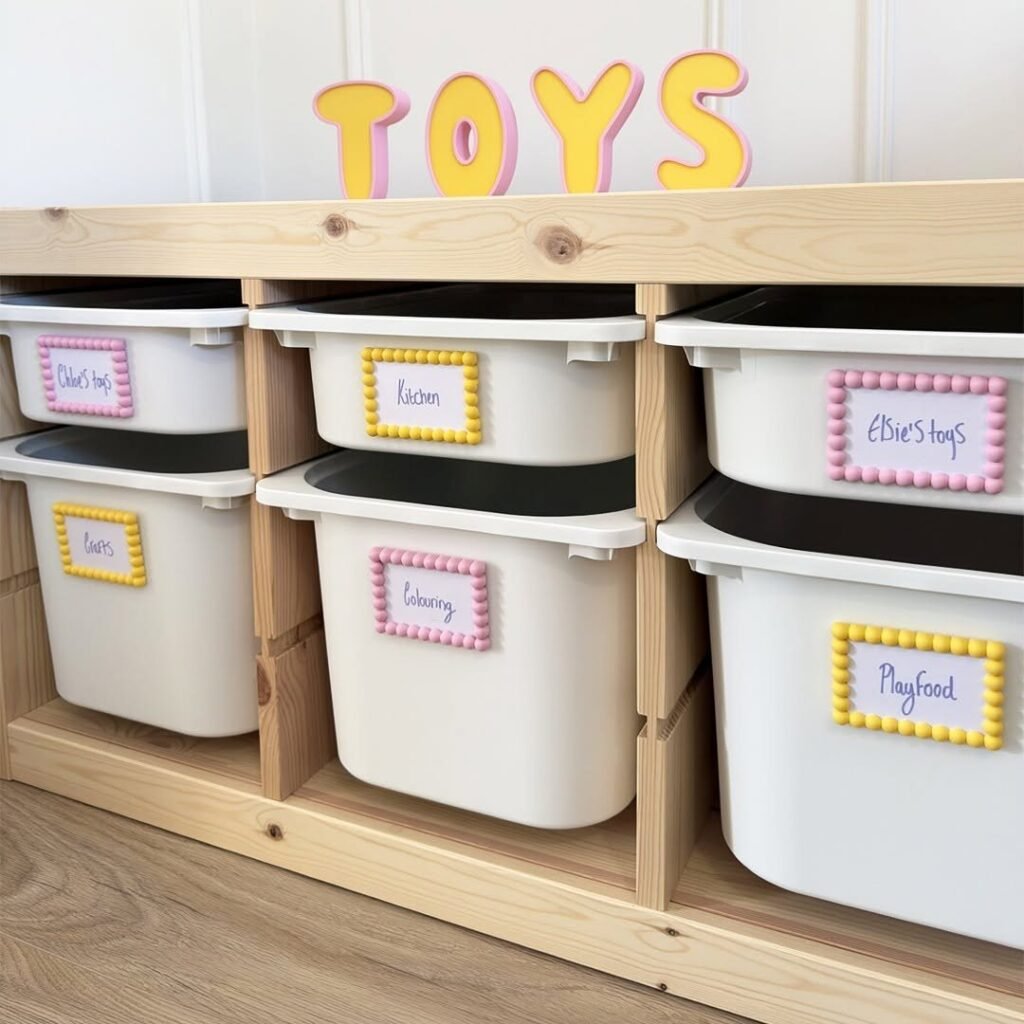
Similar to chalkboard labels but cleaner, these are great for freezer bags, bins that change contents, and kids’ areas. You write with a dry-erase marker and wipe the label when you’re done. Some are magnetic and some are adhesive.
A set costs about $8-20. The trade-off is that the writing can smear if someone brushes against it, so they’re better for spots where things aren’t constantly handled. They shine on seasonal bins and rotating storage.
8. Slide-In and Clip-On Label Holders
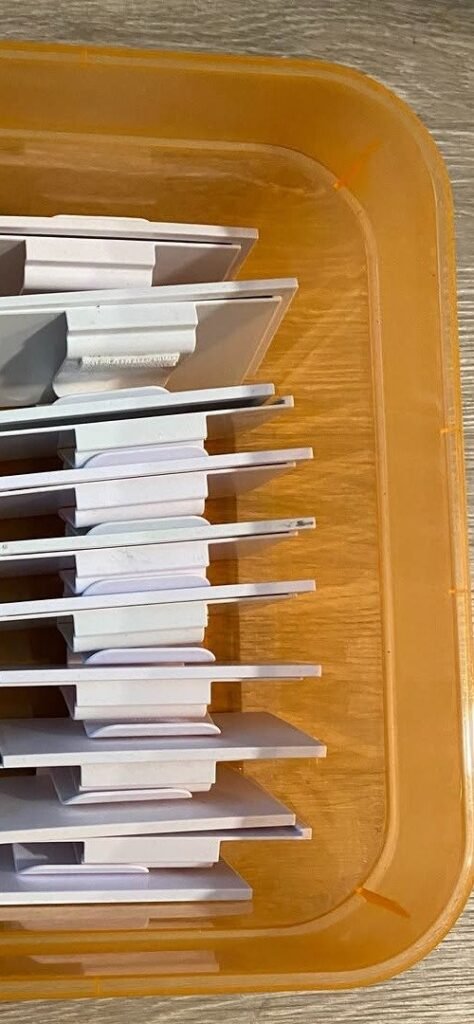
Many bins come with a small window or clip where you can slide in a paper label. They’re a smart choice because you can change the card whenever the contents change, without stickers or residue. They also look tidy and keep labels protected.
Holders cost about $10-30 for a set, or come built into some bins. The trade-off is that paper cards can curl or fall out if the holder is loose, so choose a snug fit. This system works especially well on linen closet shelves, a topic I cover in my guide to linen closet organization.
9. Hanging Tags for Baskets and Totes
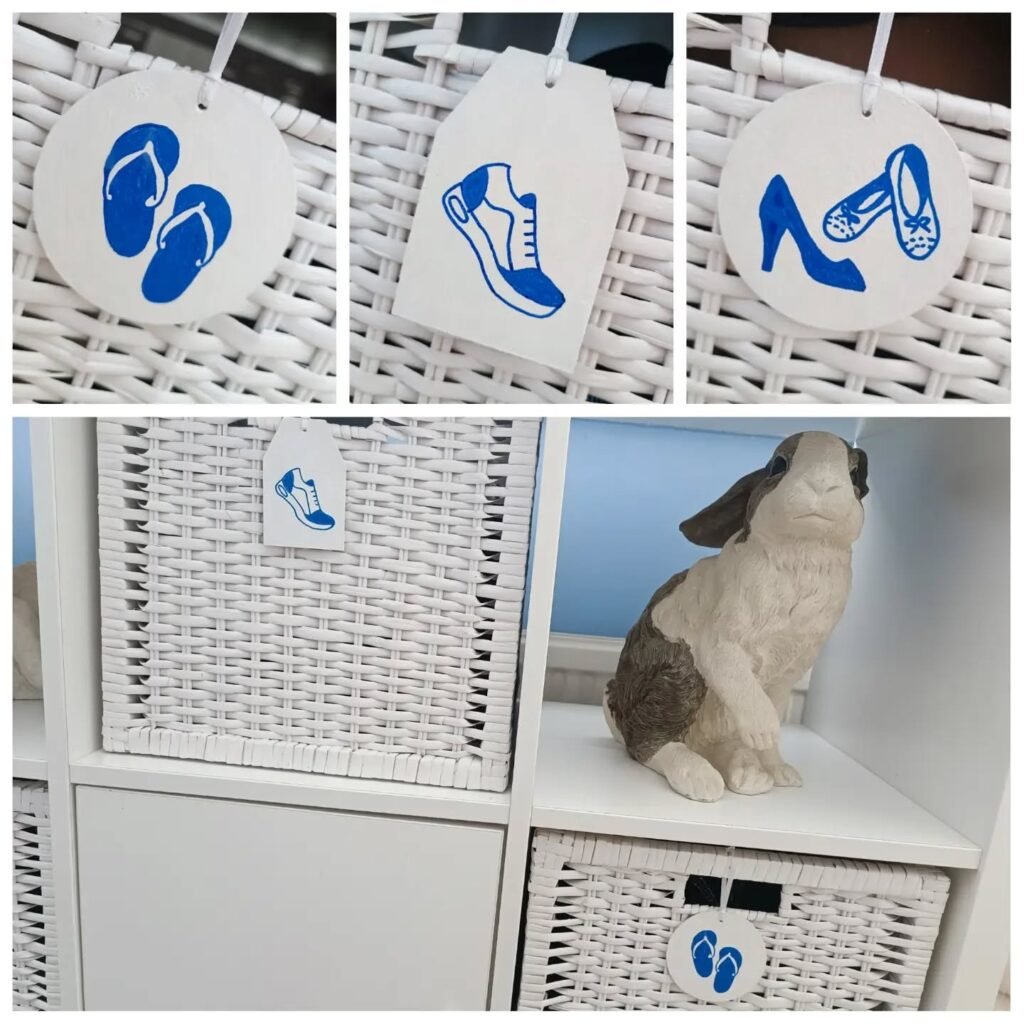
Hanging tags tied to the handle of a basket or tote are a soft, decorative option. They work on woven baskets, fabric bins, and anything you can’t stick a label to. You can write on them, stamp them, or print them.
Tags cost about $6-15 for a pack with string. The trade-off is that they can flip around or tangle, so keep the string short and attach it where it will hang visibly. They suit living rooms and bedrooms, where looks matter as much as function.
10. Magnetic Labels
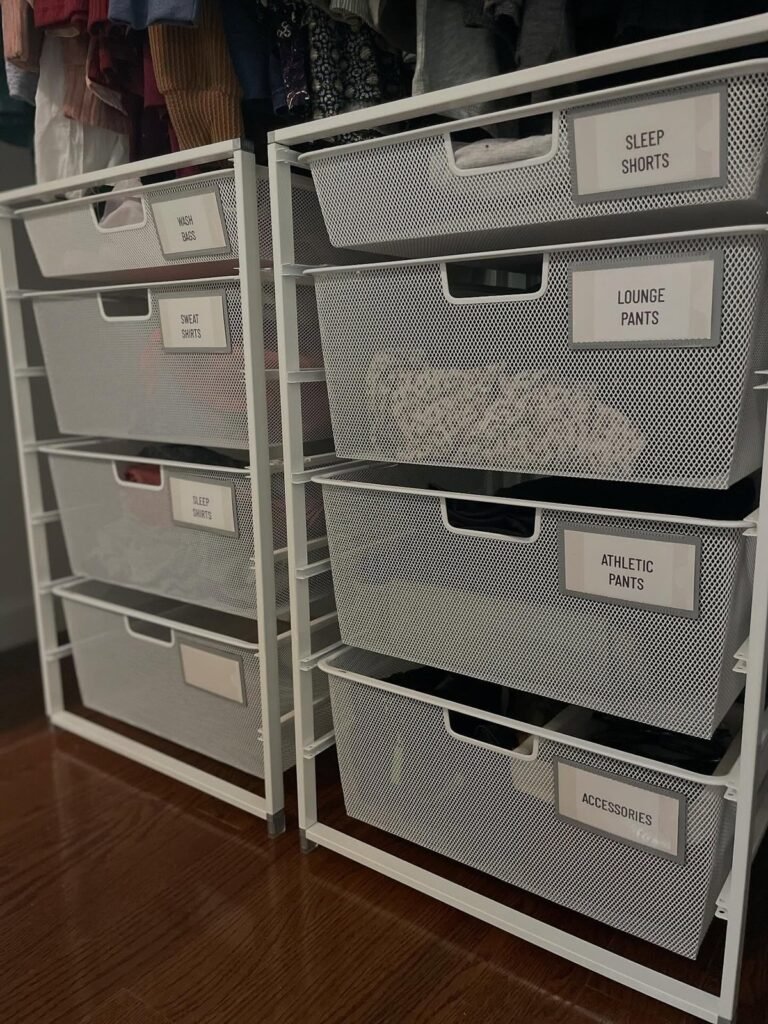
Magnetic labels stick to metal shelves, filing cabinets, the fridge, and the sides of some bins, and they move wherever you need them. They’re great for garages, laundry rooms, and metal shelving, where adhesive can be unreliable or messy.
A set costs about $8-20. The trade-off is that they only work on magnetic surfaces and can slide if bumped. They’re handy when you rearrange often, and for anything you want to relabel without leaving residue.
11. Color-Coding (Tape, Dots, or Colored Bins)
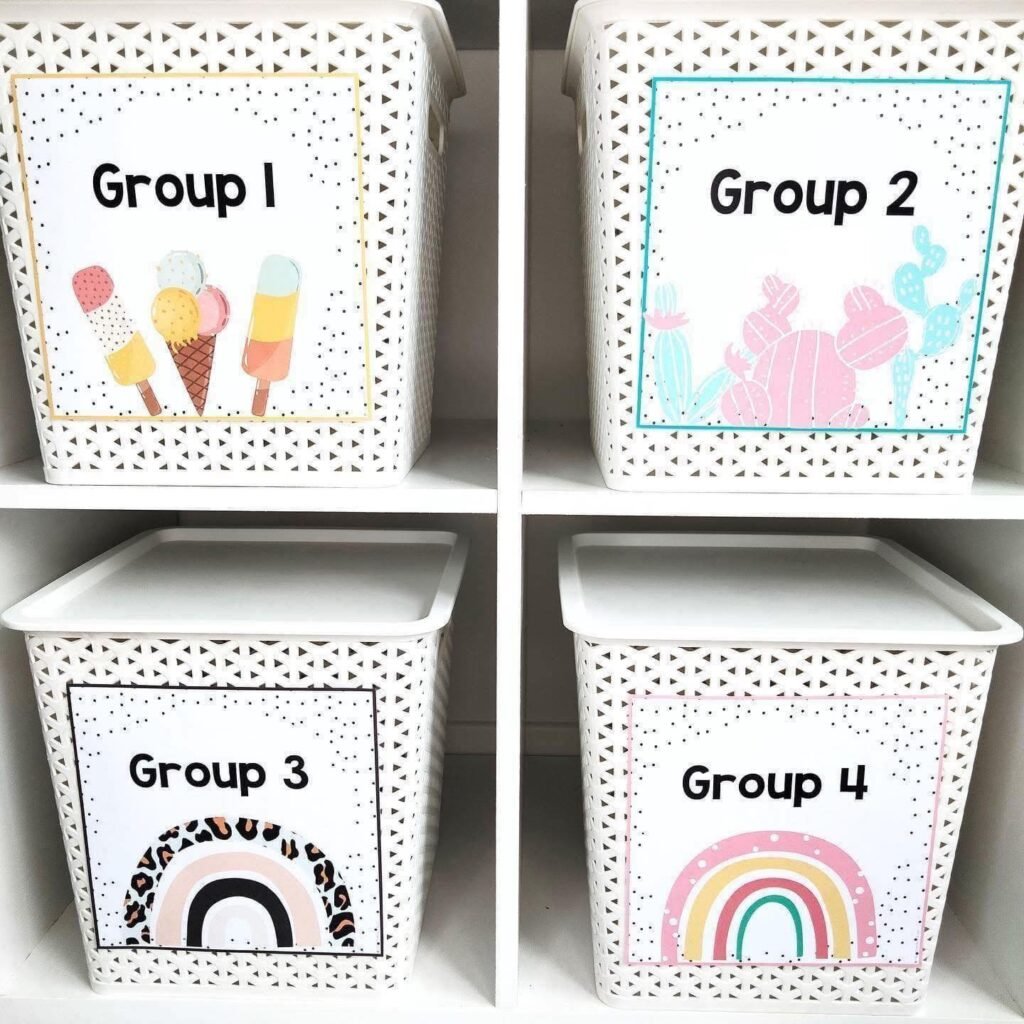
Color-coding works for people who think visually, children who can’t read yet, and households where several people share storage. Assign each person or category a color, like blue for one child, green for another, and use matching tape, dots, or bins.
Colored dots or tape costs about $5-12. The trade-off is that you need to remember the key, so keep a small legend somewhere visible. It works well alongside words, not instead of them, especially for anyone with colorblindness.
12. Picture Labels for Kids and Pre-Readers
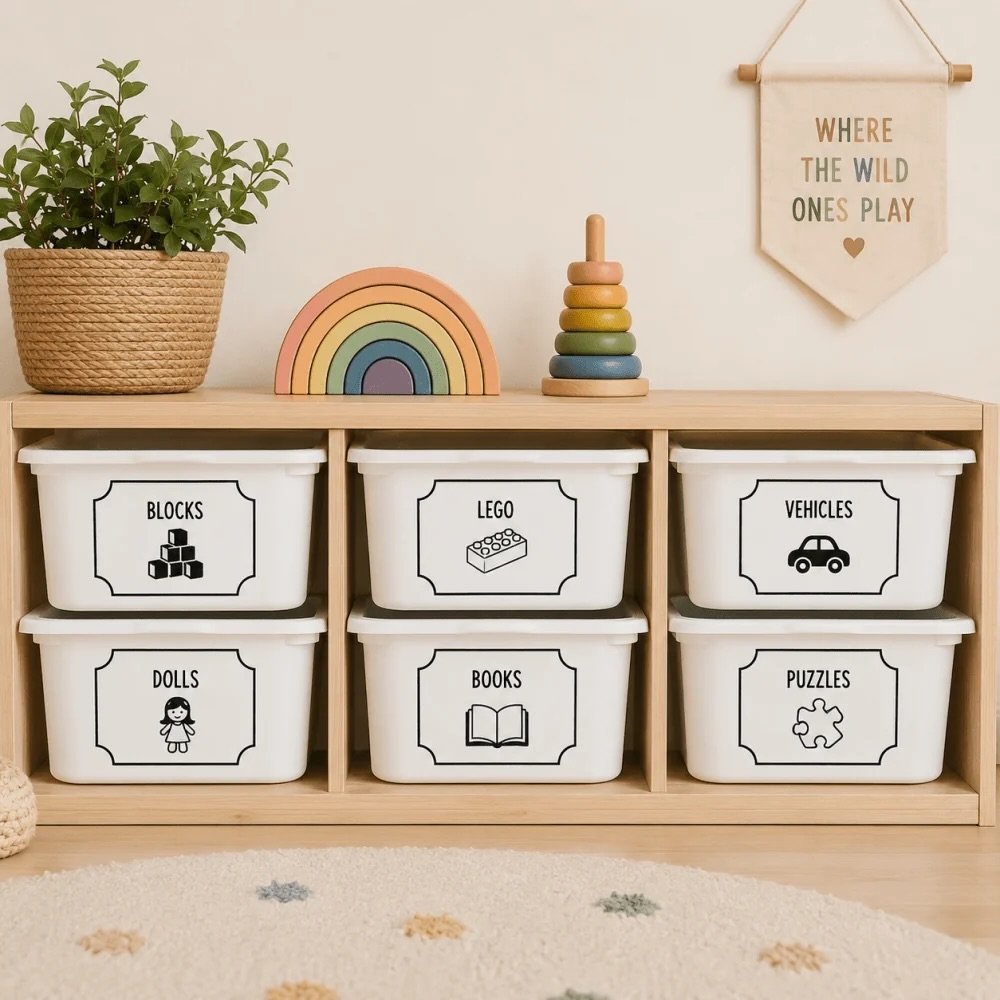
For young children, a picture of the contents, like a small photo of a toy truck on the truck bin, lets them put things away without help. You can print photos on sticker paper, cut pictures from packaging, or use pre-made picture label sets.
Costs range from free to about $15. The trade-off is that you have to update them as the contents change, but kids can quickly learn to follow the system. Pair each picture with a word so reading skills grow alongside tidying habits.
13. Content Lists and QR Codes for Seasonal and Storage Boxes
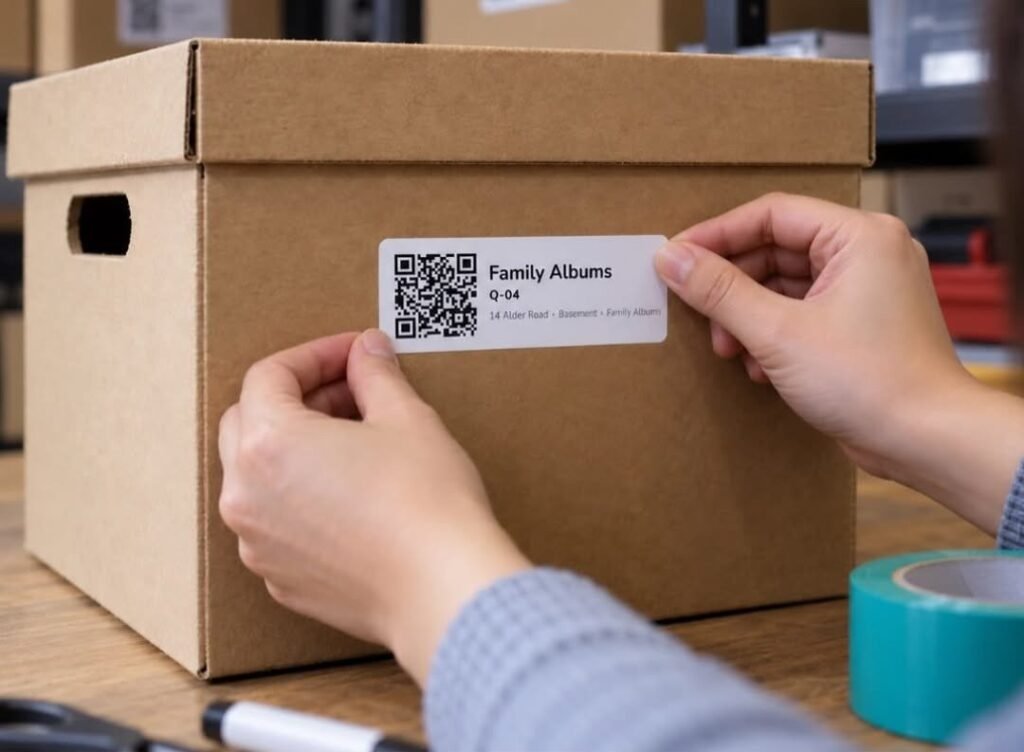
For boxes you rarely open, like holiday decor or memorabilia, a simple numbered system works well: write a number on each box and keep a list on your phone or in a folder of what’s in each. Some people add a QR code that links to a shared note or photo of the contents.
It costs nothing or a few dollars for printable codes. The trade-off is upkeep, since you have to update the list when you add or remove things. It’s worth it for holiday boxes, and my guide to holiday decor storage ideas shows how to pack and store decorations so you can find them quickly. For a garage full of sealed tubs, my guide to garage storage ideas shows where a numbered system pays off most.
The 13 Labeling Systems Compared
| System | Approx. Cost | Looks Polished? | Easy to Change? | Best For |
|---|---|---|---|---|
| Thermal label maker | $20-60 plus tape | High | Medium | Pantry, bins, cables |
| Bluetooth label printer | $30-90 plus tape | High | Medium | Whole-home consistency |
| Printable label sheets | $8-20 | High | Medium | Jars, containers, files |
| Pre-printed waterproof sets | $8-25 | High | Low | Pantry, spices, toiletries |
| Painter’s tape and marker | $4-8 | Low | Very high | Freezer, testing a system |
| Chalkboard labels | $8-20 | High (rustic) | High | Jars, baskets, bins |
| Dry-erase labels | $8-20 | Medium | Very high | Rotating or seasonal storage |
| Slide-in label holders | $10-30 | High | Very high | Shelves, linen closet, bins |
| Hanging tags | $6-15 | Medium to high | High | Baskets and totes |
| Magnetic labels | $8-20 | Medium | Very high | Metal shelves, garage |
| Color-coding | $5-12 | Medium | High | Kids, shared homes |
| Picture labels | Free-$15 | Medium | High | Kids and pre-readers |
| Numbered lists or QR codes | Free-$10 | Low to medium | Medium | Seasonal and storage boxes |
Which Labeling System to Use Room by Room
| Room | Best Labeling Systems | Why |
|---|---|---|
| Kitchen and pantry | Printed or pre-printed waterproof labels, tape for the freezer | Handles moisture and frequent handling |
| Linen closet and bathroom | Slide-in holders, small printed labels | Tidy, easy to update |
| Kids’ room | Picture labels, color-coding | Works for pre-readers |
| Closet and bedroom | Hanging tags, slide-in labels | Looks neat and doesn’t mark fabric |
| Garage and basement | Magnetic labels, numbered lists, bold marker on tape | Durable and easy to read from a distance |
| Office and desk | Printed folder labels, color-coding | Fast to scan, easy to file |
How to Write Labels That Actually Work
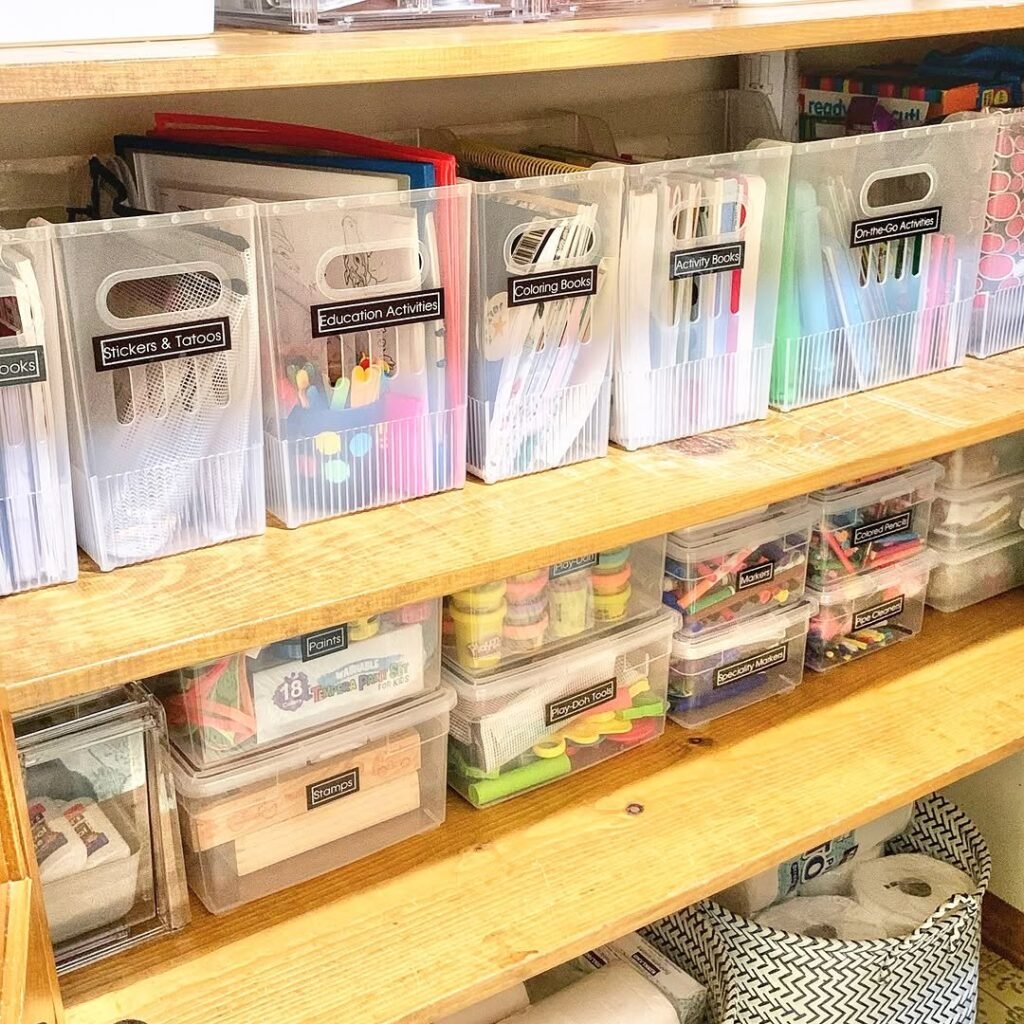
Be specific but short. “Batteries” is better than “misc,” and “AA and AAA batteries” is better still if you have several types. Use one or two words per label, put the most important word first, and keep the wording consistent across the house so everyone learns the system.
Make labels easy to read. Use a clear, simple font, large enough to read from a few feet away, and place labels where your eyes naturally land, usually on the front-top edge of a bin or the front of a shelf. Capital letters read well at a distance, while lowercase can feel more relaxed in living areas.
For food, add a date to anything you store in a fridge or freezer, and keep original labels on products you buy. For household chemicals, never move them into food containers, and keep the manufacturer’s label on every product, since it holds important safety information. Follow the instructions on each product’s label.
What to Label and What to Skip
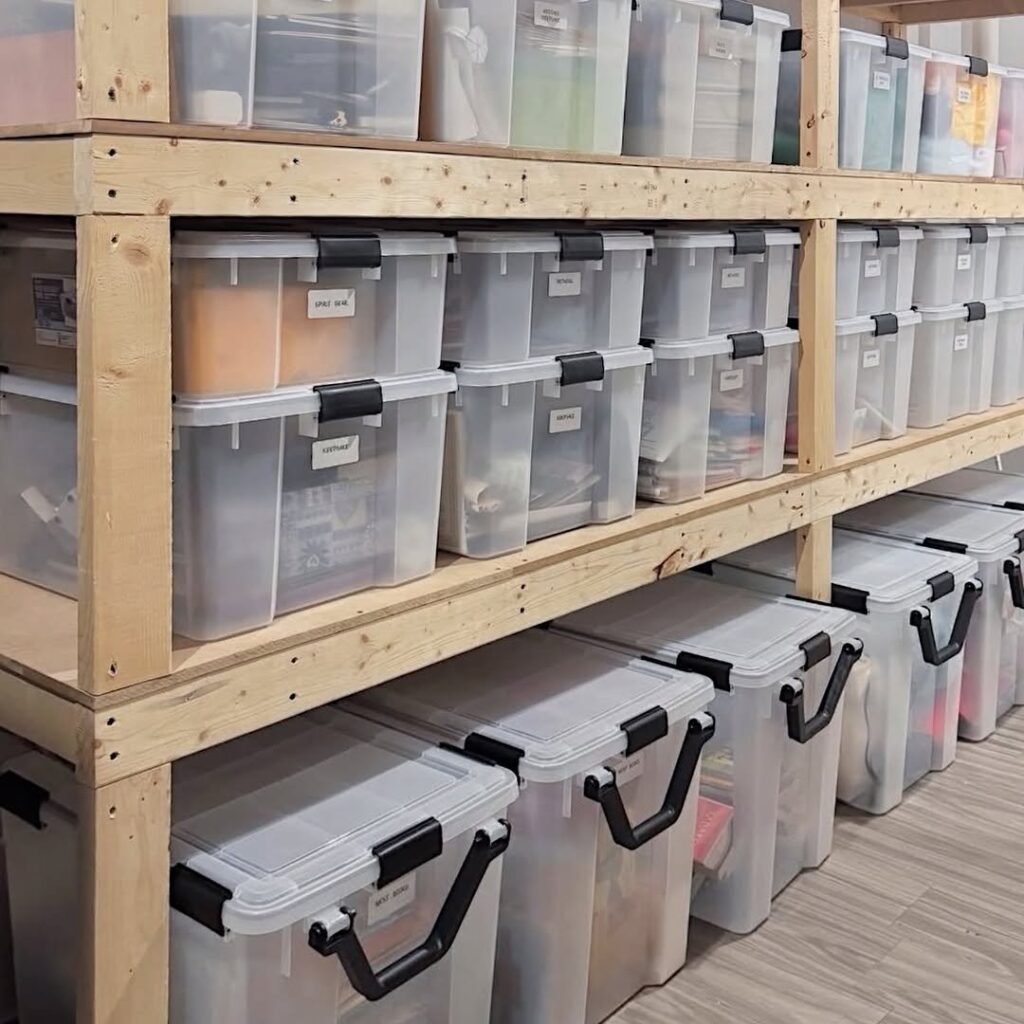
Label anything you store out of sight or share with others: bins, shelves, boxes, freezer items, cables, and keys. Skip labeling things that are obvious, like a clear bin of tennis balls or a shelf of cereal boxes. Too many labels create visual noise and make the home feel like an office supply store.
Start with the spaces that annoy you most, and add labels slowly. A few well-chosen labels beat a house covered in them, and you can always add more when a real need appears.
Mistakes That Make Labels Useless
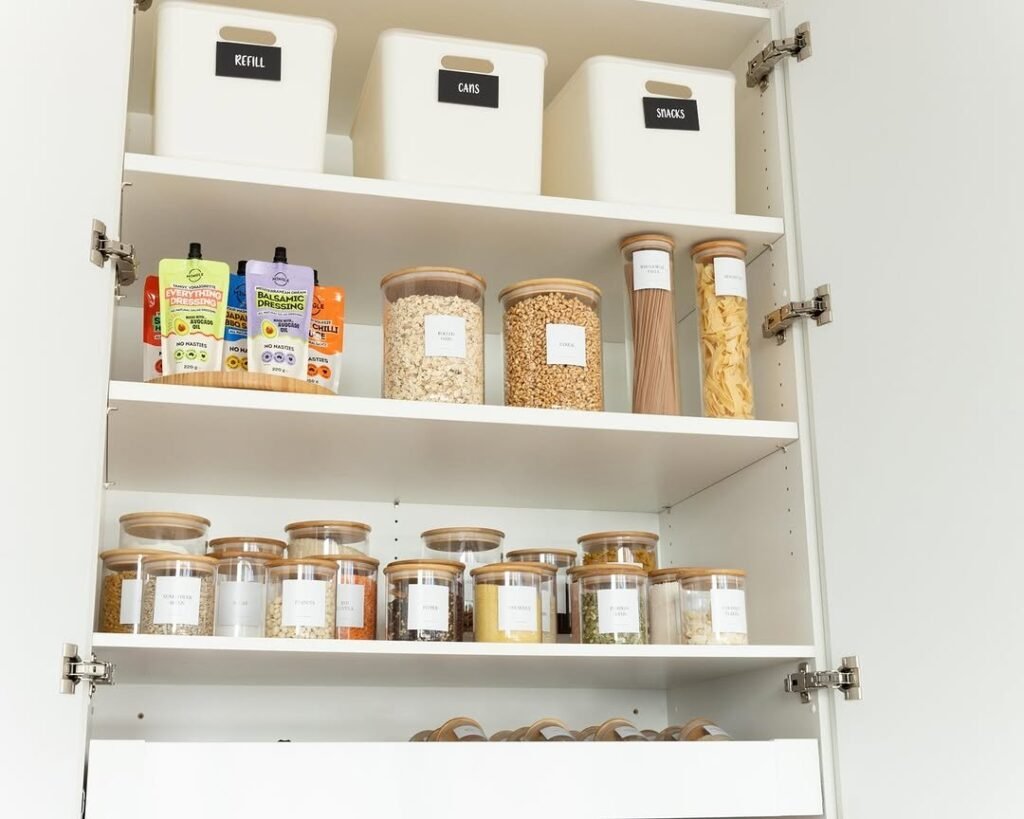
The biggest mistake is labeling before decluttering, which locks in a system for things you shouldn’t keep. The second is vague labels like “stuff” or “misc,” which become a dumping ground. The third is using adhesive that peels or leaves residue, and the fourth is making a system so complicated that only you understand it.
Another common trap is mismatched styles. Using four different label types in the same room can look chaotic. Choose one system per room, stick with it, and test one shelf before you label the whole space.
What I’d Do First if I Were Starting Over
I’d start with a roll of painter’s tape and a marker, label one cabinet, and live with it for two weeks. If the system worked, I’d upgrade to printed labels for that space. That costs about $5 to test, and it would have saved me the months I spent with an expensive label maker and a bin full of “misc.” Then I’d choose one system, whether thermal labels or slide-in holders, and use it consistently.
The best labeling systems for an organized home aren’t the fanciest, they’re the ones you’ll actually keep up with. Pick one that suits the room, write clear, specific words, and let the labels do their quiet job of making tidying faster for everyone who lives there.
FAQs
What is the best labeling system for a pantry?
Printed or pre-printed waterproof labels on clear containers work well, since they handle moisture and frequent handling. Add a date label or tape for anything that changes often, like leftovers.
Do I need a label maker to organize my home?
No. Painter’s tape and a marker work well, and you can upgrade later. Test your system with free or cheap labels first so you know what you need before spending money.
What labels work best on bins and baskets?
Slide-in label holders, hanging tags, and adhesive printed labels all work. Choose based on the material: holders for plastic bins, tags for woven baskets, and adhesive labels for smooth surfaces.
How do I label things for kids who can’t read yet?
Use picture labels or color-coding, ideally paired with a word. A small photo of the contents on the bin lets kids put things away on their own.
How do I keep labels from peeling or fading?
Clean and dry the surface first, press the label down firmly, and choose a water-resistant material for kitchens and bathrooms. Avoid labeling very textured or damp surfaces with standard sticker labels.
How much does it cost to label a whole house?
You can start for about $5-20 with tape and a marker or a set of printable labels. A label maker and tape cost about $30-80, and a fuller system with holders and tags can reach $100 or more, depending on the size of your home.







Leave a Reply