
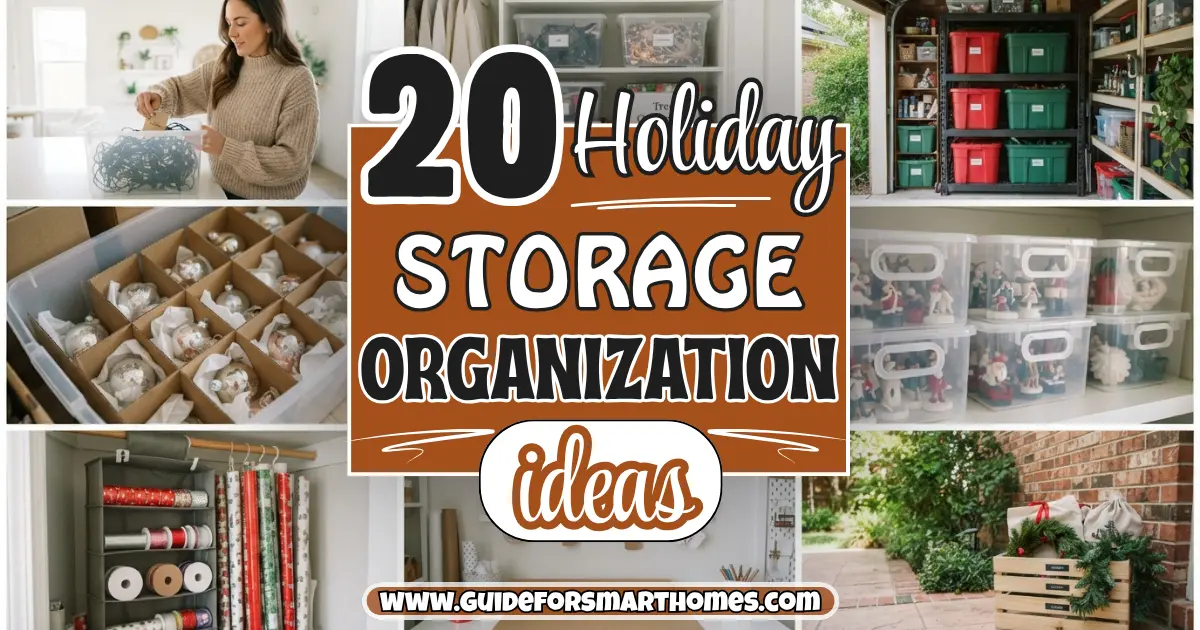
Every January I used to throw my holiday decorations into whatever box was closest and shove it into the closet. Every November I’d pay for it. One year I spent forty minutes untangling a single string of lights, only to plug it in and watch half of it stay dark. I also found a glass ornament my grandmother gave me, cracked in two, because it had been sitting under a heavy box of wrapping paper. That was the year I decided there had to be a better way to store holiday decorations.
There is, and it doesn’t require a fancy system or a lot of space. The best holiday storage organization ideas come down to three things: pack things so they survive the year, label them so you can find them, and store them in a spot that doesn’t ruin them. When you do that, decorating season starts with a quick unpack instead of a scavenger hunt, which is especially helpful if you’re working with a small space like the one I cover in my guide to small apartment Christmas decor.
Below are 20 ideas, from sorting and packing through specific tips for ornaments, lights, trees, and linens, to choosing the right storage spot. There’s a bin comparison table, a table on where to store things, and FAQs at the end. Prices are rough ranges and vary by store, so check current listings before you buy.
1. Take Inventory Before You Pack Anything
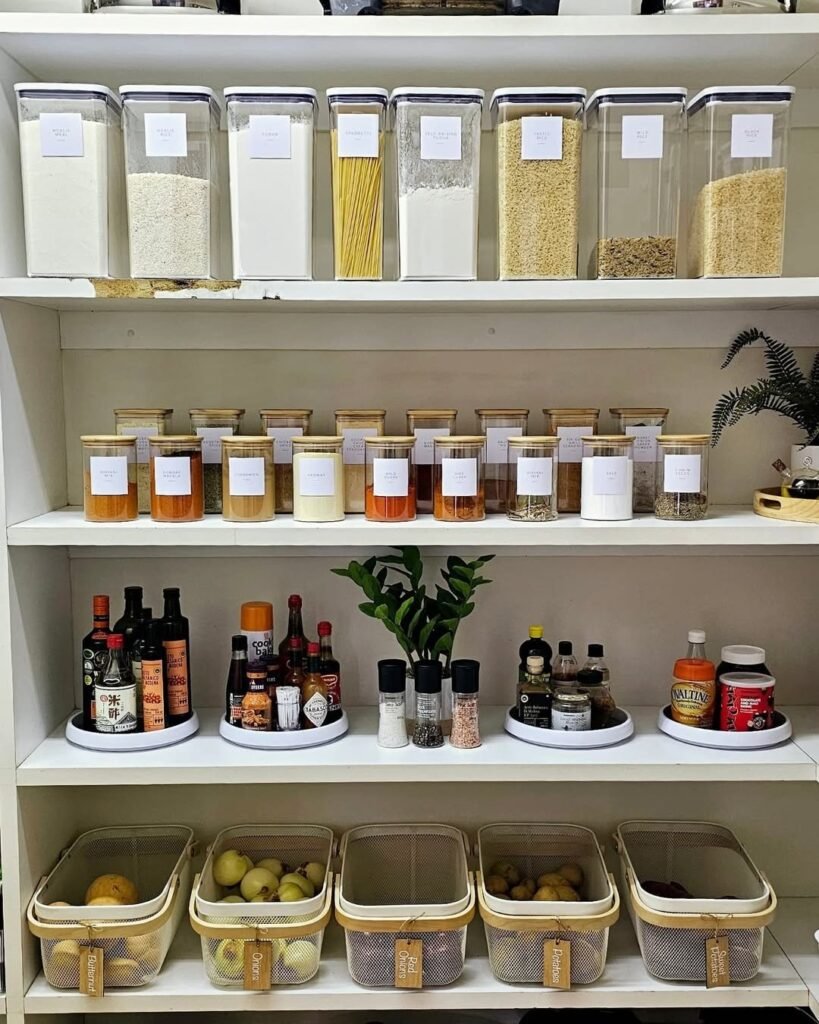
Before you buy a single bin, find out what you actually own. Pull out every decoration, spread it on a table or the floor, and group it by holiday and by type. You’ll probably discover duplicates, broken pieces, and things you forgot you had.
Take a quick photo of the groups, or write a short list on your phone. It makes buying the right number of bins much easier and helps you avoid buying a fourth set of white lights.
Pro tip: Do this while you’re taking decorations down, not months later. Everything is already out, and you remember what you actually used this season.
2. Declutter as You Pack
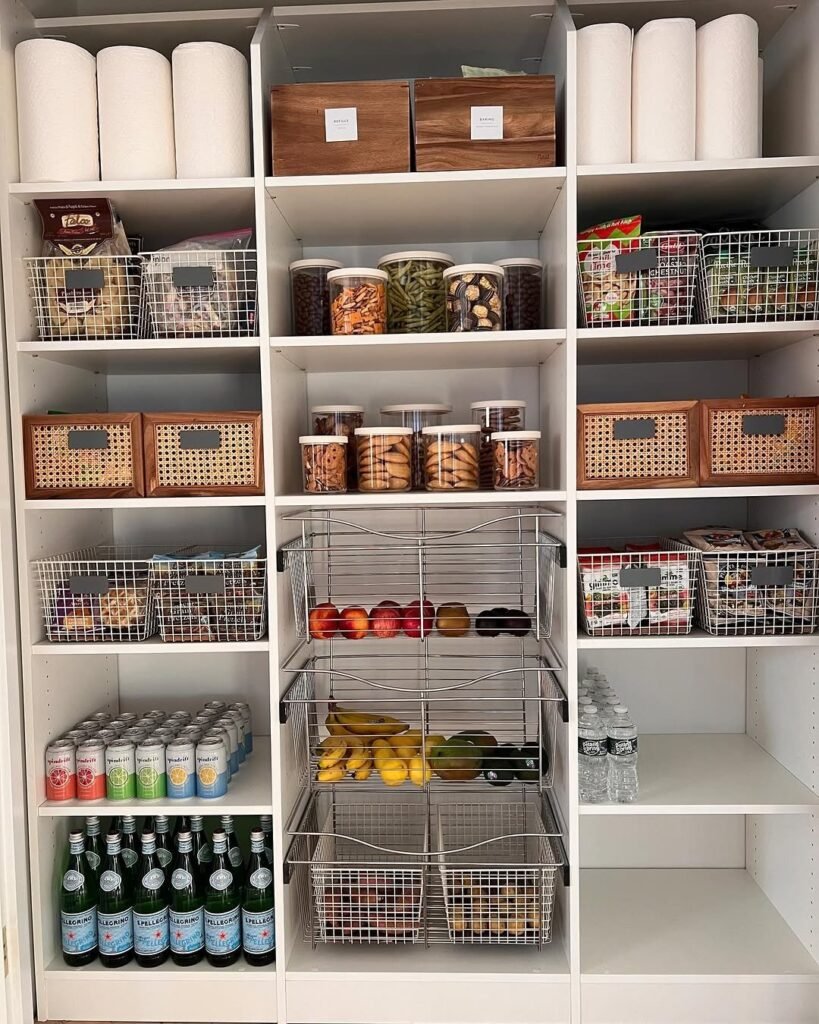
Packing is the best time to edit. If you didn’t use something this year, if it’s broken, or if you didn’t love it, it doesn’t go back in the box. Set up a donation bag next to your bins and make the decision in the moment.
A good rule of thumb is that if you wouldn’t buy it again today, let it go. You’ll thank yourself next year when the bins are lighter and the good stuff is easy to find.
3. Pack Soon After the Holiday, Not in Spring
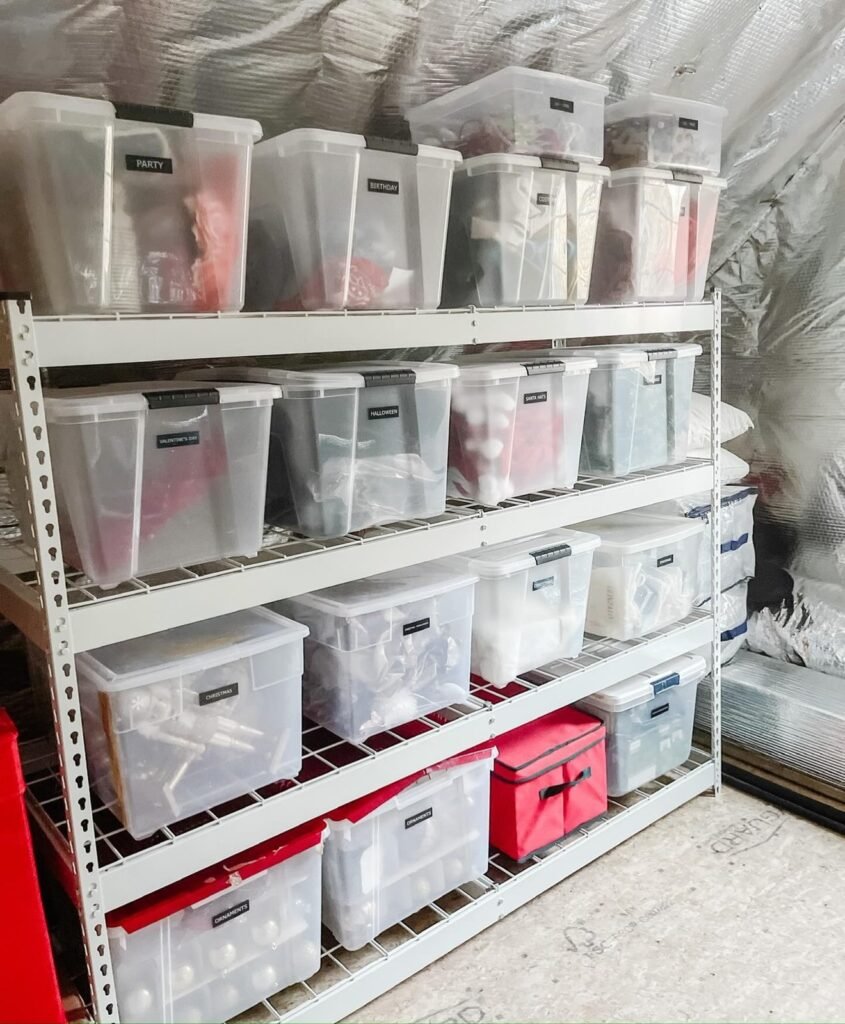
The longer you wait, the messier it gets. Decorations drift around the house, lights get tangled in their own piles, and small pieces go missing. Aim to pack within a week or two of the holiday while you still remember where everything goes.
Clear one afternoon, put on music, and do it all at once. It’s much faster than doing a little at a time over several weeks.
4. Use One Bin Per Holiday
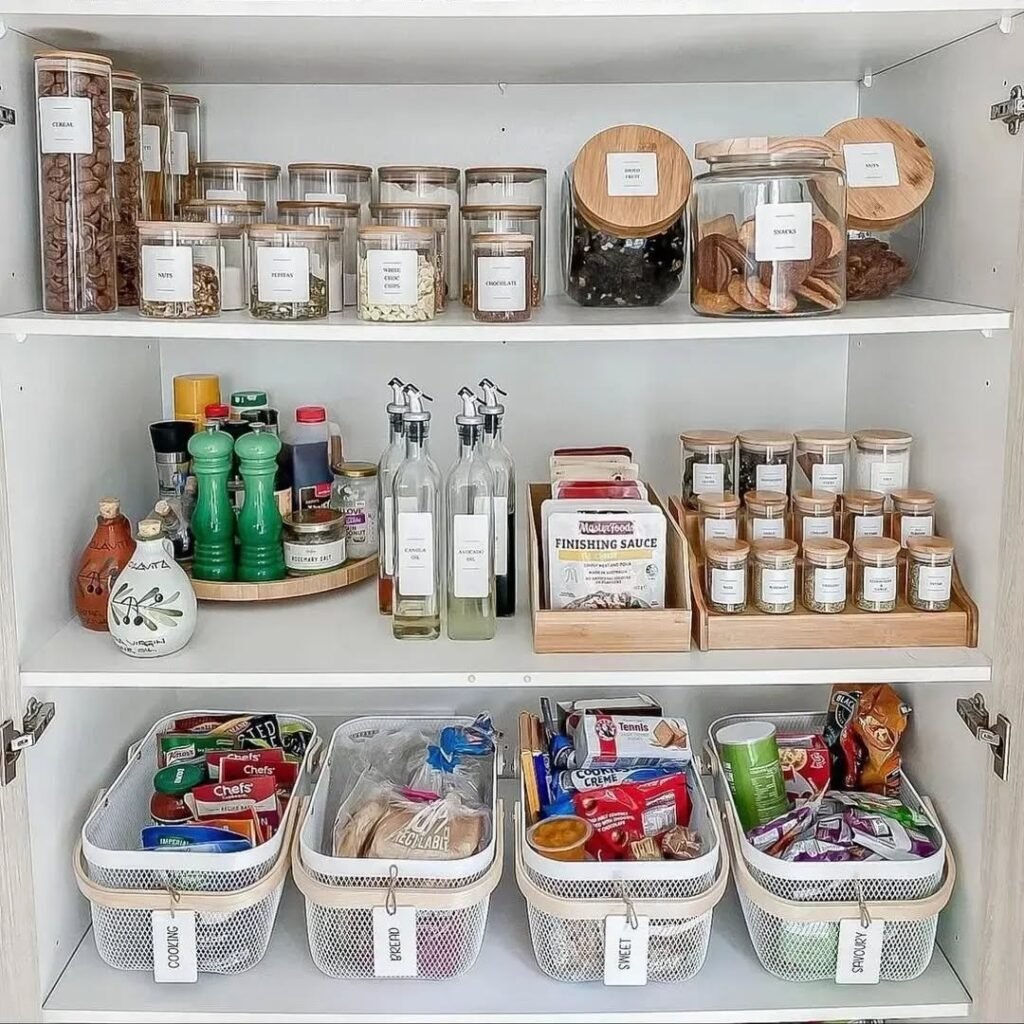
Giving each holiday its own bin or set of bins is the simplest system there is. Christmas gets its own, Halloween gets its own, Easter gets its own. When the time comes, you grab one bin instead of digging through three.
Keep a small “first out” box for each holiday with the things you use first, like lights and a tablecloth. It saves you from unpacking everything just to find the basics.
5. Color Code Your Bins
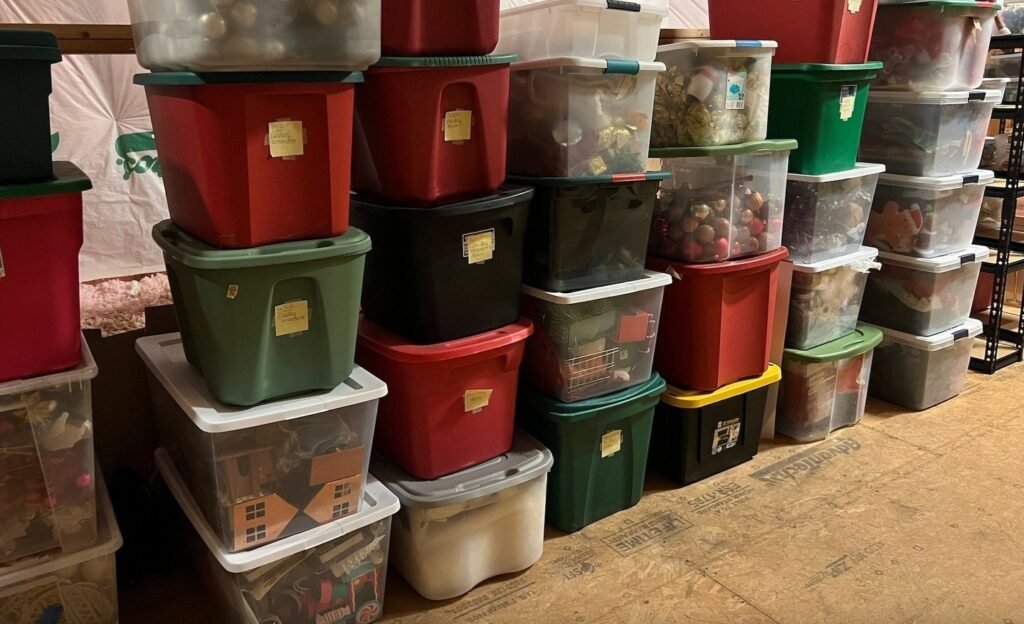
Color coding is a visual shortcut that works even when you’re tired. Use red lids for Christmas, orange for Halloween, pastels for spring, and so on. If you can’t find colored bins, colored tape or a bright sticker on the lid works just as well.
It’s especially useful when bins are stacked on a high shelf and you can’t read the labels from the floor. A quick glance tells you which one to pull down.
6. Label the Front and the Side, and Add a Contents List
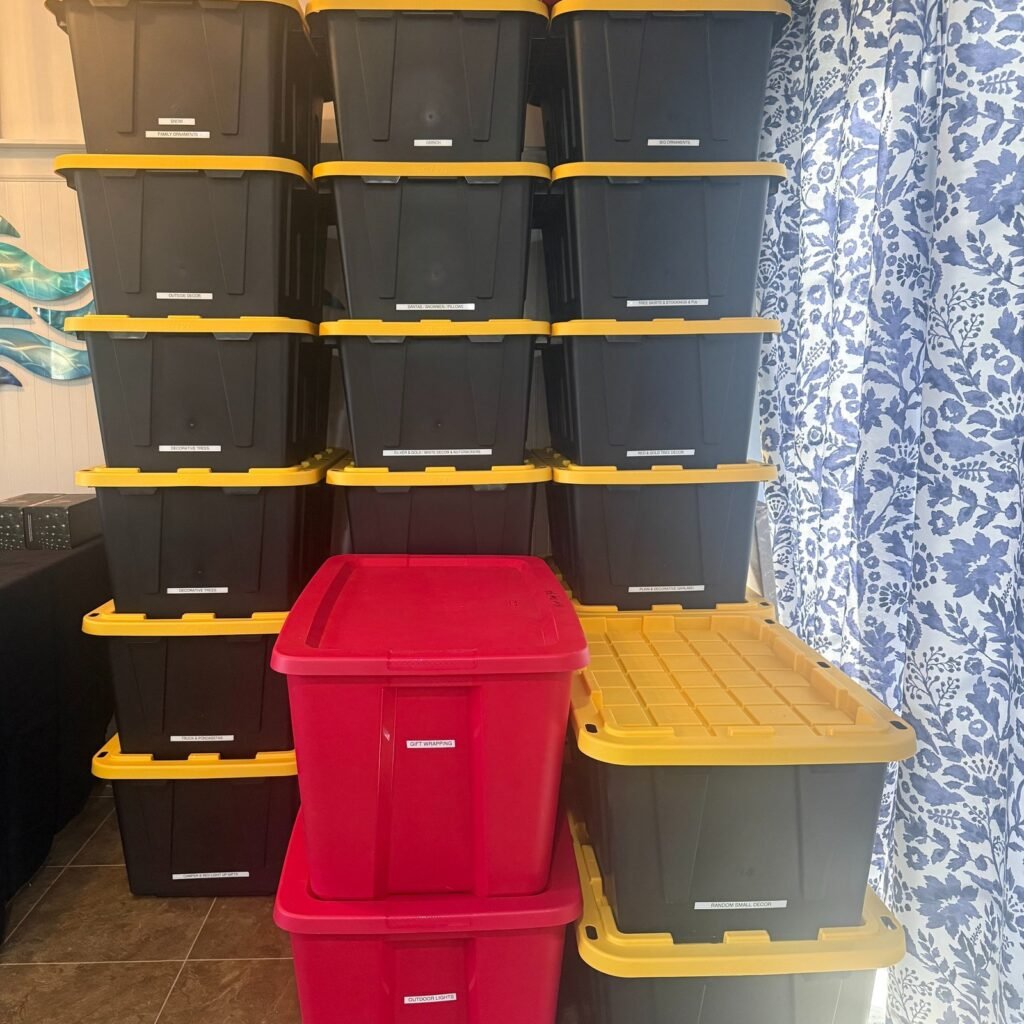
A label on the lid is useless when the bin is stacked. Put a label on the front and the side, and write the holiday and a short list of what’s inside. “Christmas: tree skirt, stockings, ornaments (glass)” saves a lot of guessing.
Tape a more detailed list inside the lid, or keep a master list in your phone notes. When you can see what’s in every bin without opening it, you’ll also notice what you need to replace.
7. Choose the Right Size and Weight
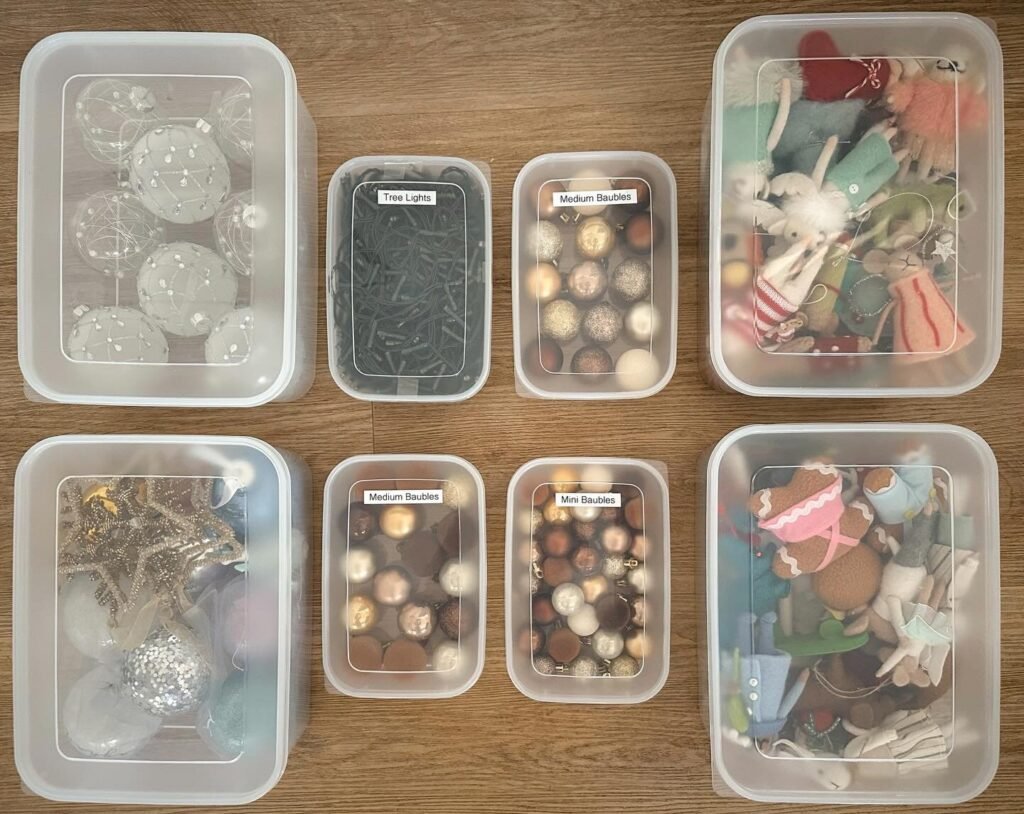
Giant bins are tempting, but they get heavy and awkward when full. Choose bins you can comfortably lift and carry, often in the medium range, and avoid overfilling them. A bin that’s too heavy to move won’t get moved, and it’s a back injury waiting to happen.
Prices range from about $5-25 per bin. Look for sturdy lids that snap shut, and stick to one or two sizes so they stack neatly.
Storage Bin Types Compared
| Bin Type | Approx. Cost | Best For | Watch Out For |
|---|---|---|---|
| Clear plastic with snap lid | $5-25 | Most decorations, easy to see inside | Light can fade some items over time |
| Opaque plastic | $5-25 | Items sensitive to light, a tidier look | Needs good labels |
| Wheeled or tall tote | $15-45 | Trees, wreaths, long items | Bulky, needs more shelf space |
| Fabric storage bag | $10-30 | Trees, garland, soft items | Less protection from moisture and pests |
| Specialty boxes (ornament, wreath, wrap) | $10-40 | Fragile or oddly shaped items | Single-purpose, can be pricey |
| Cardboard boxes | Free | Short-term only | Moisture, pests, and collapsing over time |
8. Protect Ornaments With Dividers or Cups
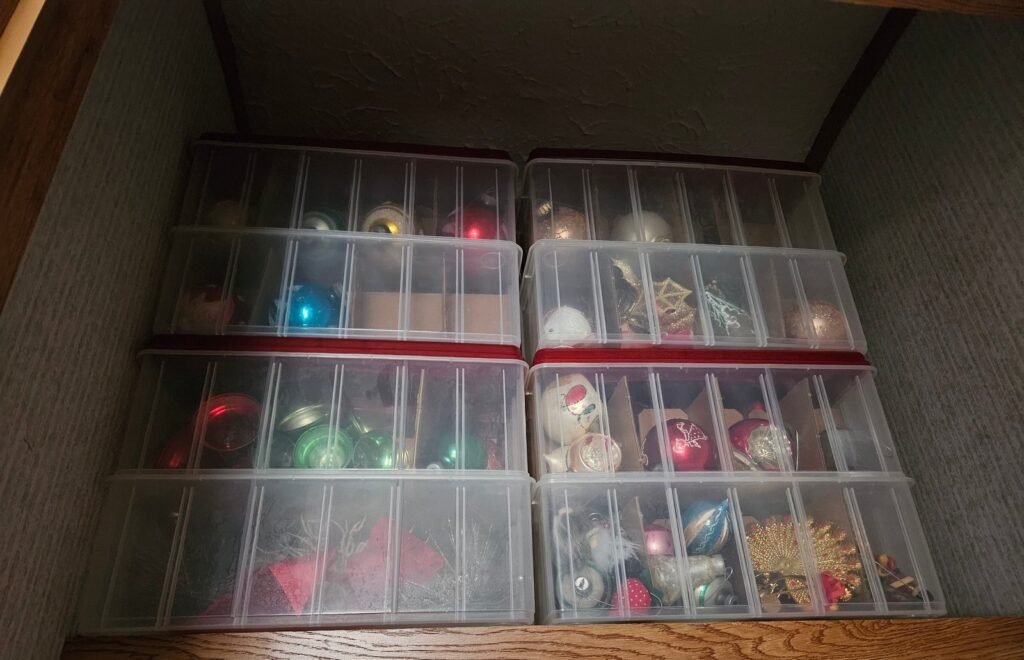
Ornaments crack when they bump against each other. A divided ornament box has a slot for each one and is worth the money for glass pieces. If you don’t want to buy a box, use a sturdy bin with cardboard dividers, or nestle each ornament in an empty egg carton or a plastic cup.
Wrap special or fragile ornaments in acid-free tissue paper or soft cloth. Avoid newspaper for anything delicate, since the ink can transfer. Keep the heaviest pieces on the bottom and the lightest on top.
9. Store Wreaths Flat or Hanging
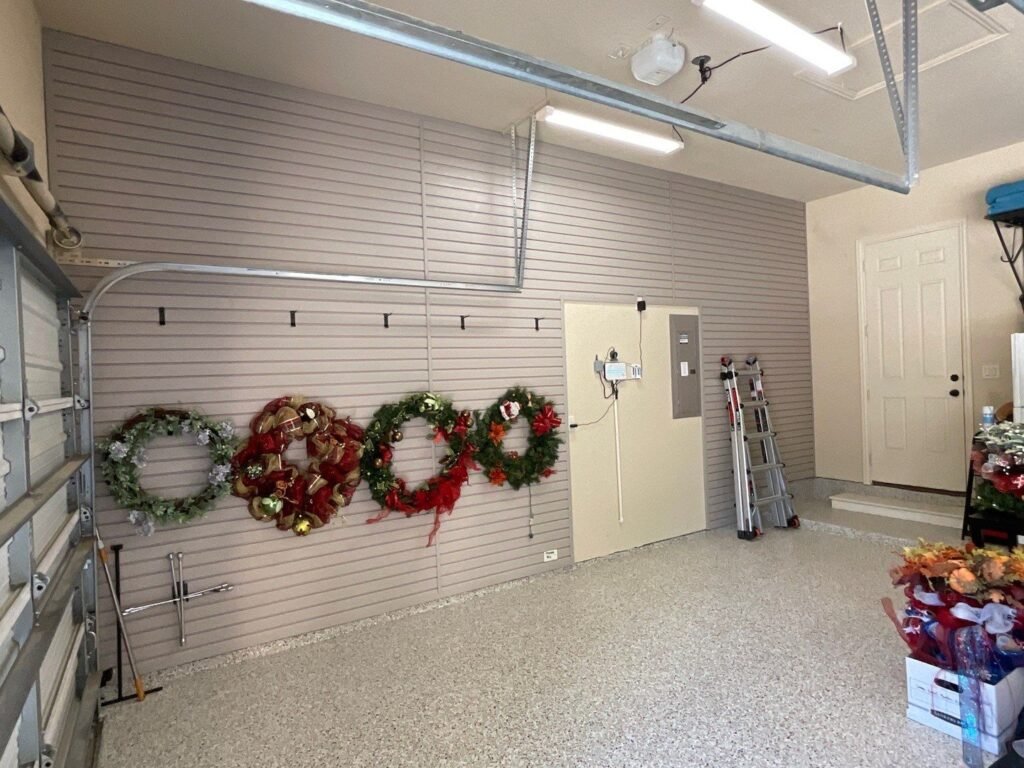
Wreaths get crushed when they’re stuffed into a corner. A wreath storage box protects the shape, or you can hang them on hooks inside a closet or on the back of a door, covered with a garment bag or a large trash bag to keep dust off.
A box costs about $15-35. If you have several, hanging them is often the cheapest and easiest option.
10. Store Your Artificial Tree So It Opens Easily
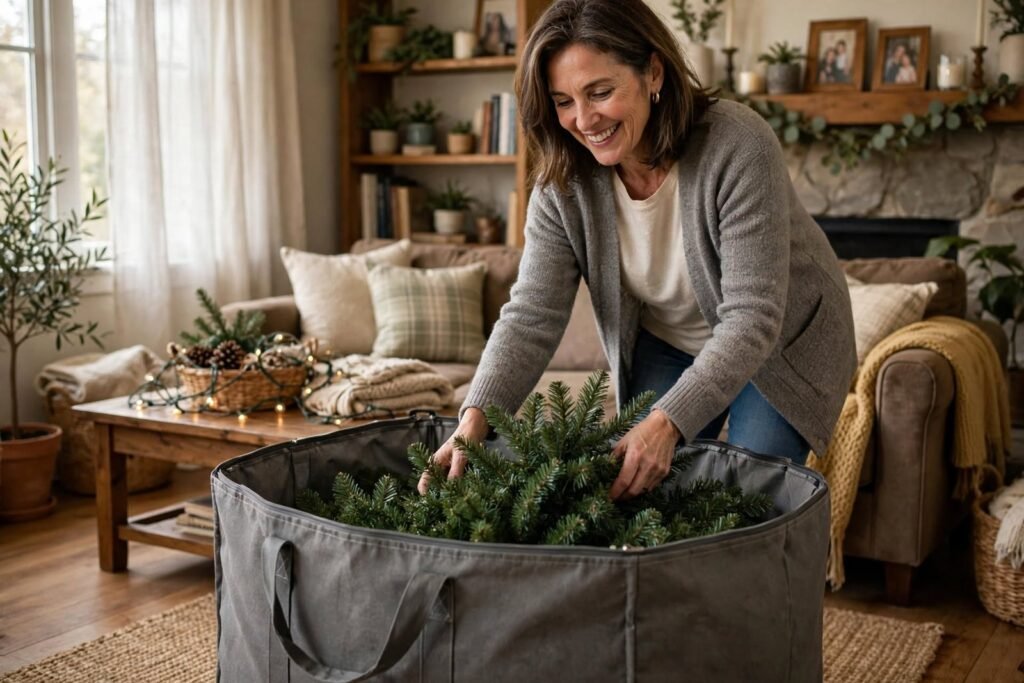
The original box is often the best option if it’s still in good shape, but many aren’t. A tree storage bag with handles or a wheeled tote is easier to move and takes less space. Disassemble the sections, fold the branches down, and wrap the tree with a strap to keep it compact.
Keep the stand and the extra bulbs in a labeled bag taped to the tree or in the same bin, so you’re not hunting for them in November. Bags cost about $15-40.
11. Tame String Lights Before They Tame You
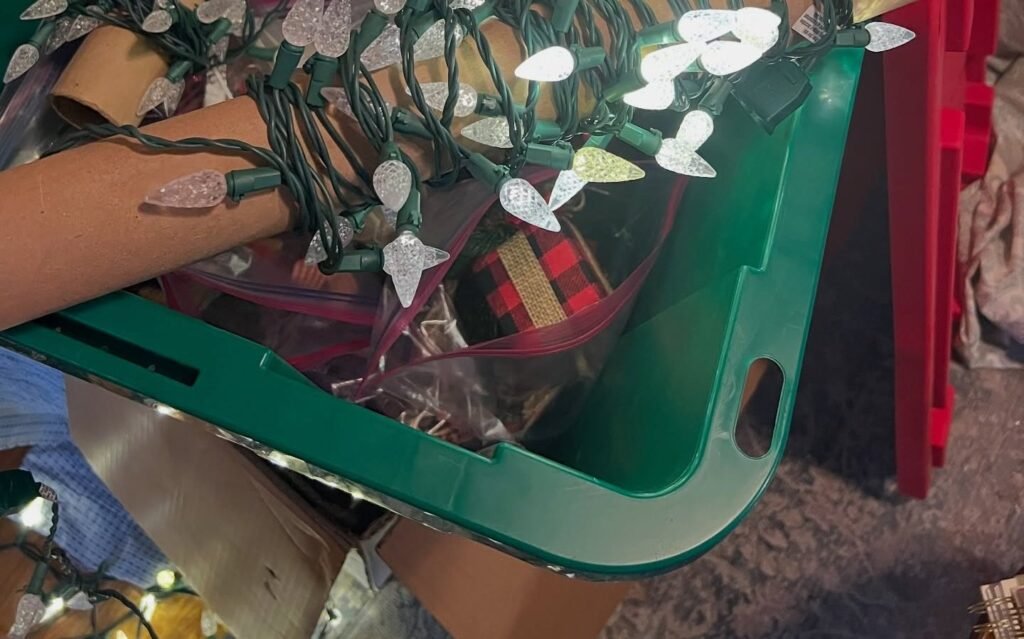
Tangled lights are the most common holiday storage problem. Wrap each string around a piece of sturdy cardboard, a hanger, or a dedicated light reel, and secure the ends so they don’t unravel. Store each string in its own sealed bag or compartment.
Test every string before you put it away, and throw out any that don’t work. A friend of mine, Rhea, wraps hers around a cut-up cereal box and says she hasn’t had a tangle in three years. Reels cost about $10-25, but cardboard is free.
12. Store Gift Wrap Vertically or Under the Bed
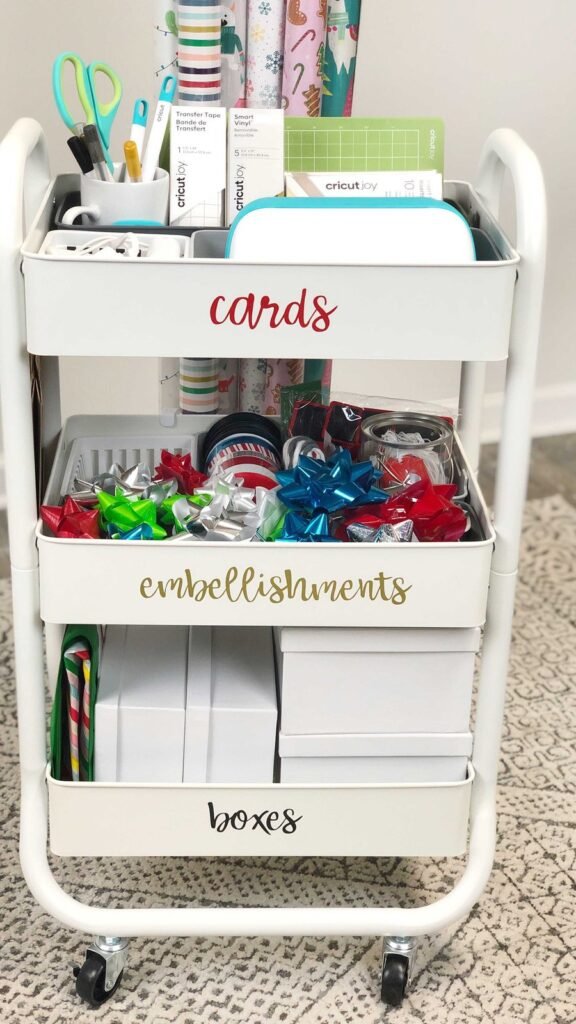
Wrapping paper rolls are long and awkward, and they crush easily. A tall wrapping paper bag, a dedicated under-bed box, or even a narrow bin stood on end keeps them flat and tidy. Keep ribbon, tape, scissors, and tags in a small caddy so you can wrap everything in one spot.
Under-bed storage is a great use of dead space. A gift wrap organizer typically costs $15-40, and a shallow under-bed box is similar.
13. Fold Linens and Tablecloths With Care
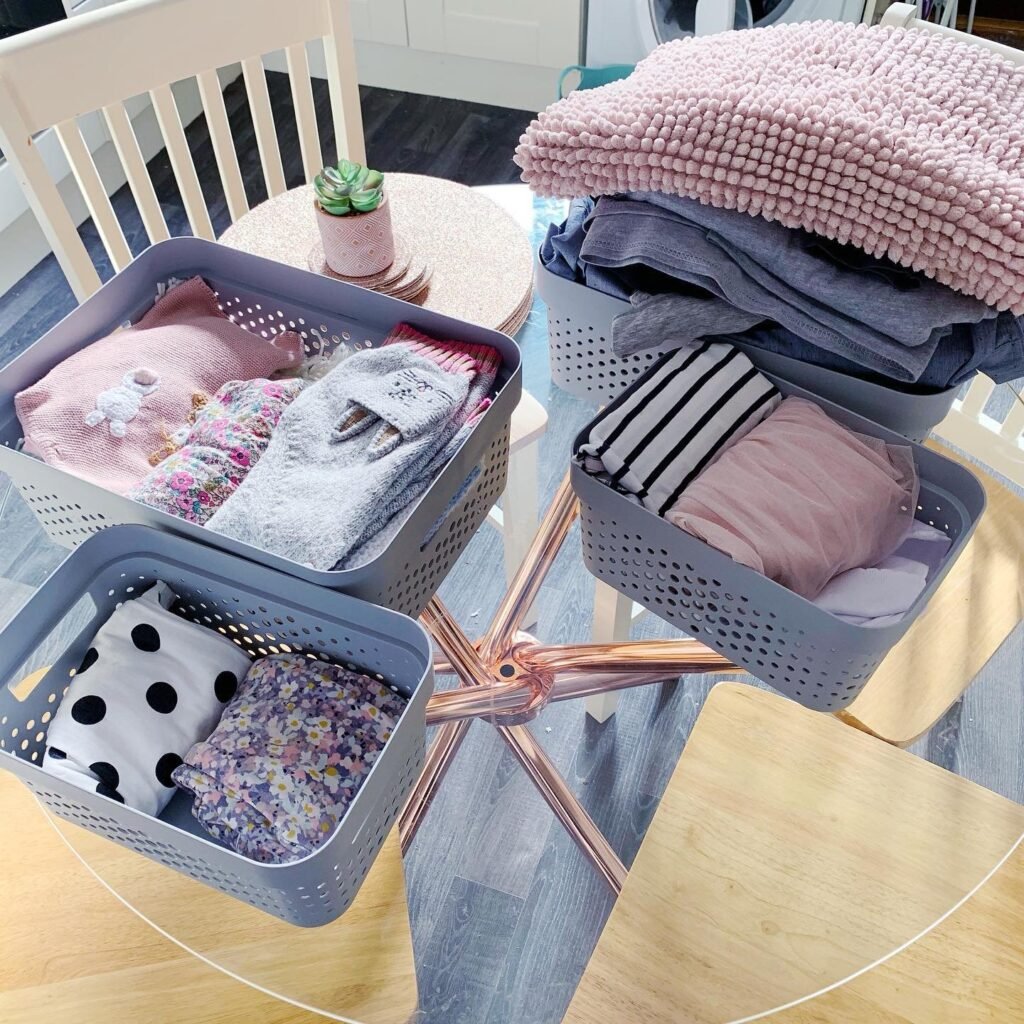
Wash and fully dry tablecloths, runners, and holiday towels before you store them. Stains set over time, and damp fabric can develop mildew. Fold them neatly, or roll them to reduce creases, and place them in a lidded bin or a breathable fabric bag.
Store them with a small packet of cedar or a lavender sachet if you like, and avoid plastic bags that trap moisture. Keep seasonal linens with the rest of your holiday supplies so setting the table is quick.
14. Pad Holiday Dishes and Glassware
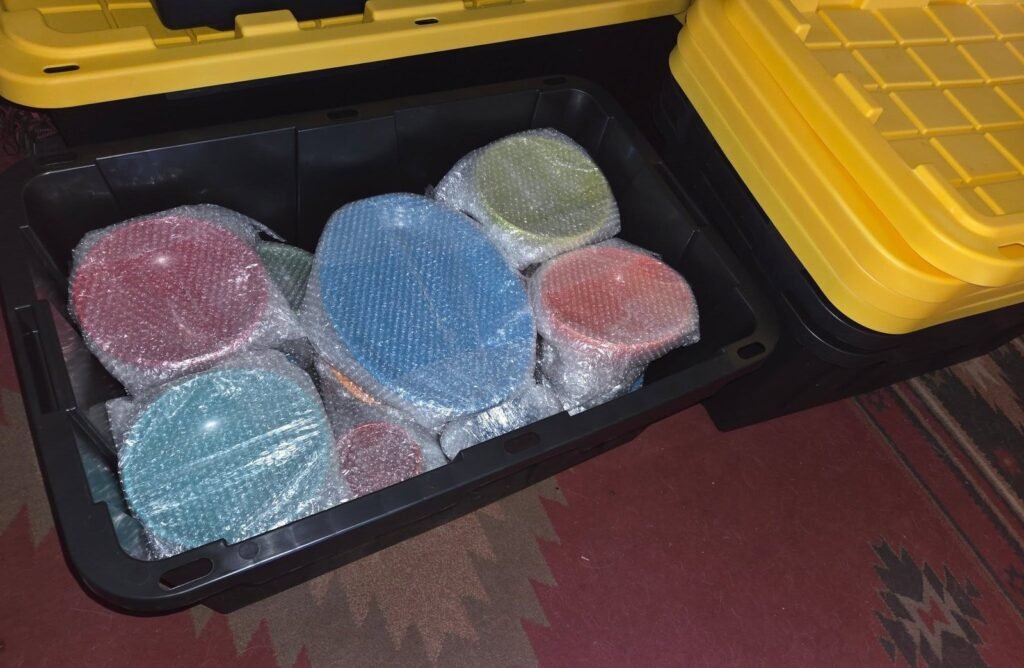
Holiday dishes are among the most breakable things you own. Use dividers or foam sleeves between plates and bowls, and wrap glasses in soft cloth or paper. Stack plates on their edges rather than flat, which spreads the weight and reduces breakage.
A divided dish storage case costs about $20-50. Keep heavy dishes in smaller bins so they’re easy to carry, and label each bin as fragile.
15. Handle Fragile and Sentimental Pieces Separately
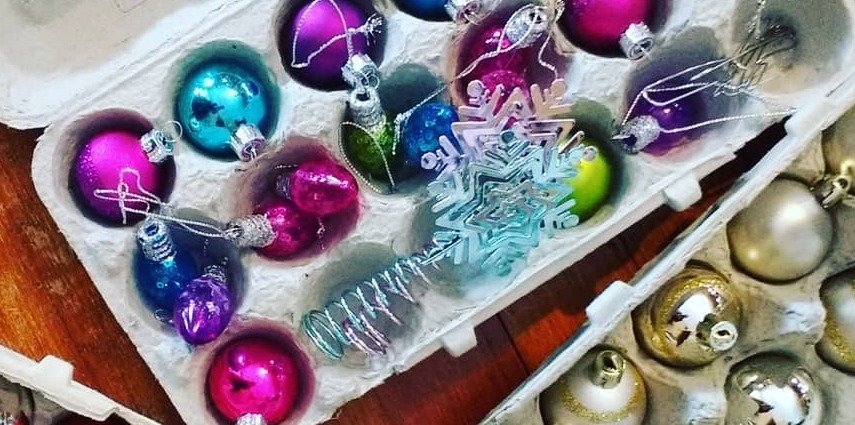
Heirloom ornaments, handmade items, and family keepsakes deserve their own container. Wrap each piece, label the box with the story or the owner’s name, and store it somewhere safe from heat and damp. It’s worth the extra effort for things that can’t be replaced.
Take a photo of each piece before packing, in case anything is damaged or lost. It also makes it easier to share the memory later.
16. Take Out Batteries and Store Candles Carefully
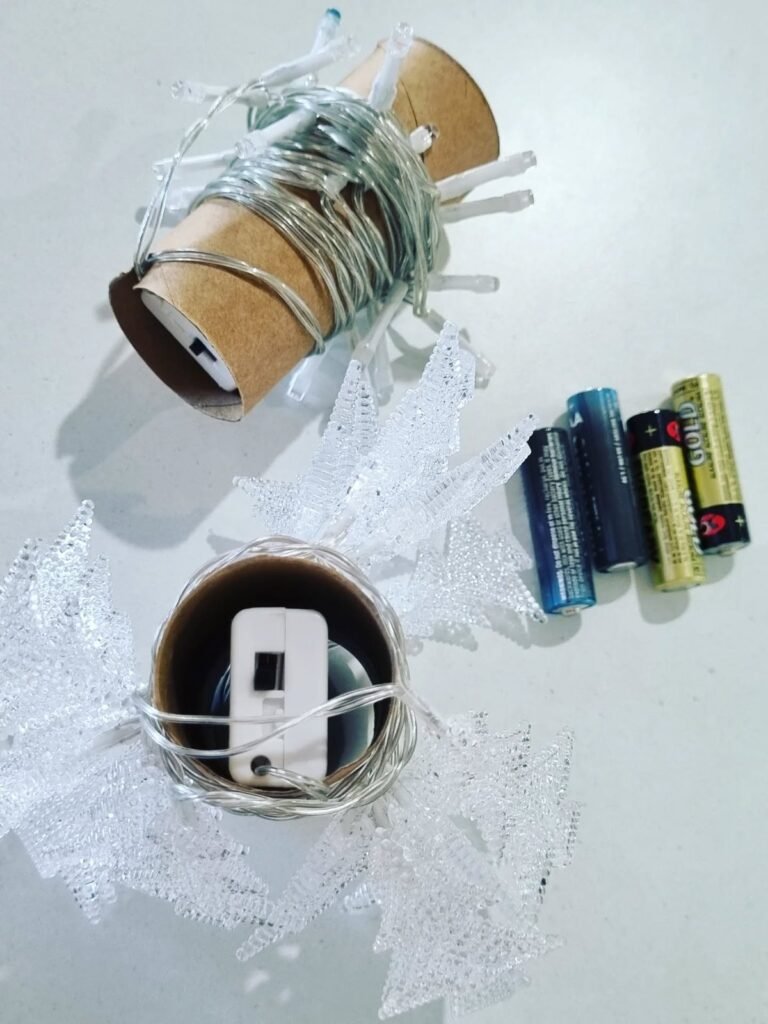
Batteries can leak and corrode battery-powered decorations over time, so remove them before storing anything. Keep them in a small labeled bag. Wax candles can warp or melt in heat, so store them in a cool spot, ideally inside a bin away from direct sun.
Keep any scented items sealed, since the smell can transfer to fabric, and keep matches and lighters out of reach of children. When in doubt, follow the manufacturer’s storage instructions for each product.
17. Pick the Right Spot: Temperature and Moisture Matter
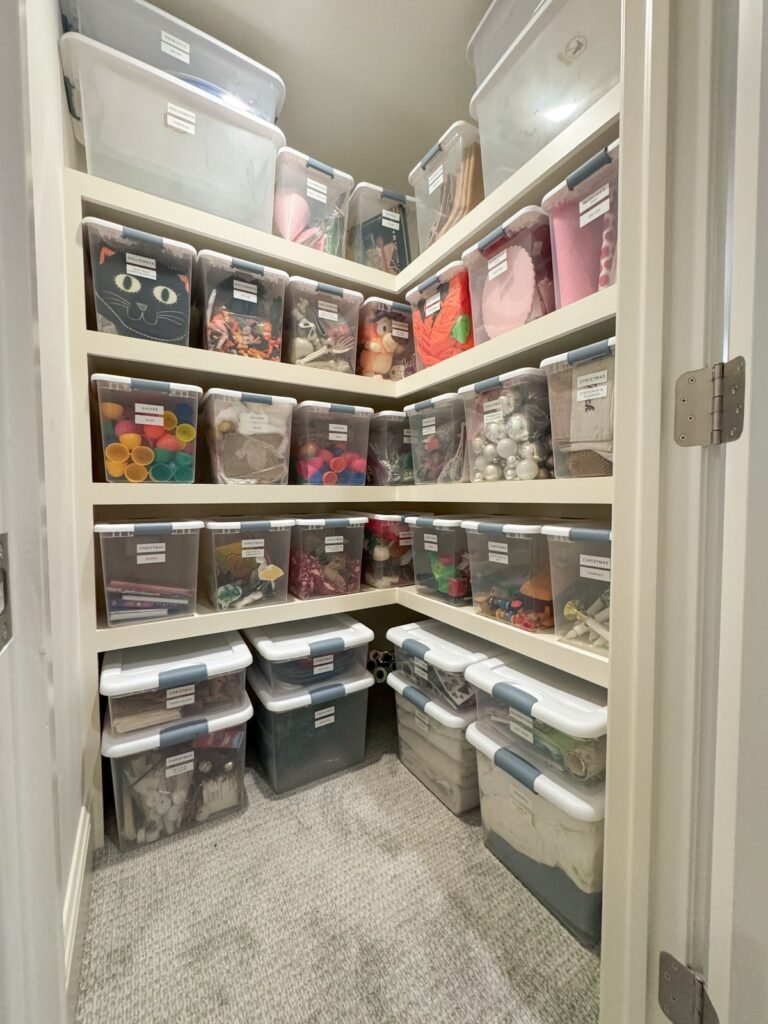
Where you store things matters as much as how. Hot attics can warp plastic and melt wax, damp basements can cause mold and rust, and unsealed garages can invite pests. A cool, dry, stable spot, like an interior closet or a dry basement shelf, is usually best.
Where to Store Holiday Decor: A Quick Comparison
| Location | Pros | Cons | Best For |
|---|---|---|---|
| Interior closet | Stable temperature, easy access | Limited space | Fragile items, small collections |
| Under the bed | Uses dead space | Limited height | Gift wrap, linens, flat items |
| Garage | Lots of space | Heat, cold, moisture, pests | Sturdy items in sealed bins |
| Attic | Out of the way | Extreme heat and cold | Durable items only |
| Basement | Cool, often spacious | Dampness and flooding risk | Items in sealed bins, off the floor |
| Storage unit | Frees up your home | Monthly cost, less convenient | Large collections |
18. Keep Bins Off the Floor
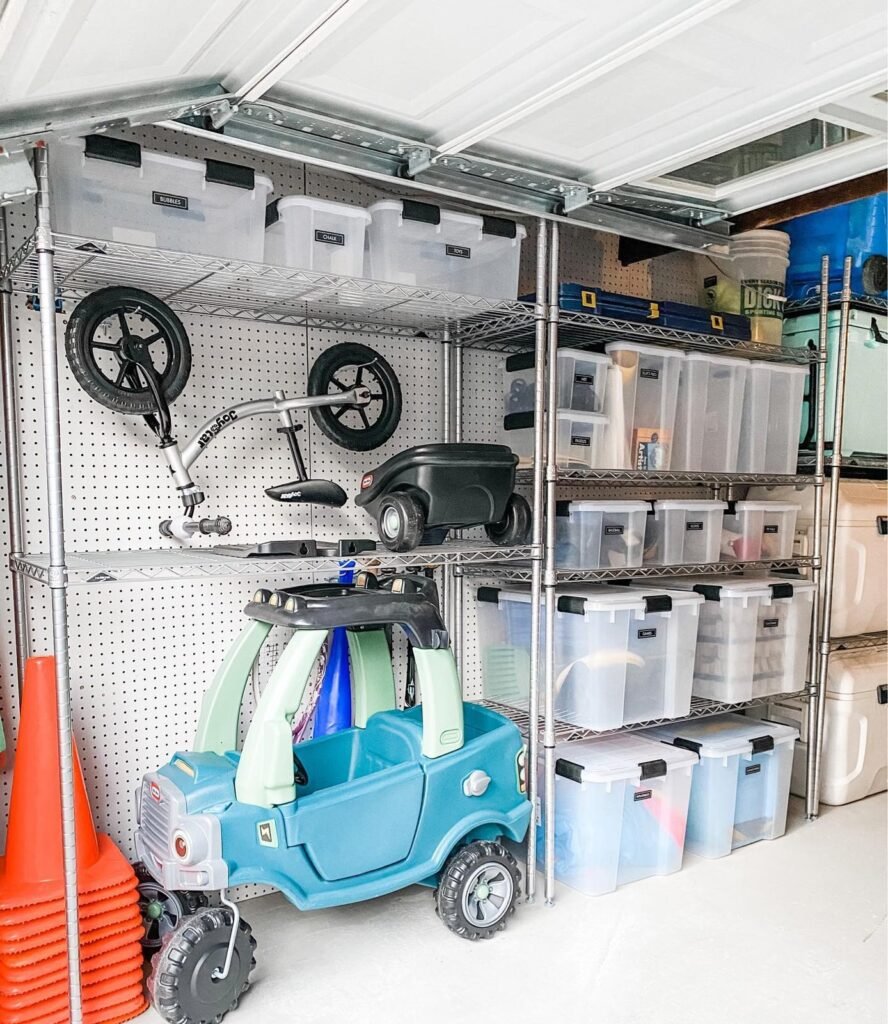
Even in a dry space, floors can be damp, dusty, or at risk of leaks. Put bins on a shelf, a pallet, or risers, and leave a little gap from the wall for airflow. This is particularly important in garages and basements, where a small amount of water can ruin a lot of decorations.
If you’re using the garage, my guide to garage storage ideas covers shelving, racks, and ways to keep things protected from moisture and pests.
19. Use Vertical and Overhead Space
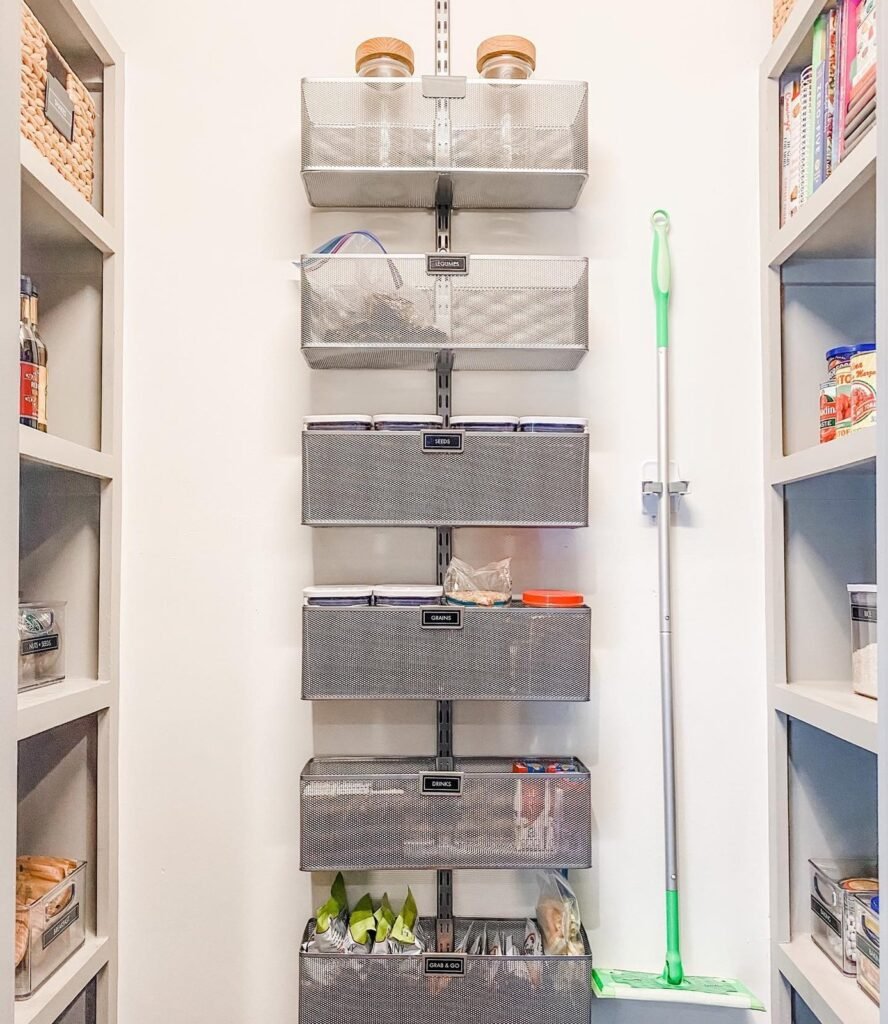
Holiday decorations are used for a few weeks a year, so they belong on the highest, hardest-to-reach shelves. Tall shelving, wall-mounted racks, and overhead storage keep them out of your daily space. Put the lightest bins on top and the heaviest on the bottom.
If you live in a small space, going up is often your only option, and my guide on how to maximize vertical space in a small apartment shows safe, renter-friendly ways to do it. Always check weight limits and use a sturdy step stool when you reach for bins.
20. Make Closets and Small Spaces Work for You
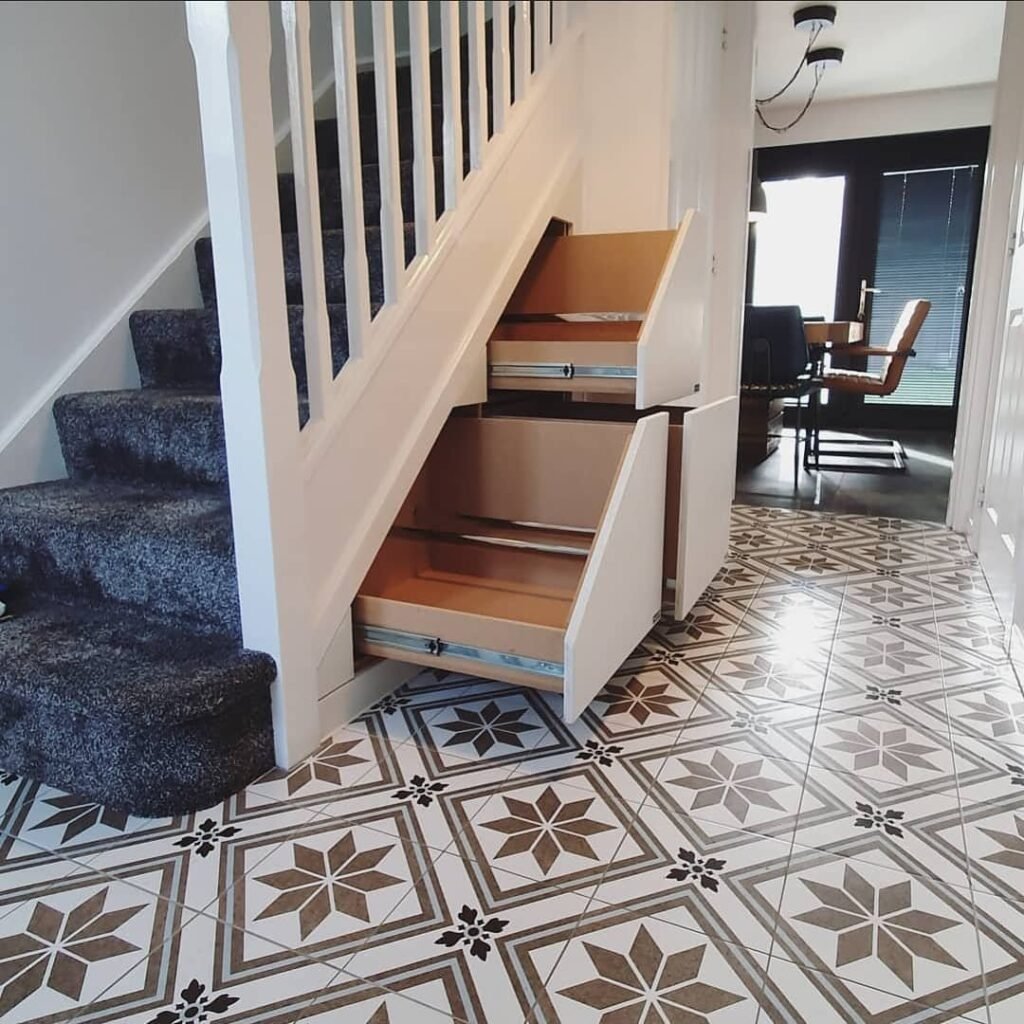
You don’t need a garage or an attic. A closet shelf, the space under a bed, the top of a wardrobe, and the back of a door can hold a surprising amount. Stackable bins, shelf dividers, and hanging organizers help you use every inch.
The budget-friendly tricks in my guide to closet organization on a budget work just as well for holiday storage. Dedicate one shelf to all your seasonal bins and keep it consistent, so you always know where to look.
Mistakes That Make Holiday Storage Harder
The most common mistakes are packing in a rush, using cardboard boxes that collapse or attract pests, skipping labels, and storing decorations in a damp or hot spot. Another is buying too many bins before decluttering, which just gives you more to store.
Also avoid overfilling bins, which makes them heavy and tough to close, and stacking heavy bins on top of fragile ones. A few minutes of planning when you pack saves hours of frustration later.
A Simple Holiday Storage Calendar
| When | What to Do |
|---|---|
| Right after each holiday | Pack, declutter, test lights, label bins |
| Once a year | Check bins for damage, moisture, or pests, and refresh labels |
| A few weeks before the holiday | Pull the right bin, check what you need to replace |
| After unpacking | Break down empty boxes, return bins to their shelf |
If I Were Starting My Holiday Storage From Scratch
I’d buy a handful of matching bins, one per holiday, with colored lids and labels on the front and the side. I’d wrap the lights around cardboard, put the glass ornaments in a divided box, and store everything on one shelf in an interior closet. That setup costs roughly $60-150 depending on how many holidays I decorate for, and it would save me hours every year.
The best holiday storage organization ideas aren’t complicated, they’re consistent. Pack things when you take them down, label them well, and keep them in a cool, dry spot you can reach. If you want to keep the rest of your home as tidy as your holiday bins, my guide to clutter-free home tips is a good next step.
FAQs
What is the best way to store Christmas decorations?
Use sturdy, lidded plastic bins sorted by type, with labels on the front and side. Protect fragile ornaments with dividers, wrap lights around cardboard, and keep everything in a cool, dry spot.
How do I store holiday decorations in a small space?
Use vertical space, under-bed boxes, closet shelves, and the top of a wardrobe. Stackable bins and flat storage like gift wrap organizers make the most of limited room.
Should I use clear or opaque bins?
Clear bins let you see what’s inside, which is helpful, while opaque bins protect light-sensitive items and look tidier. Either works as long as you label them well.
Can I store holiday decorations in the garage or attic?
You can store durable items there in sealed bins, but extreme heat, cold, moisture, and pests can damage fragile things. Keep delicate items, candles, and keepsakes in a stable, indoor spot.
How do I keep Christmas lights from tangling?
Wrap each string around a piece of cardboard, a hanger, or a light reel, secure the ends, and store each string in its own bag or compartment. Test the lights before you put them away.
How much does it cost to organize holiday decorations?
A basic setup with bins and labels can cost about $60-150, while adding specialty boxes for ornaments, wreaths, and dishes may bring it to $200 or more. Using free materials like cardboard dividers lowers the cost.








Leave a Reply