
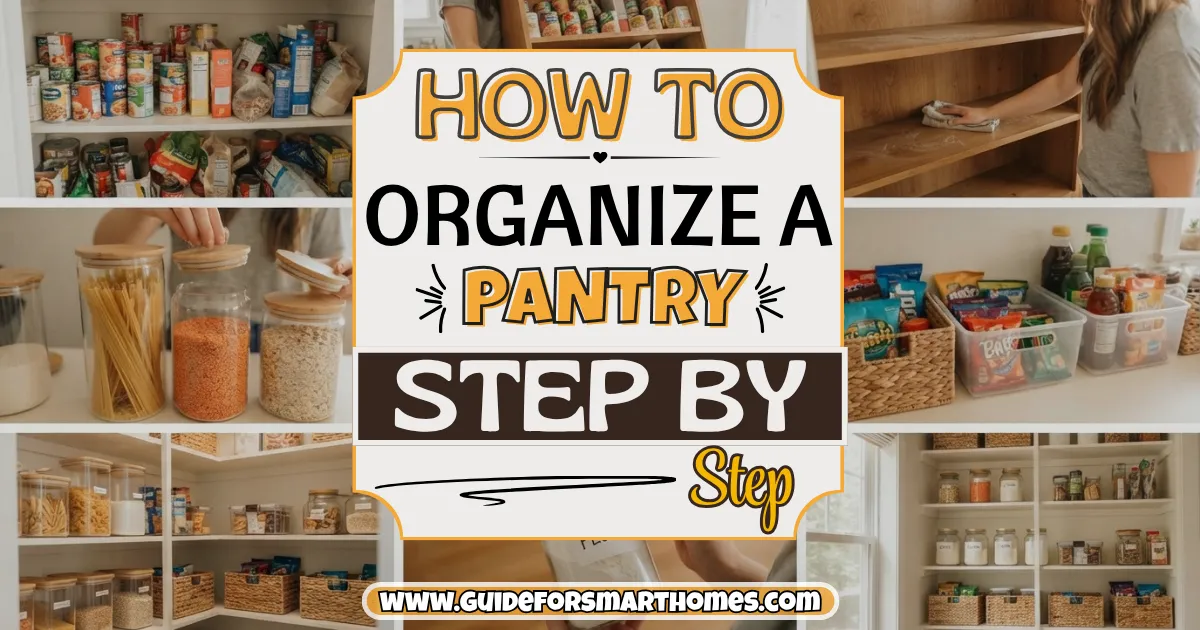
The day I finally emptied my pantry, I found three open bags of brown sugar (one of them a solid brick), two cans of chickpeas I’d bought on the same trip a month apart, a box of pasta that expired before I’d moved in, and a mystery jar with a label I’d written myself and couldn’t read. I’d been walking past that shelf every day for almost a year, telling myself I’d “deal with it on the weekend.”
Learning how to organize a pantry step by step changed that, mostly because it turned a vague, overwhelming job into a series of small, boring tasks that each take a few minutes.
The secret isn’t fancy containers or a color-coded rainbow of jars. It’s emptying everything out, throwing away what you should, putting similar things together, and giving everything a home that you can actually reach. If you want the bigger picture for the rest of the house, my guide to home organization ideas is a good starting point, and this post is the kitchen version.
I’ve broken the process into 16 steps, from gathering supplies to keeping it tidy long term. It works whether you have a walk-in pantry, a single cabinet, or a bookcase in the hallway. There’s a container comparison table, a starter shopping list with rough costs, and FAQs at the end. Prices are ballpark and vary by store, so treat them as a guide.
1. Gather Your Supplies and Pick a Time
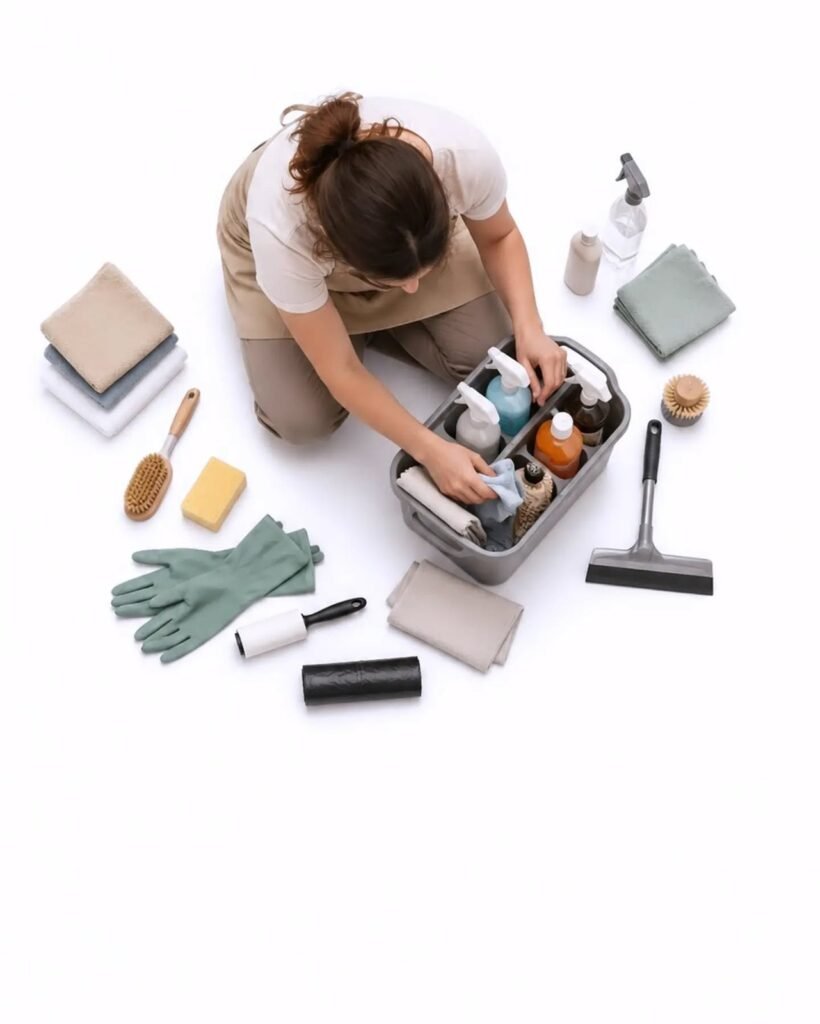
Before you touch a single can, set up what you’ll need: trash bags, a box or bag for donations, a damp cloth or all-purpose cleaner, a few empty bins or baskets, a marker, and some painter’s tape or labels. Give yourself a realistic window, about two to three hours for an average pantry, and choose a time when you won’t be cooking.
Clear a counter or table to use as a sorting zone. It sounds trivial, but half the frustration of pantry projects comes from having nowhere to put things while you work.
Pro tip: Take a “before” photo. It’s a great motivator, and it also shows you which shelves cause the most trouble.
2. Take Everything Out
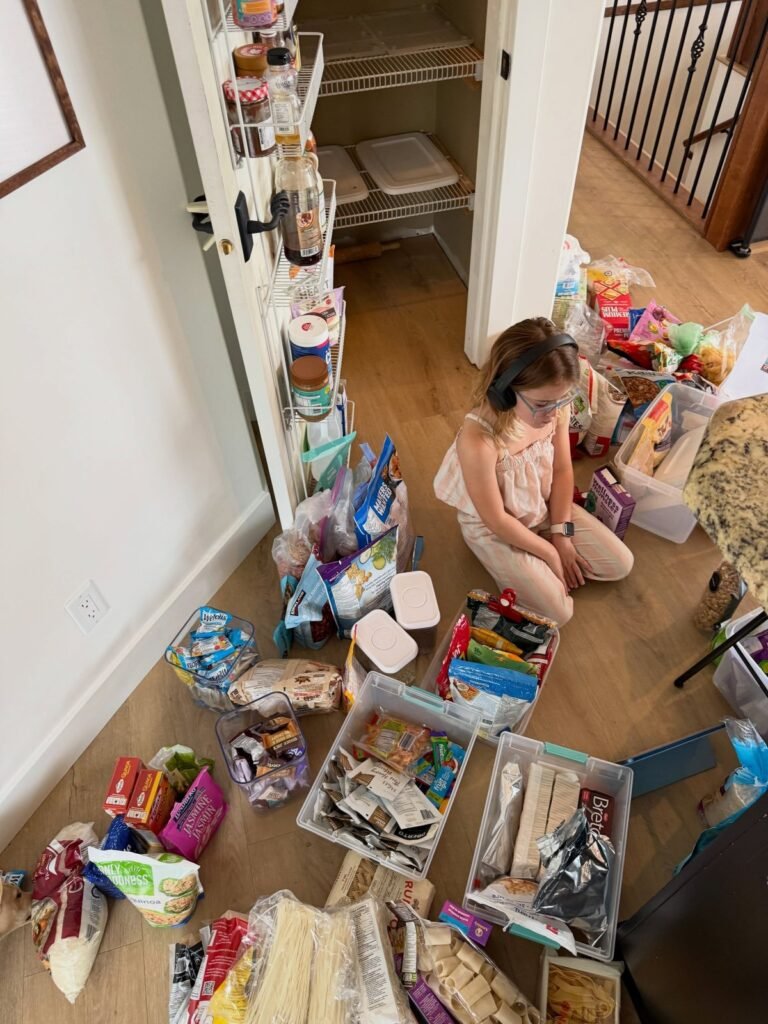
Pull every item off every shelf and group it on your counter. Yes, everything. It’s tempting to shuffle things around in place, but you can’t see what you really have until it’s all out, and you can’t clean a shelf with stuff on it.
Work one shelf at a time if the amount is overwhelming. As you go, put like items next to each other, so you can already see where the duplicates are hiding.
3. Clean the Shelves While They’re Empty

With the shelves bare, wipe them down, vacuum up crumbs from the corners, and let everything dry fully before putting anything back. This is also a good moment to check for signs of pests, like small holes in packaging, webbing, or tiny bugs. If you find them, discard the affected items and clean thoroughly before restocking.
If your shelf liner is sticky, torn, or stained, replace it. A fresh, non-slip liner costs just a few dollars and makes the shelves easier to wipe in the future.
4. Check Dates and Toss What Needs to Go
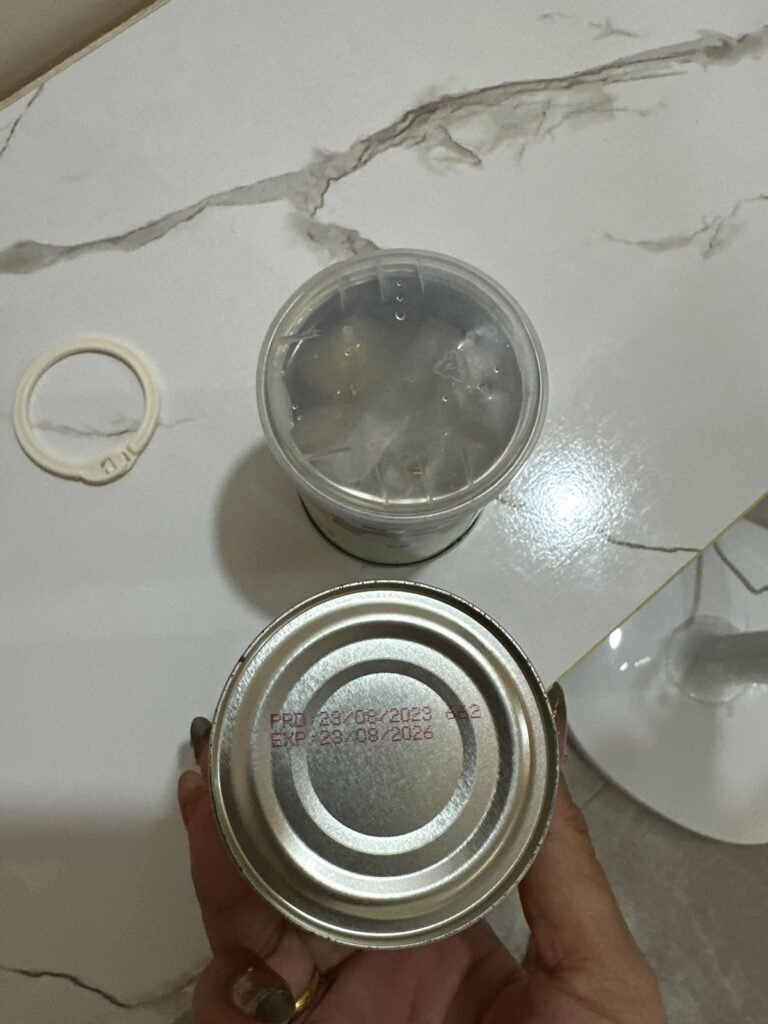
Go through each item and check the dates. “Use by” dates are about safety, while “best by” and similar dates are generally about quality, so follow package guidance and your own judgment. Throw away anything expired, stale, rusty, bulging, leaking, or smelling off, and when in doubt, toss it.
It helps to be ruthless with the half-used, never-touched items. That expired spice jar from a recipe you made once doesn’t deserve prime real estate. If you want a lighter approach to letting go of stuff, my clutter-free home tips show how to declutter without the guilt.
5. Donate Unopened, Unexpired Extras
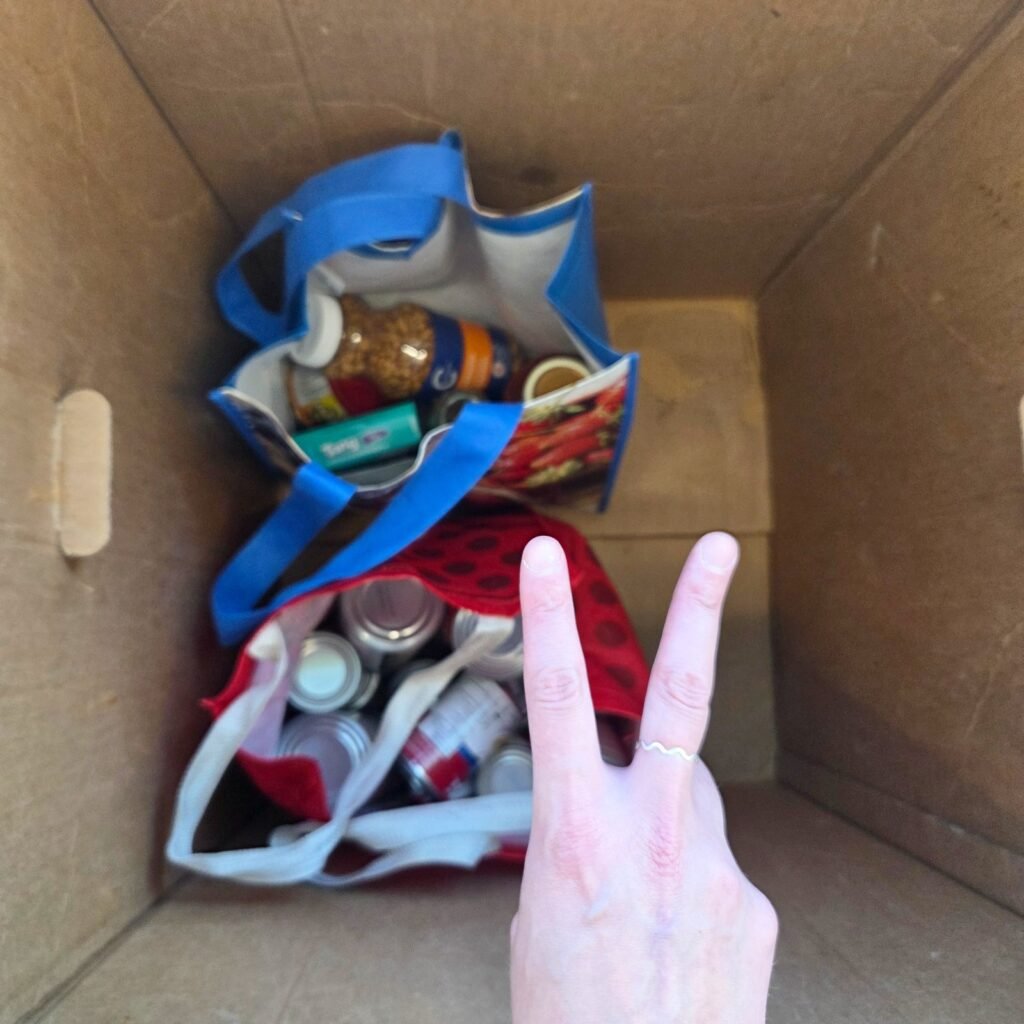
If you find sealed, in-date items you know you won’t eat, set them aside for donation. Many local food banks and community fridges accept unopened, non-perishable food, but policies vary, so check what yours takes before you drop things off.
This step turns “wasted food” guilt into something useful, and it makes it easier to let go of the five cans of beans you bought in a burst of ambition.
6. Sort Into Categories
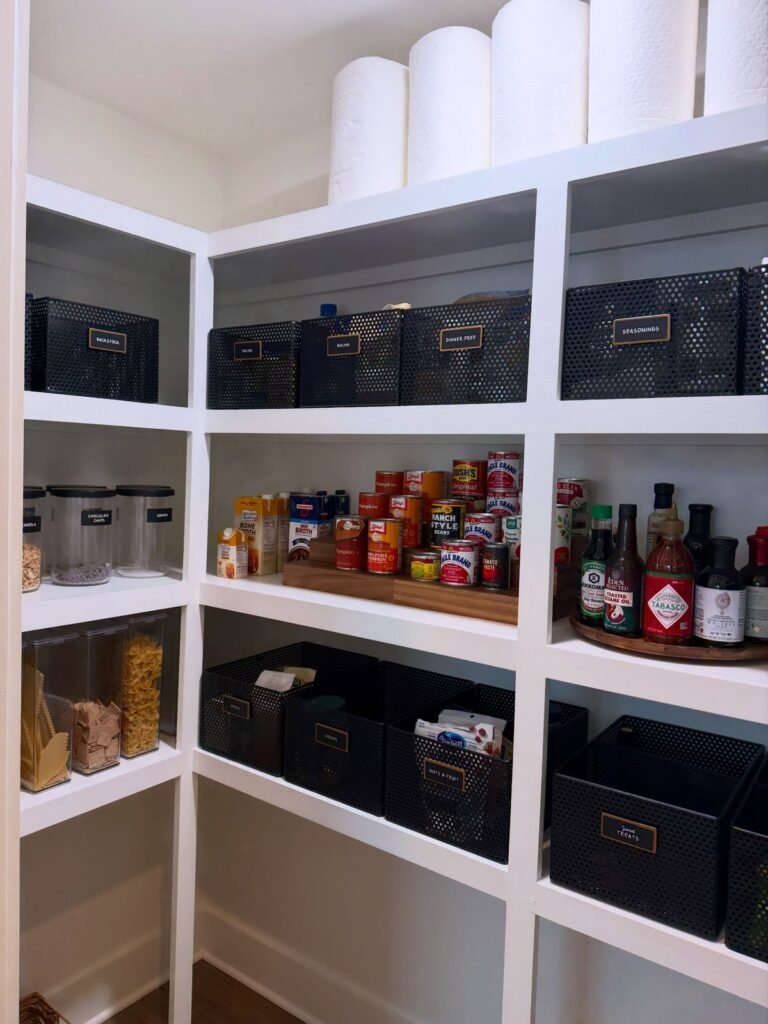
Now group everything that remains by type. Typical categories include baking supplies, canned vegetables and beans, pasta and grains, breakfast foods, snacks, oils and condiments, spices, and drinks. Don’t worry about perfect categories, just make groups that make sense for how you cook.
Look at the sizes of each group. A huge pile of canned goods means you need a bigger shelf for them, and a tiny pile of baking supplies might fit in a single bin.
7. Measure Your Shelves and Plan the Layout
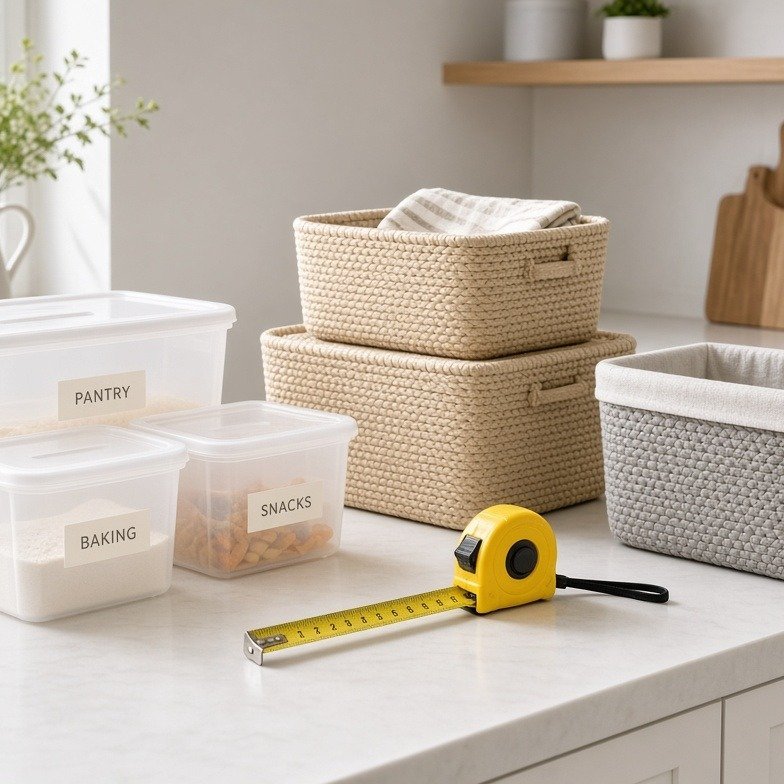
Before buying any containers, measure the width, depth, and height of each shelf. Write the measurements down or take photos with a tape measure in the shot. The most common mistake in pantry organization is buying bins that don’t fit.
Sketch a rough plan of which category goes where. Put the things you use every day at eye level and in the front, heavy items low, and light, rarely used things up high. Keep in mind who uses the pantry. If kids grab snacks, give them their own low bin.
8. Create Zones Based on How You Cook
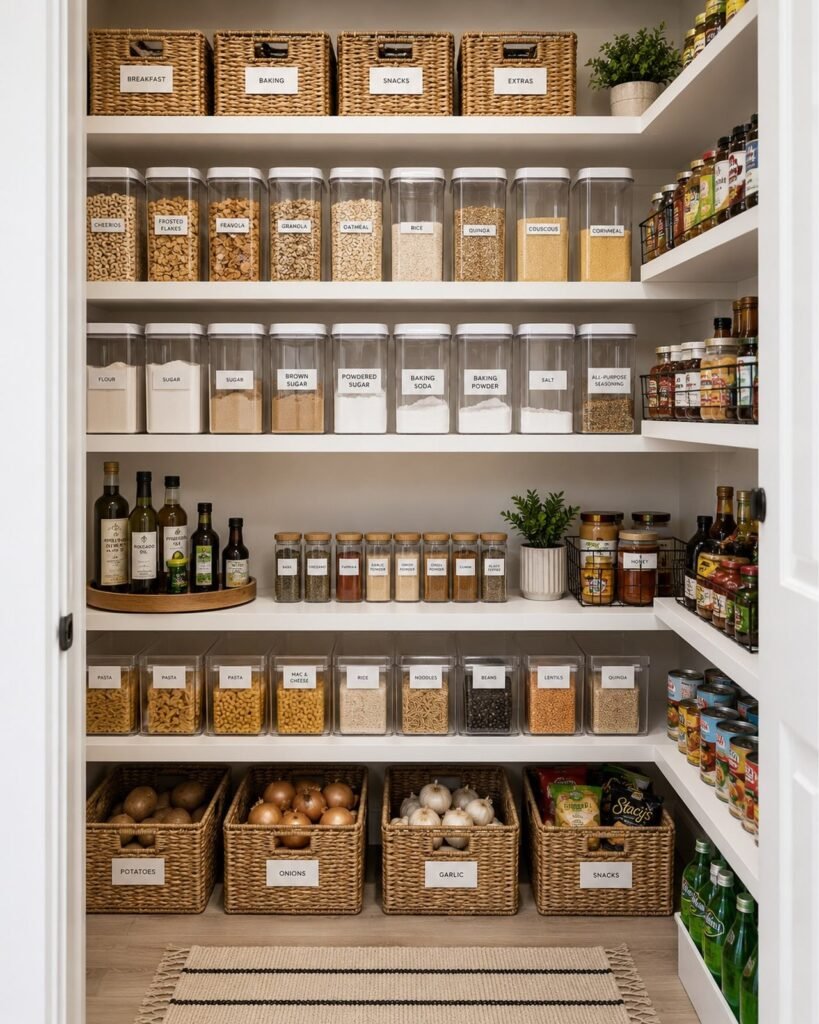
Zones are the heart of a working pantry. A breakfast zone, a baking zone, a canned goods zone, a snack zone, and a “quick dinner” zone mean you grab everything for a task from one place instead of hunting across shelves. It’s the same idea behind a well-planned kitchen workflow.
Keep zones visible and consistent. If pasta lives on the second shelf, it should always live on the second shelf. A friend of mine, Rina, set up a “pancake zone” with flour, baking powder, syrup, and a mixing bowl together, and said weekend breakfast stopped feeling like a scavenger hunt.
9. Choose Containers Wisely (and Don’t Decant Everything)
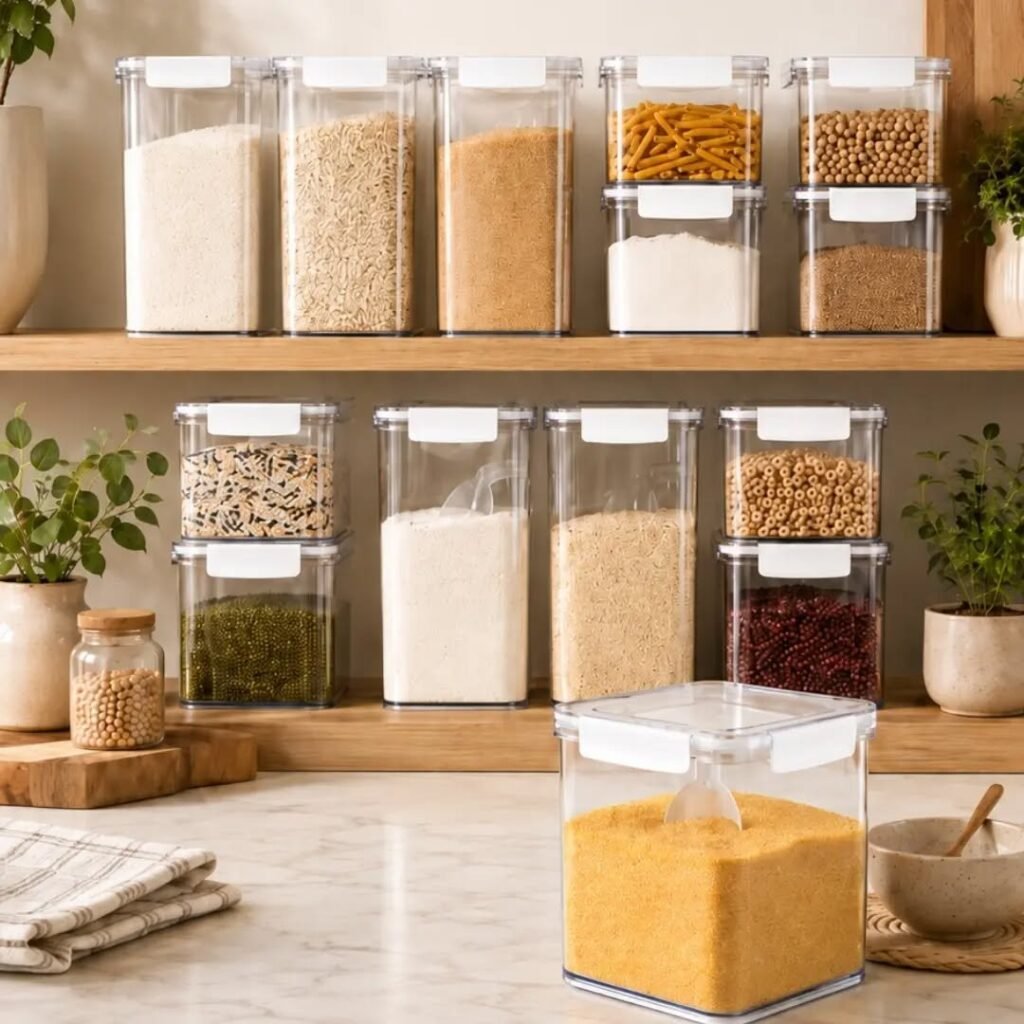
Containers can make a pantry easier to use, but they’re not required for every item. Use airtight containers for things that go stale, attract pests, or come in bags that don’t stand up, like flour, sugar, rice, cereal, and snacks. Leave cans, boxes of pasta, and jars in their original packaging.
When you do decant, save the cooking instructions and the best-by date, either by cutting out the label and taping it to the container or snapping a photo. Current thinking is moving away from the matching, everything-in-a-jar look toward flexible, practical setups, which I talk about in my roundup of home organization trends this year.
Pantry Container Types Compared
| Container Type | Approx. Cost | Best For | Watch Out For |
|---|---|---|---|
| Airtight plastic containers | $4-15 each | Flour, sugar, cereal, snacks | Can stain or hold odors over time |
| Glass jars with lids | $3-12 each | Rice, beans, pasta, nuts | Heavy and breakable on high shelves |
| Stackable open bins | $5-20 each | Packets, pouches, snacks | Not airtight, items can get dusty |
| Woven or wire baskets | $6-25 each | Potatoes, onions, bagged items | Hard to clean, liners help |
| Tins and canisters | $5-20 each | Tea, coffee, baking add-ins | Can’t see inside without labels |
| Original packaging | Free | Cans, boxes, jars | Messy shelves if not grouped |
10. Use Height: Risers, Racks, and Door Storage
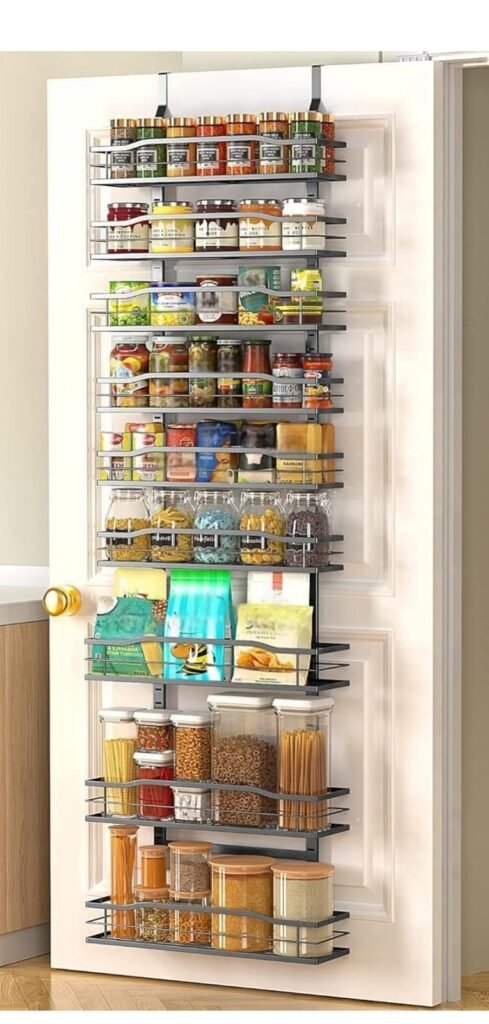
Most pantry shelves waste vertical space. A tiered shelf riser lets you see cans in the back, a stackable shelf doubles the usable area on one level, and an over-the-door rack turns the back of the door into spice or snack storage. A lazy Susan in a corner makes the awkward back area reachable.
Look at the full height of the pantry and use it, as I explain in my guide to maximizing vertical space in a small apartment. Risers and racks usually cost about $8-30 each, and they’re one of the cheapest upgrades you can make.
11. Label Everything You Decant (and Add a Date)
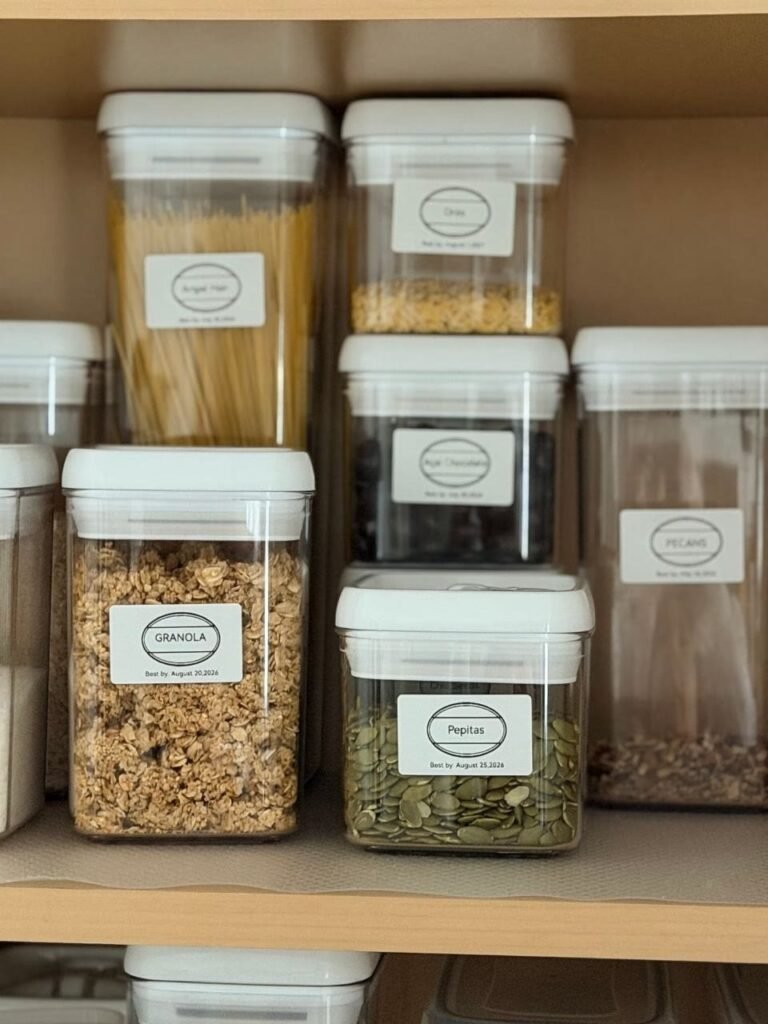
A label on each container saves you from guessing, and a date on the label saves you from eating something that has been sitting too long. Write the item name on the front and the best-by or purchase date on the bottom or side. Use a waterproof marker or a label maker.
Labeling shelves or bins, such as “Snacks” or “Baking,” also helps everyone in the house put things back in the right place. Keep the system simple, since a complicated one tends to fall apart.
12. Follow First In, First Out
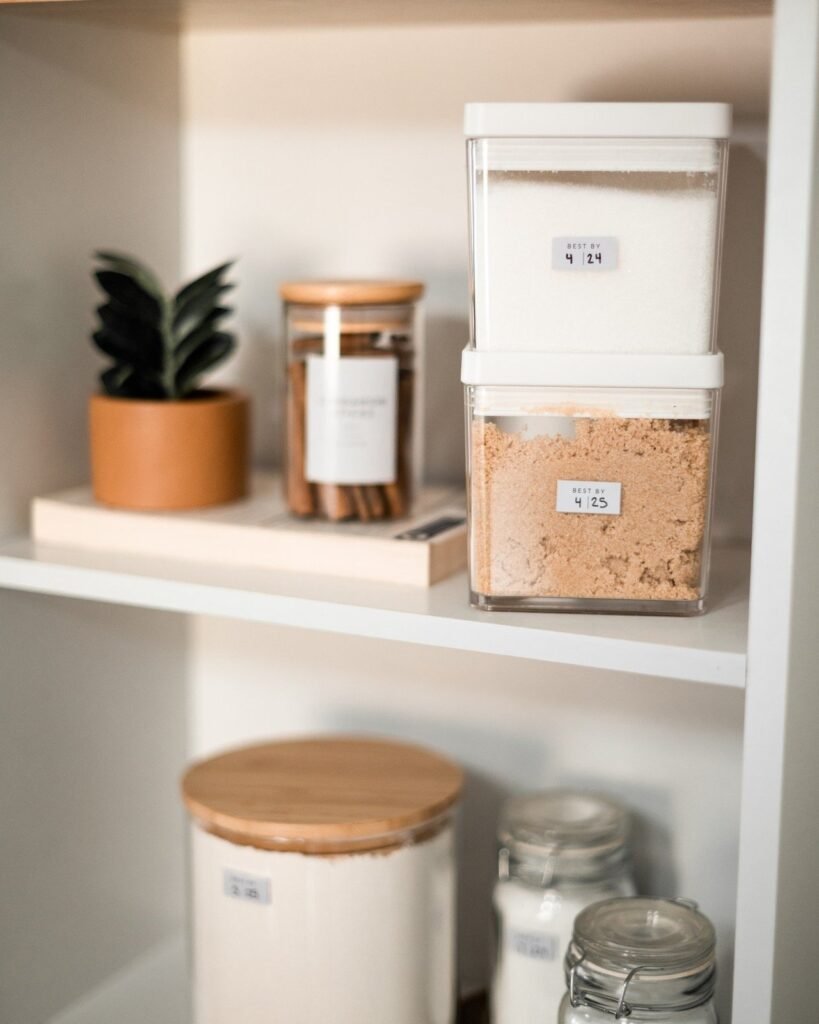
When you bring groceries home, put the newer items behind or beneath the older ones, so you use the older ones first. A small “use first” basket for items nearing their date makes it easy to see what to cook with this week.
It’s the same system grocery stores use, and it cuts waste significantly. It also means you’re far less likely to find a mystery can years later.
13. No Pantry? Build One Out of What You Have
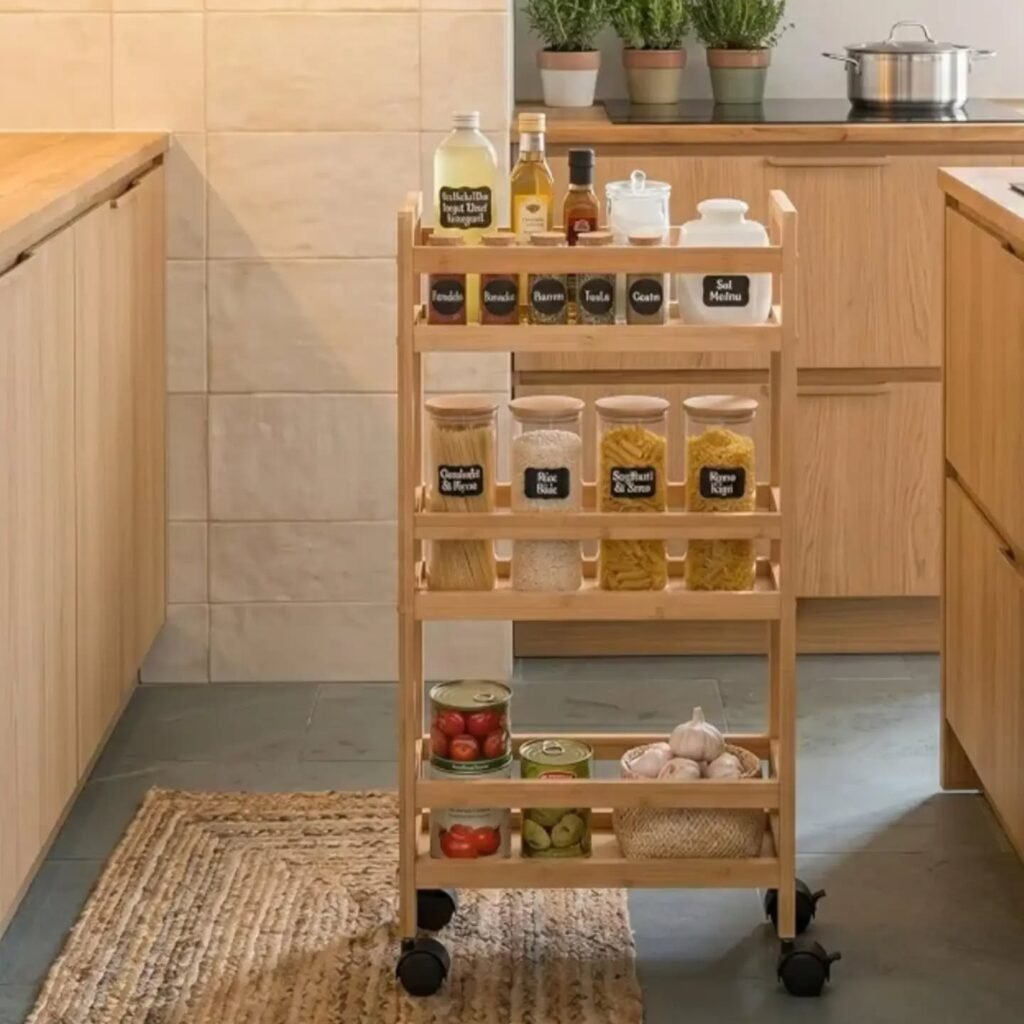
Plenty of apartments have no pantry at all, and that’s fine. A dedicated cabinet, a section of shelving, a narrow rolling cart between the fridge and the wall, or a small bookcase can all work as a pantry. The same steps apply: sort, zone, contain, label.
If you need to buy something, a tall slim cabinet or a rolling unit is usually the best choice. My guide to storage furniture for apartments breaks down which pieces hold the most for their size.
14. Keep a Simple Inventory or Shopping List
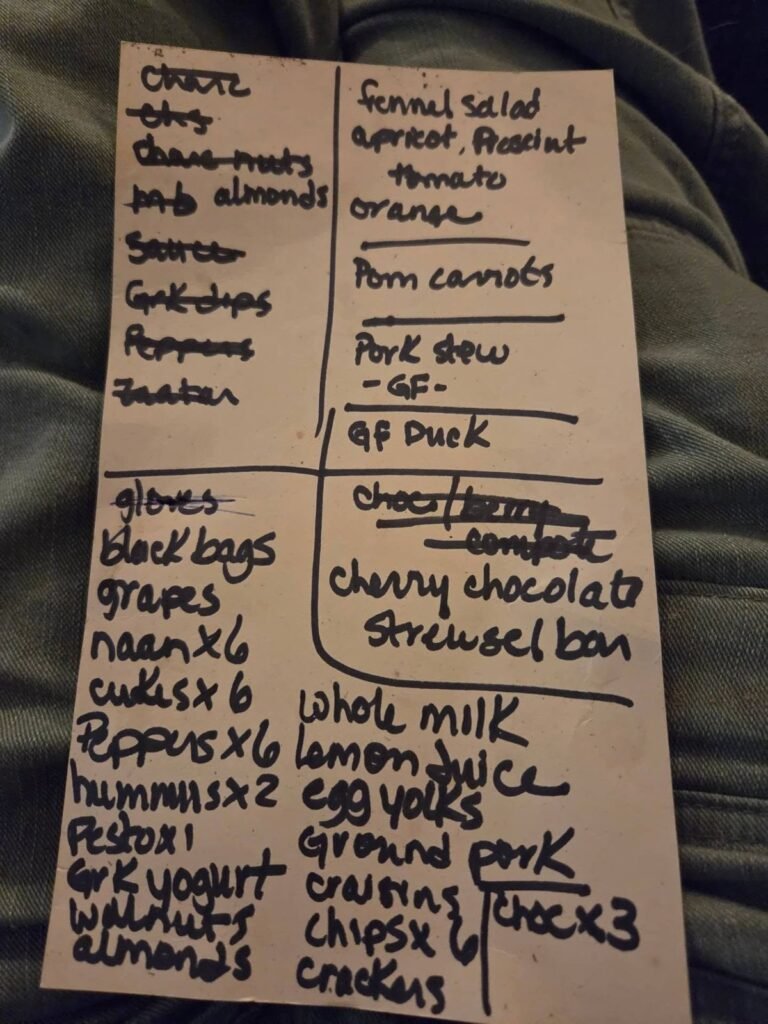
A running list on the fridge or in a phone note keeps you from buying duplicates. Some people take a quick photo of the pantry shelves before grocery shopping so they know exactly what they have. It takes under a minute and can save real money.
Add a “restock” list inside the pantry door and jot down items as they run low, so the shopping list builds itself.
A Starter Shopping List With Rough Costs
| Item | Approx. Cost | Priority |
|---|---|---|
| Airtight containers for flour, sugar, cereal | $20-60 | High |
| Shelf risers or tiered organizer | $8-30 | High |
| Stackable bins or baskets | $15-50 | Medium |
| Lazy Susan for corners | $8-20 | Medium |
| Labels or a label maker | $5-30 | Medium |
| Over-the-door rack | $15-40 | Optional |
| Non-slip shelf liner | $5-15 | Optional |
A lean setup can cost under $50 if you reuse jars and bins you already own, while a fuller setup runs $100-250. Start with the essentials and add more once you see what you actually need.
15. Set a Simple Maintenance Routine
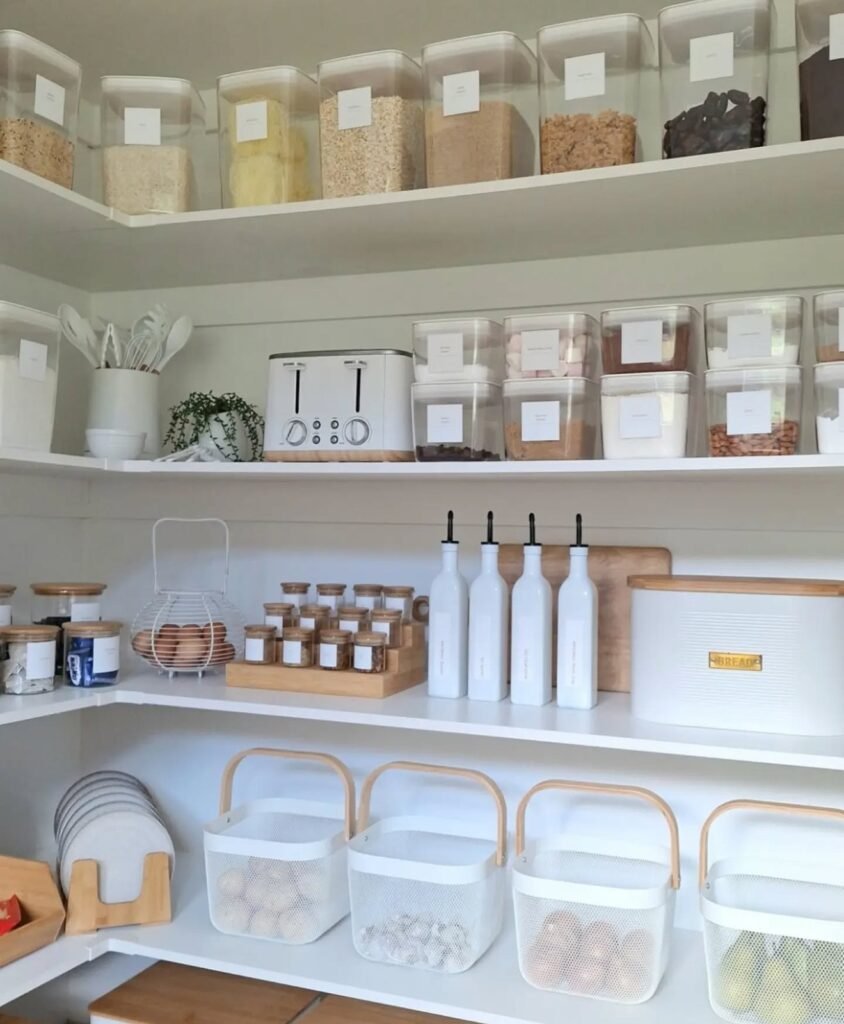
A pantry stays organized when upkeep is tiny. Spend two to five minutes after each grocery trip putting things in the right zone, and do a quick check once a month for expired items and stray clutter. Every few months, take a closer look at one shelf.
If something doesn’t get used for six months, ask whether it deserves its spot. Rotating, donating, and not overbuying are the real long-term habits behind a tidy pantry.
16. Avoid the Mistakes That Undo Your Work
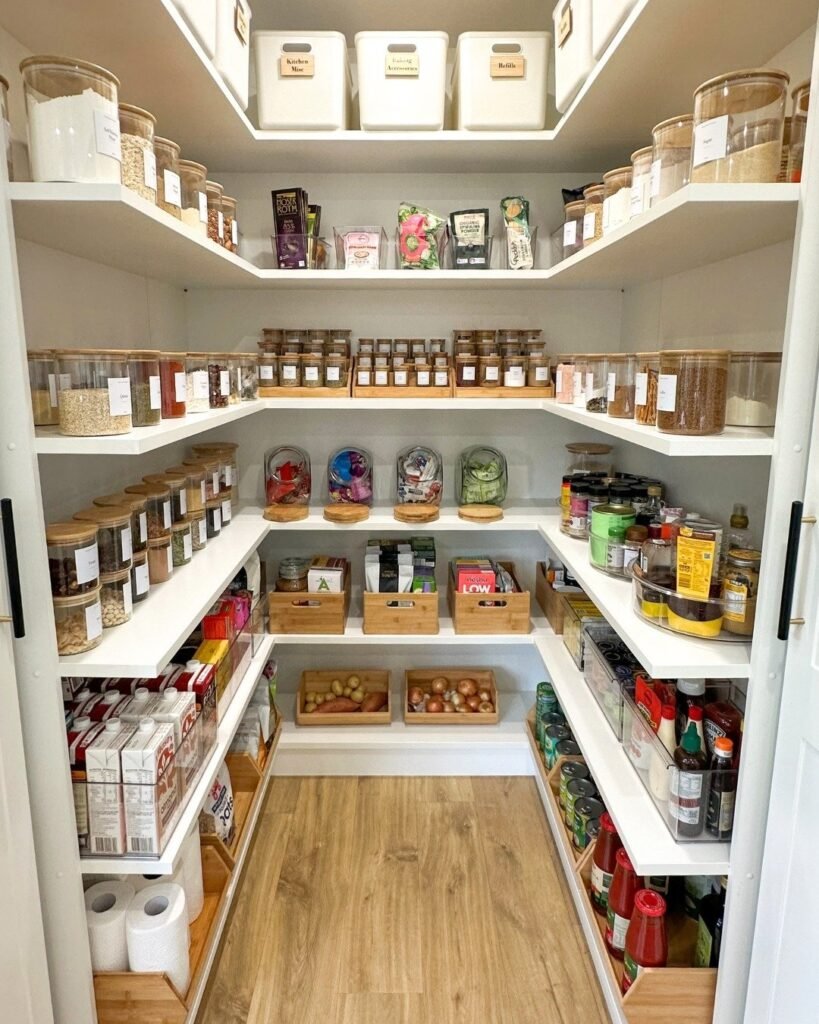
The biggest mistake is buying containers before decluttering, which just gives clutter a neater home. The second is choosing a system so elaborate that nobody keeps it up. The third is storing food in hot places, like above the stove or near the oven, since heat and light shorten shelf life. Keep the pantry cool and dry, and keep oils and delicate items away from heat.
Also avoid overstuffing shelves. Leave a bit of space so you can see and reach everything, and so you don’t have to move five things to grab one.
If I Were Reorganizing My Pantry Tomorrow
I’d empty it out, clean it, toss the expired items, and only then decide what to buy. Most likely I’d get one shelf riser, three airtight containers for flour, sugar, and rice, and a basket for snacks, which is under $60. I’d keep everything else in its original packaging, label the shelves, and add a “use first” basket. That’s it, and it would take an afternoon.
Learning how to organize a pantry step by step is really about making your kitchen easier to use on a busy weeknight, not about creating a picture-perfect shelf. Start with the declutter, zone the space, and keep the system simple enough that you can maintain it even when you’re tired.
FAQs
What is the first step to organizing a pantry?
Take everything out and clean the shelves. You can’t organize what you can’t see, and having everything out makes it easy to check dates and spot duplicates.
How often should I clean out my pantry?
A quick check once a month for expired or stale items, plus a deeper reset every few months, is enough for most households. Do a mini-tidy after each grocery trip.
Do I need to put everything in containers?
No. Use airtight containers for items that go stale or attract pests, like flour, sugar, cereal, and snacks. Cans, boxes, and sealed jars can stay in their original packaging.
How do I organize a small pantry or no pantry?
Use a cabinet, a rolling cart, or a slim bookcase, and apply the same steps: sort, zone, contain, and label. Use vertical space with shelf risers and over-the-door racks.
How should I store food to keep it fresh?
Keep most pantry foods in a cool, dry spot away from heat and direct light, and use airtight containers for items that go stale. Follow the storage guidance on the package for anything specific.
How much does it cost to organize a pantry?
You can do a solid job for under $50 by reusing jars and bins, while a more complete setup may cost $100-250. Declutter first so you only buy what you actually need.










Leave a Reply