
The first time I tried to declutter my whole apartment in one weekend, I pulled every single item out of my closet at 9 a.m. on Saturday, sat down on the floor surrounded by a mountain of clothes, and was still sitting there at 3 p.m. with no bathroom done, no kitchen touched, and a very hungry stomach. I’d confused “declutter” with “make a bigger mess first and hope for the best.” By Sunday night I’d shoved everything back in and called it a draw.
Since then I’ve done it properly several times, for myself and for friends who asked for help, and I’ve learned that you absolutely can declutter your home in a weekend, as long as you’re realistic about what “declutter” means and you go in with a plan. This isn’t about turning your home into a minimalist showroom.
It’s about removing the stuff that’s making daily life harder, in the places you use most, in about two days. If you want the bigger picture on keeping a home tidy afterward, my guide to home organization ideas pairs well with this one.
Below is the whole plan: what to do on Friday night, a Saturday and Sunday schedule, a step for each key area, a table of decision rules for the hard “keep or toss” moments, and a plan for what to do with everything you remove. There’s also a supplies list and FAQs. Times are rough, and the details on disposing of hazardous items are general, so follow your local rules.
Be Realistic: What a Weekend Can and Can’t Do
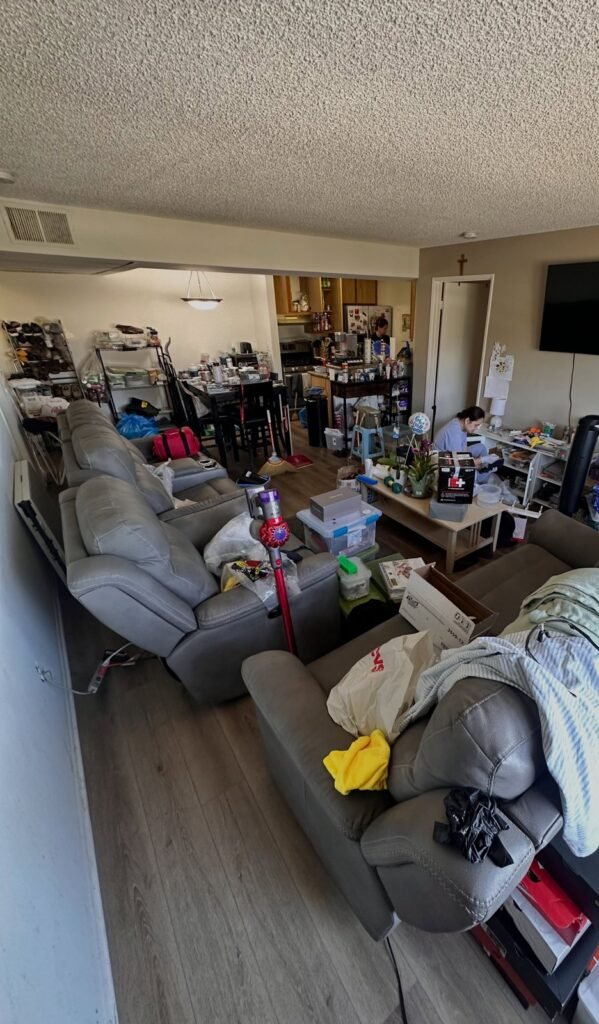
A weekend is plenty of time to declutter the spaces you use daily: the kitchen, living areas, bathroom, bedroom, and closets, plus a pass at paper and the junk drawers. It’s usually not enough for a full house with a packed attic, a garage, and decades of sentimental stuff, at least not at once.
So pick your scope before you start. Choose three to five zones, write them down, and treat anything else as a bonus. A friend of mine, Mei, tried to do every room and burned out by lunch on Saturday, then successfully did four rooms the next weekend. Smaller scope, better result.
Pro tip: Choose the rooms that annoy you most every single day. Fixing those gives you the biggest feeling of progress, which keeps you going.
Friday Night: Prep Your Supplies and Your Plan
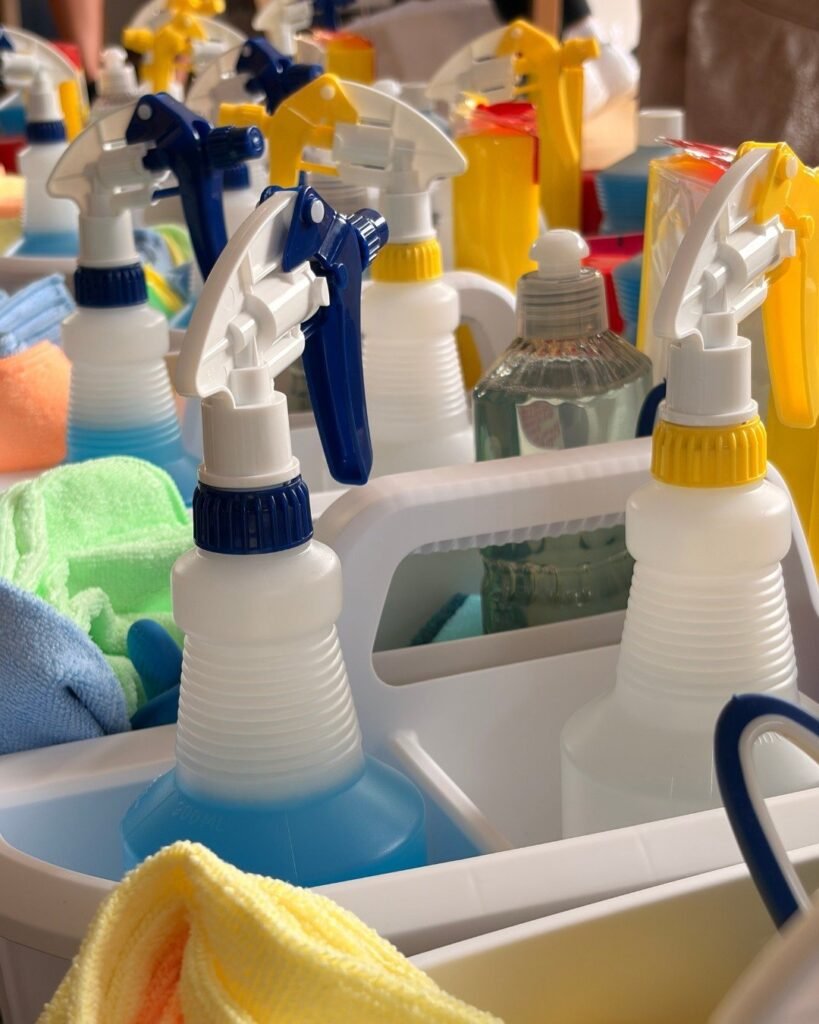
Spend about 30 to 45 minutes on Friday evening getting ready. Gather large trash bags, boxes or bins for donations, a marker and sticky notes, cleaning spray, microfiber cloths, and a few reusable shopping bags. Clear a landing zone, like a corner of the living room or the hallway, where sorted items can sit.
Then plan the weekend: which rooms, in what order, and who’s helping. Check donation drop-off hours, schedule a pick-up if available, and decide whether you’ll sell anything. Also eat a decent dinner and get to bed on time. Decluttering is mentally tiring, and sleep makes the decisions easier.
Take Before Photos (They Keep You Motivated)
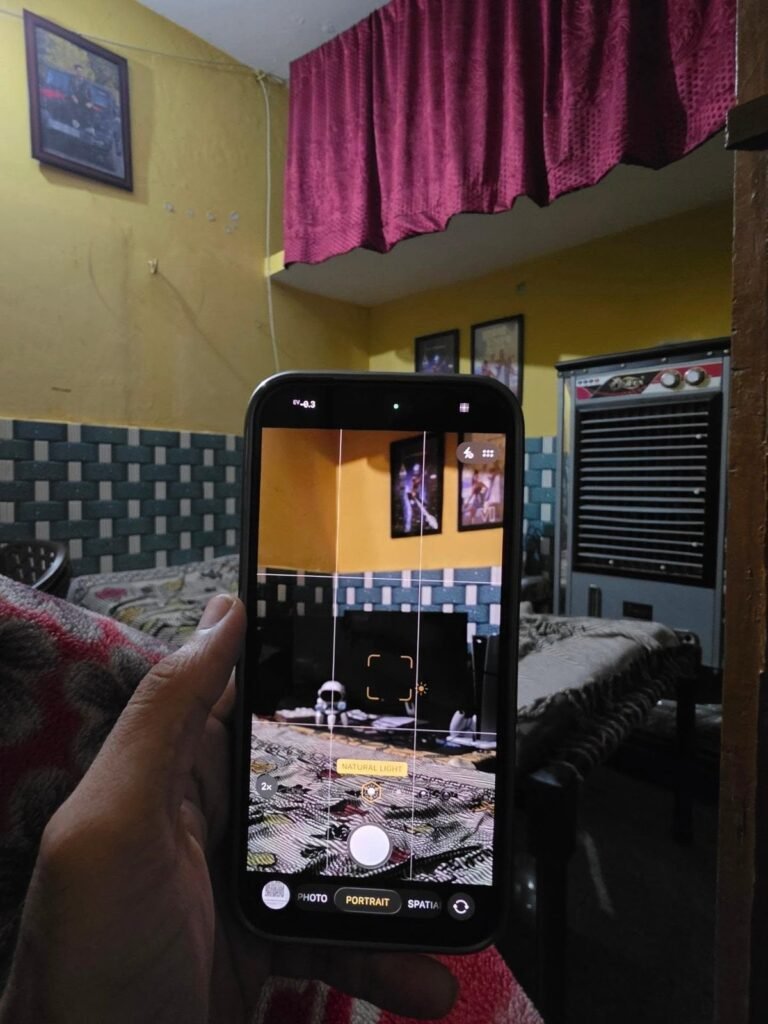
Snap a quick photo of each space you’ll tackle, including the drawers and closets. The photos help you see progress when it feels like nothing is changing, and they give you a record of what you owned if you’re ever unsure whether you’ve gotten rid of something.
Set Up the Four-Box System
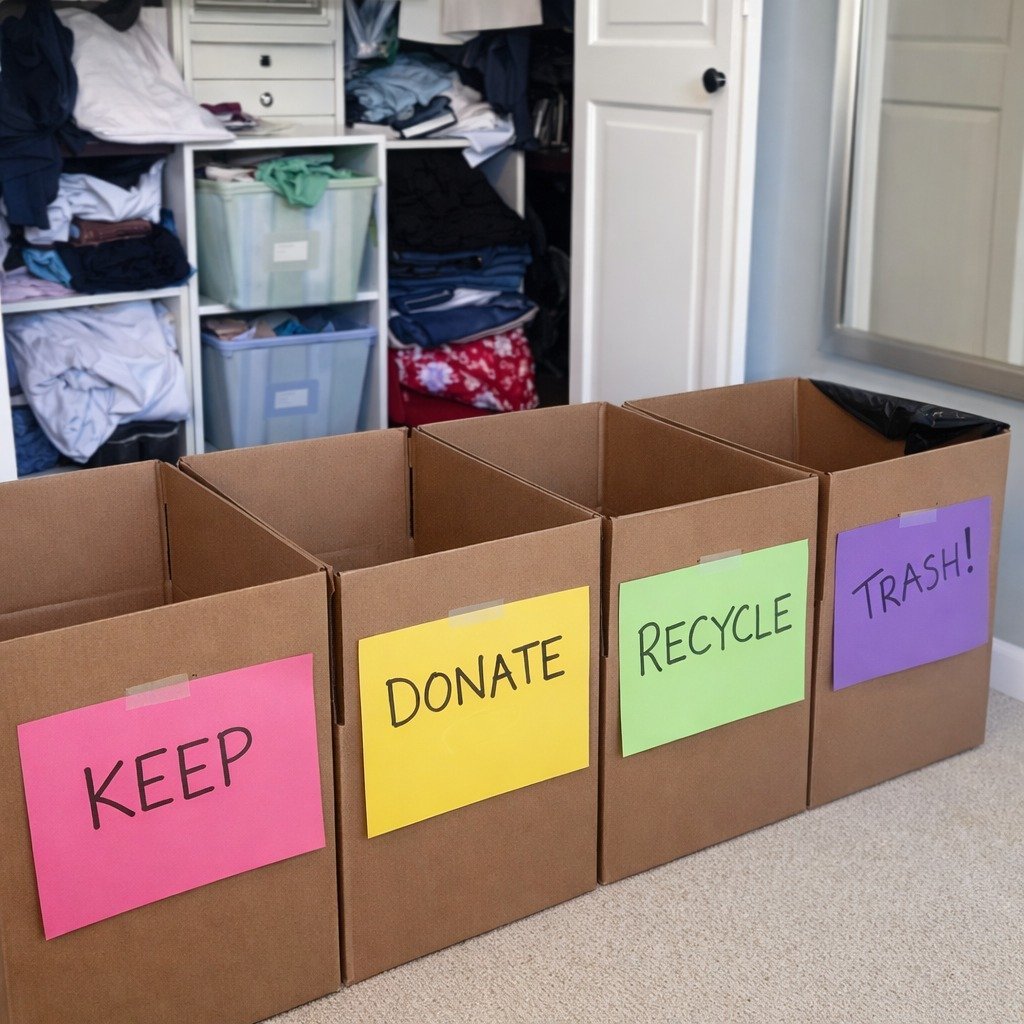
Label four containers or areas: keep, donate or sell, trash or recycle, and relocate (things that belong in another room). Every item you touch goes into one of these, no exceptions and no “maybe” pile that grows out of control. If you must have a “maybe” box, limit it to a single small box with a date on it.
The relocate box matters more than you’d expect, because half of what’s cluttering a room usually belongs somewhere else. Put away the relocate items at the end of each room, not scattered throughout the day.
Saturday Morning: Start With a 15-Minute Trash Sweep
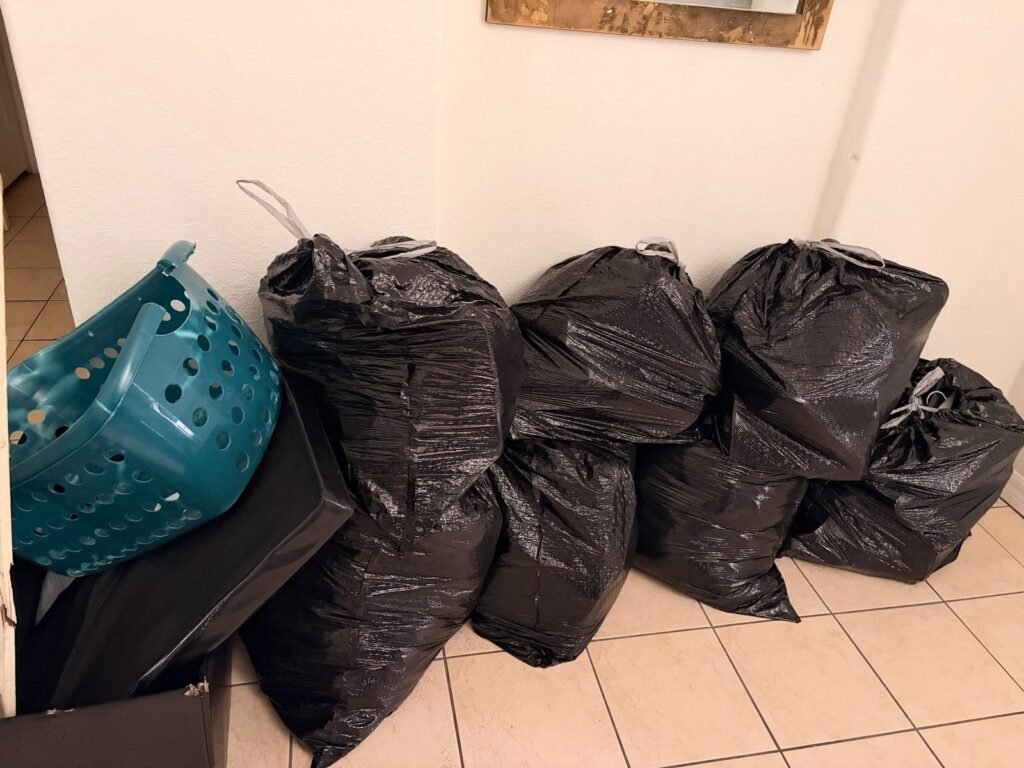
Before you make any hard decisions, walk through the home with a trash bag and remove the obvious: empty bottles, expired items, broken things, old receipts, dried-up pens, junk mail. This takes about 15 minutes and creates instant visible progress without any emotional effort.
It also warms you up. By the time you reach the harder categories, you’ve already made dozens of easy decisions.
Start With the Highest-Impact Room
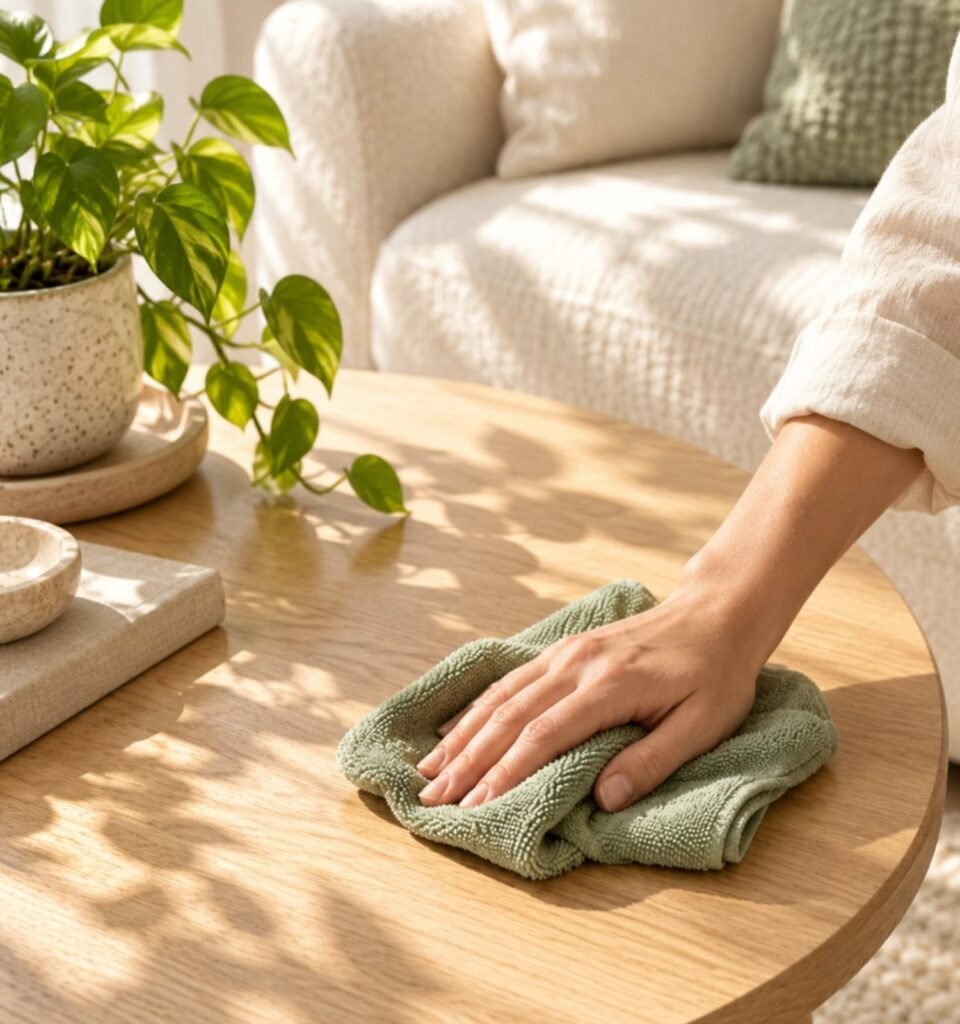
Choose the room that you see most or that stresses you most, usually the living room or the entryway. Clear surfaces first, then work through shelves and storage. Take everything off a surface, wipe it, and only return the things that truly belong there.
Work in small sections, one shelf or one drawer at a time, so you can finish each part and see the result. A cleared coffee table or entry shelf makes the whole room feel different almost immediately.
Tackle the Kitchen
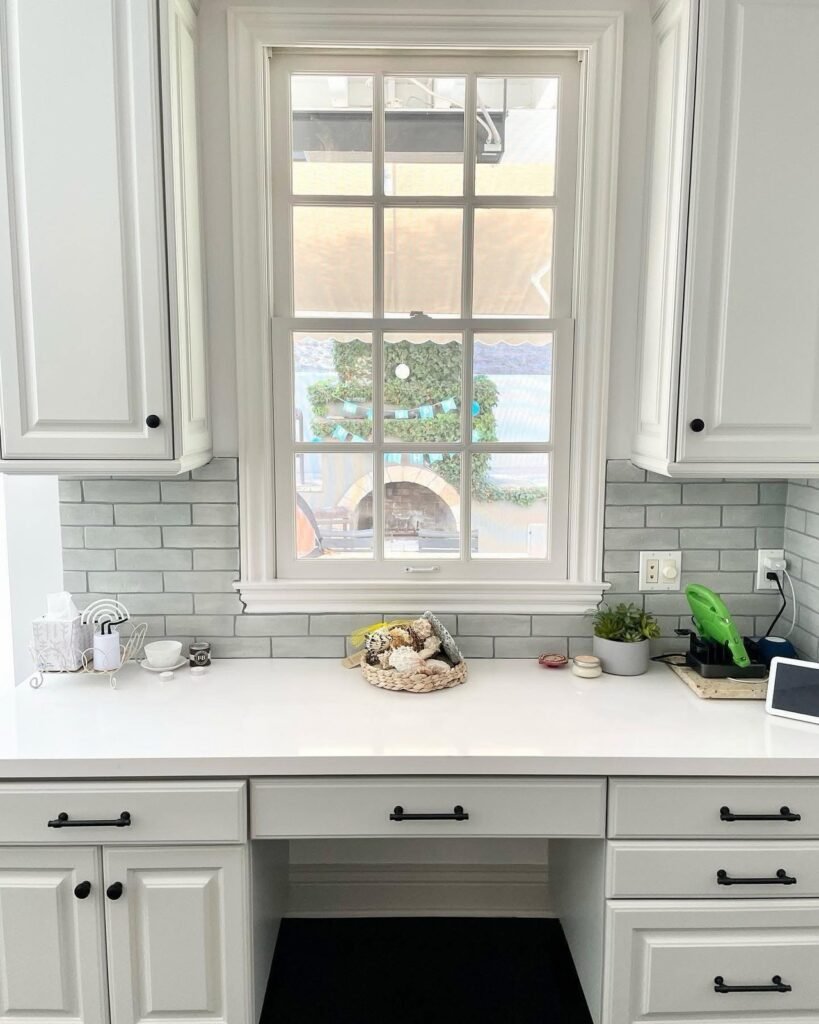
Start with the counters, then the fridge and freezer, then drawers and cabinets. Toss expired food, old condiments, and containers without lids. Pull out duplicates and tools you never use, and group what’s left by how often you use it.
Many people find the pantry is where the real mess lives. Once you’ve decluttered, my guide on how to organize a pantry walks through setting up clear zones so it stays tidy. For this weekend, though, focus on removing, not reorganizing.
Clear Out the Bathroom

Bathrooms hide a surprising amount of expired and unused items. Check dates on medications, sunscreen, and cosmetics, and dispose of expired ones according to the label and local guidance. Pull out half-used products you won’t finish, extra samples, and anything that’s changed since you bought it.
Keep daily essentials within reach, and move everything else out of the way. The goal is a clear counter and a tidy shower, not a perfectly color-coordinated cabinet.
Saturday Afternoon: Bedroom and Closet

Clothes are usually the biggest category, so give them time. Pull everything out of one section at a time, such as tops, then pants, then shoes, so you don’t create a mountain. Try on questionable items instead of guessing, and be honest about what fits and what you actually wear.
A useful trick is to turn all hangers backwards, and flip each one the right way after you wear the item. In a few months, you’ll see exactly what you never touch. Once the closet is down to what you use, my guide to a DIY closet organization system shows how to set up the space so it stays easy to use. Remember, declutter first, organize second.
Sunday Morning: Paper Clutter

Paper is a slow-burn problem, so tackle it with a system. Sort into three piles: shred or recycle, act on, and keep. Shred anything with personal information, and keep important documents, like tax records and medical files, in a labeled folder or a small file box.
Scan items you need but don’t need in paper form, and let go of manuals you can find online. A small file box and a handful of folders cost about $15-30 and are all you need to keep it under control.
Handle Sentimental Items With a Limit
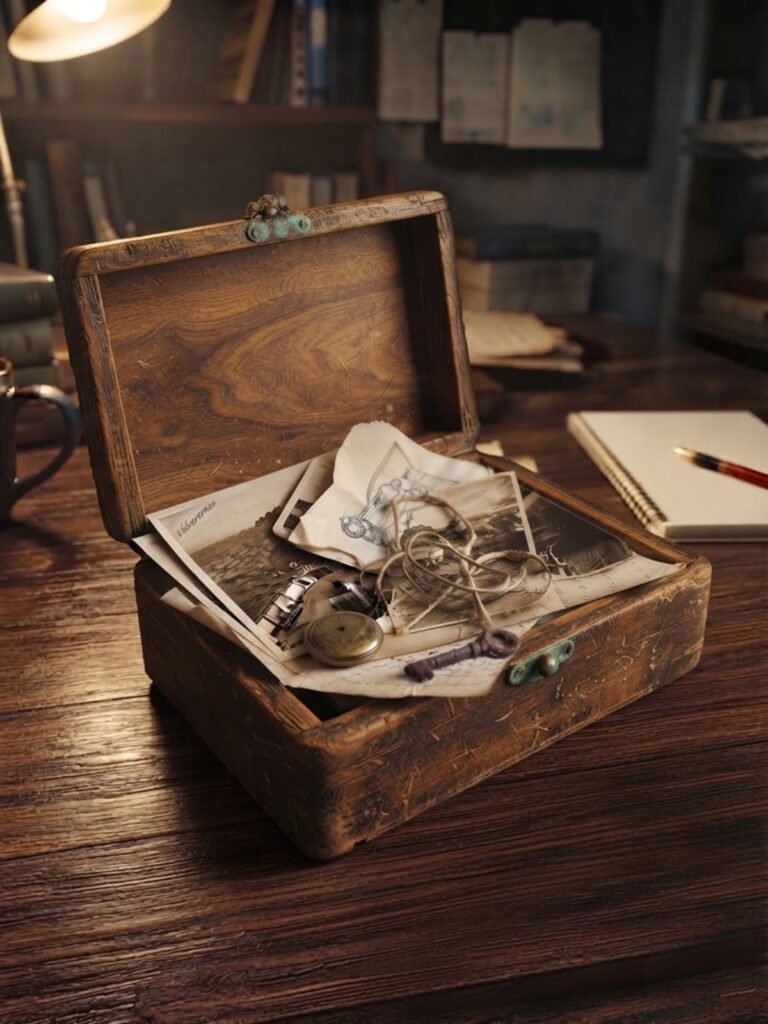
Sentimental items are the hardest category, so save them for Sunday when you have momentum. Give yourself a container, like a single memory box per person, and keep only the things that truly matter. Take photos of items you want to remember but don’t need to keep.
It’s fine to skip this category entirely if it feels too heavy this weekend. A decluttered home that still has a box labeled “later” is far better than a half-done job and a stressful mess.
Don’t Forget the Junk Drawers and Cables
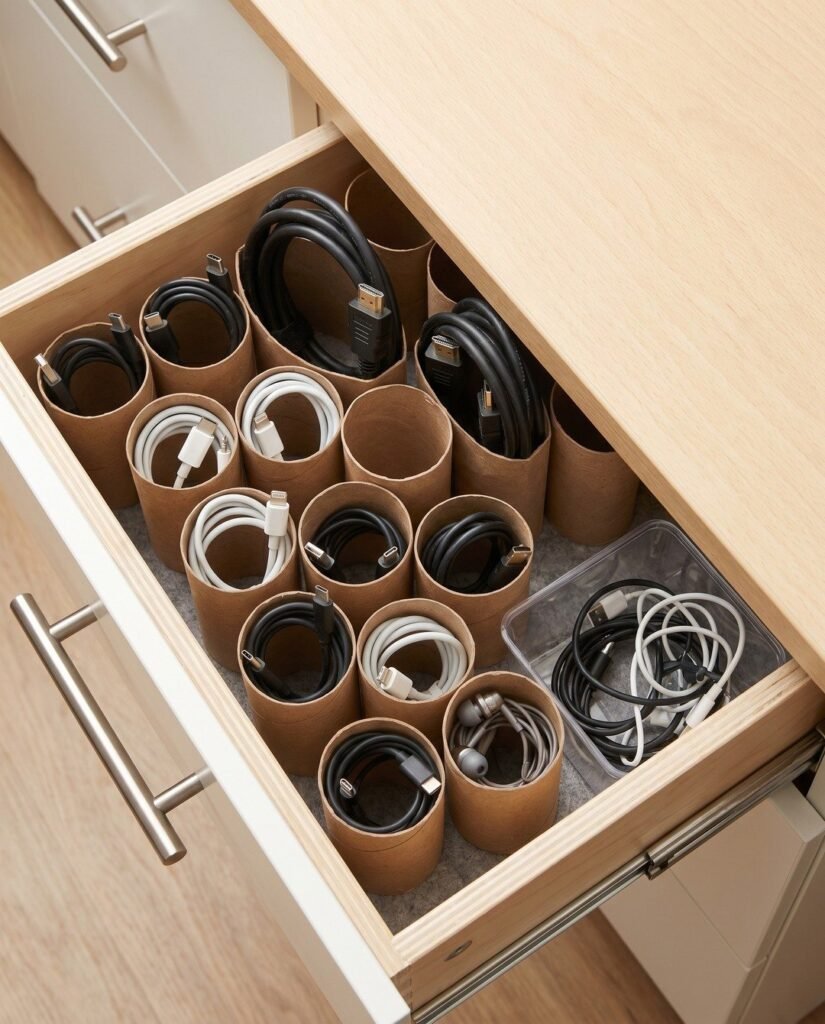
Every home has a drawer full of random cords, batteries, keys, and takeout menus. Empty it, test the batteries, toss cables you can’t identify, and keep only what you use. Group cords by type in labeled bags or small containers.
For electronics and batteries, check local recycling programs rather than throwing them in the trash, since many can’t go in regular bins.
Use a Decision Cheat Sheet for the Hard Calls

When you hit a tough item, run it through a few quick questions. Asking the same questions every time speeds things up and keeps you consistent.
Quick Decision Rules for Tough Items
| Question | If Yes | If No |
|---|---|---|
| Have I used it in the last 12 months? | Keep it, or ask why it isn’t used more | Strong candidate to donate or toss |
| Would I buy it again today? | Keep it | Let it go |
| Is it a duplicate? | Keep the best one | Keep, if it has a clear purpose |
| Is it broken, and will I realistically fix it? | Set a date to fix it, or let it go | Toss or recycle it |
| Does it have a real home in my space? | Keep it and put it there | Let it go or relocate it |
| Does it bring me joy or serve a real purpose? | Keep it | Donate it |
Sunday Afternoon: Garage, Storage, and Overflow Spots

If you have time, tackle one overflow area, like a hall closet, under-bed storage, or the garage. Sort by category and apply the same four-box system, and be tougher here, since these places are where “just in case” items hide for years. Take out anything that belongs inside the home, like seasonal clothes or kitchen items.
If the garage is the big problem, it often takes more than a weekend afternoon, but even a first pass makes a difference. My guide to garage storage ideas helps you plan the next step once the junk is gone. Keep heavy lifting safe, wear gloves and closed shoes, and follow local rules for paint, chemicals, and other hazardous items.
A Sample Weekend Schedule
| When | Task | Rough Time |
|---|---|---|
| Friday evening | Gather supplies, set scope, take before photos | 30-45 minutes |
| Saturday 9:00 a.m. | Trash sweep, set up four-box system | 30 minutes |
| Saturday 9:30 a.m. | Living room or entryway | 1.5-2 hours |
| Saturday 11:30 a.m. | Kitchen | 1.5-2 hours |
| Saturday 1:30 p.m. | Lunch and a real break | 45 minutes |
| Saturday 2:15 p.m. | Bathroom, then bedroom and closet | 2.5-3 hours |
| Sunday 9:00 a.m. | Paper, junk drawers, sentimental box | 2 hours |
| Sunday 11:30 a.m. | Overflow area (garage, storage, hall closet) | 2 hours |
| Sunday 2:00 p.m. | Drop-off, put away relocated items, final wipe-down | 2 hours |
Get Everything Out of the House the Same Day

This is where most weekend declutters fail. Bags of donations sit by the door for weeks, and the clutter drifts back inside. Decide in advance where each category goes, then take it all on Sunday afternoon: donations to a drop-off, items to sell listed or photographed, recycling and trash taken out.
For anything hazardous, like paint, chemicals, batteries, or electronics, check your local disposal guidelines instead of the regular trash. If you can’t deliver everything in one trip, schedule a pick-up for the next day, and put the bags in the car or garage, not back in the house.
Put Things Back With Intention

When the decluttering is done, return only what belongs in each room, and give every item a specific place. Use the relocate box to put away things that ended up in the wrong rooms. Don’t buy new organizers yet, since you won’t know what you need until you’ve lived with the new, emptier space for a week or two.
Supplies for a Weekend Declutter
| Item | Approx. Cost | Why You Need It |
|---|---|---|
| Heavy-duty trash bags | $5-12 | Trash and bulky donations |
| Boxes or bins for donations | $0-20 | Easier to carry than loose bags |
| Marker and sticky notes | $3-8 | Labeling boxes and zones |
| Cleaning spray and microfiber cloths | $8-20 | Wipe surfaces as you go |
| Gloves and tape | $5-12 | Dusty areas, sealing boxes |
| Small file box (optional) | $15-30 | Paper you decide to keep |
Common Mistakes That Derail a Weekend Declutter
The biggest mistake is starting with the most emotional category, like photos or sentimental items, which drains your energy early. The second is pulling out everything at once and creating a mess you can’t finish, and the third is buying organizers before decluttering. Another one is trying to do it alone for 14 hours without breaks, which leads to bad decisions and burnout.
Take real breaks, drink water, and play music or a podcast to keep the energy up. Ask a friend or family member to help with heavy items or to hold you accountable, but let them stay out of your personal decisions.
If I Were Doing This Weekend From Scratch
I’d pick three rooms, run the trash sweep first, and limit myself to the four-box system with no “maybe” pile. I’d do the kitchen and living room on Saturday, the closet and paper on Sunday, and drop everything off before dinner. That’s roughly 12 to 14 hours of focused work, spread across two days, and it would give me a home that looks and feels noticeably lighter.
Learning how to declutter your home in a weekend isn’t about doing everything, it’s about doing the right things in the right order and getting the stuff out of the house. To keep the clutter from creeping back, my clutter-free home tips show simple daily habits that make it easy to maintain what you just built.
FAQs
Is it really possible to declutter a whole house in a weekend?
You can declutter the main spaces you use daily, such as the kitchen, living areas, bathroom, and bedroom. Larger projects, like a full garage or attic, may take more time, so pick three to five zones to start.
Where should I start when decluttering?
Start with a quick trash sweep, then move to the room that bothers you most or that you see most. Easy wins build momentum before you tackle emotional categories.
How do I decide what to keep and what to let go of?
Use a few simple questions: have I used it in the last year, would I buy it again, is it a duplicate, and does it have a real place in my home? Asking the same questions each time makes decisions faster.
What should I do with all the stuff I declutter?
Take donations, recycling, and trash out of the house the same weekend. List items to sell right away, and check local guidelines for hazardous items like batteries, paint, and electronics.
Should I buy organizers before I declutter?
It’s usually better to wait. Declutter first, live with the new space for a week or two, and then buy only the storage you truly need.
How can I stop clutter from coming back?
Keep a donation bin ready, follow a one-in, one-out rule, and do a short daily reset. Small habits maintain a decluttered home far better than occasional big purges.










Leave a Reply