
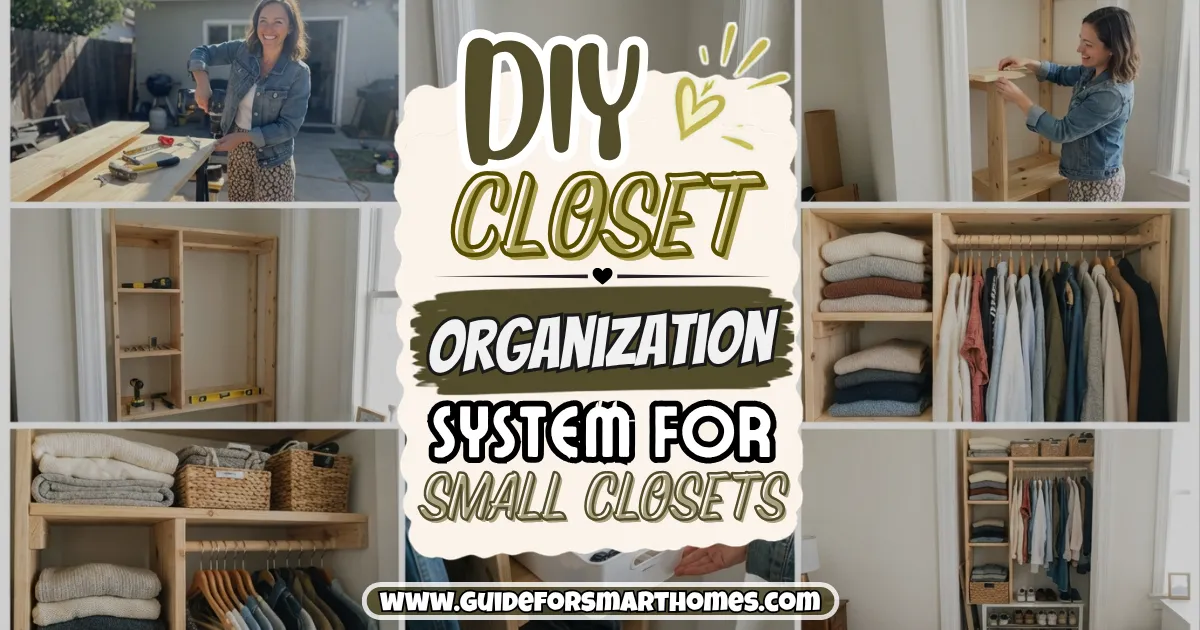
My first apartment closet was four feet wide, about 24 inches deep, and fitted with exactly one rod and one shelf. I know because I measured it three times, hoping the numbers would change. They didn’t. Every morning I’d pull a shirt out from the middle of a packed rail, and half the closet would fall onto the floor with it. I told myself I needed a bigger closet. What I actually needed was a system.
Building a DIY closet organization system for a small closet is one of the highest-return projects you can do in a home. It costs far less than custom shelving, it takes a weekend at most, and it can easily double your usable space without touching a single wall in a rental.
The trick is to stop thinking of a closet as “a rod and a shelf” and start thinking of it as a set of zones you design around your own clothes. If you want the bigger picture for the rest of your home, my home organization ideas guide covers the rest.
Below is the exact process I’d follow, step by step, from measuring to the finishing touches. There’s a table comparing DIY approaches, a rough shopping list with prices, tips for different closet types, and FAQs. Prices are ballpark and vary by store, and any weight limits mentioned are general, so always check the ratings on the products you buy.
Step 1: Measure the Closet (and Write the Numbers Dow
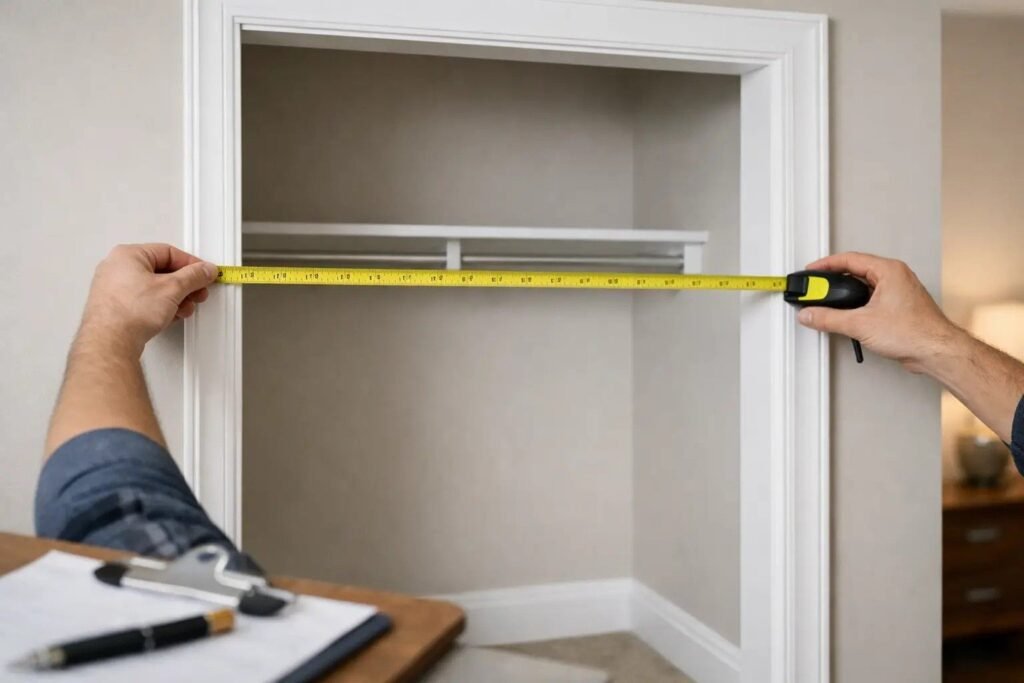
Measure the width, depth, and height of the closet, plus the height of the existing rod and shelf, the width of the door opening, and anything that gets in the way, like a light fixture, a vent, or a sloped ceiling. Write it all on paper, and take a photo with a tape measure in the frame.
Also note how the door opens. A bifold or sliding door only gives you partial access, so you’ll want your most-used items in the part you can see. A swing door lets you use the back of the door for storage.
Pro tip: Measure at the top, middle, and bottom of the closet. Older walls aren’t always straight, and a one-inch difference can mean a shelf that doesn’t fit.
Step 2: Empty Everything and Declutter Honestly
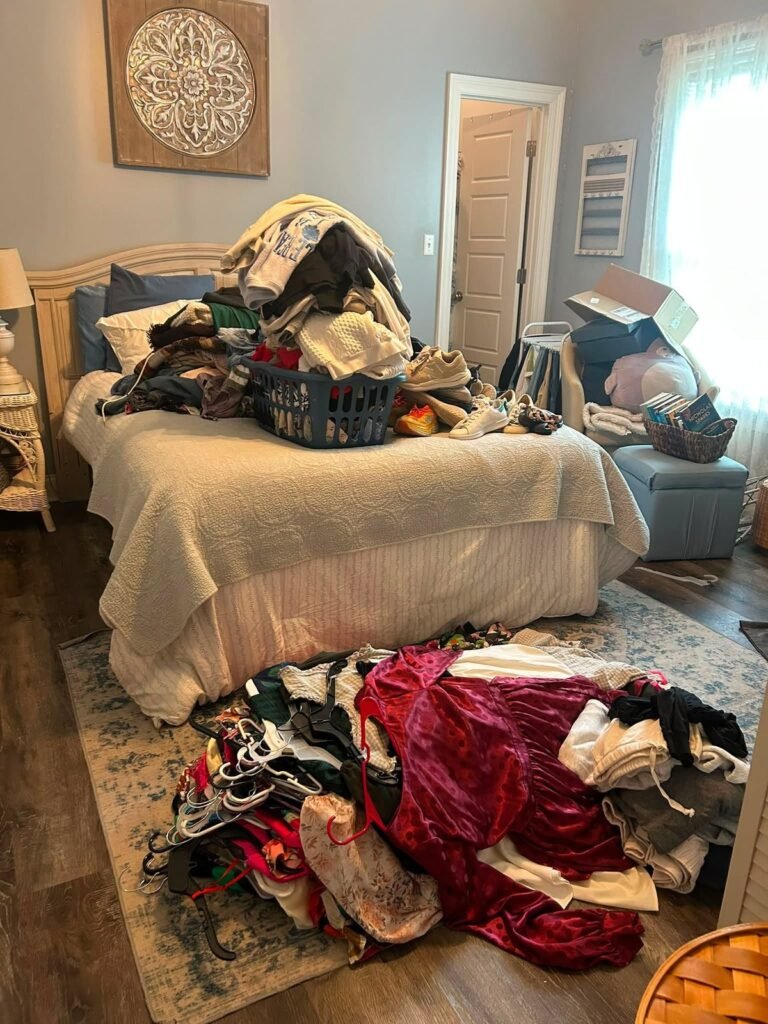
Take everything out, and I mean everything, so you can see what you own. Sort into four piles: keep, donate or sell, repair or alter, and store elsewhere. Be honest about what you actually wear, and let go of things that don’t fit, are damaged, or that you haven’t touched in a year.
This step matters more than any shelf you’ll buy, because a small closet can’t hold everything. A good rule is that if you can’t see it or reach it easily, you won’t wear it, so it’s just taking space.
Step 3: Plan Zones Before You Buy Anything
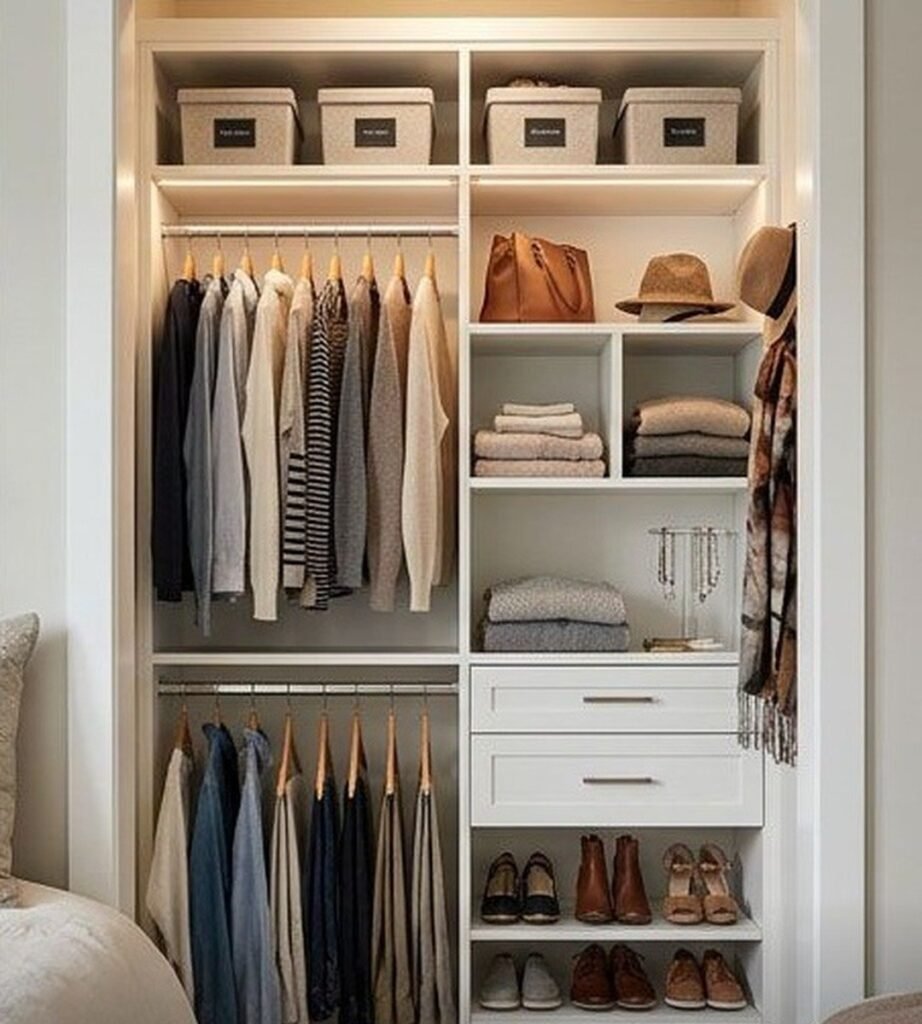
Group your clothes by how they’re stored: short hanging (shirts, skirts, folded pants), long hanging (dresses, coats), folded items (sweaters, jeans, T-shirts), shoes, and accessories (bags, hats, belts, scarves). Count how many items are in each group, and measure how much rod or shelf space each needs.
Then place the zones sensibly. Put everyday items at eye level and within easy reach, seasonal items up high, and heavy items low. Plan for about 10 to 20 percent extra room so the closet isn’t packed to the point of frustration.
Step 4: Choose Your DIY Approach
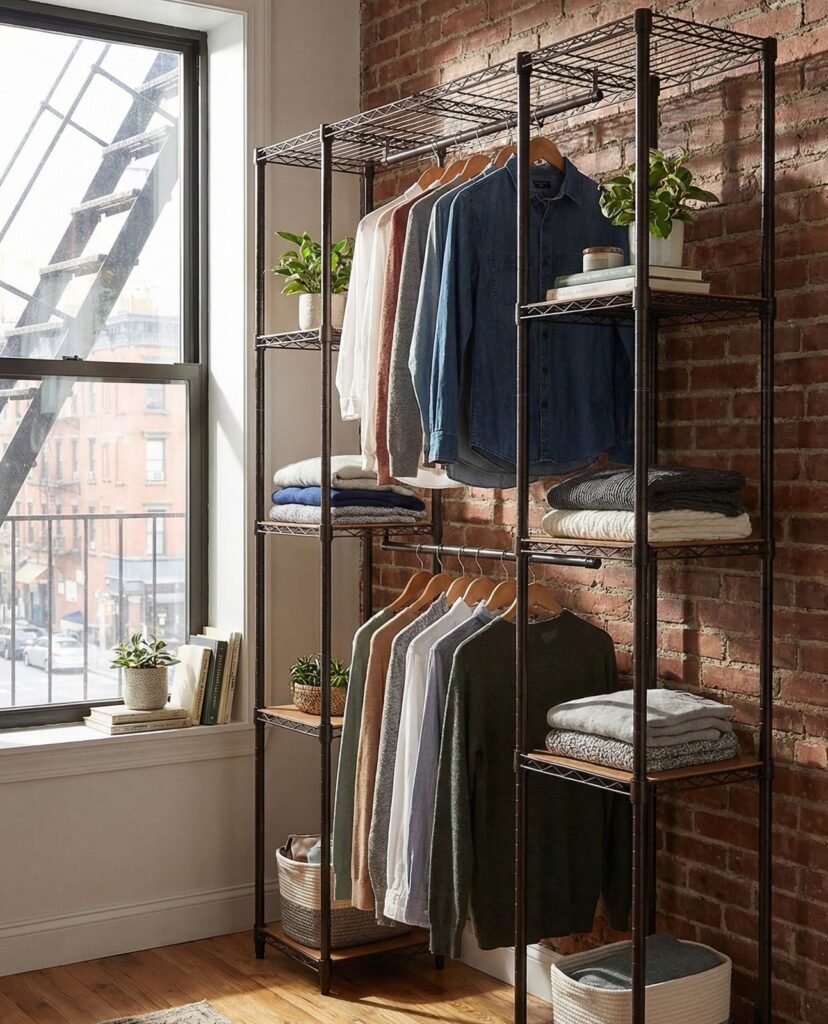
There are three main ways to build a system, and the right one depends on whether you rent, how much you want to spend, and how handy you are. Here’s how they compare.
DIY Closet Approaches Compared
| Approach | Approx. Cost | Skill Level | Rental-Friendly? | Best For |
|---|---|---|---|---|
| No-drill: tension rods, over-door hooks, freestanding shelves, stackable bins | $30-100 | Beginner | Yes | Renters, quick refresh |
| Adhesive and add-on: hanging organizers, clip-on rods, adhesive hooks | $20-80 | Beginner | Mostly (check weight limits) | Light items, accessories |
| Simple built-in: wood or wire shelves and rods mounted into studs | $80-300 | Intermediate | Only with permission | Owners, maximum capacity |
If you’re deciding between shelf materials for a built-in version, my guide comparing wire vs wood closet shelving breaks down cost, weight capacity, and which suits small closets better. For most people in a rental, I’d start with the no-drill route and add pieces as needed.
Step 5: Add a Double Hang Rod to Double Your Hanging Space
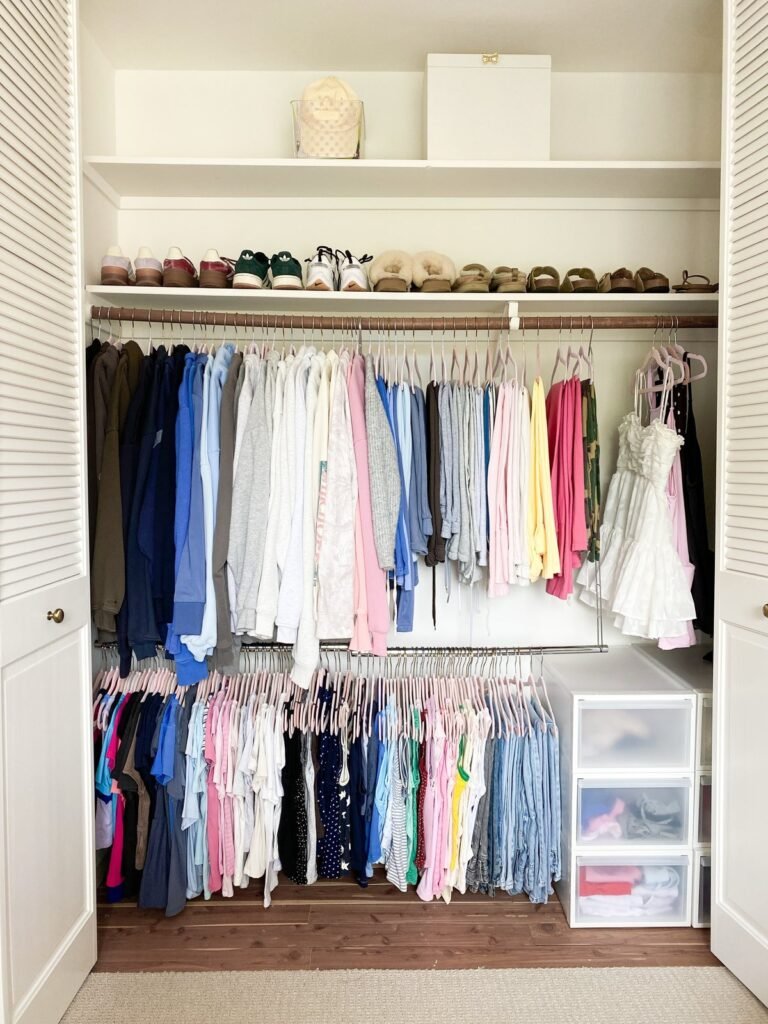
Most closets use only the top half of their height for hanging, leaving a big empty gap beneath short garments. A second rod placed below the first lets you hang shirts and pants in two layers, which can nearly double your hanging capacity.
Commonly, the upper rod sits around 80 inches from the floor and the lower around 40 inches, but adjust to your own clothes and ceiling.
In a rental, use an add-on hanging rod that hooks over the existing one, or a freestanding double-hang unit. This is the same idea I talk about in my guide to maximizing vertical space in a small apartment: when floor space is limited, use the height instead. A hook-on rod costs about $10-25.
Step 6: Put a Shelf Above the Rod and Use Dividers
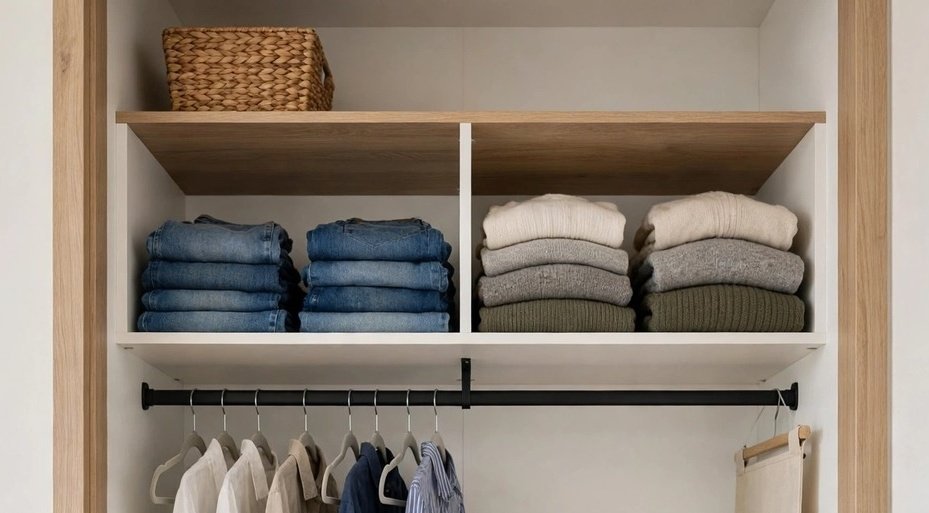
The space above the rod is prime storage for seasonal items, spare bedding, and bins. If your closet has a shelf already, add shelf dividers to keep stacks of folded items from collapsing, and use bins or baskets to hold smaller things in one place.
Shelf dividers cost about $10-30 and make a big difference. Without them, folded stacks lean, slide, and fall, which is exactly what was happening in my closet.
Step 7: Solve the Shoe Problem
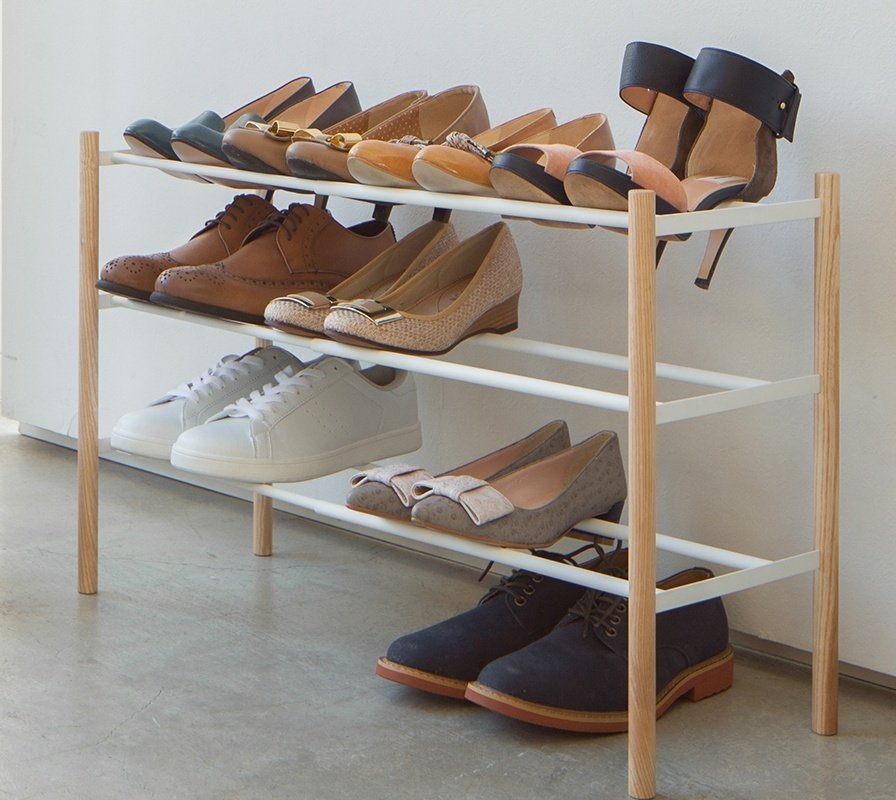
Shoes take up an enormous amount of floor space. Options include an over-the-door shoe organizer, a stackable shoe rack, angled shoe shelves, or under-bed shoe boxes if your closet is too tight. Store the shoes you wear most within easy reach, and keep off-season pairs in clear boxes on a high shelf.
Expect about $15-50 depending on the system. A slim, angled rack holds more pairs in less depth than a flat one, which matters in a 24-inch-deep closet.
Step 8: Use the Back of the Door
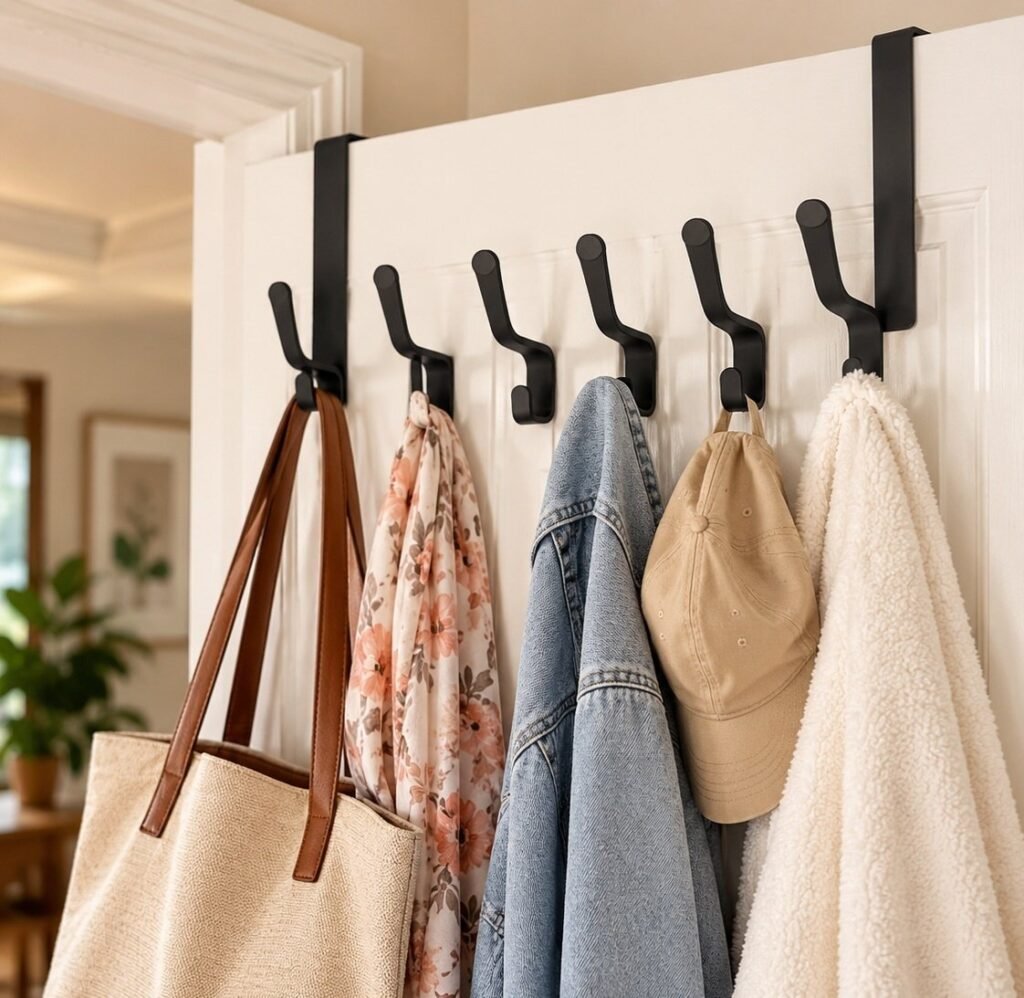
The back of the closet door is free storage. An over-the-door rack with hooks, pockets, or shelves can hold belts, scarves, hats, bags, and small accessories, and it keeps them visible. A full-length mirror on the door saves wall space elsewhere.
Check that the door still closes fully and that nothing scratches the frame. Use padded hooks if you have a delicate finish.
Step 9: Add Bins, Baskets, or Stackable Cubes for Folded Items
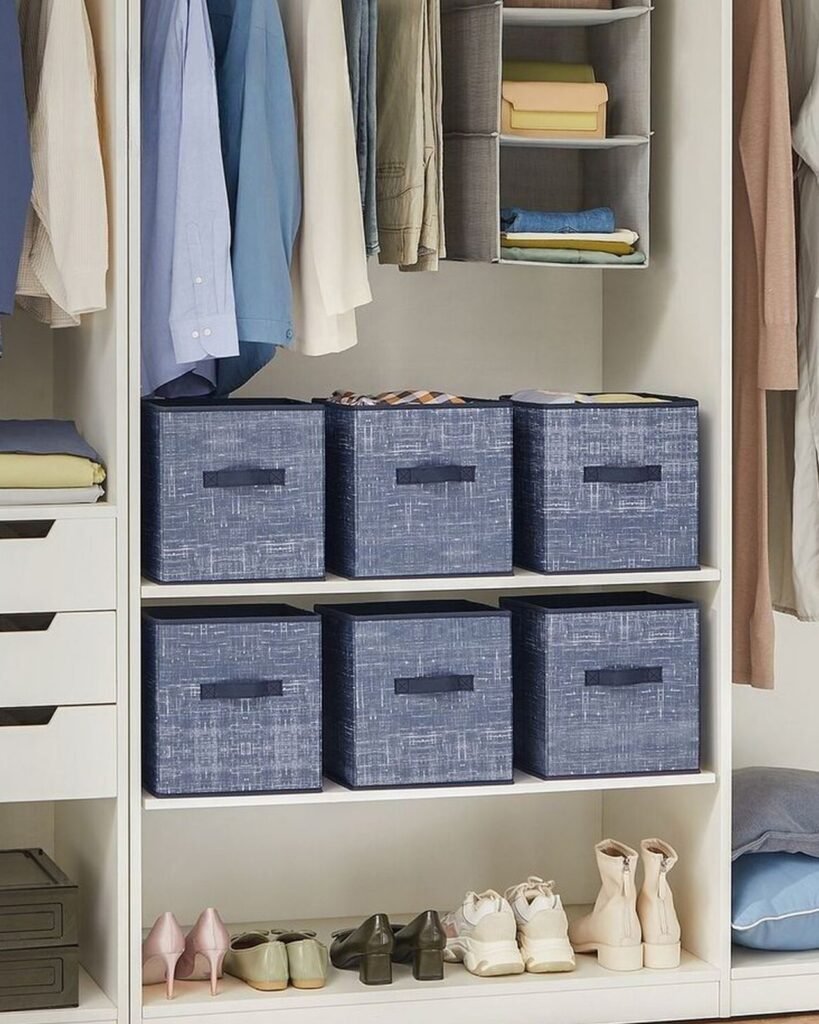
For T-shirts, workout clothes, socks, and sweaters, stackable fabric bins or cubes act like drawers without needing a dresser. Pull-out bins are easier to access than stacks, and labeling each one makes getting dressed faster.
Look for bins with sturdy sides that won’t flop when half empty, and choose a consistent size so they stack neatly. A set of four costs around $15-40.
Step 10: Switch to Slim, Matching Hangers
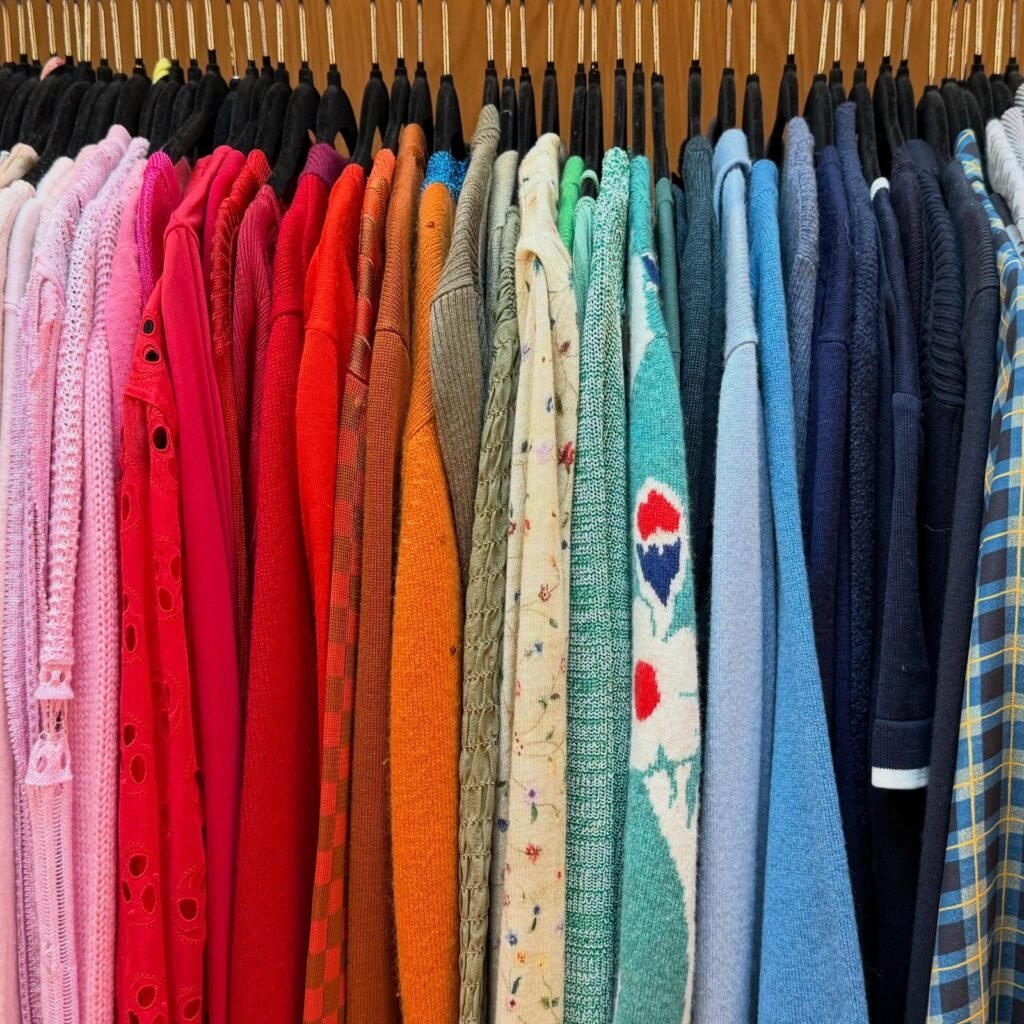
This is the cheapest upgrade with the biggest payoff. Slim, non-slip hangers take up about half the width of bulky plastic or wooden ones, and matching hangers create a clean line that makes the closet look bigger. Velvet hangers keep clothes from slipping off, which helps with silky tops and straps.
A pack of 30 slim hangers costs about $15-30. Replace the hangers as you go, and don’t bother with the ones holding clothes you no longer wear.
Step 11: Fold to Fit (Vertical Folding Saves Space)
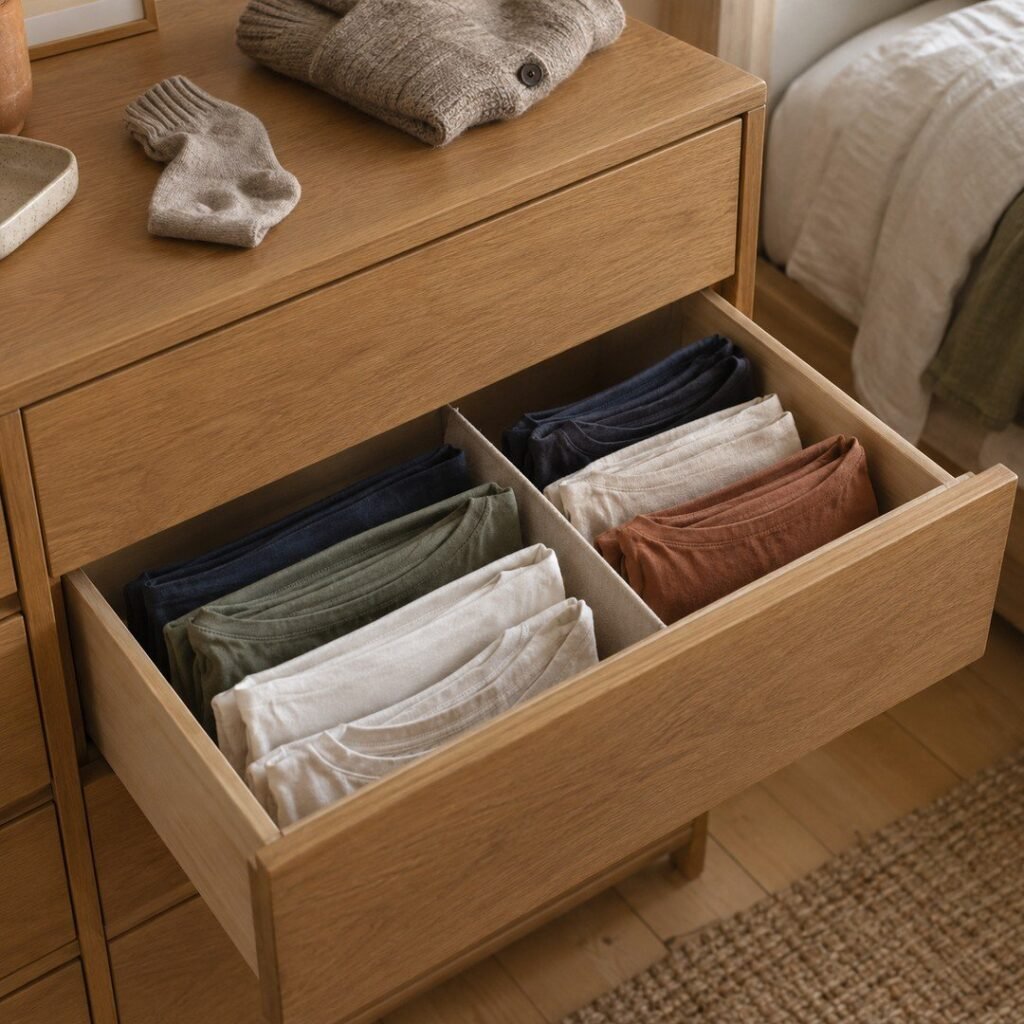
Instead of stacking folded clothes flat, try folding them into small rectangles and standing them upright in bins or drawers, so you can see each piece at a glance. This works well for T-shirts, jeans, and leggings, and it keeps the pile from toppling when you pull one out.
It’s free, it takes a bit of practice, and it often fits noticeably more in the same space. Give it a week before you decide whether it works for you.
Step 12: Add Light So You Can Actually See
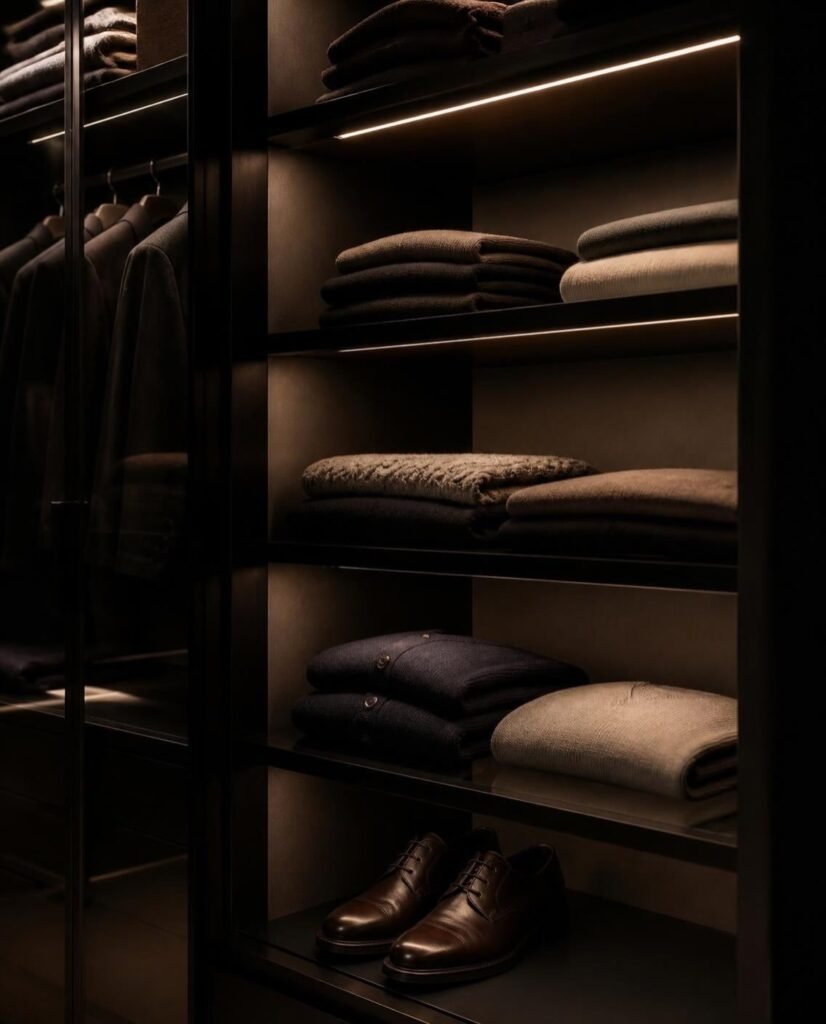
A dark closet is a cluttered closet, because you can’t see what you own. Battery-powered LED puck lights, stick-on strip lights, or motion-sensor lights are cheap, need no wiring, and make everything visible. They typically cost about $10-30.
If your closet has a bulb fixture, swap in a brighter LED bulb that’s rated for the fixture. For any electrical work beyond changing a bulb, use a qualified electrician.
Step 13: Label and Rotate Seasonally
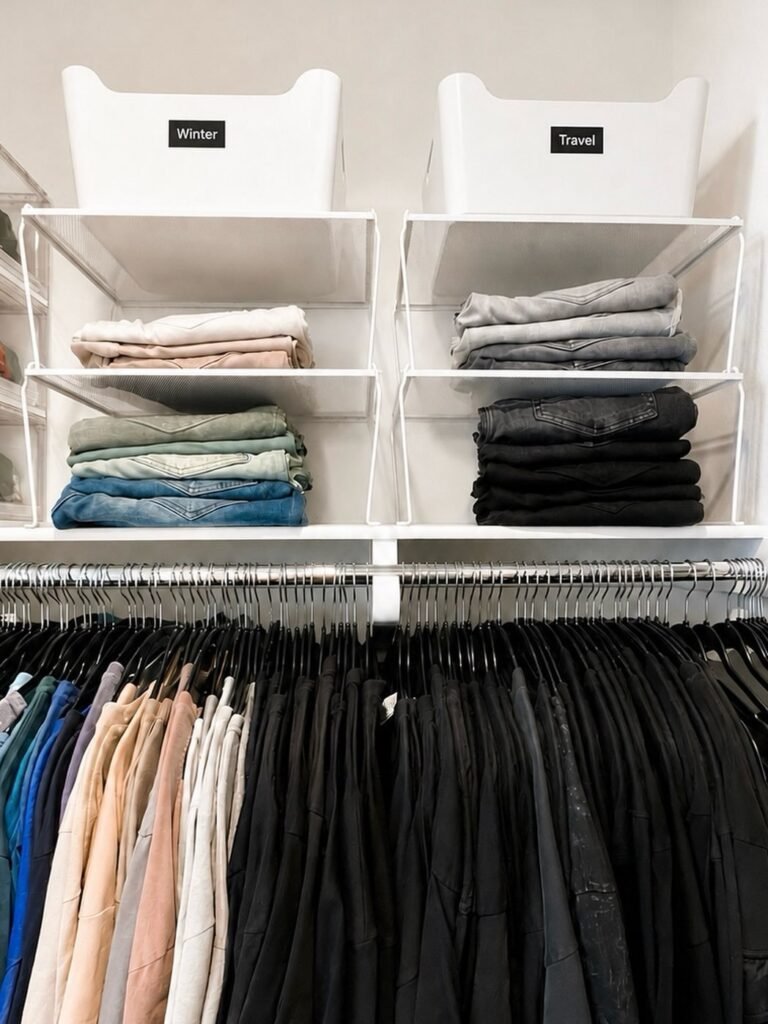
Label bins and shelves so everyone knows where things go, and swap off-season clothes into high or under-bed storage twice a year. A small closet only works if it holds what you wear now, so rotate what’s inside rather than trying to store everything at once.
Take a quick photo of each shelf and bin before closing it up, so you can see what you have at a glance without opening everything.
Rough Shopping List and Costs
| Item | Approx. Cost | What It Solves |
|---|---|---|
| Hook-on double-hang rod | $10-25 | Doubles hanging space |
| Slim non-slip hangers (30 pack) | $15-30 | Saves width, cleaner look |
| Shelf dividers (set) | $10-30 | Keeps folded stacks neat |
| Stackable fabric bins (set of 4) | $15-40 | Drawer-like storage |
| Over-the-door shoe or accessory organizer | $15-40 | Uses the door, frees the floor |
| Stackable or angled shoe rack | $15-50 | Organizes shoes in less space |
| LED puck or strip lights | $10-30 | Lets you see everything |
| Labels or a marker | $3-10 | Helps everyone find things |
A full no-drill setup usually lands between $60 and $150, and you can build it slowly. If your budget is tight, my guide to closet organization on a budget has more inexpensive swaps and secondhand ideas that work well alongside this system.
Adapting the System to Your Type of Closet
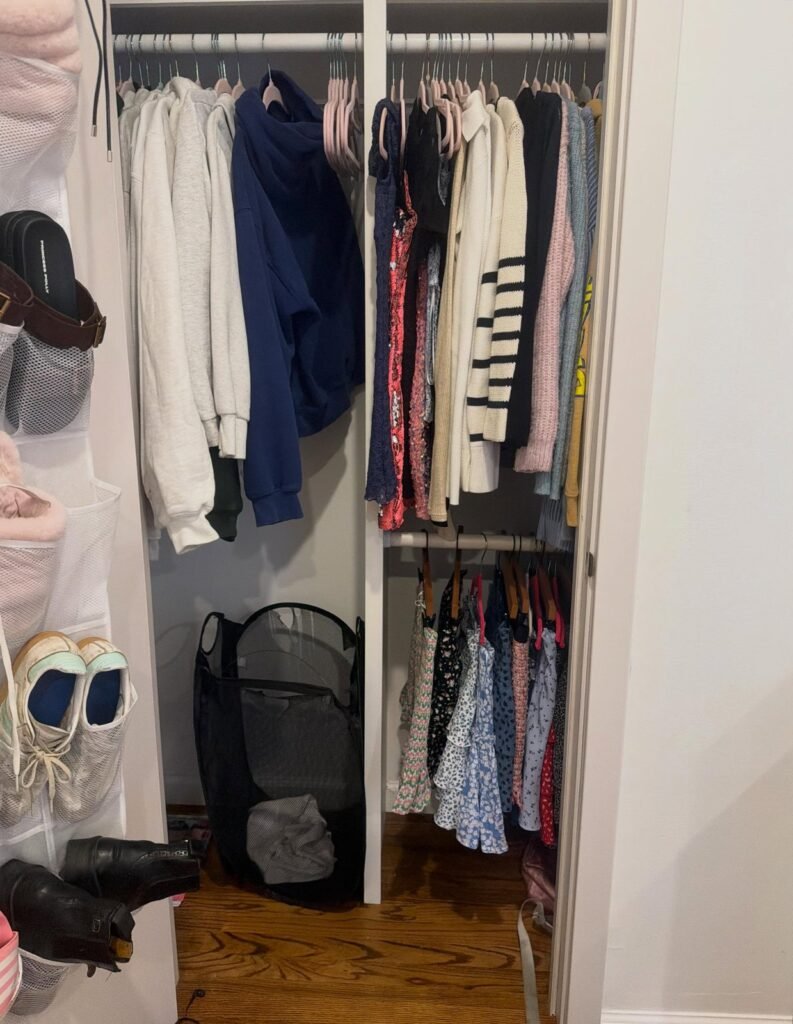
A reach-in closet, the typical bedroom kind, benefits most from a double hang rod, shelf dividers, and an over-the-door organizer. A tiny coat closet works best with hooks, a shoe tray, and a few bins on the shelf. A small walk-in can handle a freestanding unit along one wall and a rod on the other.
If you have no closet at all, a freestanding wardrobe or a sturdy clothing rack, with bins underneath and a curtain to hide it, does the job. For sloped ceilings, keep short hanging items and shelves on the low side and long items where the ceiling is highest.
If you rent, you’ll want to avoid damaging walls, and my guide to apartment renter mistakes explains which adhesives and fixtures commonly cause problems, so you keep your deposit.
Safety and Weight Limits: The Boring Part That Matters
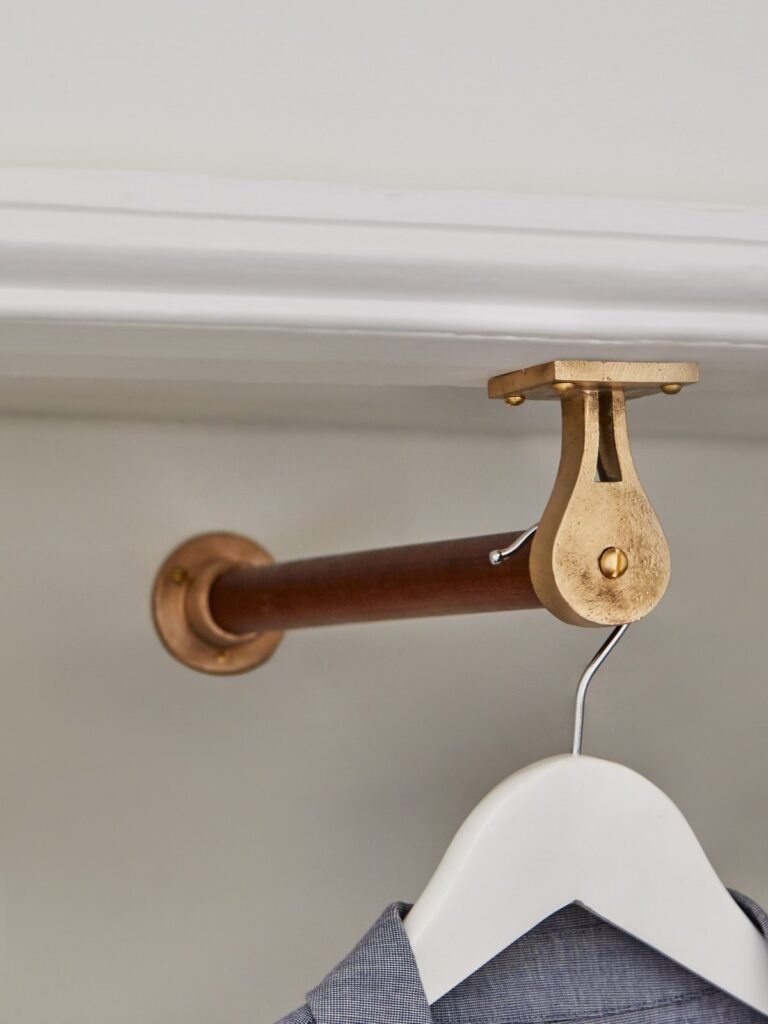
Closets hold a surprising amount of weight, especially when full of winter coats. Check the weight rating on every rod, shelf, and hook, and don’t exceed it. Tension rods are for light items only, and adhesive hooks need clean, dry surfaces and should be tested before you load them.
If you mount anything into the wall, use a stud finder and the proper hardware, and avoid drilling near wiring or pipes. If you’re unsure, ask your landlord or hire a professional, and always follow the manufacturer’s instructions.
Mistakes That Make Small Closets Feel Smaller
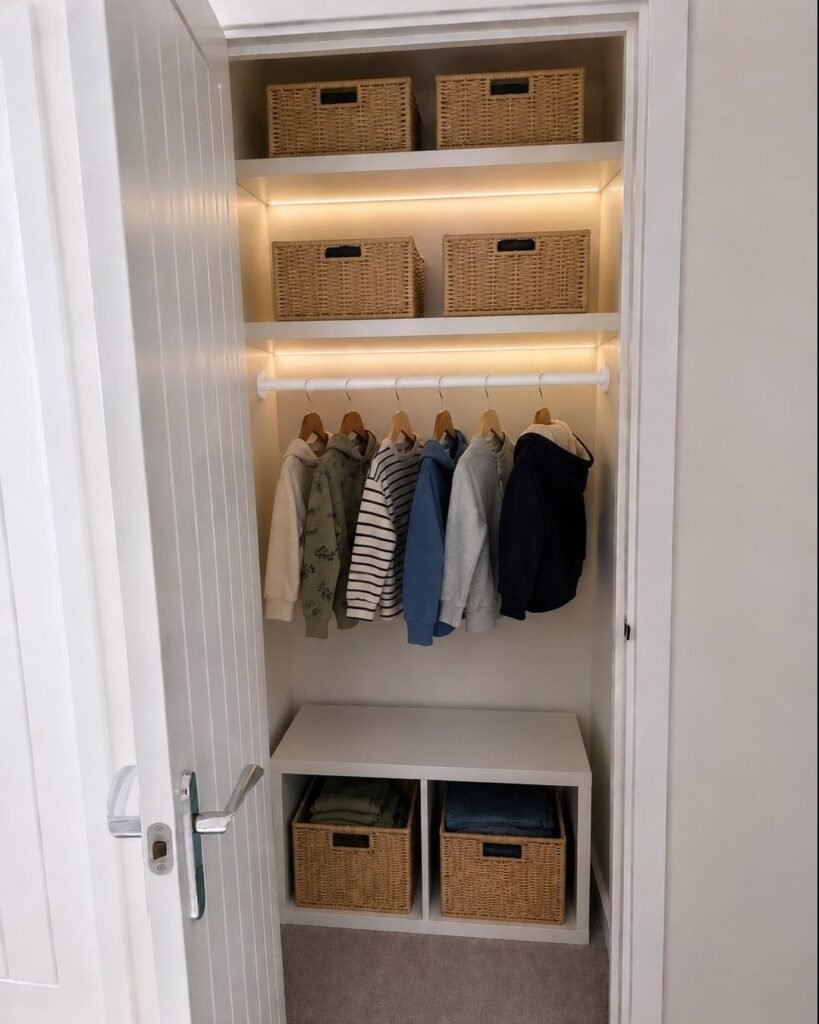
The most common mistake is buying organizers before decluttering. The second is mixing hanger types, which wastes space and looks messy. The third is ignoring the door and the ceiling, which are the easiest places to gain space, and the fourth is packing the closet so tightly that nothing is easy to reach.
Another trap is overspending on a matching system you don’t need. A few well-chosen pieces beat a full set, and you can always add more as your needs become clear.
What I’d Do First if I Were Starting Over
I’d empty the closet, donate a bag of clothes, and swap to slim hangers before spending money on anything else. Then I’d add a hook-on double rod, shelf dividers, and an over-the-door organizer. That’s roughly $50-80, takes an afternoon, and would have saved me every morning of wrestling that overstuffed rail.
A good DIY closet organization system for small closets isn’t about having more space, it’s about using what you have so well that nothing gets lost. Start with the declutter, use height and the door, and add pieces slowly, and your closet will do more work than you thought it could.
FAQs
How do I organize a very small closet on a budget?
Declutter first, switch to slim matching hangers, add a hook-on double rod, and use shelf dividers and bins. A no-drill setup can cost under $100 and works in most rentals.
What is the best DIY closet system for renters?
A no-drill setup with tension rods, hook-on rods, over-the-door organizers, freestanding shelves, and stackable bins. Check weight limits and avoid anything that requires damaging walls.
How high should the rods be in a double hang closet?
A common setup puts the upper rod around 80 inches from the floor and the lower rod around 40 inches, but adjust for your ceiling height and the length of your clothes.
How much does it cost to build a DIY closet organization system?
A basic no-drill version usually costs $60-150, while a built-in version with wood or wire shelving can cost $80-300 or more depending on materials and size.
Should I use wire or wood shelving in a small closet?
Wire is cheaper and ventilates well, while wood looks more finished and supports small items better. The right choice depends on your budget and what you’ll store.
How often should I reorganize my closet?
A quick tidy once a month and a seasonal swap twice a year keep most small closets in good shape. Donate anything you haven’t worn in a year as you go.







Leave a Reply