
A few months ago, a friend walked into my apartment, pointed at a cream-colored vase on my shelf, and asked where I’d found it. I told her it cost me two dollars and a can of spray paint. She didn’t believe me until I showed her the original: a bright blue, slightly warped plastic vase with a faded flower print. Same shape, completely different object.
That’s the real trick behind dollar store DIY decor that looks expensive. The shapes are often fine, even good. What gives them away is the color, the sheen, and the labels, and all three are easy to change. A matte finish, a bit of texture, and a better color palette turn a cheap item into something that reads as styled and intentional. If you’re decorating on a tight budget, my guide to furnishing a small apartment on a budget pairs well with this one, since the same rule applies: spend carefully, and make every piece earn its place.
Below are 22 projects I’ve tried or watched friends try, with rough costs, difficulty, and the little details that make the finished piece look pricey instead of homemade. There’s a quick-reference table, a basic supply list with costs, and FAQs at the end. Dollar store stock and prices change a lot by location, so treat my numbers as rough, and use your own judgment about what’s available near you.
First, the Rules That Make Cheap Things Look Expensive
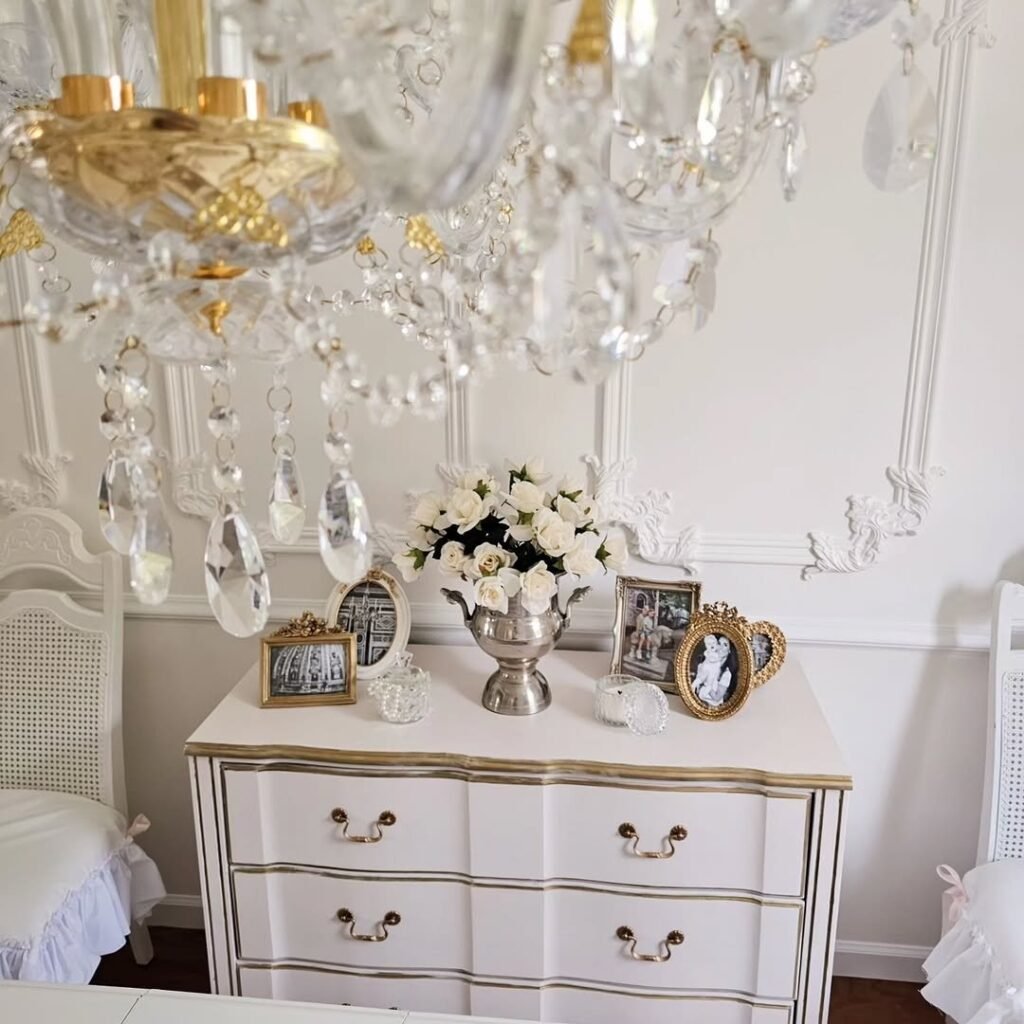
Almost every successful dollar store makeover follows the same few rules. Stick to a tight color palette, such as cream, black, warm wood tones, and one metallic. Choose matte finishes over shiny plastic, since glossy plastic is the biggest giveaway. Add natural texture, like rope, linen, or wood, and group items in odd numbers at different heights.
It also helps to start with the best shapes the store has, not the cheapest. A simple, clean silhouette will always look better than a fussy, over-detailed one, because paint can hide a color but it can’t fix a bad shape.
Pro tip: Take your color palette with you, even as a photo on your phone. Shopping with a plan keeps you from buying a pile of colors that don’t match.
1. Faux Marble Trays With Contact Paper
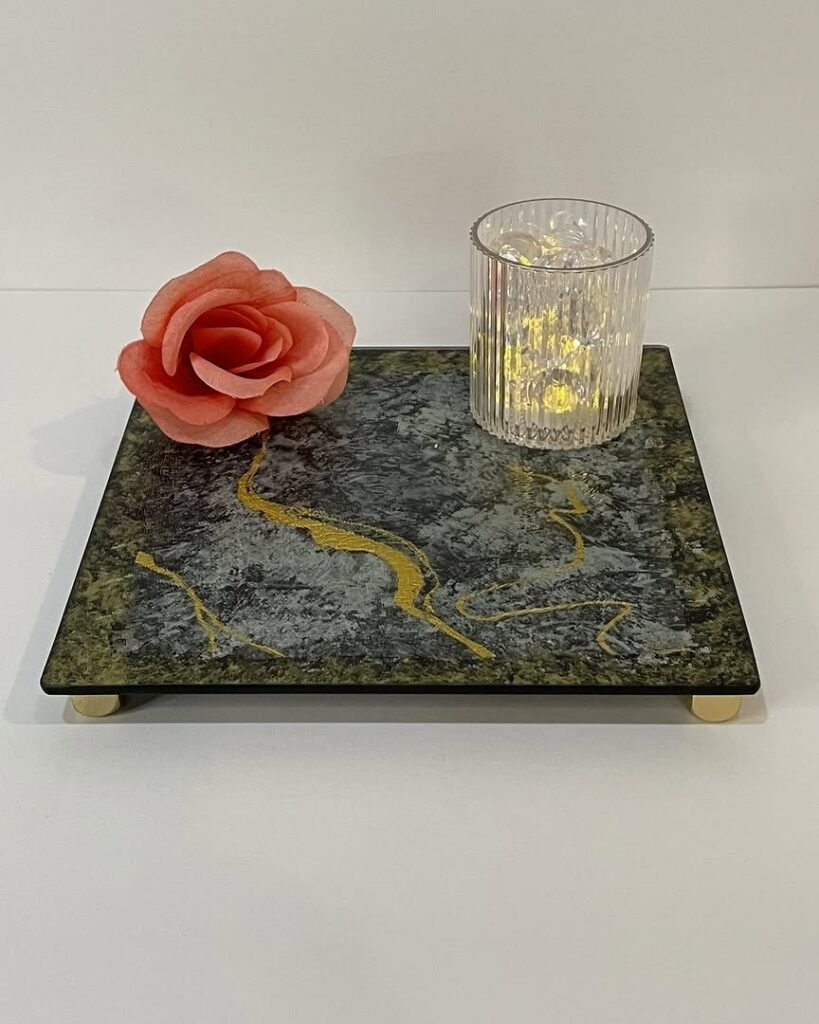
A plain plastic or wood tray from the dollar store becomes a marble vanity tray with a piece of peel-and-stick marble paper. Cut it slightly larger than the base, smooth it down with a credit card, and trim the edges with a craft knife. It takes about 15 minutes and costs a few dollars.
Use it on a bathroom counter for perfume and jewelry, or on a coffee table for candles. The trade-off is that contact paper can scratch, so it’s best for display rather than heavy use.
2. A Gallery Wall From Spray-Painted Frames
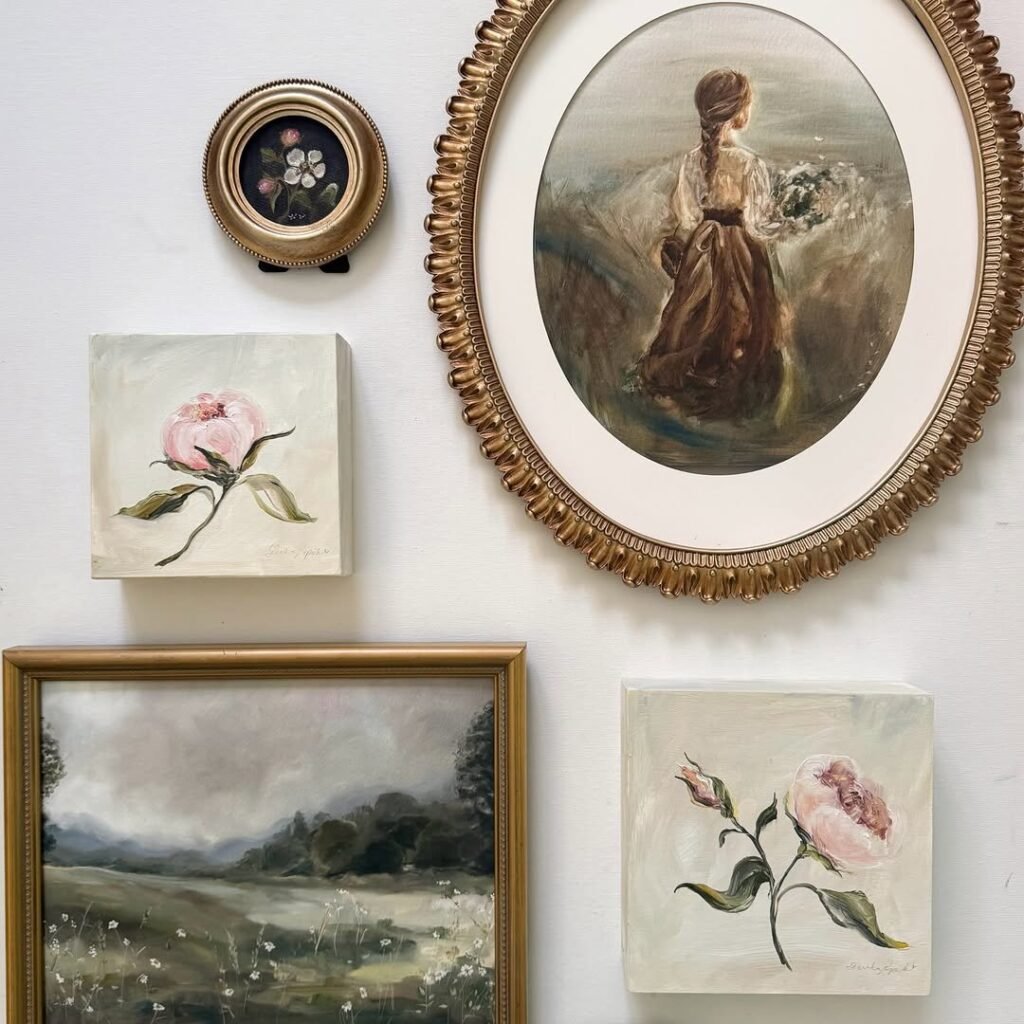
Mismatched dollar store frames look cheap until you paint them all one color. Take out the glass and backing, spray the frames in matte black, gold, or cream, and let them dry fully before reassembling. Suddenly, a random pile becomes a coordinated gallery.
Fill them with printed photos, pages from old books, or simple art printed at home. If you’re hanging them in a rental, my guide to apartment renter mistakes explains which adhesives and hooks are safest for your walls and deposit.
3. A Rope-Wrapped Mirror
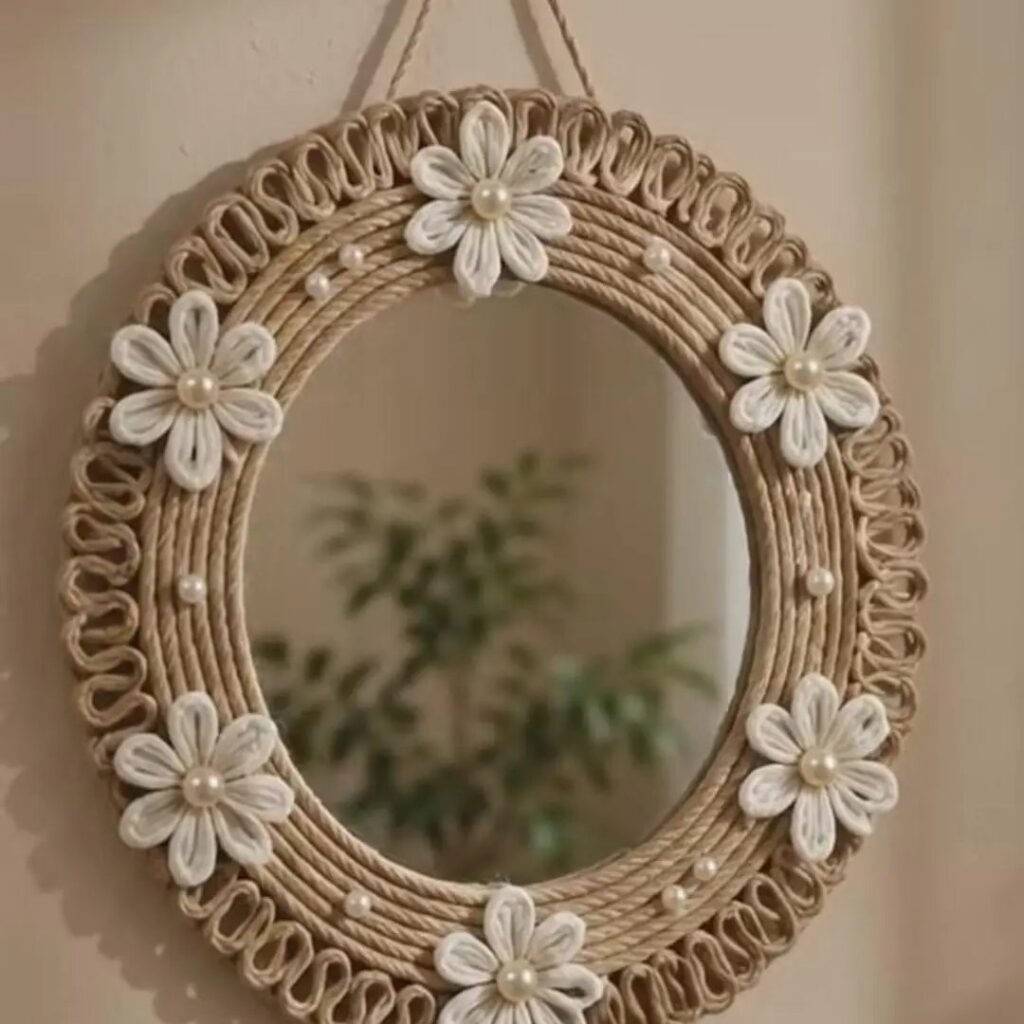
A basic round mirror from the dollar store gets a high-end boho look when you wrap the frame in thick natural rope or jute. Glue the rope starting at one point and wind it neatly around the edge, trimming the end to blend in. A little hot glue and about $4 of rope is all it takes.
Hang it by the entryway, and it will bounce light around. If a small space is your concern, mirrors are also one of the easiest ways to make a room feel bigger.
4. Faux Ceramic Vases With Textured Paint
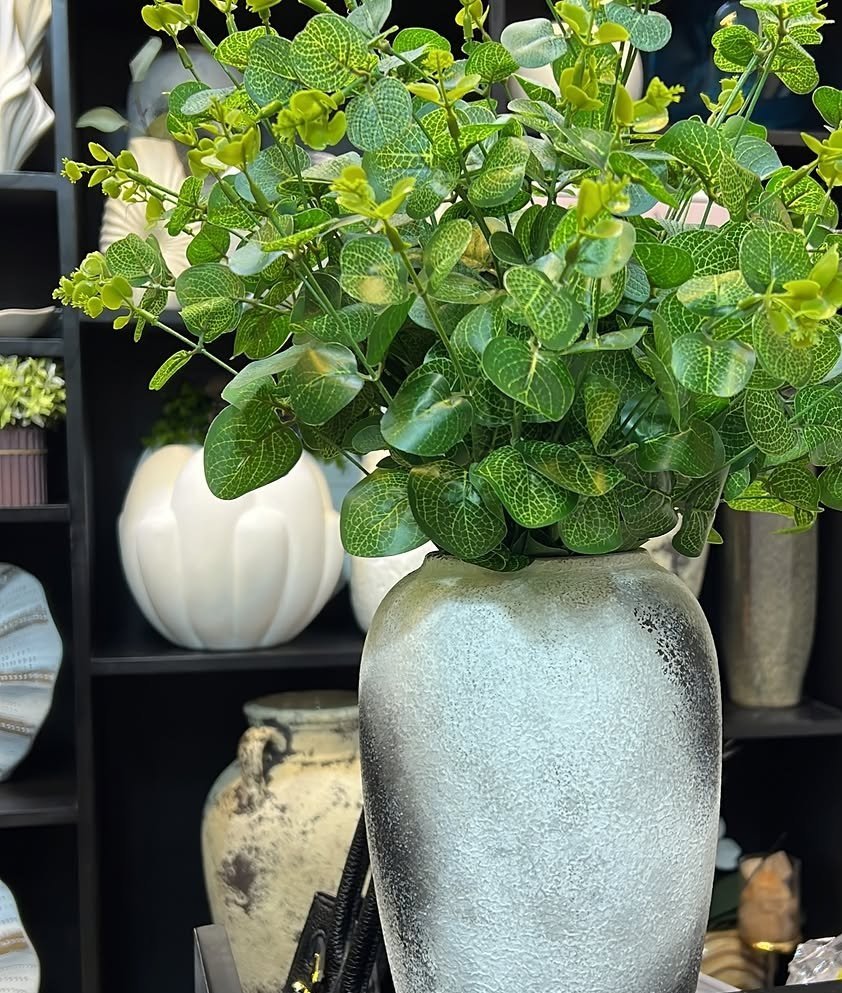
Dollar store glass or plastic vases become faux ceramic when you mix a tablespoon or two of baking soda or fine sand into matte paint and brush it on in two coats. The gritty texture looks like pottery. Choose warm whites, sage green, or terracotta for the most expensive look.
Seal with a matte spray if you want it to last. These are for dry stems or faux flowers, not for holding water, since the paint won’t stand up to it.
5. Frosted or Mercury Glass Candle Holders
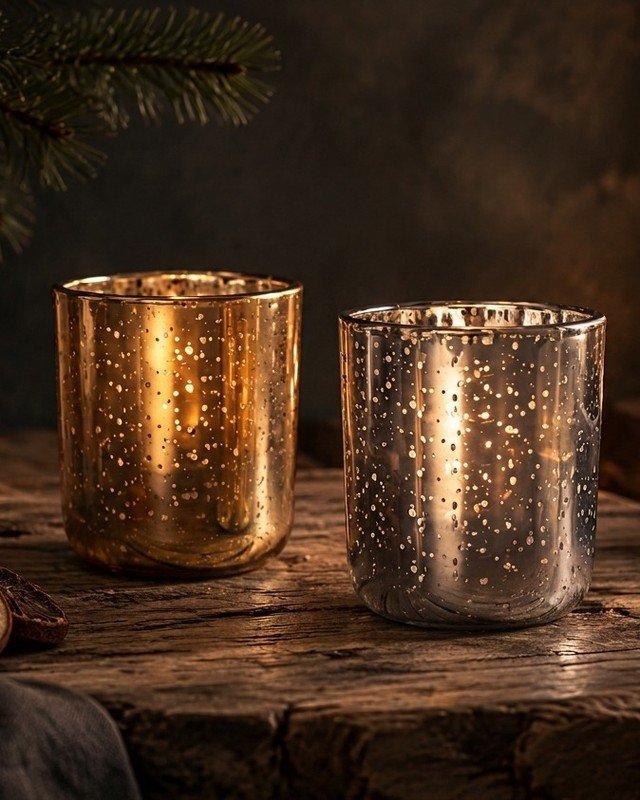
Clear glass candle holders and jars can look like antique mercury glass with a coat of glass-finish spray from the craft aisle. Spray the inside lightly, let it dry, and repeat for a mottled, aged look. A little mist of water and vinegar between coats adds a patina.
Use flameless candles or LED tea lights if you’re concerned about heat on a painted surface, and always follow the paint’s label for safe use. Work outdoors or in a well-ventilated spot.
6. Pedestal Stands From Plates and Candlesticks
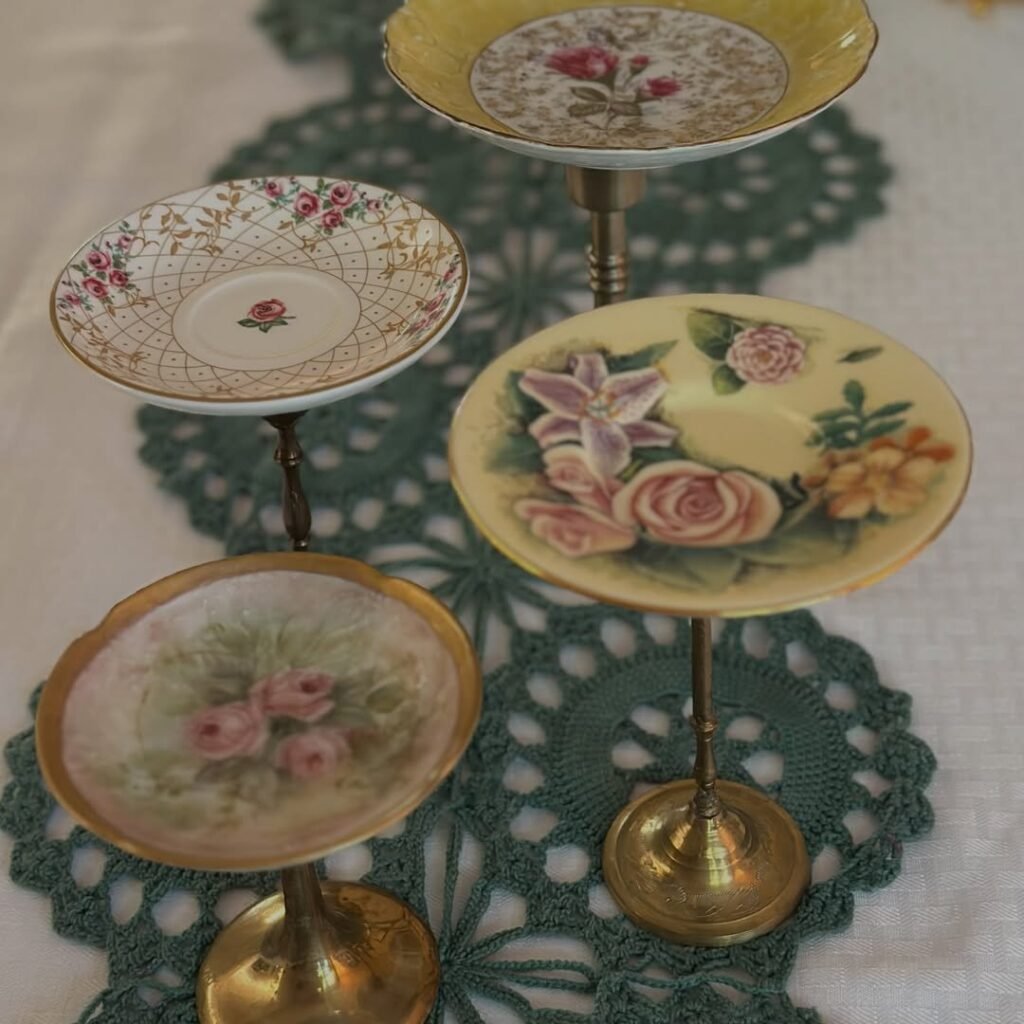
This one is a classic for a reason. Glue a dollar store candlestick to the bottom of a plate or a bowl to make a pedestal stand, and you’ve got a cake stand, a fruit stand, or a display piece for decor. Use a strong glue like E6000 and let it cure fully before using.
Paint the whole thing matte white, black, or gold, and it looks like a boutique piece. A tiered version, with two or three plates stacked on different-sized candlesticks, is a favorite for holiday tables.
7. Faux Plaster or Stone Trays
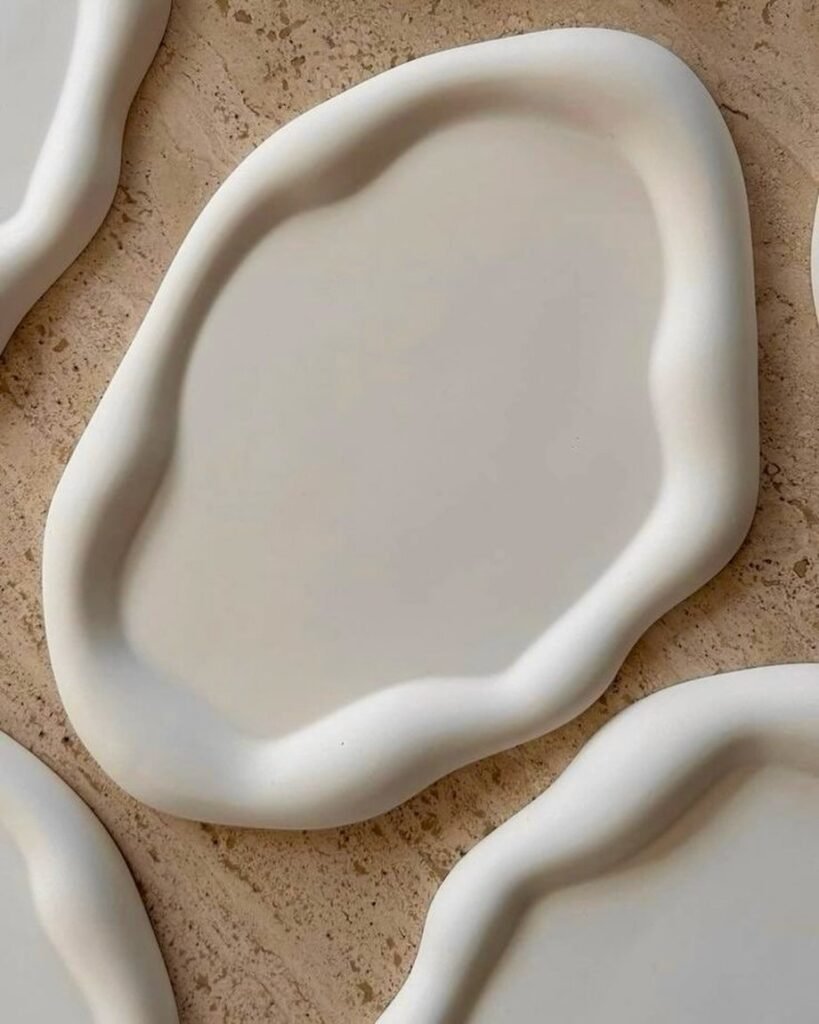
Air-dry clay or joint compound (a thin layer on a plain dish) can mimic stone or plaster. Press clay into a shallow dish, smooth it, and let it dry, then paint or leave it natural. These small catchall trays are perfect for keys, jewelry, or candles.
The trade-off is drying time, which can be a day or two, and clay can crack if it’s too thick or dries too fast. Keep it thin and even.
8. Large Abstract Art From Cardstock and Paint
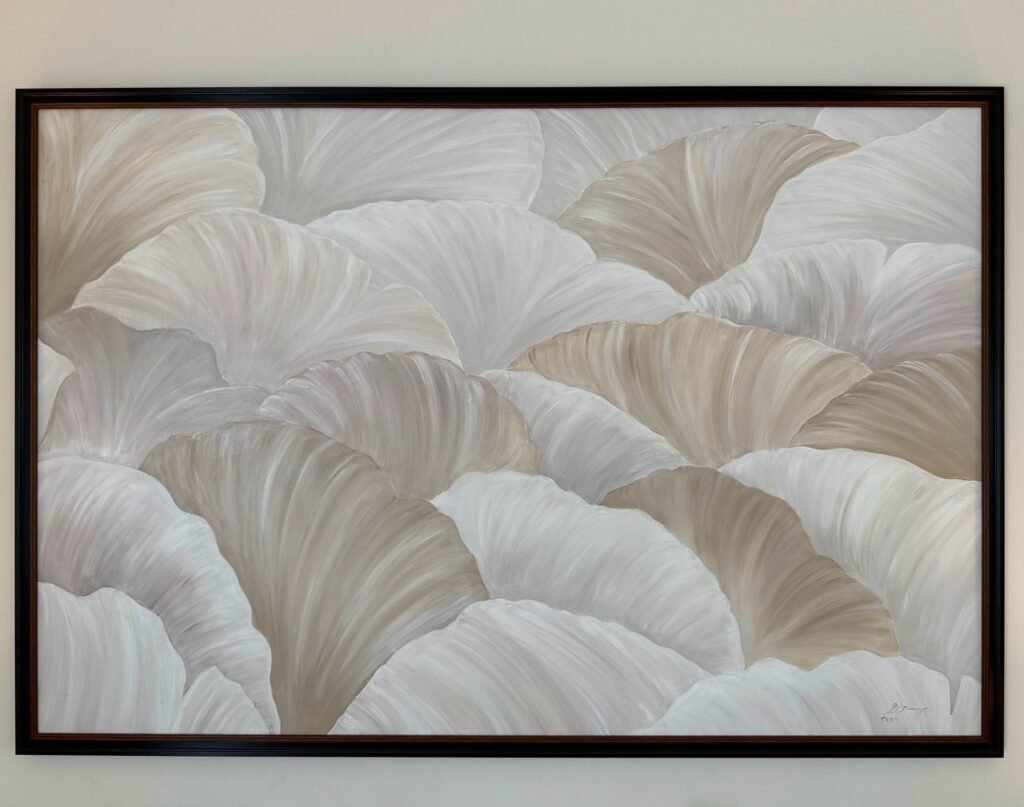
Big wall art is expensive, but you can make your own with a poster board or a canvas from the dollar store, plus sample paint or leftover craft paint. Try simple shapes, like arches or organic blobs, in two or three colors from your palette. Frame it or hang it plain.
The key to looking expensive is scale and restraint. One large, simple piece is more impressive than a cluster of small, busy ones. If you’re curious about current looks, my roundup of small apartment decor trends shows what’s popular right now, from warm neutrals to arched shapes.
9. Upgraded Faux Greenery
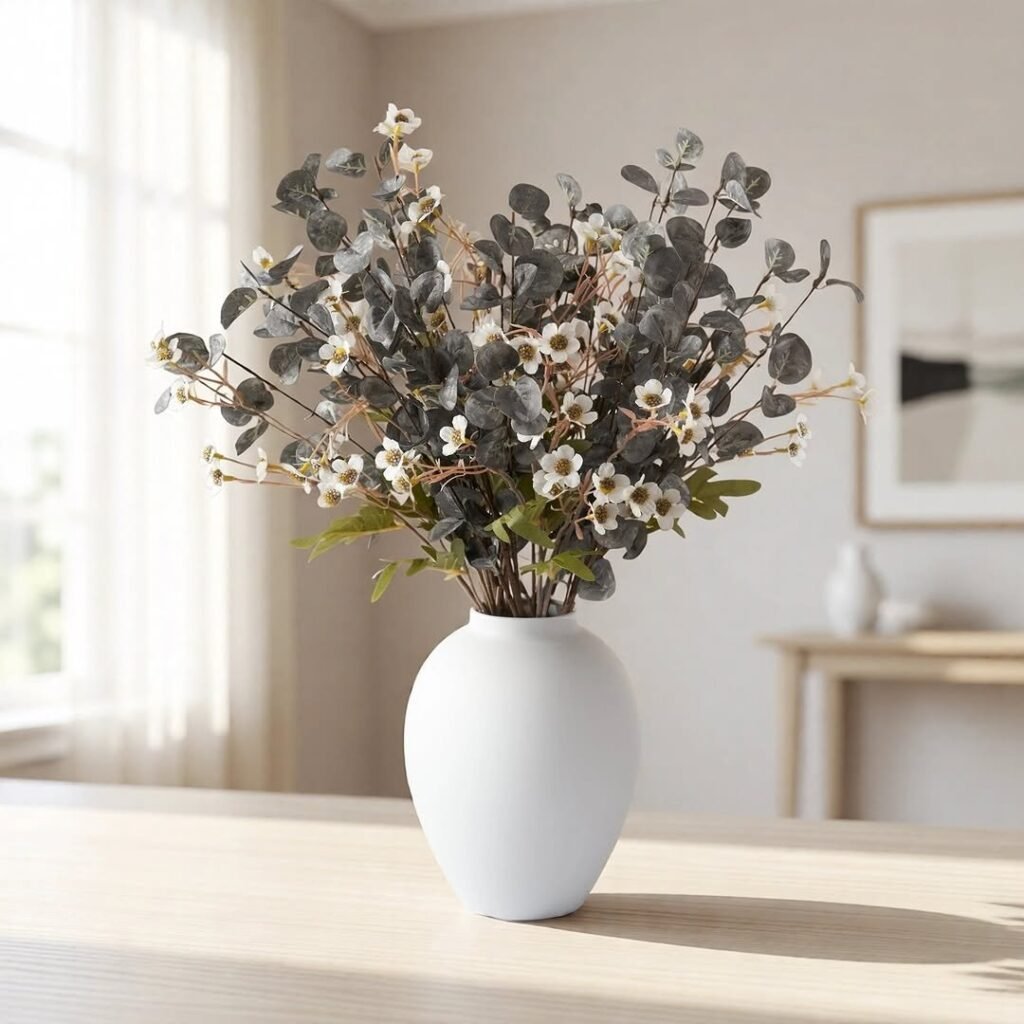
Dollar store plants tend to be shiny and bright green, which reads as fake. To upgrade them, dust them with a little matte spray, swap the plastic pot for a ceramic or woven one, and cover the top with moss or small stones. Trim stems so they look natural, not stiff.
Group them in odd numbers, and stick with one or two types, like eucalyptus and olive branches, which look the most realistic. Prices run about $1-5 per stem or plant.
10. Woven Basket Makeovers
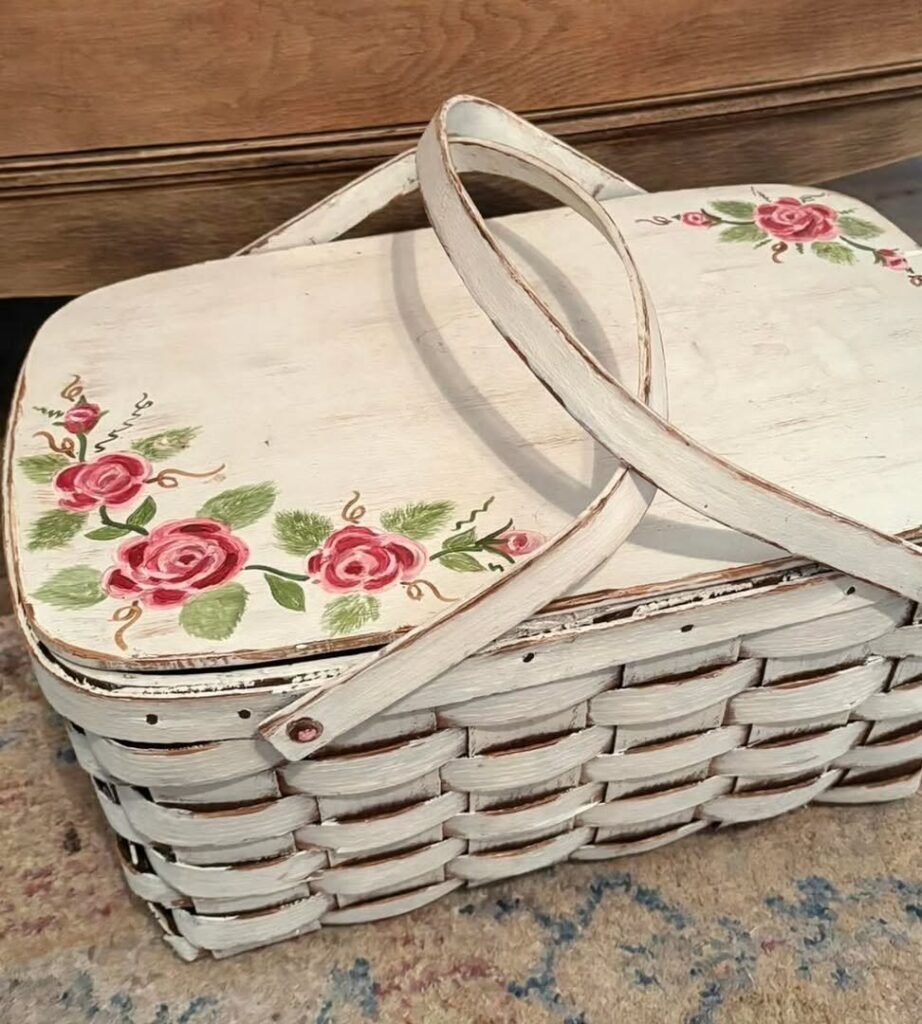
Plain plastic baskets can be wrapped in rope, twine, or burlap to look like woven natural baskets. Glue the material in neat rows, and add a linen liner if you’re storing small items. They’re perfect for blankets, toys, or bathroom storage.
If you’d rather paint them, use a matte spray in a neutral color, and test a small area first, since some plastics don’t take paint evenly.
11. Apothecary Jars With Wood Knobs
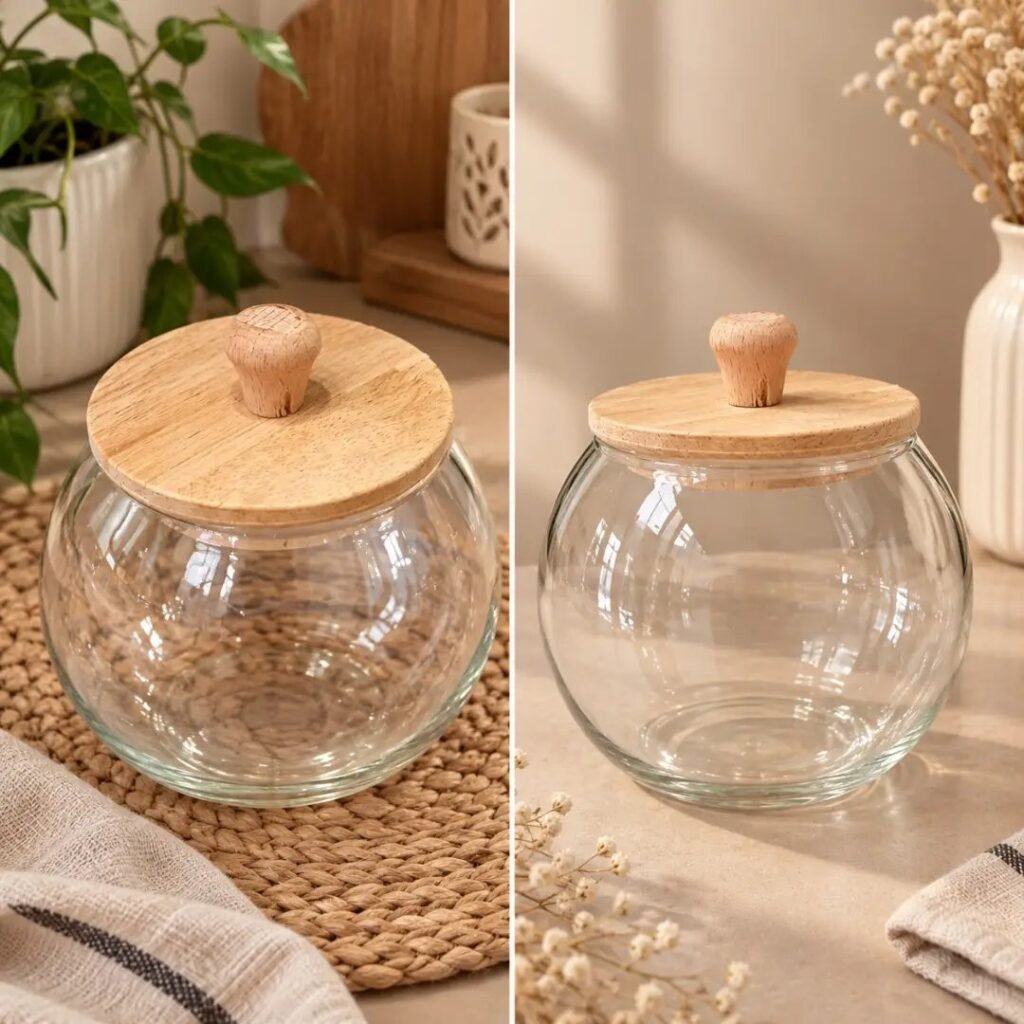
Glass jars with simple lids look like expensive apothecary jars once you add a wooden bead or knob to the top. Glue a bead to the lid, paint the lid matte black or gold, and fill the jar with cotton balls, bath salts, or dried flowers. They’re a tidy storage option for the bathroom or vanity.
Stick to food-safe, non-toxic products if you plan to store anything edible, and avoid putting food directly against paint or glue.
12. Decanted Soap and Lotion Dispensers
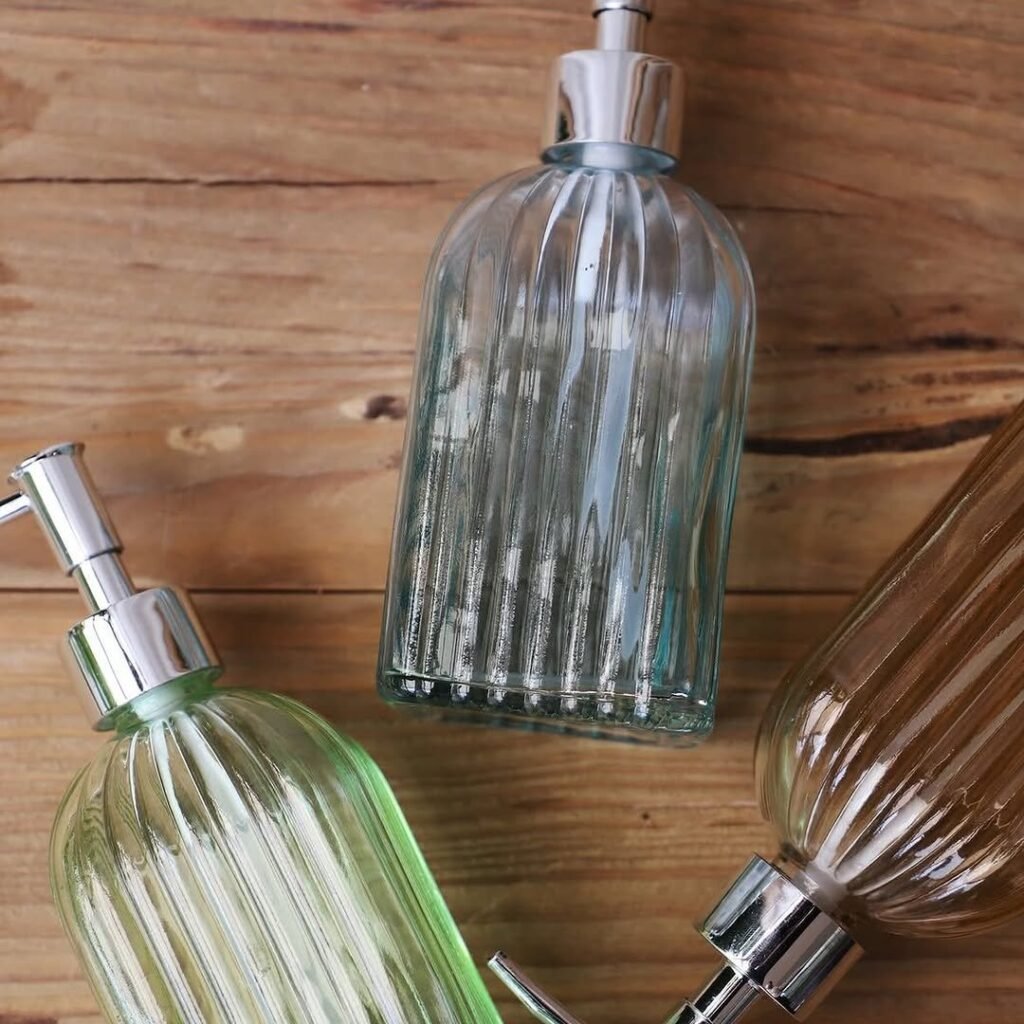
Swap bright, branded bottles for simple pump dispensers, and your bathroom immediately looks calmer. Fill them with soap or lotion, and add small, minimal labels. Plain glass or matte plastic pumps look the most expensive.
It’s an easy way to hide the clutter of colorful packaging. Refill with your regular products, and wash the dispensers occasionally to keep them clean.
13. Dried Floral Arrangements From Dollar Stems
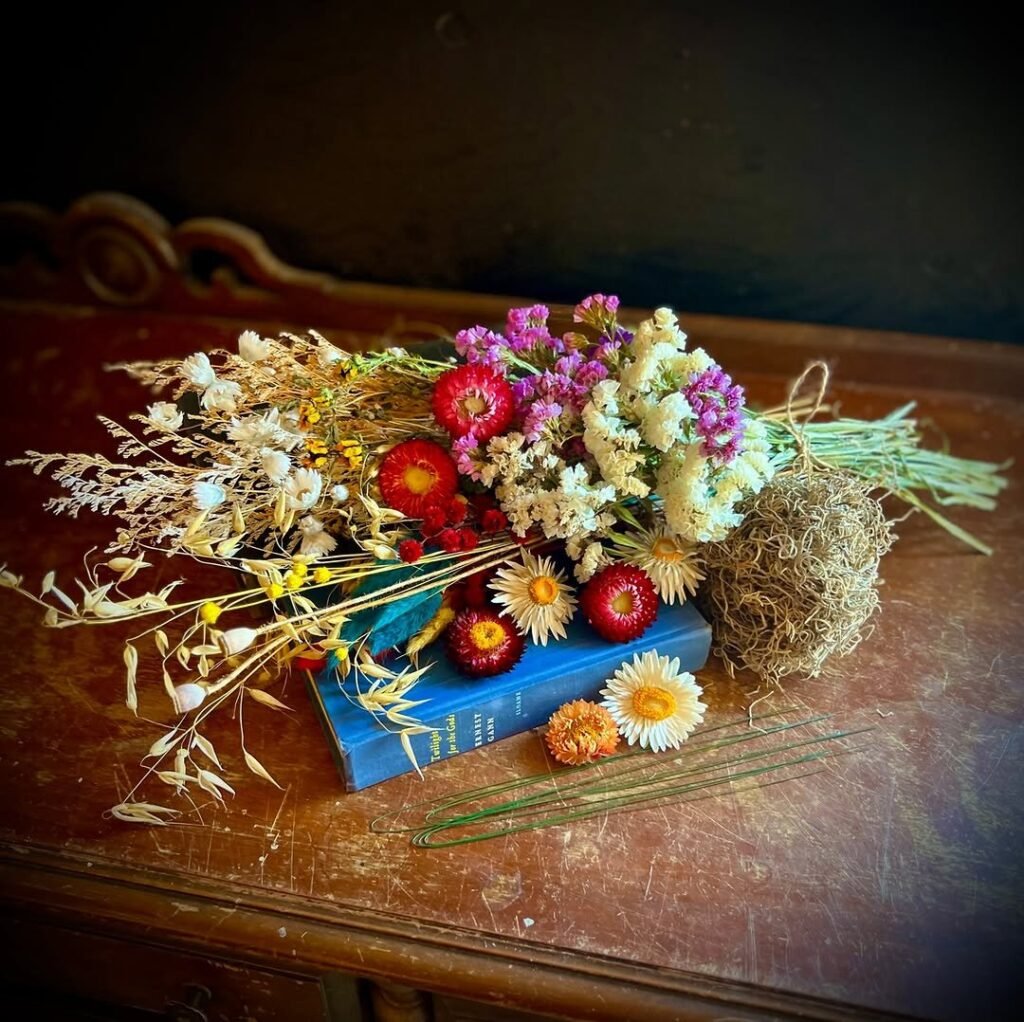
Dried-look flowers are popular right now, and you can create a similar effect with faux stems and a bit of work. Choose muted tones like cream, tan, and dusty pink, and trim them to different heights. A simple jar or vase holds them nicely.
Fewer stems often look better than many. A single, loose bunch in a neutral vase has more impact than a crowded bouquet.
14. Painted Lampshade Updates
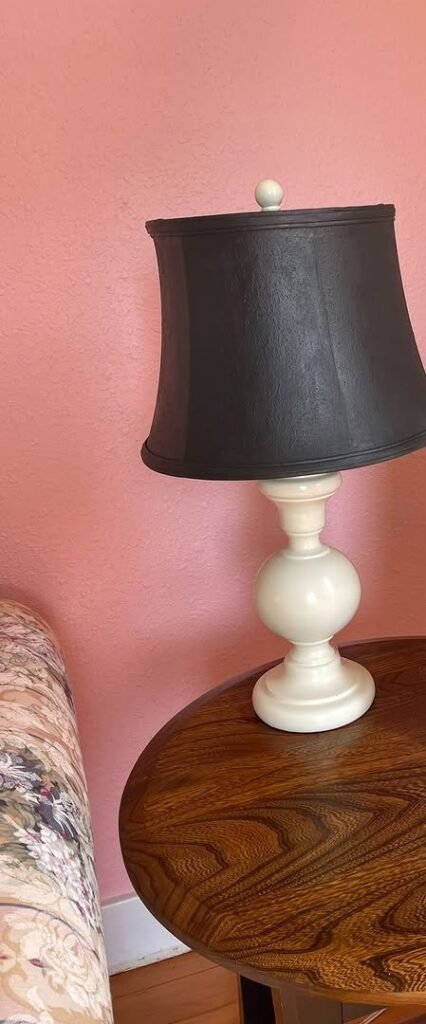
A dated or plain lampshade can be transformed with a bit of fabric, trim, or paint. Wrap a shade in linen using fabric glue, add a band of rope or ribbon at the bottom, or spray the outside in a matte neutral. Make sure the finish isn’t near the bulb, and always use a bulb that matches the lamp’s wattage rating.
A neutral, textured shade is one of the easiest ways to make a lamp look more expensive, and you can often find shades at dollar stores or thrift shops for a few dollars.
15. Rope Curtain Tiebacks
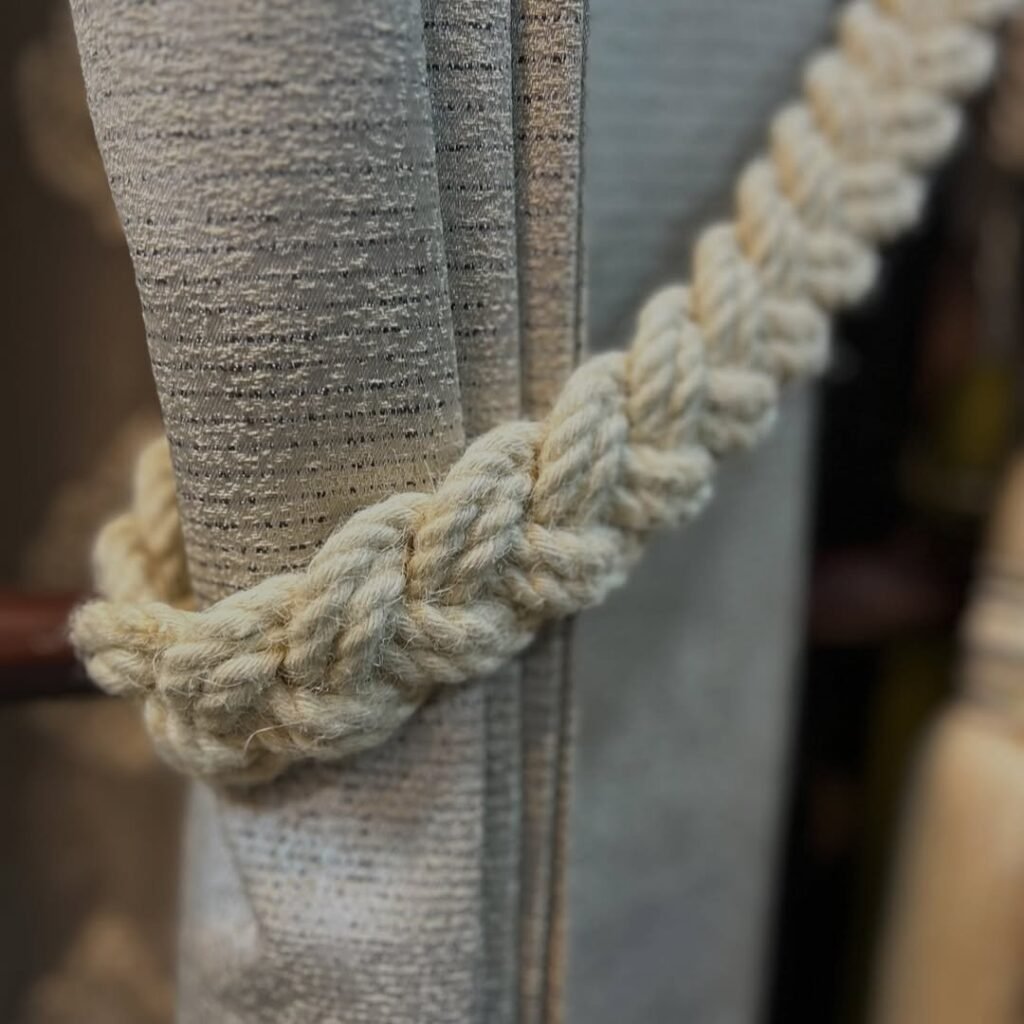
Thick rope, tassels, or even braided twine make simple curtain tiebacks that look custom. Cut a length of rope, tie a loop on each end, and hang it on a hook beside the window. A pair costs a few dollars and takes minutes.
It’s a small detail that makes plain curtains feel styled, and it adds a natural texture.
16. Metallic Finishes With Wax or Spray
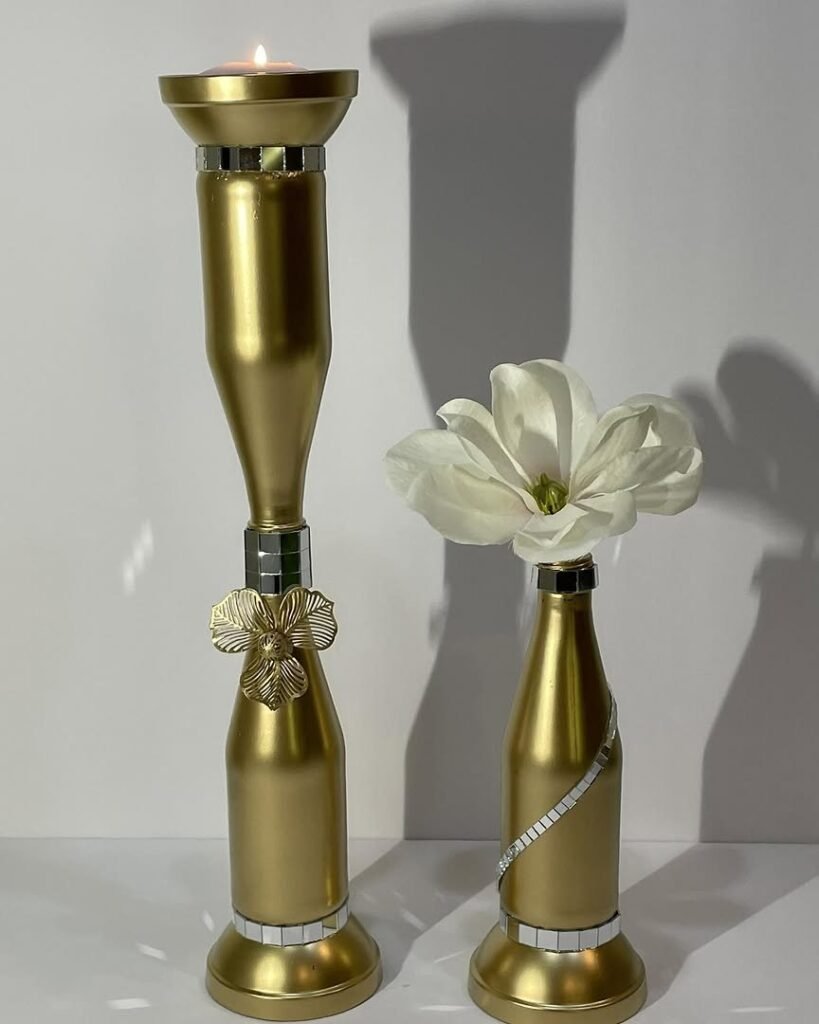
Plain plastic or resin items can look like brass or antique gold with a metallic wax paste or spray in an antique finish. Apply with a soft cloth and buff, and the item gains a rich, warm look. Use it on picture frames, small figurines, candlesticks, or trays.
A little goes a long way, and the key is to keep metallic pieces to a few accents, so they feel luxurious rather than loud.
17. Candles Wrapped in Linen or Twine
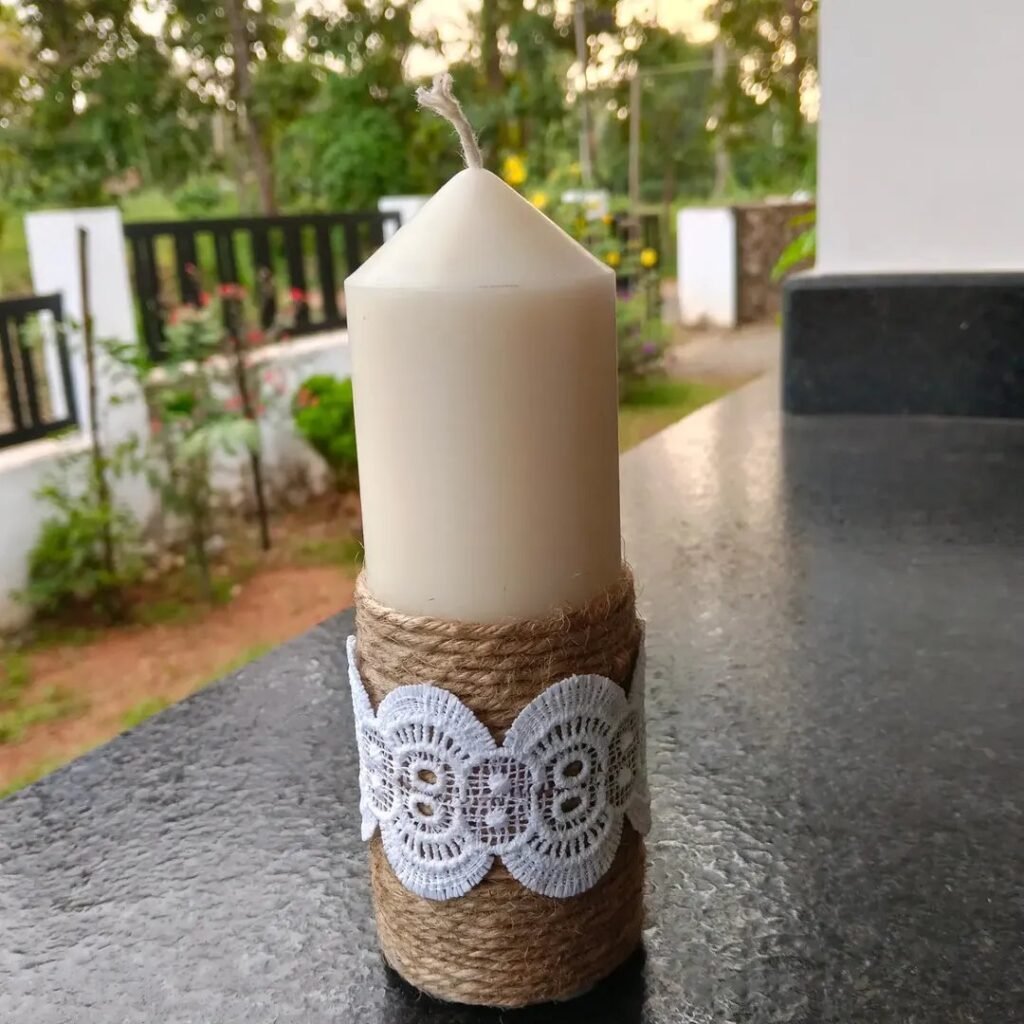
Plain pillar candles look like boutique ones when wrapped in a strip of linen, a band of twine, or a dried leaf. Secure with a little glue or a pin, and tie a simple bow or knot. Group three at different heights on a tray.
Always burn candles on a heat-safe surface, keep them away from anything flammable, and never leave them unattended. If you’re worried, use flameless versions, which look just as good.
18. Cutting Boards as Wall or Shelf Decor
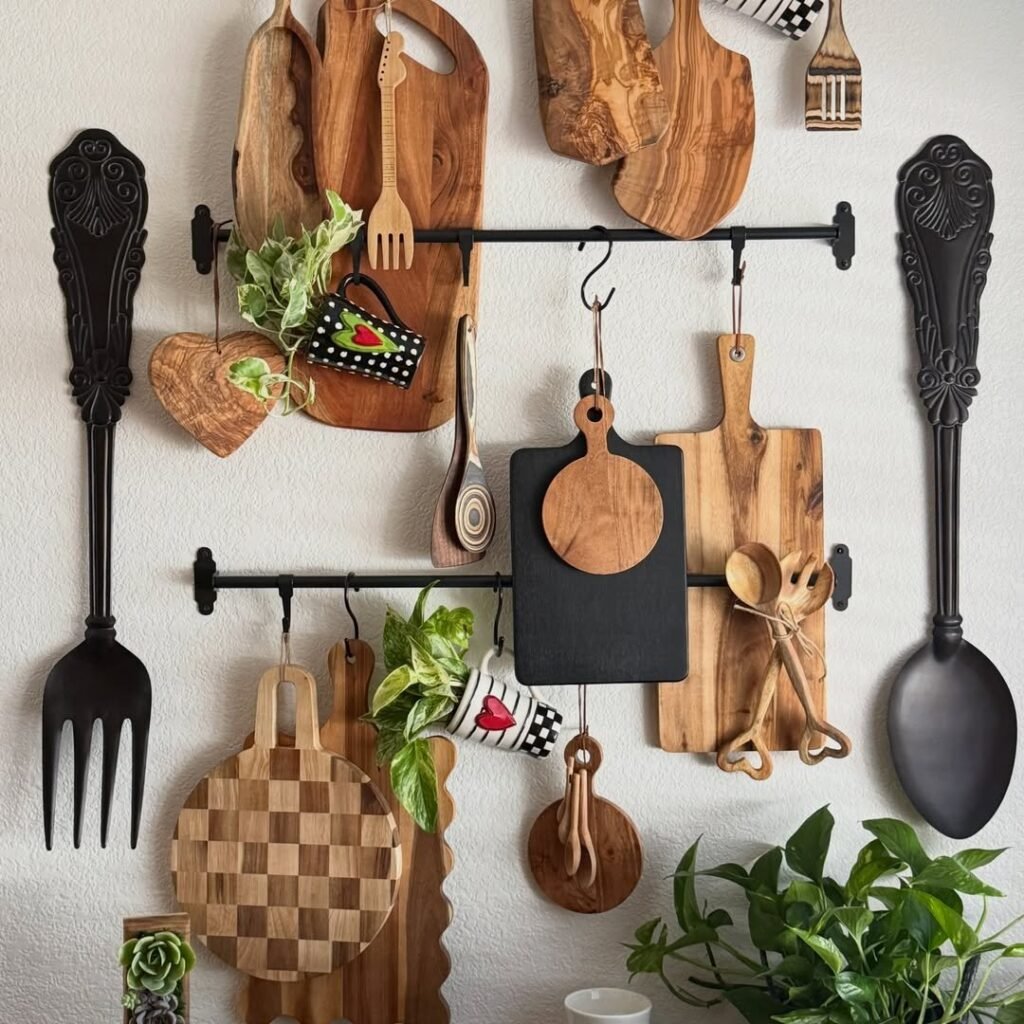
Wooden cutting boards and serving boards look great leaning against a kitchen backsplash, hanging on a wall, or used as a tray. Sand them lightly, rub them with food-safe oil or wax, and add a leather strap or rope loop if you want to hang them. They bring warm wood texture to any space.
It’s a simple, cheap way to add organic warmth, and it works well in a small kitchen where wall space is limited.
19. A Tiered Tray From Plates and Candlesticks
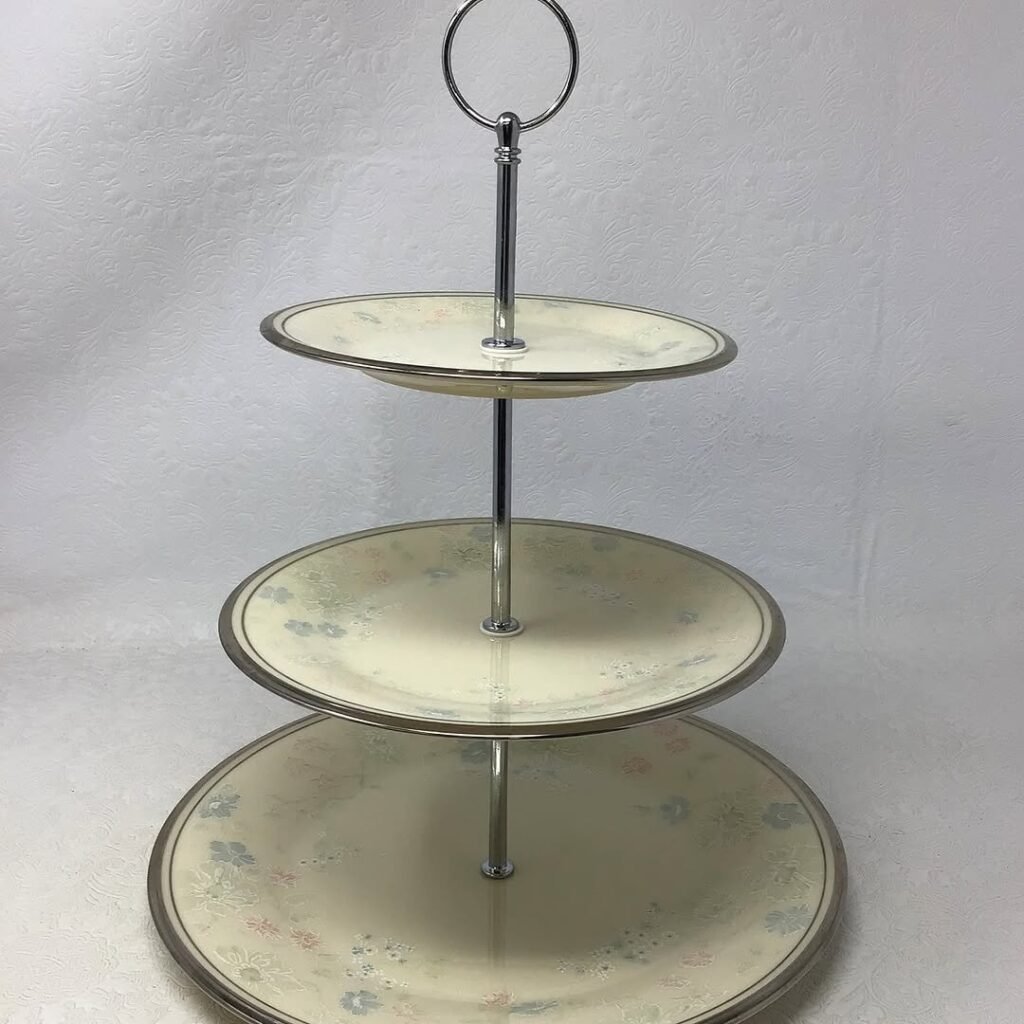
Taking idea six one step further, a tiered tray uses two or three plates in different sizes, stacked on candlesticks or glass stands, to create a display for bathroom items, kitchen essentials, or holiday decor. Paint it all one color for a polished look.
It’s a good way to group small items and keep them off the counter. If you like to swap decor with the seasons, my small apartment Christmas decor guide has ideas for holiday looks that fit on a small tray or shelf.
20. Paper Lantern and String Light Upgrades
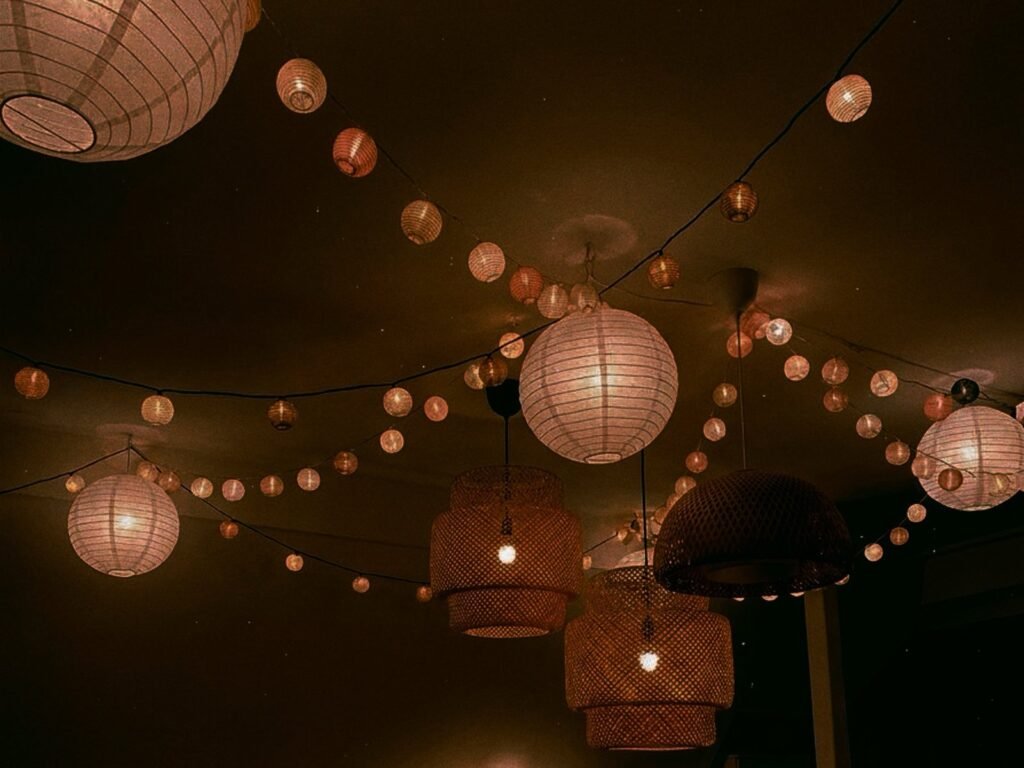
Plain paper lanterns can look sophisticated when they’re white or neutral and hung at different heights. Add warm LED string lights inside for a soft glow, or drape them across a shelf or headboard. Choose battery-operated lights for safety.
Keep the palette simple, and avoid bright colors that look party-store. A cluster of three white lanterns can transform a corner at almost no cost.
21. Faux Wood Shelf Risers and Boxes
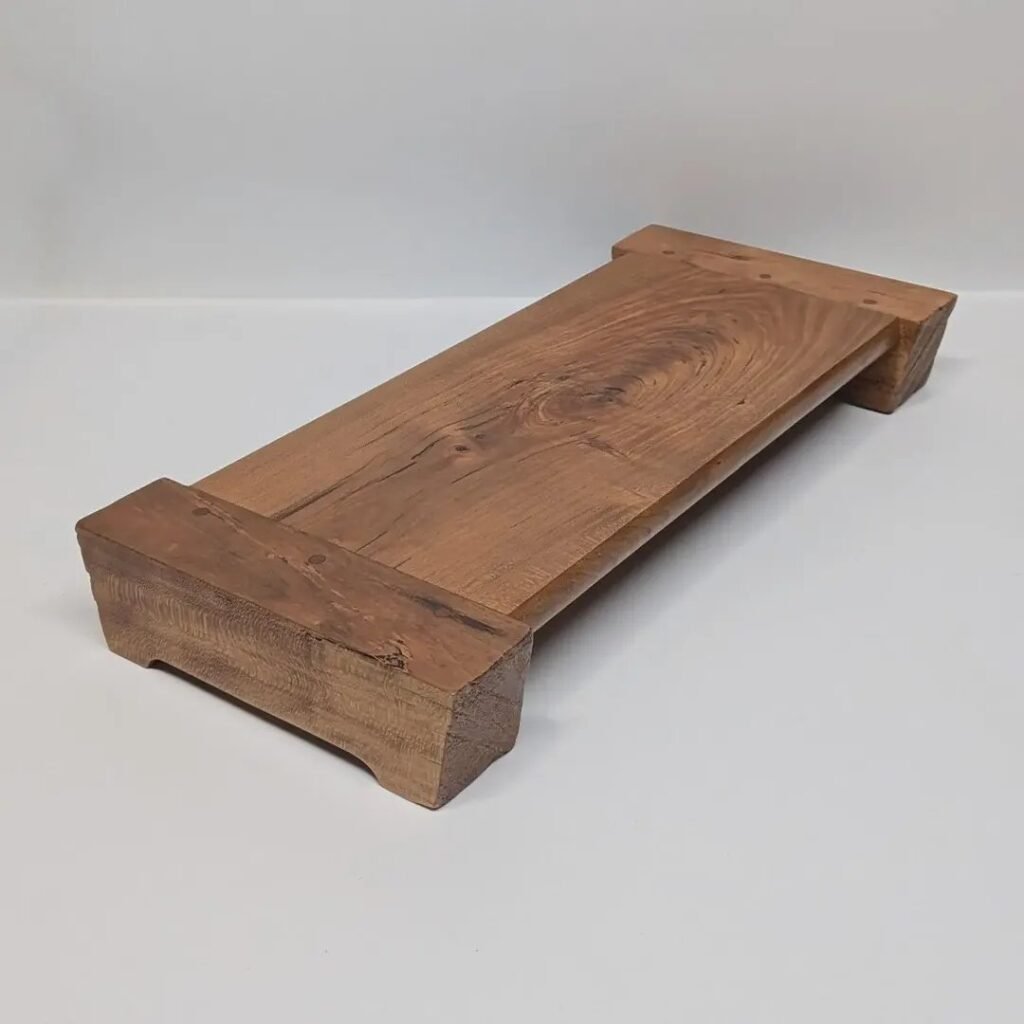
Small wooden boxes and crates can be stained or painted and used as risers to give height to a display. Stack a few in different sizes on a shelf, and place items on top. The varied heights add interest and make the shelf look designed.
Sand, stain or paint, and seal them with a matte finish. These also work as hidden storage when they have lids.
22. Swap the Hardware
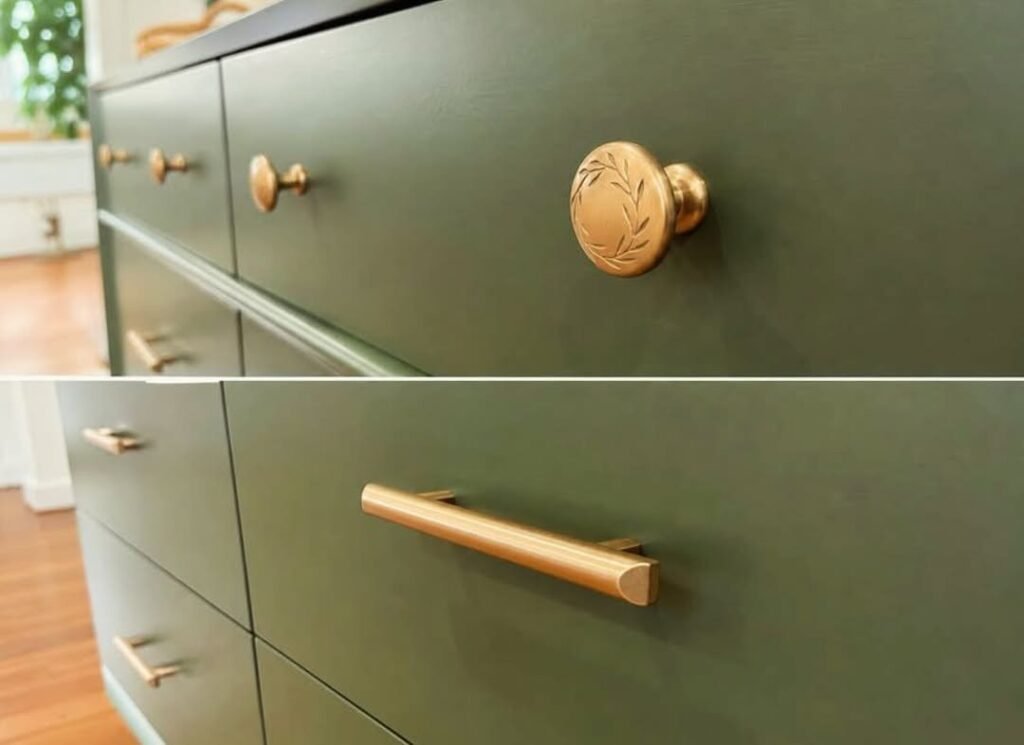
New knobs and handles are one of the quickest ways to upgrade a dated piece. Dollar store or discount hardware in matte black or brass can change the look of a dresser, a cabinet, or a thrifted nightstand. Measure the hole spacing first, so the new hardware fits.
It’s a five-minute change with a big effect. For more ways to style a small space on a small budget, my small apartment decorating ideas post has plenty of inspiration.
Quick Reference: Cost, Time, and Difficulty
| Project | Approx. Cost | Time | Difficulty |
|---|---|---|---|
| Faux marble tray | $3-8 | 15 minutes | Easy |
| Painted frame gallery wall | $8-20 | 1-2 hours | Easy |
| Rope-wrapped mirror | $6-12 | 1 hour | Easy to medium |
| Textured faux ceramic vase | $3-8 | 1 hour plus drying | Easy |
| Mercury glass candle holders | $5-12 | 1 hour plus drying | Medium |
| Pedestal stand | $4-10 | 30 minutes plus curing | Easy |
| Faux stone tray | $4-10 | 1 hour plus drying | Medium |
| Large abstract art | $5-15 | 1-2 hours | Easy |
| Upgraded faux greenery | $3-12 | 30 minutes | Easy |
| Woven basket makeover | $5-12 | 1 hour | Easy to medium |
| Apothecary jars | $4-10 | 30 minutes | Easy |
| Lampshade update | $4-10 | 1 hour | Medium |
| Hardware swap | $5-20 | 15-30 minutes | Easy |
A Basic Dollar Store DIY Supply List
| Supply | Approx. Cost | Used For |
|---|---|---|
| Matte spray paint (neutral colors) | $5-10 per can | Vases, frames, baskets, candlesticks |
| Strong glue (like E6000) and a hot glue gun | $5-15 | Pedestals, rope wrapping, jars |
| Natural rope or jute | $3-8 | Mirrors, baskets, tiebacks |
| Contact paper (marble or wood look) | $5-12 | Trays, shelves, boxes |
| Craft knife and a small ruler | $3-8 | Cutting and measuring |
| Matte sealer spray | $5-10 | Protecting painted surfaces |
| Sandpaper and a damp cloth | $2-5 | Prep and cleanup |
Safety and Prep Notes You Shouldn’t Skip
Spray paint and strong glues should be used in a well-ventilated area, ideally outdoors, and you should follow the instructions on every label. Wear gloves, and consider a mask rated for fumes if you’re working with sprays or adhesives. Keep paint and glue away from children and pets, and let projects dry fully before using them.
Wipe dollar store items clean and lightly sand glossy surfaces before painting, so the paint sticks. Test paint on a small, hidden area first, since some plastics react badly. If you plan to use items for food, check the products’ labels and avoid contact between paint and food.
Mistakes That Make DIY Decor Look Cheap
The biggest mistake is skipping prep. Paint applied over dust or glossy plastic peels and looks uneven. The second is using too many colors, which makes everything look like a craft table. The third is leaving visible glue, and the fourth is overcrowding, since a pile of small items looks cluttered no matter how pretty each one is.
Another common one is rushing. Two thin coats beat one thick coat every time, and waiting for drying time makes a noticeable difference in the finished look.
If I Were Starting a Dollar Store Makeover Today
I’d buy two vases, three frames, one round mirror, and a can of matte cream spray paint, and spend an afternoon on the first four projects. That’s maybe $25 total, and it would change the look of a shelf and a wall. I’d keep everything in the same palette, and I’d stop when it started to feel done, not when I ran out of ideas.
Dollar store DIY decor that looks expensive comes down to a few habits: choose good shapes, pick a tight palette, go matte, add texture, and take your time. Do that, and no one will guess where it came from, except maybe the friend who asks, and you can decide whether to tell her.
FAQs
What dollar store items work best for DIY decor?
Simple vases, glass jars, frames, candlesticks, baskets, plates, and faux greenery tend to have the best shapes. Choose clean, simple silhouettes, since paint and texture can transform almost any color.
How do I make dollar store decor look expensive?
Stick to a limited color palette, use matte finishes, add natural textures like rope and wood, and group items in odd numbers at different heights. Remove labels and avoid shiny plastic.
What paint should I use on plastic?
Use a spray paint made for plastic or a primer first, apply thin coats, and let each dry fully. Test on a hidden area, and seal with a matte spray if you want it to last.
How much does it cost to make dollar store DIY decor?
Most projects cost under $10, and a small set of supplies like spray paint, glue, and rope can cover many projects for $25-40. Prices vary by store and location.
Are these projects safe for renters?
Yes, since they don’t need permanent changes. For anything hung on a wall, use removable hooks or strips rated for the weight, and test them in a hidden spot first.
Is it safe to burn candles in DIY holders?
Be careful. Use heat-safe holders, keep candles away from anything flammable, and never leave them unattended. Flameless candles are a safer choice for painted or glued items.






Leave a Reply