
I ruined a rental door once. Not dramatically — just a sticky residue outline from a dollar-store door cover that had been up for three weeks, right at eye level, that no amount of Goo Gone fully got off before move-out inspection. Cost me $40 off my deposit for something that took five minutes to put up.
Since then I’ve made probably a dozen Halloween door covers, and I’ve landed on a short list of methods that actually come off clean, whether you’re in a house with real wood paint or a rental with a hollow-core door and a very specific move-out checklist.
If you’ve already handled your Halloween door decorations outside, this is the next layer: a full-door cover that turns the whole thing into a scene, not just an accent.
Here’s what I’ll walk through: picking the right material for your door and your budget, measuring it correctly (people mess this up more than you’d think), three attachment methods ranked by how safe they are for paint and finish, and how to store the thing so it survives to next October instead of getting crushed in a closet. There’s a comparison table partway down and FAQs at the end.
Pick the Right Material Before You Start

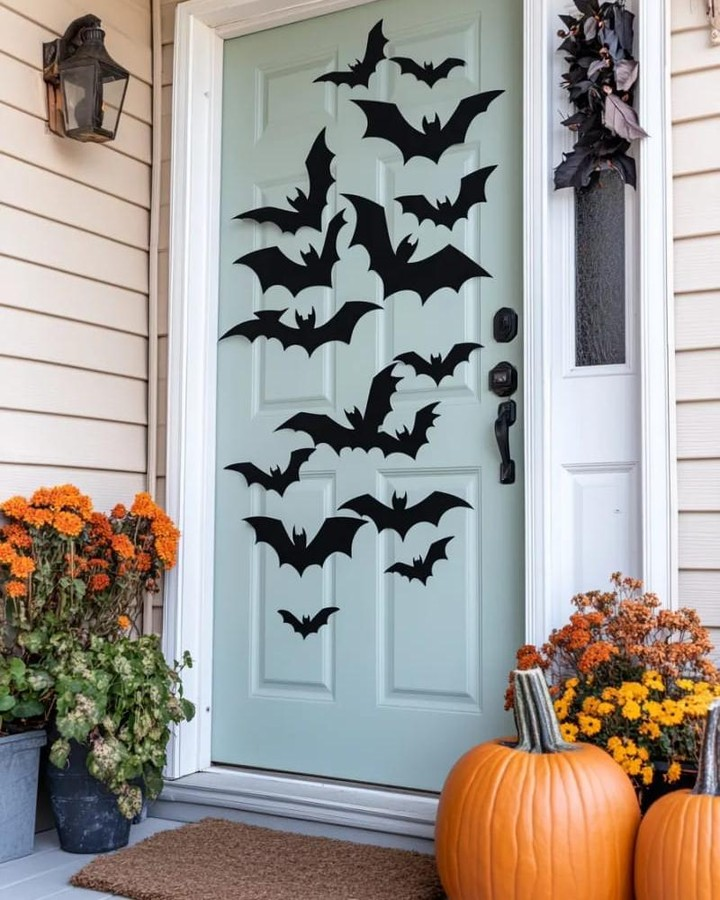
Your material choice decides almost everything else — how it attaches, how long it lasts, and how much it costs. The three realistic options are foam board, fabric or a plastic tablecloth, and heavy paper or poster board. None of them are wrong, they just suit different doors and different patience levels.
Foam board gives you the cleanest edges and holds shapes like a coffin or a monster face, but it’s rigid, so it only works well on flat doors without a lot of raised panel detail. Fabric drapes over panel doors without fighting the shape, and it’s reusable for years if you store it flat.
Paper is the cheapest and the most disposable, which is fine if you’re making something new every year anyway.
Pro tip: If your door has raised panels (most house doors do), skip foam board entirely unless you’re covering just the flat center section. It won’t lie flush and will bow at the edges within a day.
Measure Your Door Correctly (This Is Where People Go Wrong)
Most door covers that look wrong in photos aren’t badly designed, they’re badly measured. Standard interior doors run 80 inches tall and 28 to 36 inches wide, but don’t assume — actually measure yours, because a cover that’s even two inches short on either side reads as “homemade” in a bad way rather than a good way.
Measure from just inside the top edge to just above the floor gap, and side to side between the hinges and the handle side, leaving about half an inch of margin on each edge so the cover doesn’t catch on the frame when the door opens.
Write the numbers down before you shop, because foam board and fabric usually come in fixed sizes you’ll need to trim.
Method 1: Foam Board for a Full Scene (Best for Flat Doors)
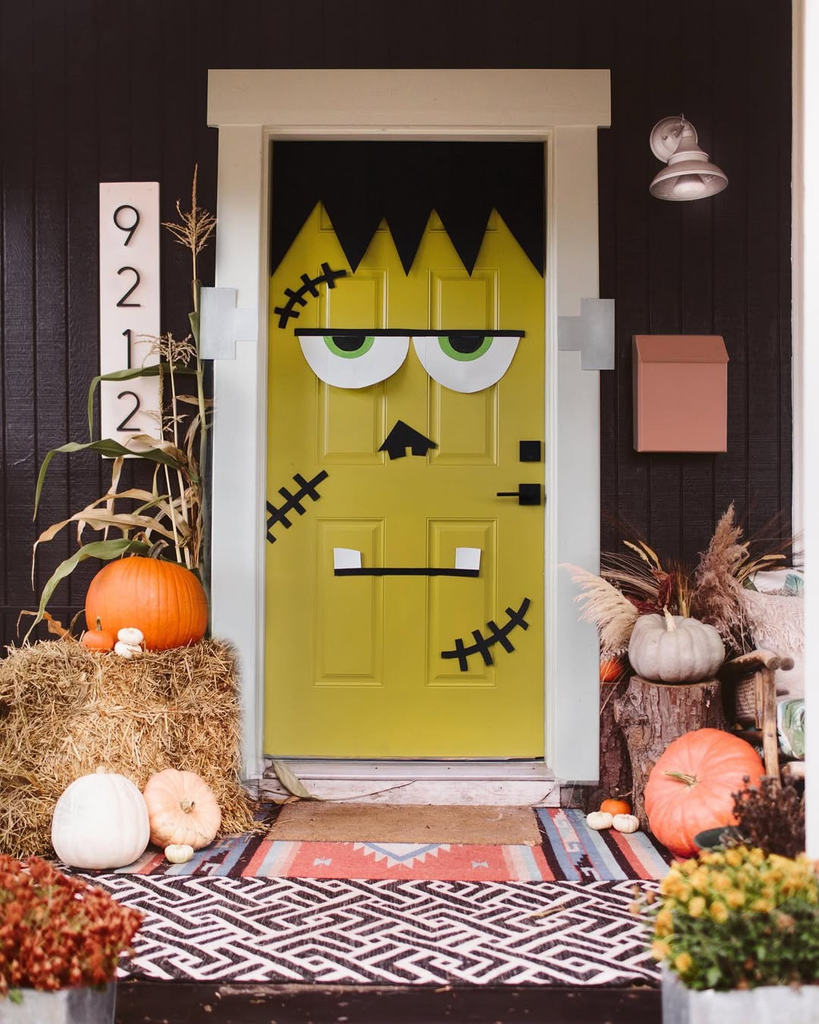
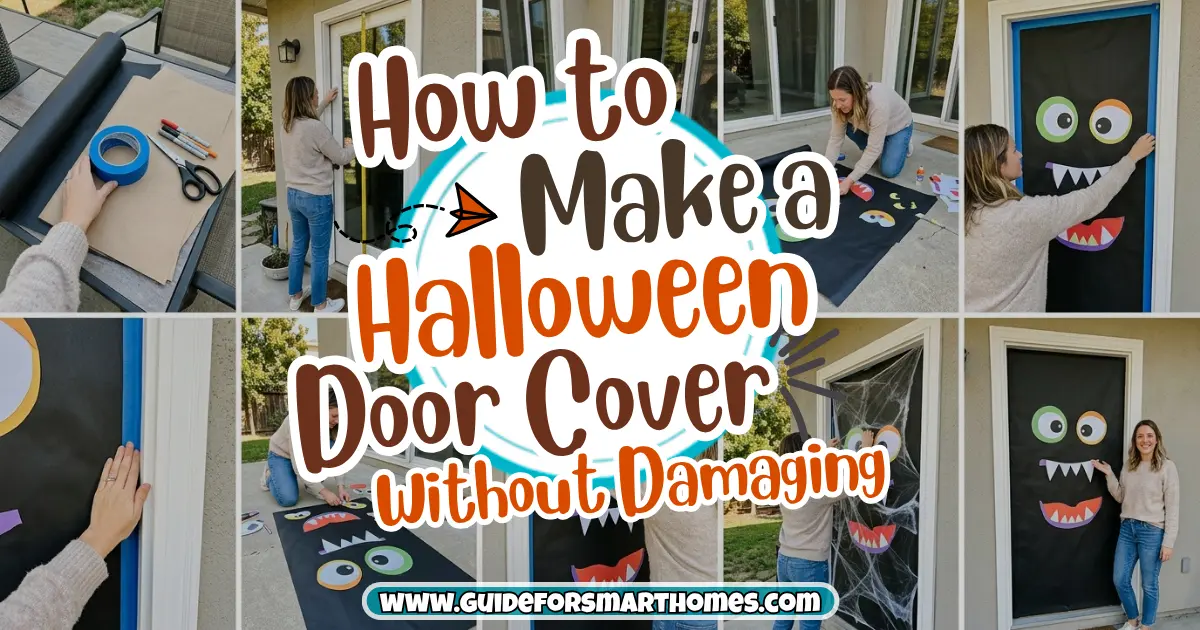
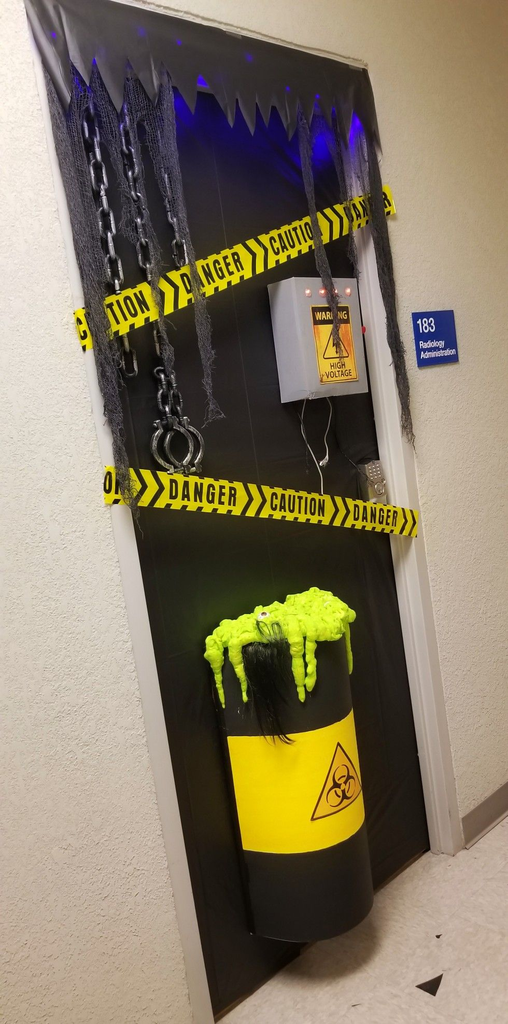
This is the method for a mummy face, a monster, or a coffin shape with real presence. Buy two or three sheets of 20×30 inch foam board (about $3-5 each), tape them together on the back with wide packing tape to match your door’s dimensions, then sketch and cut your design with a sharp craft knife on a cutting mat.
Paint or cover with construction paper for color, since plain white foam board looks flat under porch light.
I use a black trash bag taped smoothly over the front for a solid black base, then add cut details on top — it’s cheaper than a full can of spray paint and dries instantly because there’s no drying at all.
Pro tip: Cut small air gaps or finger holes along the back edges so wind doesn’t catch it like a sail. I lost a full foam board coffin cover to a gust two Halloweens ago because I hadn’t thought about airflow at all.
Method 2: Fabric or a Plastic Tablecloth (Cheapest and Fastest)
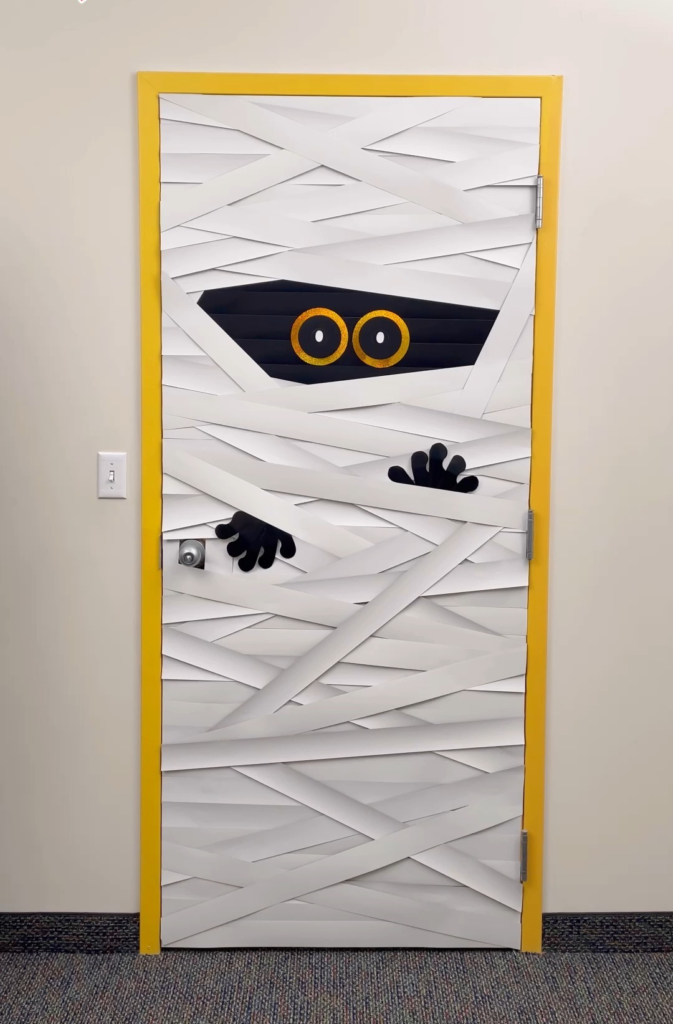
If you want something up in twenty minutes, a black plastic tablecloth or a length of black fabric is hard to beat.
Tablecloths run about $3-6 and already come close to door size, so you’re mostly just trimming and adding details rather than building a frame. Fabric costs a bit more but drapes better over paneled doors and doesn’t tear if the wind catches it.
Add your design with cut-and-stick felt or craft foam shapes rather than paint, since fabric paint needs drying time and tends to stiffen the material.
This is the method I’d recommend if you’re decorating a narrow hallway door too — it’s light enough not to feel bulky in a tight space, which ties into the ideas in my Halloween hallway ideas post.
Method 3: Heavy Paper or Poster Board (Best for One-Season Use)
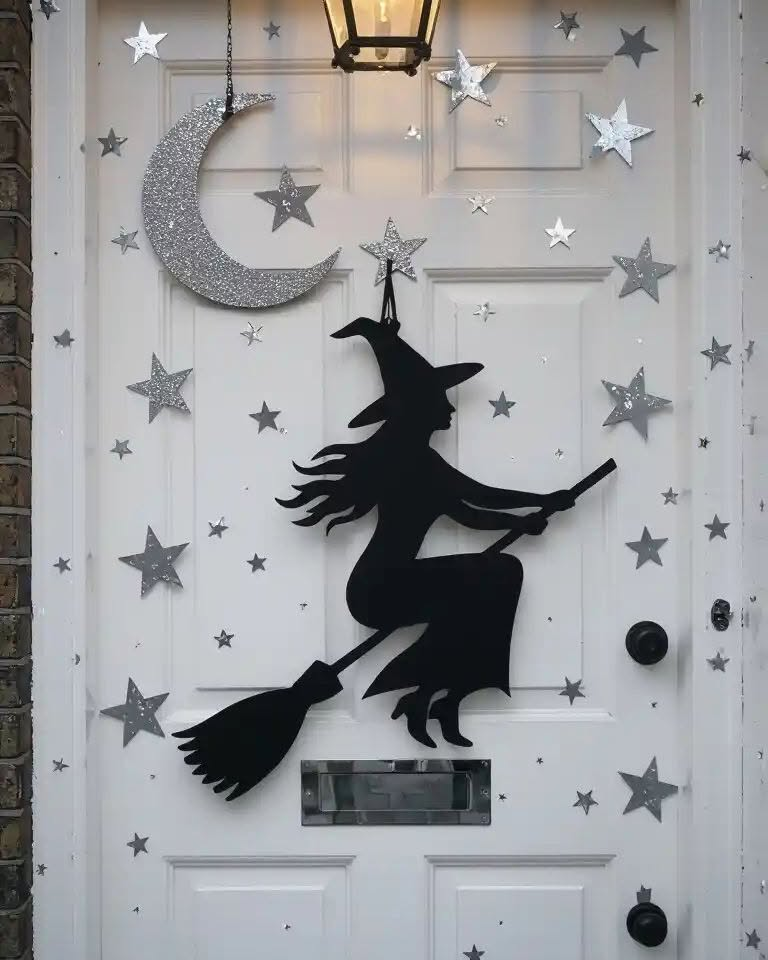
If you genuinely plan to redesign every year, don’t spend money on anything reusable. A few sheets of poster board taped together, hand-drawn or stenciled, costs under $10 total and goes straight to recycling in November.
This is also the easiest method for kids to help with, since poster board is forgiving if the cuts aren’t perfectly straight.
How to Attach It Without Damaging Paint, Finish, or Your Deposit
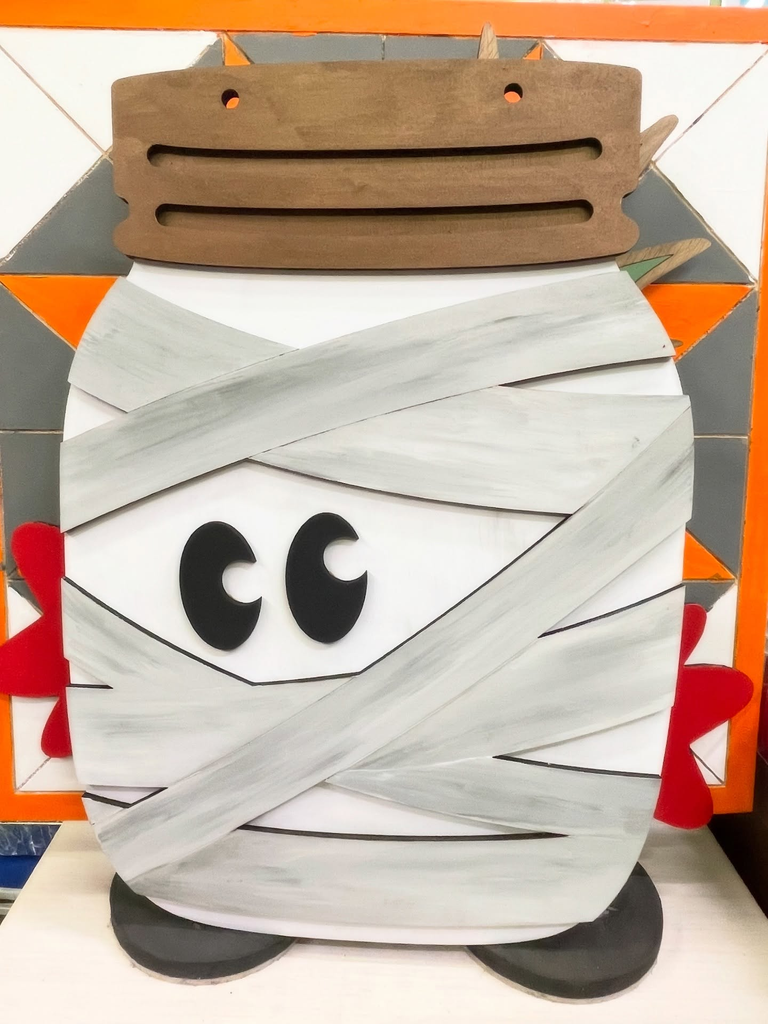
This is the part that actually answers “without damaging your door,” so don’t skip it even if you’ve already picked a material.
The safest methods, in order of how much I trust them after testing all four, are: painter’s tape on the frame (not the door itself), removable poster putty, a Command-brand strip rated for the cover’s weight, and an over-the-door hook system that clips over the top of the door with no adhesive at all.
Avoid regular tape, duct tape, and anything with a strong adhesive backing — I learned the hard way that even “gentle” washi tape pulled flecks of paint off a glossy door after about four days in direct sun.
If your door gets any sun at all, heat makes adhesive bond more aggressively and peel paint more easily when you remove it.
Pro tip: Whatever you use, test it on a hidden spot first, like the bottom edge near the hinge side, and leave it for a full day before committing to the whole cover. If it leaves a mark or pulls finish there, it’ll do worse somewhere more visible.
Adding Cutouts, Eyes, or Scene Details That Actually Read From the Sidewalk
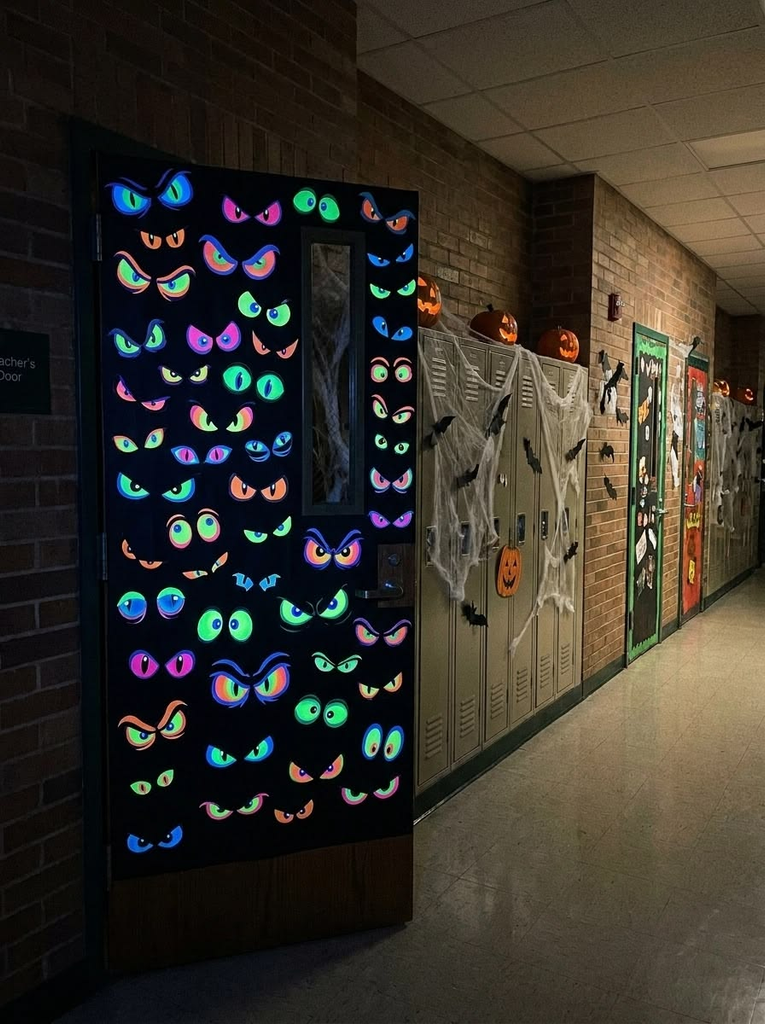
A flat black cover with no detail looks unfinished once it’s dark out, so plan at least one high-contrast element — glowing eyes, a white grin, a pale hand print — that reads from ten or fifteen feet away.
Battery tea lights behind cutout eyes are the easiest way to do this, and they cost almost nothing if you already own tea lights.
Keep the detail simple rather than intricate. A simple grin cut wide and clean reads better at night than a detailed set of teeth that just looks like a dark smudge once the sun goes down.
Lighting It So It Actually Gets Noticed After Dark
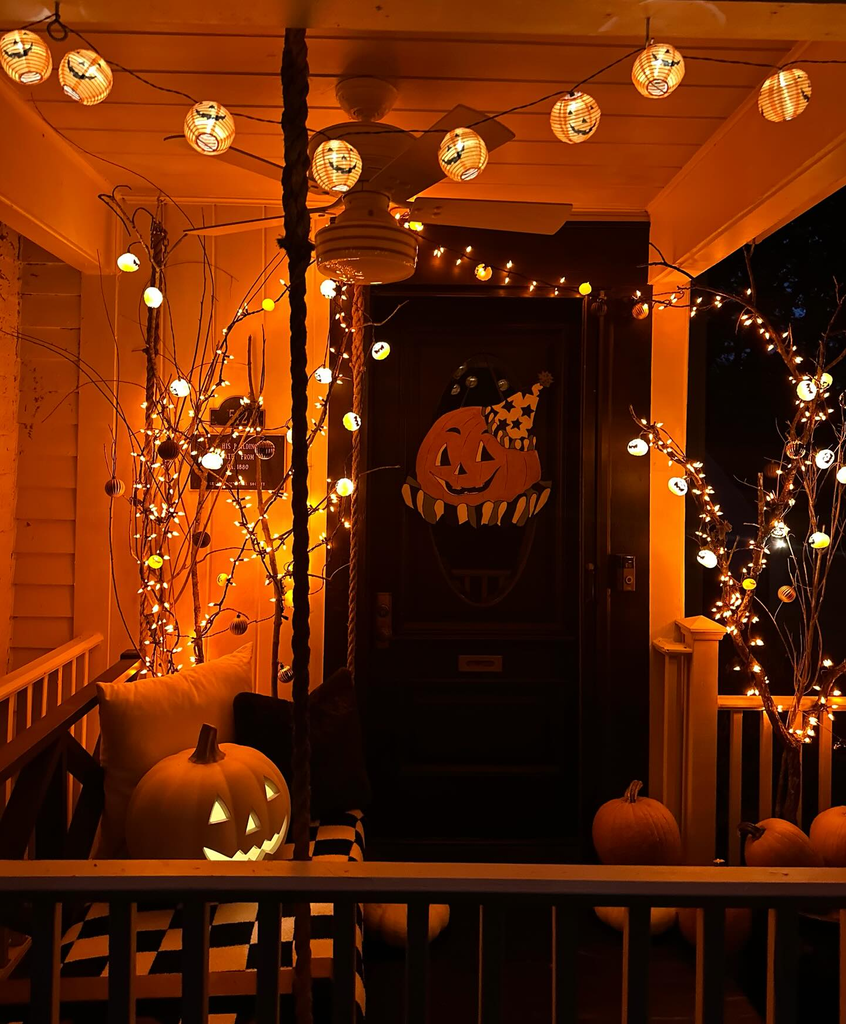
Most trick-or-treating happens after sunset, so the cover needs to hold up under porch light or string lights, not just daylight photos.
A warm or orange porch bulb, plus one small spotlight or flashlight propped to wash light up the door, usually does it. If your cover has cutout details, a light source behind them matters more than a light source in front of them.
This pairs well with the door-frame lighting ideas in my Halloween door ideas post, since the frame lighting and the cover should feel like one scene, not two separate projects.
Making It Fully Removable for Rentals and Shared Doors

If you’re in an apartment or you share a door with roommates who didn’t sign up for a full mummy face every morning, build the cover so it comes down in under a minute.
A cover held entirely by over-the-door hooks or a tension rod across the top of the frame needs no adhesive at all and leaves zero trace, which matters more than people think when move-out time or a landlord walkthrough rolls around.
This same “nothing touches the actual door or wall” approach is the backbone of most of my small apartment decorating ideas, since renters need décor that disappears completely when it’s time to go.
Storing It So It Survives to Next October
Fabric and plastic tablecloth covers fold flat into a gallon bag or a flat storage bin. Foam board is the tricky one — it cracks if it’s bent, so store it flat under a bed or behind a dresser rather than rolled or folded.
I keep mine in the gap behind my bookshelf, which is one of those dead zones most small apartments have and nobody thinks to use.
Common Mistakes That Actually Damage Doors
Leaving any adhesive up for more than two to three weeks is the biggest one — the longer it sits, especially in sun or humidity, the more it bonds. Using tape directly on glossy or painted finishes instead of testing first is the second.
And ignoring wind with a stiff material like foam board is the third; a gust can crack the board or yank whatever’s holding it, sometimes taking a bit of paint with it.
Door Cover Methods Compared
| Method | Approx. Cost | Best Door Type | Reusable? | Damage Risk |
|---|---|---|---|---|
| Foam board | $8-15 | Flat, no raised panels | Yes, if stored flat | Low, if hung with hooks not tape |
| Fabric | $12-25 | Any, including paneled doors | Yes, for years | Very low |
| Plastic tablecloth | $3-6 | Any | Maybe one extra year | Low |
| Poster board/paper | $5-10 | Flat doors | No, one season | Low, but tears in wind |
If I Were Doing This From Scratch
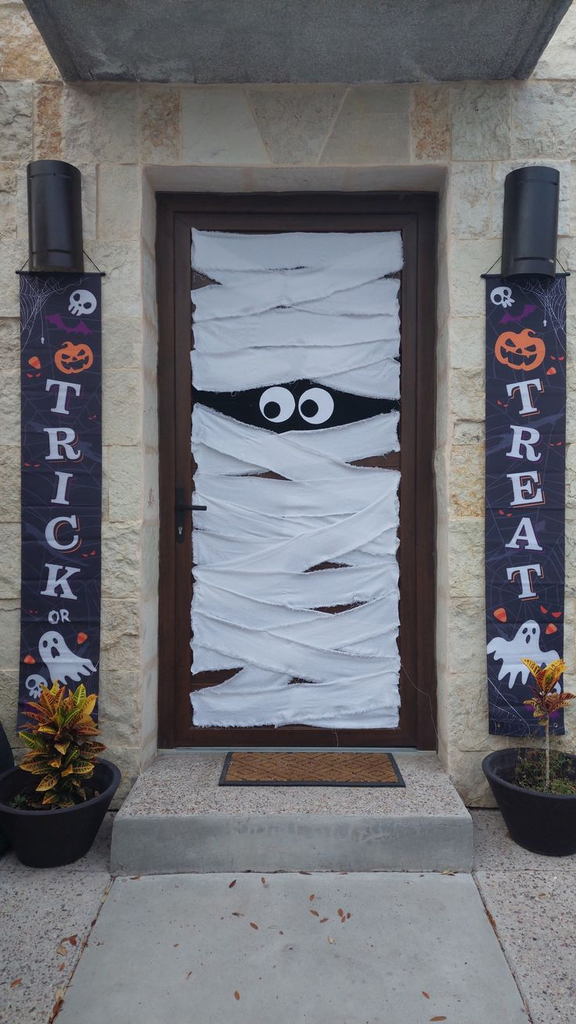
I’d go with fabric or a plastic tablecloth over foam board nine times out of ten, because it survives wind, drapes over panel doors without fighting the shape, and comes down with zero adhesive if you hang it with over-the-door hooks or a tension rod.
The only time I reach for foam board now is when I want a specific rigid shape, like a tombstone silhouette, and even then I hang it rather than tape it.
A Halloween door cover should make people stop on the sidewalk, not cost you part of your deposit. Get the hanging method right first, and the rest is just craft time.
For the areas around the door, my Halloween entryway decor and Halloween door decor posts round out the whole entrance so the cover doesn’t look like it’s standing alone.
FAQs
What’s the safest way to hang a Halloween door cover without damaging the door?
Over-the-door hooks or a tension rod across the top of the frame are the safest, since nothing touches the paint or finish at all. Painter’s tape on the frame and removable poster putty are safe second choices if tested first on a hidden spot.
Will Command strips damage my door?
Usually not if you pick a strip rated for the cover’s weight and remove it by pulling straight down and slow, following the package instructions. They’re riskier on glossy finishes or doors that get direct sun, where heat makes the adhesive bond harder.
Note: always check whether a strip or product is approved for painted or glossy surfaces before using it, since manufacturer guidance varies by brand and finish.
How long can I leave a door cover up before it risks damage?
Two to three weeks is a reasonable window for most tapes and adhesives. Beyond that, especially in sun or humid weather, removal gets riskier and more likely to pull paint or leave residue.
Can I make a Halloween door cover for an apartment door?
Yes. Stick to fabric or lightweight materials, and hang with over-the-door hooks or a tension rod so there’s no adhesive at all. Check your lease for any rules about hallway or exterior door decor first.
What’s the cheapest way to make a Halloween door cover?
A black plastic tablecloth with felt or paper cutout details costs under $10 and takes about twenty minutes. It’s also the easiest to store flat for next year if you keep it in decent shape.





Leave a Reply