
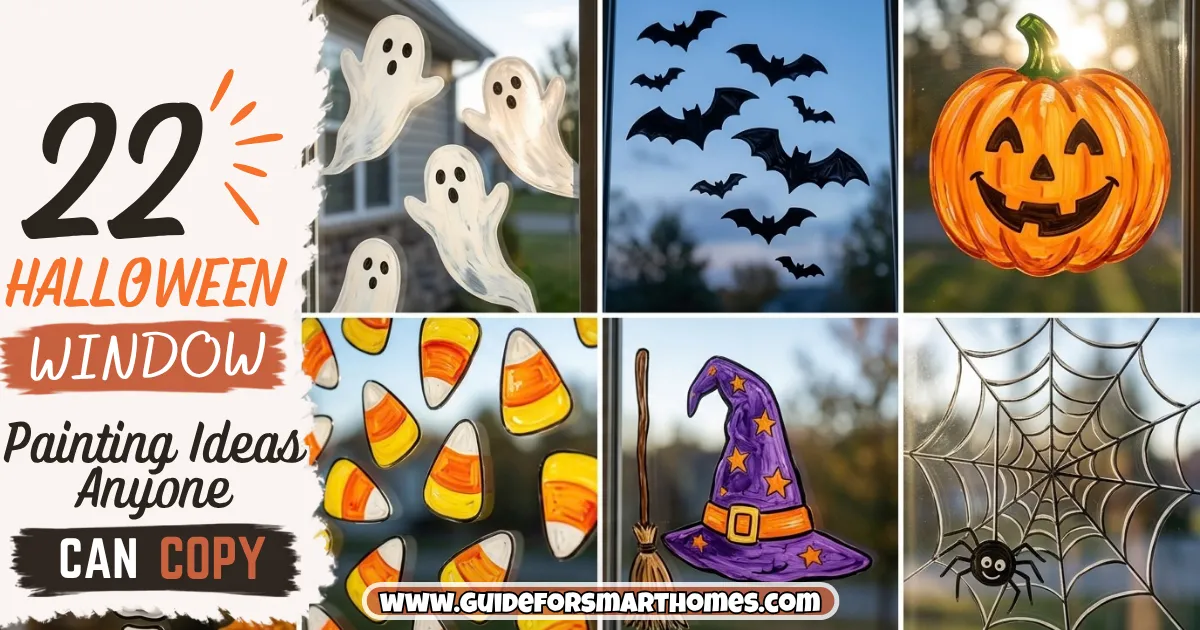
The first time I painted my window for Halloween, I used regular acrylic paint because it was the only black paint I owned. It looked great for about a week. Then I spent a full Saturday afternoon with a razor scraper and a bottle of glass cleaner getting a lopsided bat off the glass. Learn from me: the paint you pick matters more than the design.
If you want Halloween window painting ideas that are actually easy, cheap, and safe to remove, you’re in the right place.
Window art is one of the best ways to decorate when you can’t touch the walls, and it works in a tiny apartment where floor space is already spoken for. If you’re also decorating the entrance, pair this with my Halloween door decorations so the window and the door look like they belong together.
Everything below is copyable even if you can’t draw. Most designs are built from basic shapes, stencils, or tape, and I’ve noted which paint or marker works best, roughly what it costs, and how to clean it up afterward. Near the middle there’s a comparison table for choosing your paint, and at the end there’s a FAQ covering the questions I get most often.
Before You Start: Which Paint Should You Use on Glass?
This is the part most posts skip, and it’s the one that decides whether cleanup takes two minutes or two hours. For a window you want to wash clean later, use washable window markers, liquid chalk markers, or washable tempera paint mixed with a little dish soap. Skip regular acrylic and craft paint unless you’re okay scraping.
Whatever you pick, test a small corner first, especially on tinted or coated glass. Some window films and coatings don’t like certain markers, and it’s better to find out on a two-inch square than on your whole design.
| Paint Type | Approx. Cost | Best For | Watch Out For |
|---|---|---|---|
| Liquid chalk / window markers | $8-15 for a set | Clean lines, lettering, beginners | Coverage is thinner, so bright colors look best on the inside of glass with a light background |
| Washable tempera + dish soap | $5-10 | Big filled shapes, kid-friendly projects | Rain or humidity can streak it if painted on the outside |
| Window cling paint (gel) | $8-14 | Peel-off designs you can reuse | Takes time to dry and can wrinkle if applied thick |
| Regular acrylic | $3-6 | Nothing you plan to remove | Needs scraping; can leave residue |
1. A Classic Black Cat Silhouette
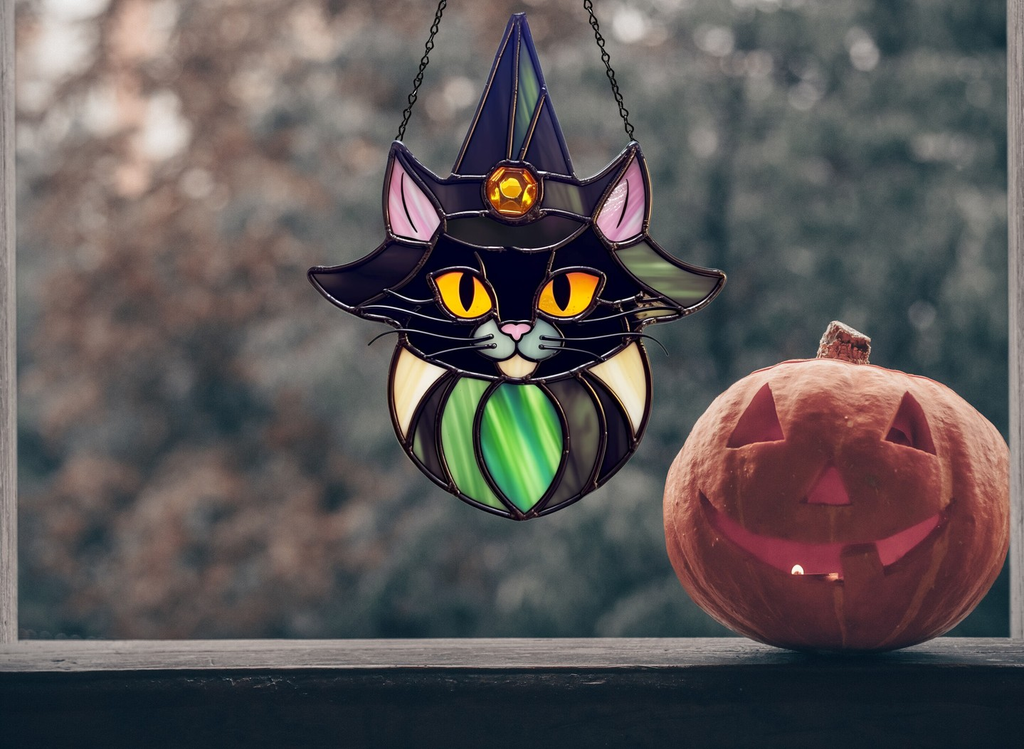
The black cat is the easiest window design because it’s a solid shape. Sketch it lightly on paper first, tape the paper to the outside of the window, and trace the outline from the inside, then fill it in. Add two yellow eyes and it reads instantly from the street.
Pro tip: Make the tail curl in an S shape. A stiff straight tail makes the cat look like a paper cutout.
2. A Row of Hanging Bats
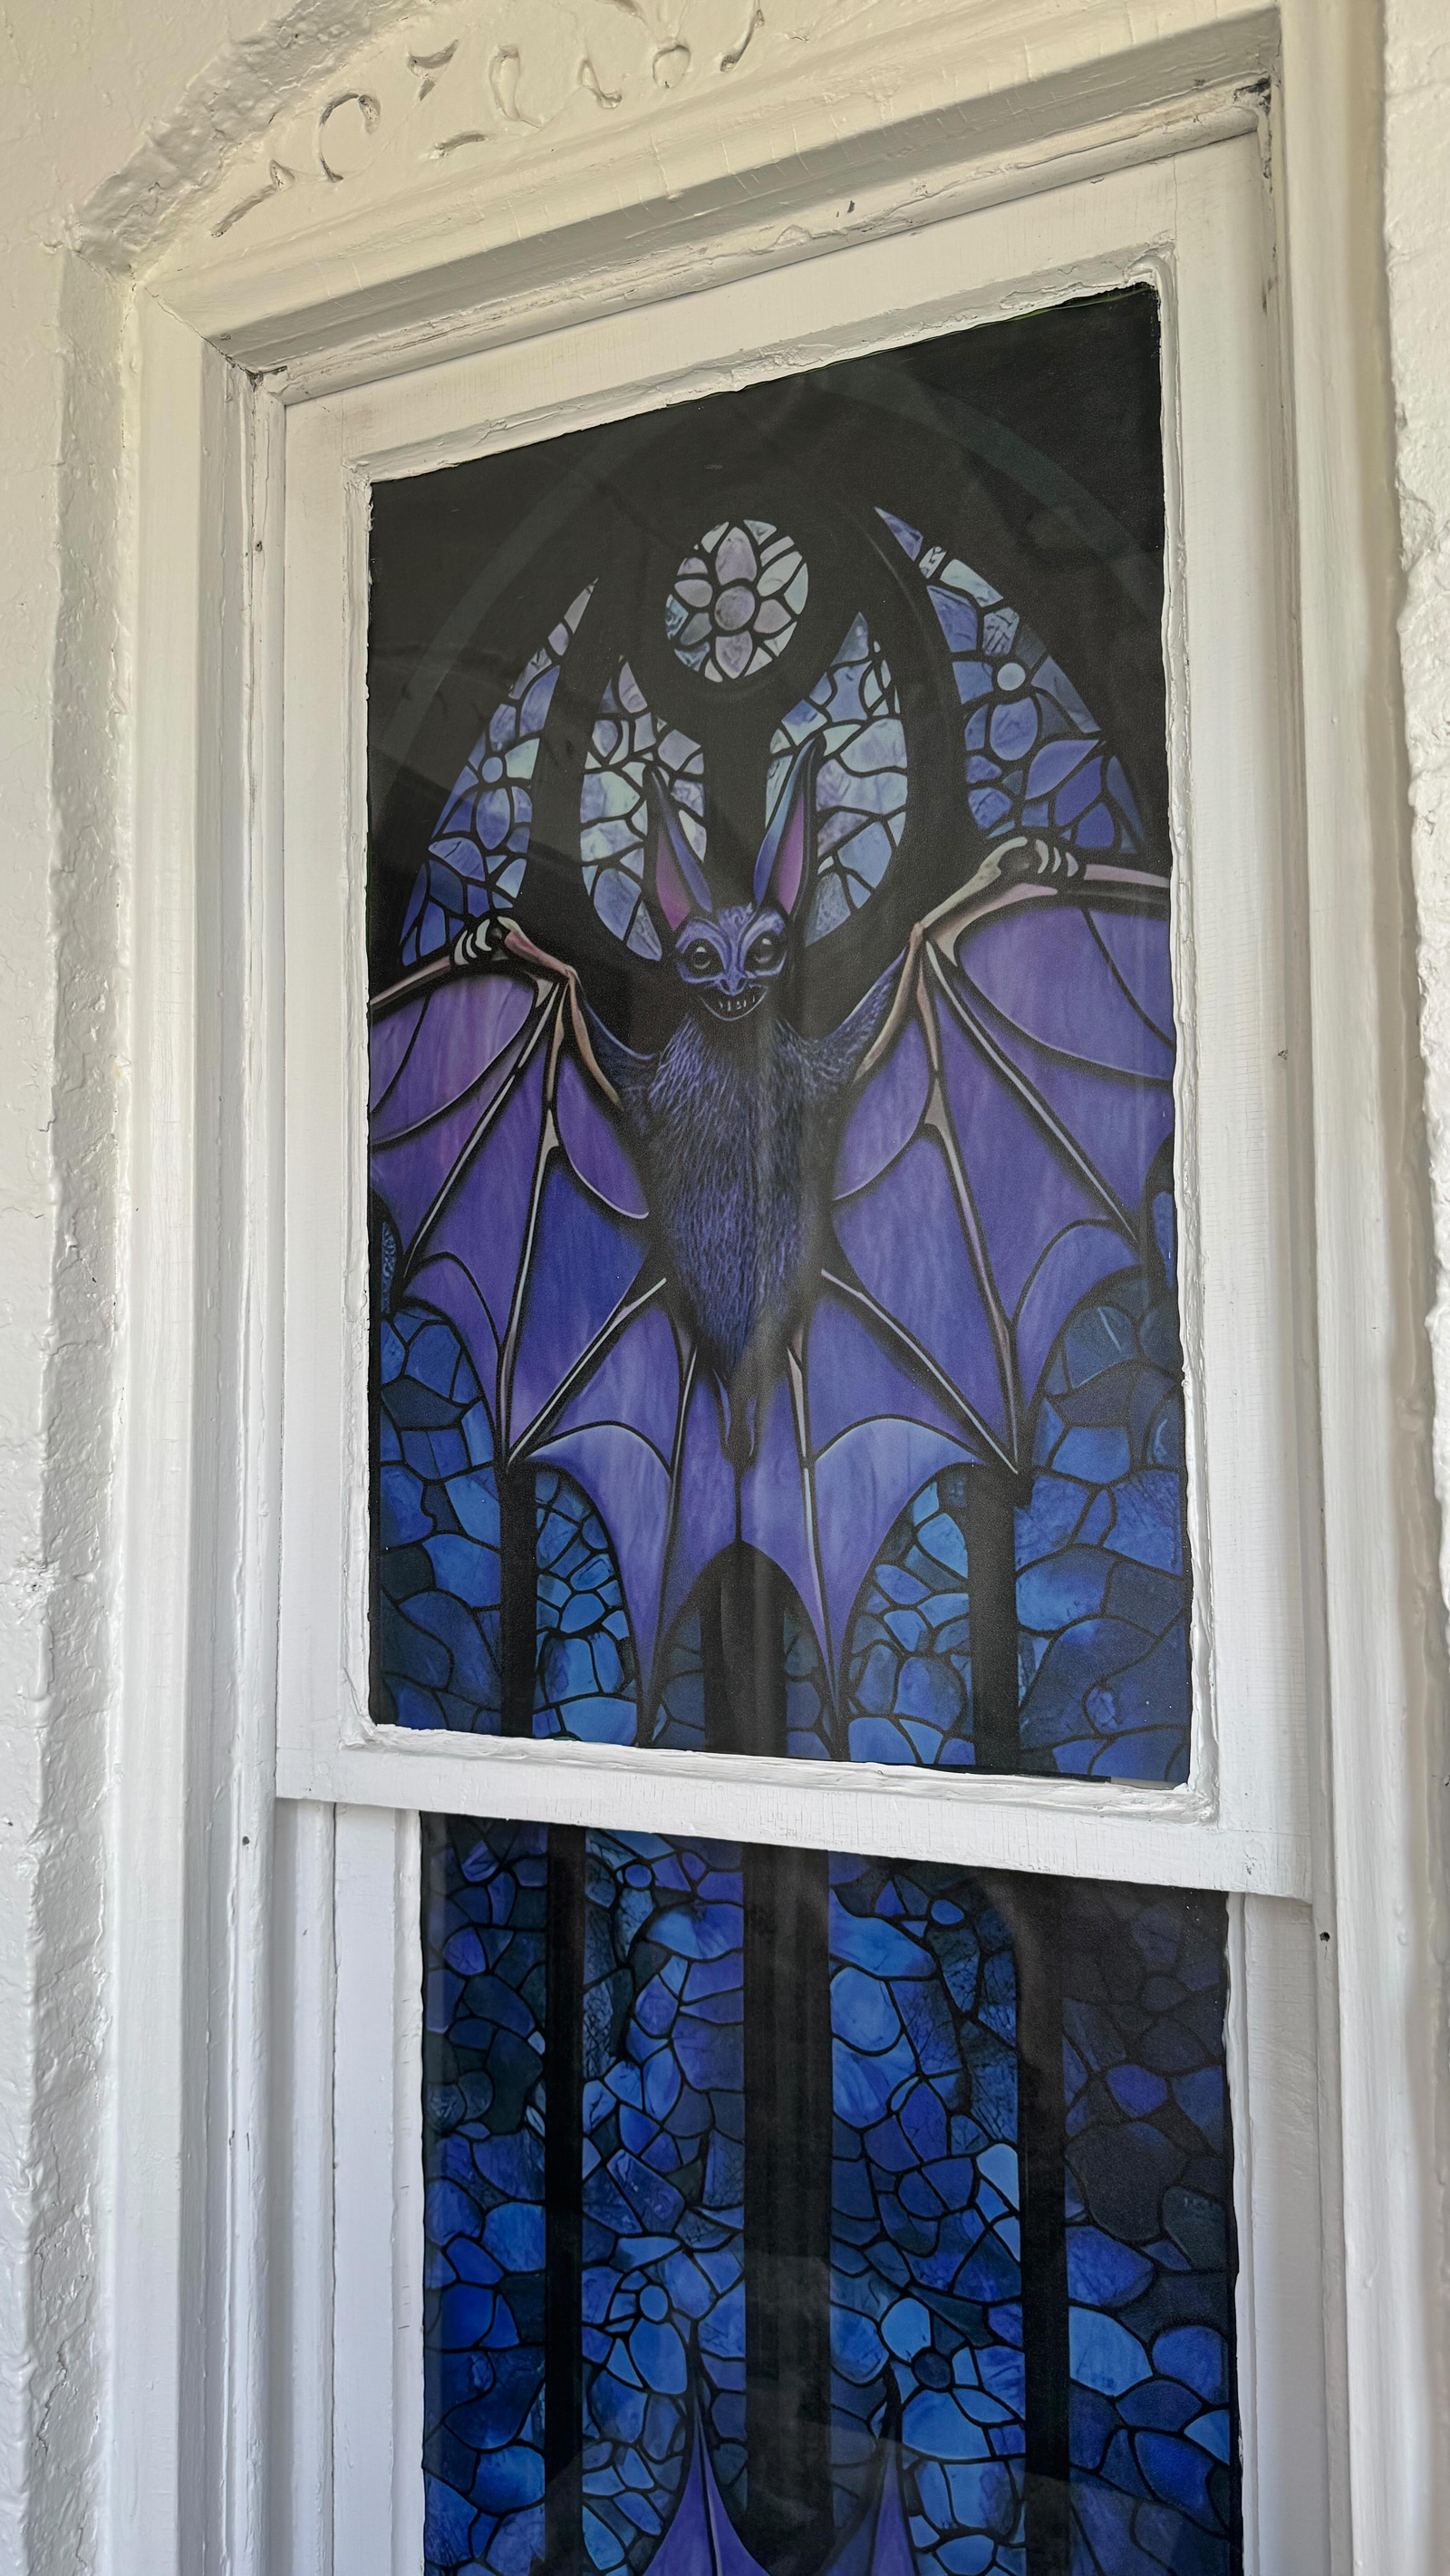
Paint three or five bats in a row across the top of the window, each at a slightly different height, like they’re mid-flight. Bats are just a body with two curved wings, so they’re forgiving. If yours look uneven, that actually helps.
Vary the sizes too. One big bat and several small ones looks more natural than five matching ones, and it echoes the layered feel you’ll see in my Halloween door ideas post.
3. A Spooky Spiderweb in the Corner
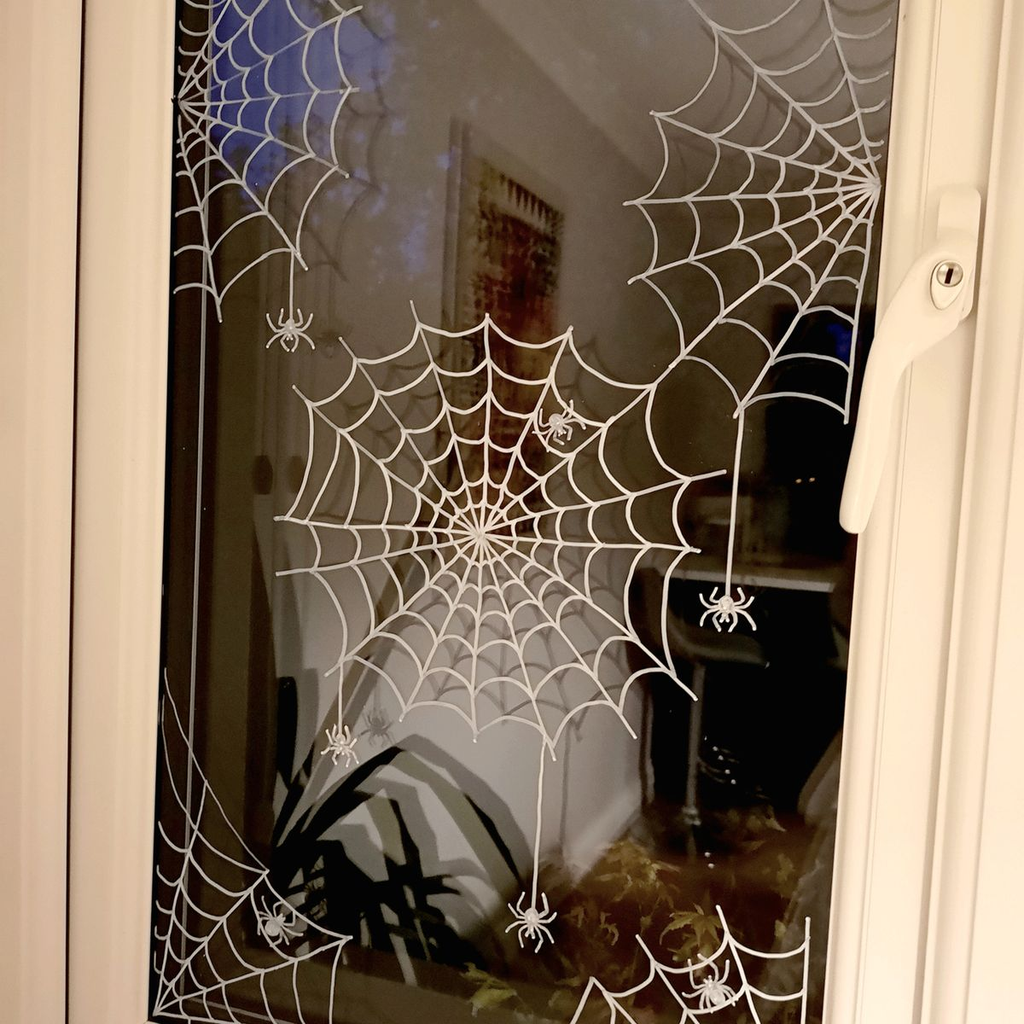
Start in one corner, draw three or four lines fanning out, then connect them with curved lines like a spider’s web. Use white or silver on a dark room, or black if your window has a light backdrop. Add a small spider hanging from a single line.
Pro tip: Use a ruler for the first straight lines, then go freehand for the curves. The mix of straight and curved looks more like a real web.
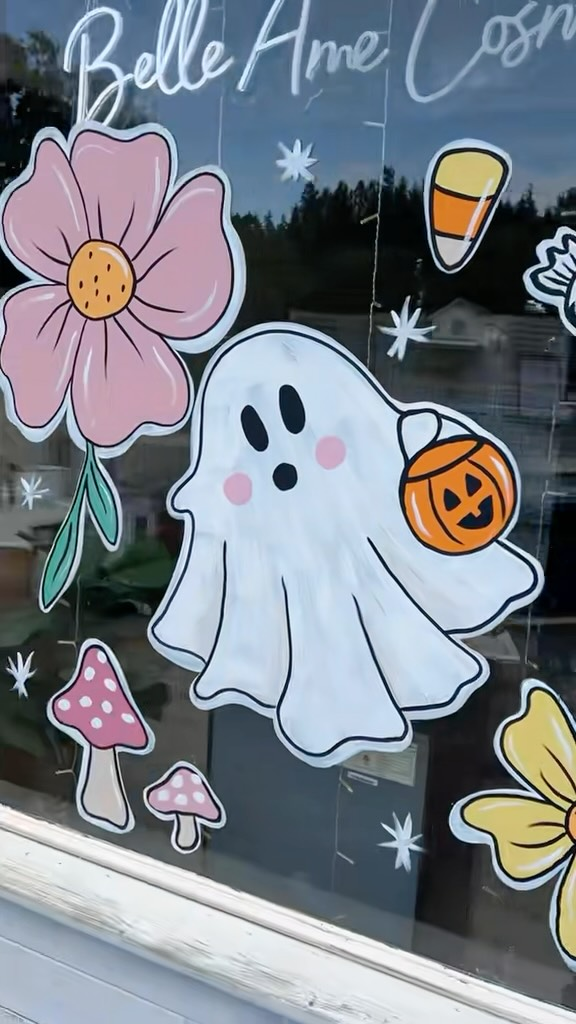
4. A Friendly Ghost With a Face
Ghosts work well on glass because the glass itself is see-through, so a white outline with two black eyes looks like it’s floating. Kids love these, and if you’re painting with children, this is the one to hand them.
Keep the eyes and mouth simple. Two ovals and a small “o” mouth is more charming than an elaborate face.
5. A Pumpkin Patch Along the Bottom Edge
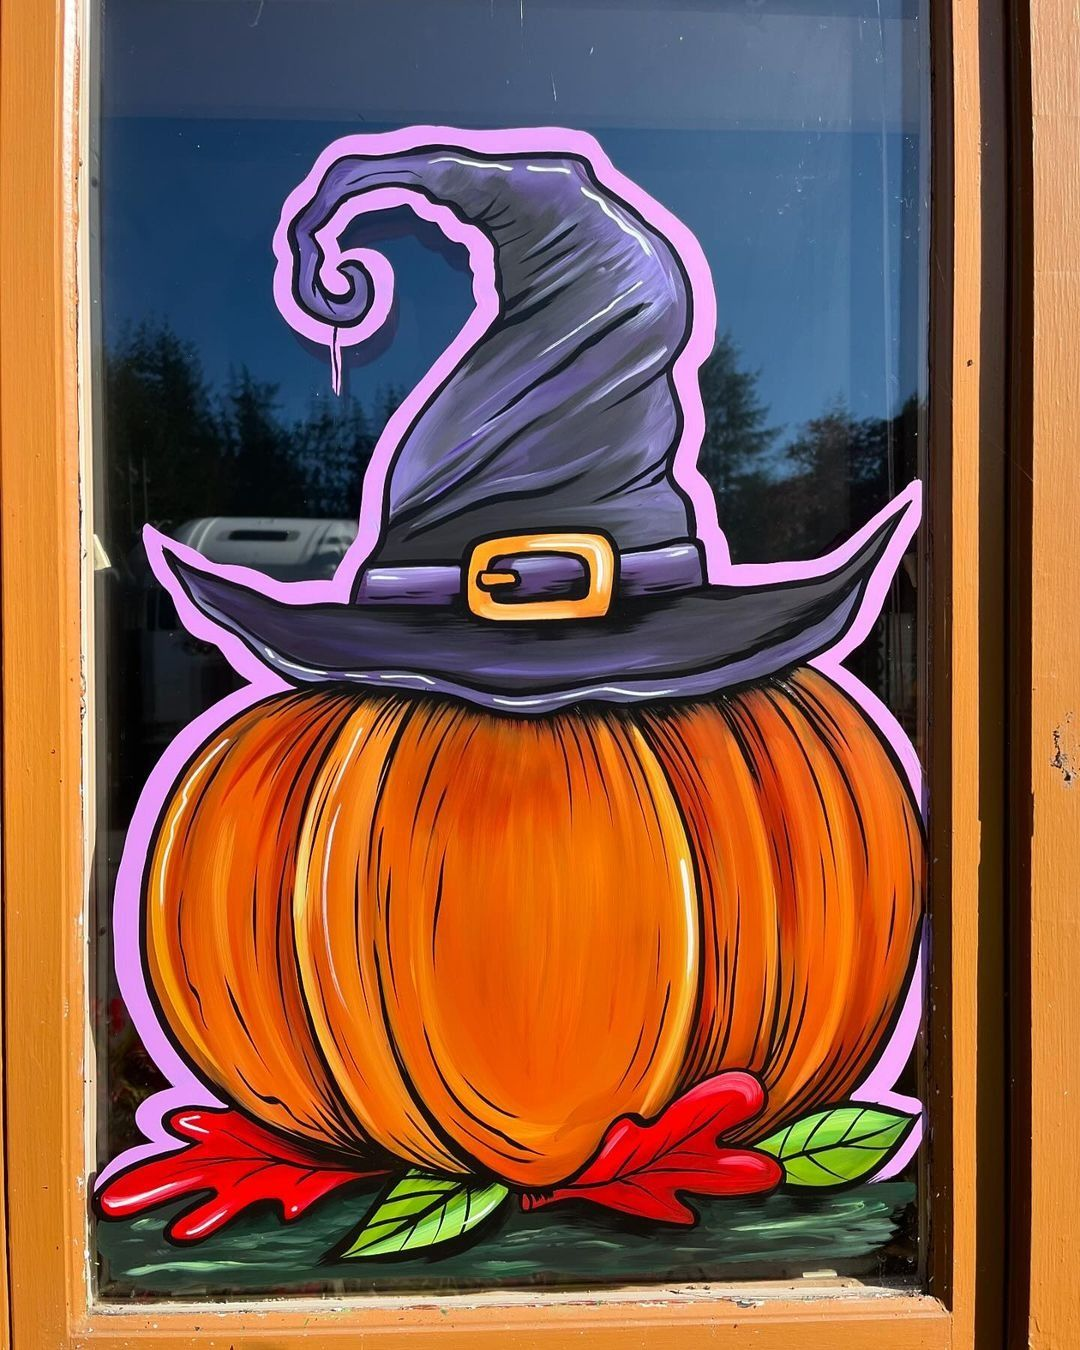
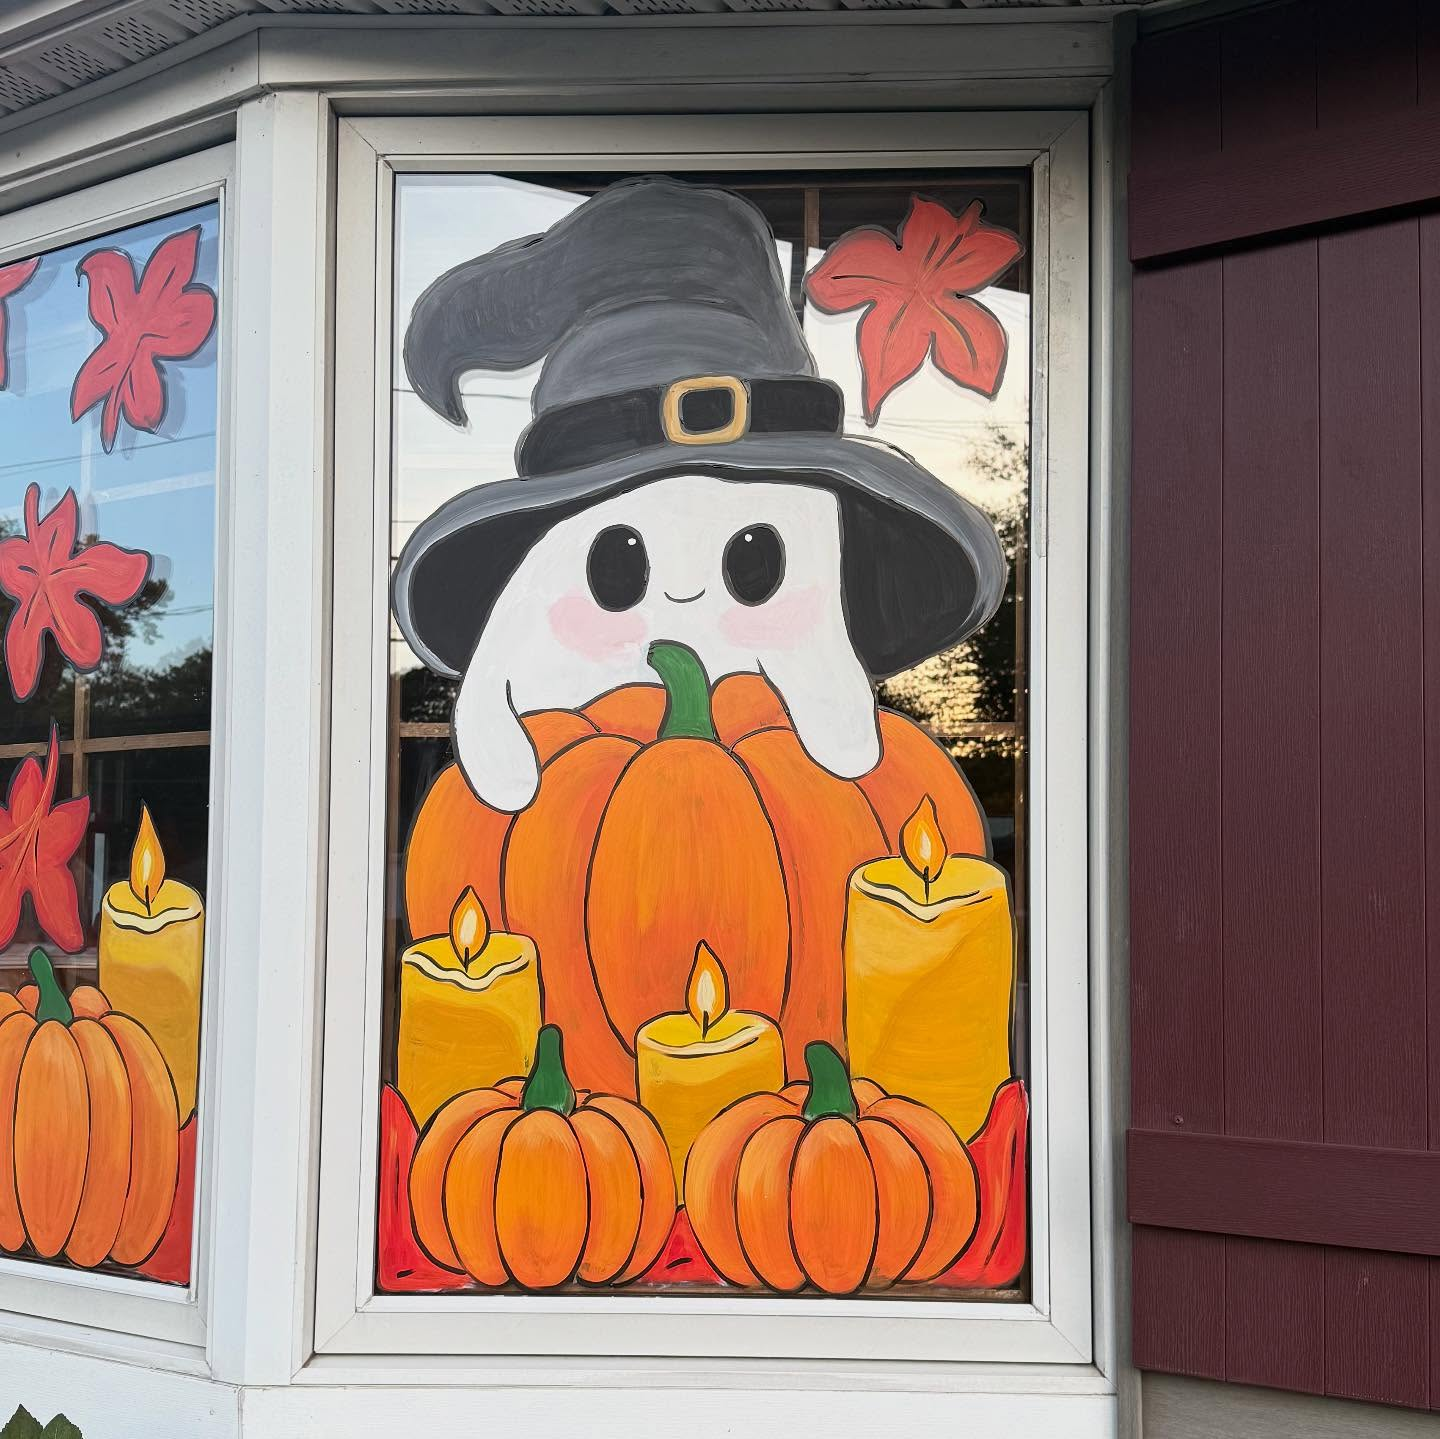
Paint a row of pumpkins in different sizes along the lower edge of the window, with curly green vines. It’s a cozy Halloween option that also works through Thanksgiving, so you get more use out of the effort. Orange and green markers are all you need.
If you like this look for the rest of the home, my fall apartment decor ideas carry the same warm palette inside.
6. A Haunted House Skyline
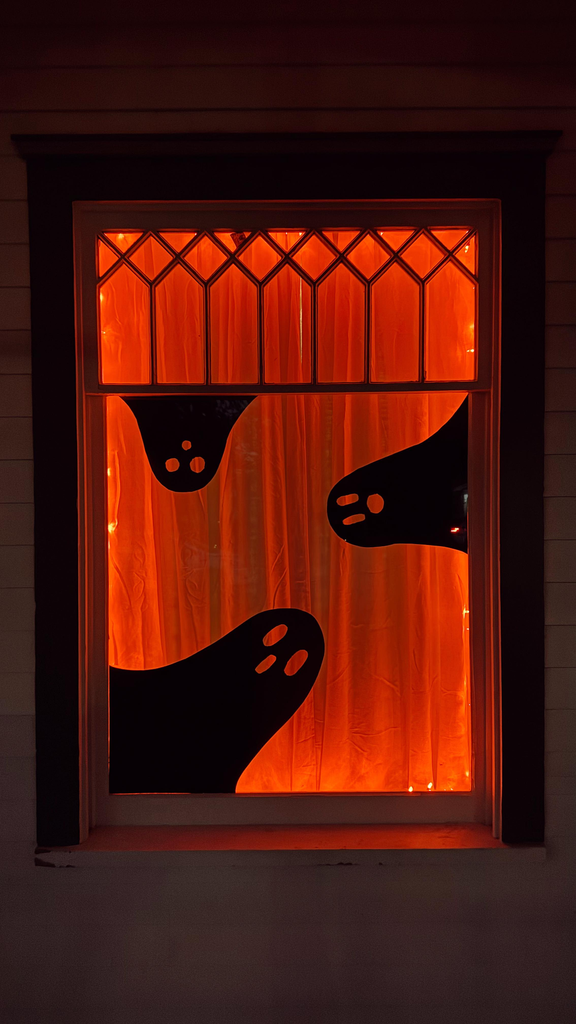
Paint a black silhouette of a crooked house with a few lit windows (leave them unpainted, or fill with yellow) along the bottom of the glass. Add a crescent moon above it. The unpainted windows glow at night if you have a lamp behind the glass.
A neighbor of mine did this on her ground-floor window with a small string light behind it, and the whole street noticed. It’s a strong option if your window faces a sidewalk.
7. A Full Moon With Bats Crossing It
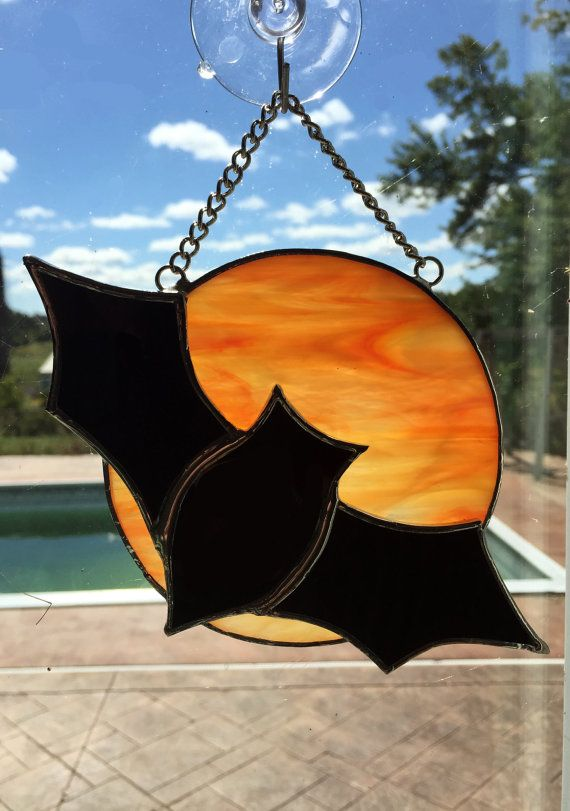
A big pale circle with black bat shapes flying across it is a classic scene that’s easy to fake. Trace a plate or a bowl for a perfect circle, fill it with white or pale yellow, then add the bats on top.
Pro tip: Paint the moon first and let it dry before adding the bats. Painting wet on wet blends the colors into gray mud.
8. A Witch’s Hat and Broom
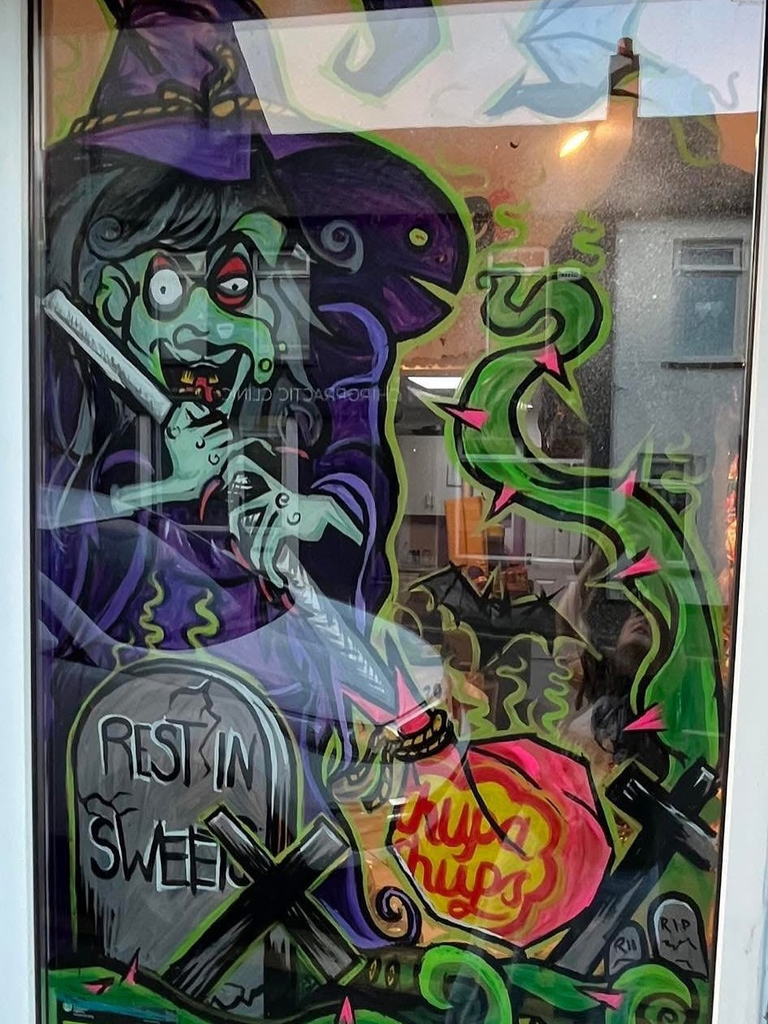
Two shapes: a tall triangle hat with a brim, and a broom made of a stick and a fan of bristles. Place the hat at the top corner, like it landed there. If you’d like a slightly funny version, paint just the boots and broom poking up from the bottom edge.
9. Jack-o’-Lantern Faces You Can Mix and Match
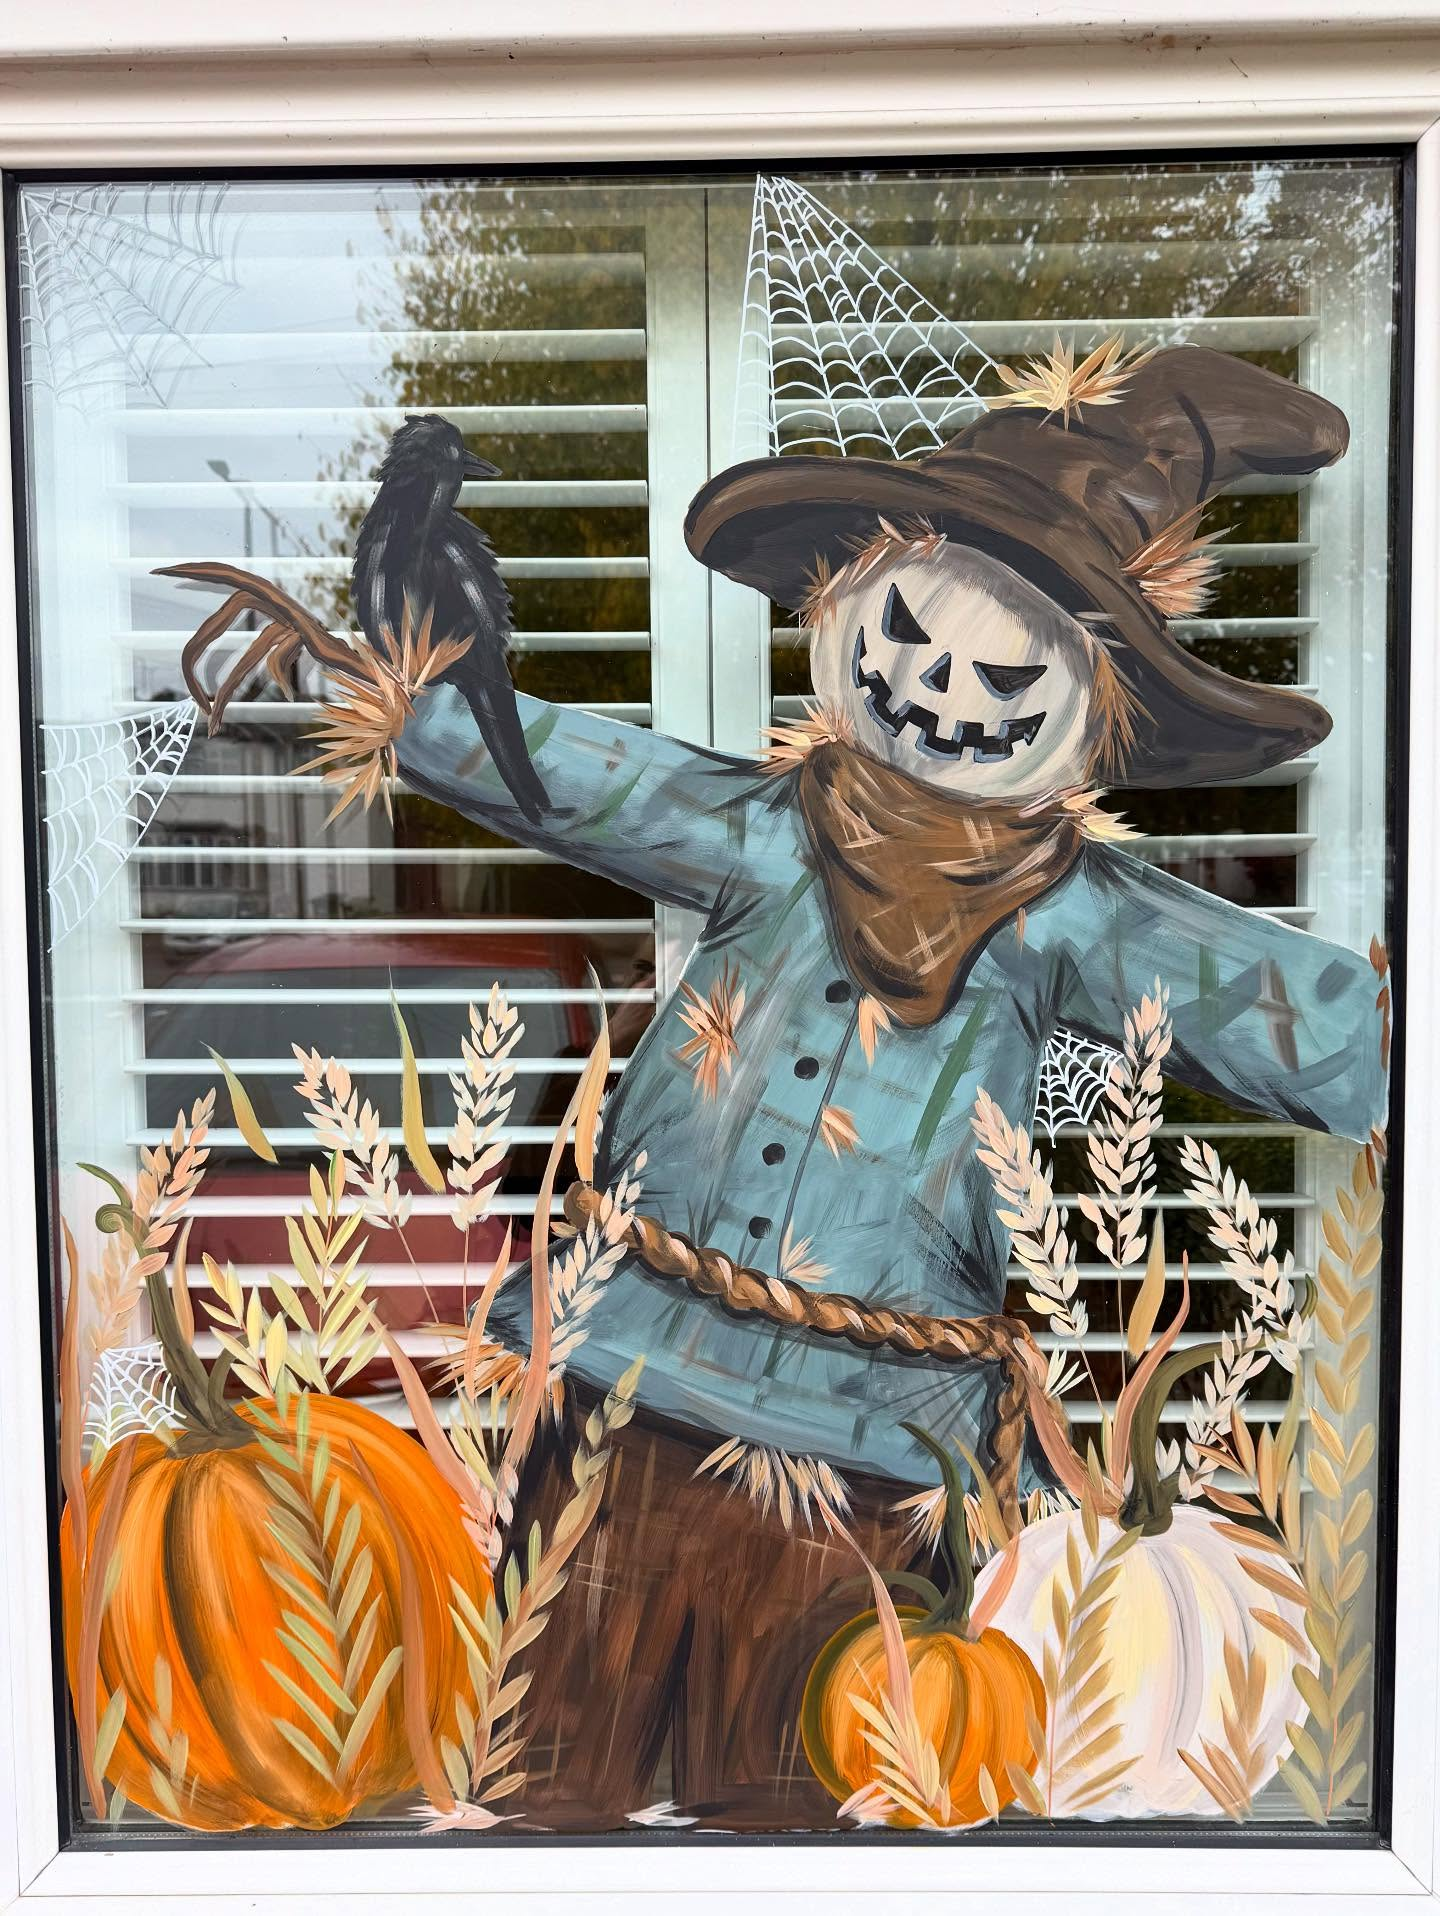
Paint several round orange pumpkins, then give each a different face: happy, grumpy, surprised, toothy. It’s a great way to make a simple shape feel like a scene. Use black for the faces and keep the lines thick so they read from a distance.
This is also an easy project to do with kids, who can each design a face for their own pumpkin.
10. A Skeleton Peeking Over the Windowsill
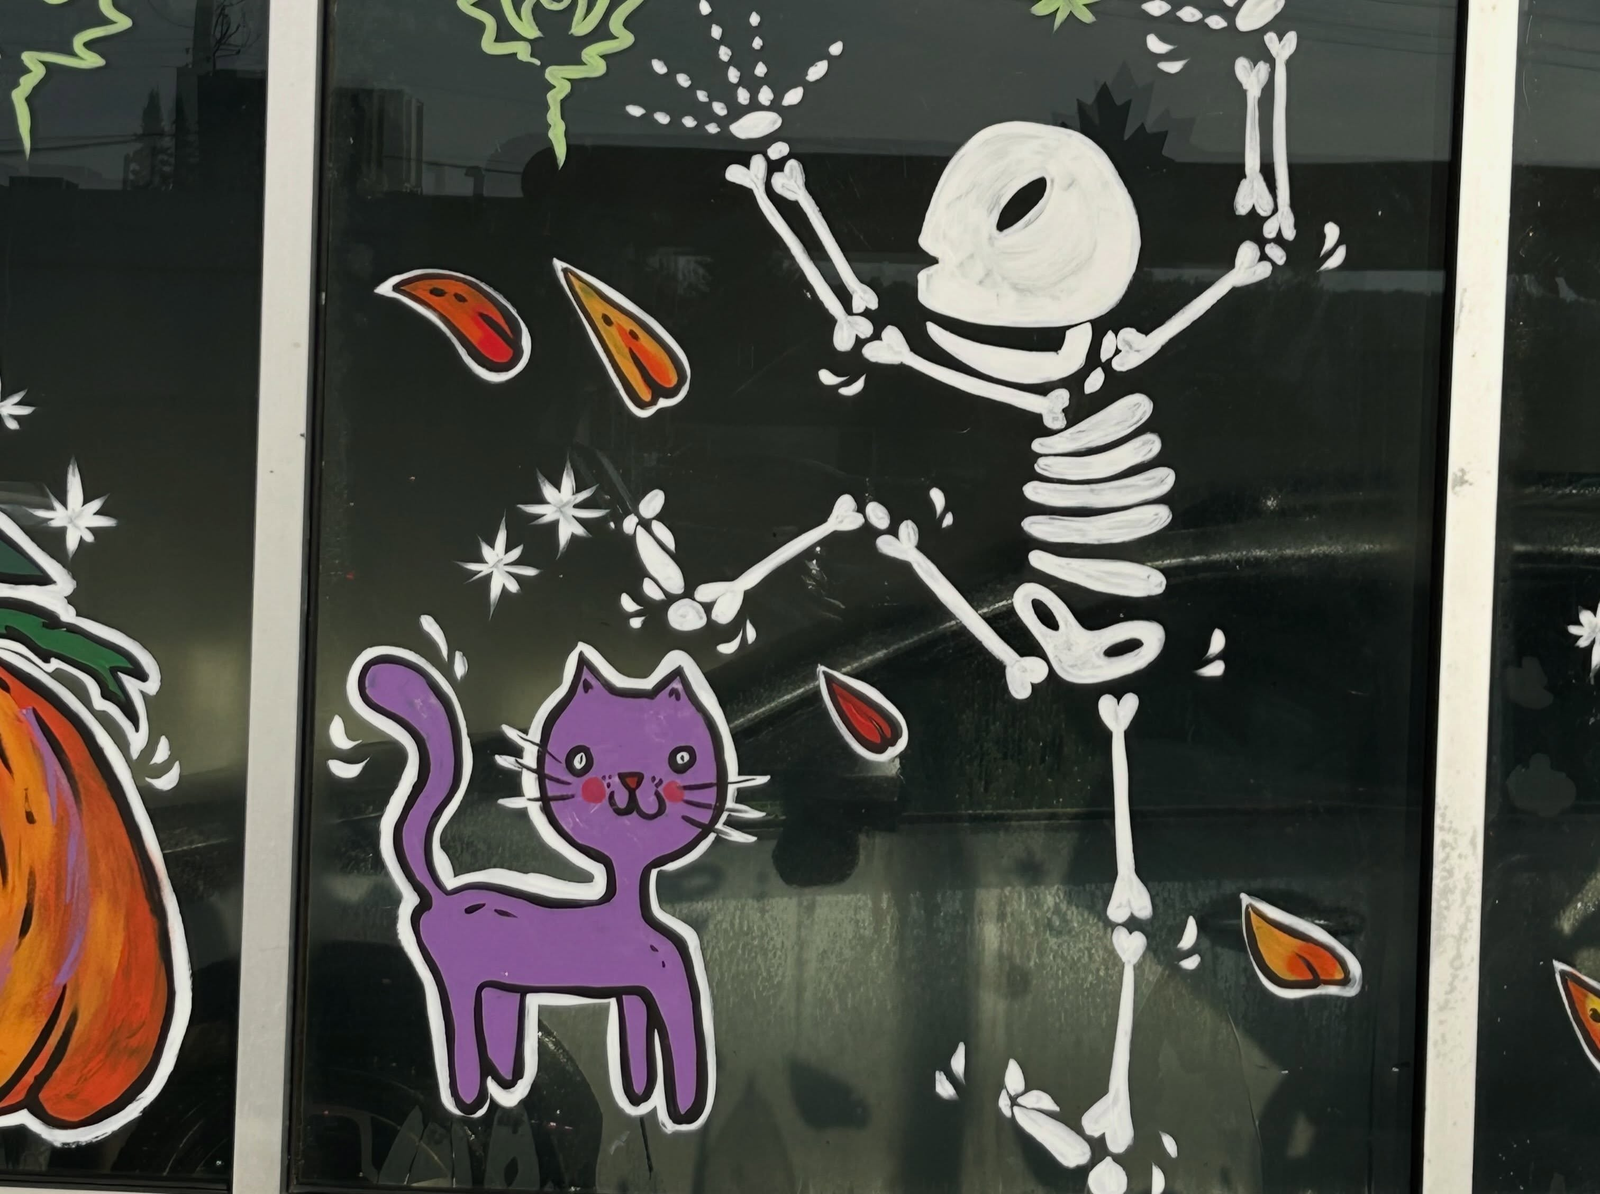
Paint a skull and two bony hands gripping the bottom of the window frame, like the skeleton is climbing up from outside. It takes about ten minutes, and it’s always a favorite because it uses the window itself as part of the joke.
Draw it in white on the outside of the glass if you want it to show against a dark room, or in black if your interior is bright.
11. Dripping Letters That Spell “BOO”
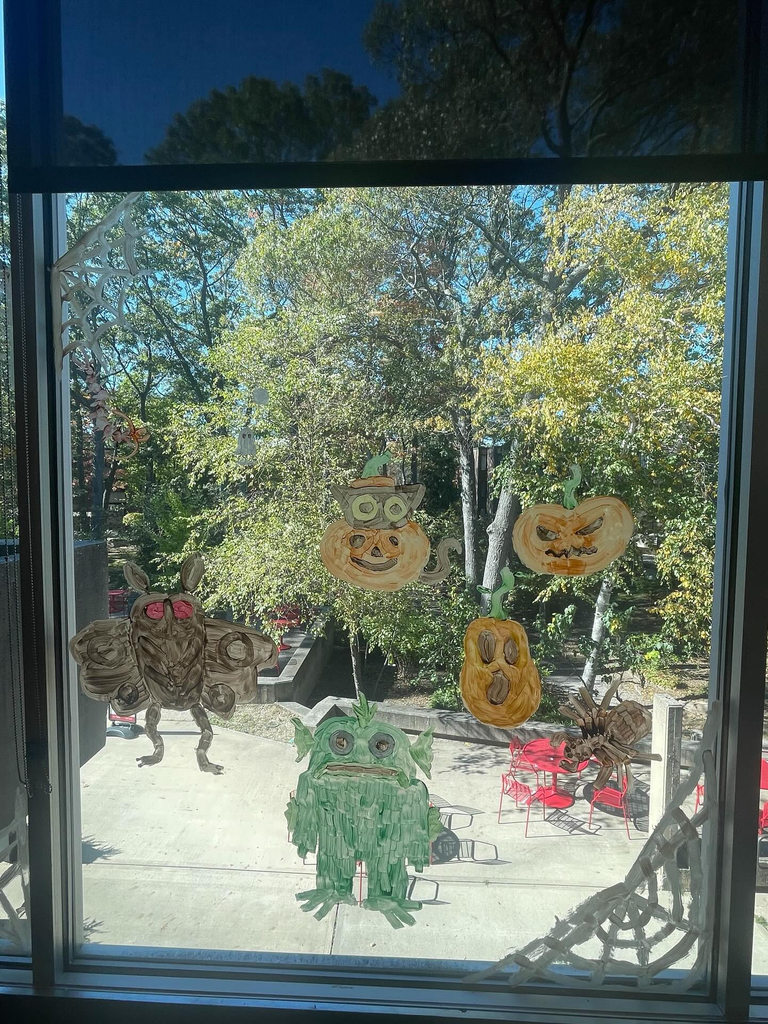
Write BOO in thick block letters, then add drips running down from the bottom of each letter. It’s a fast option that looks good in orange, green, or blood red. It’s also a good project if you’re pressed for time, because it’s just three letters.
Pro tip: Make the drips different lengths and widths. Identical drips look stamped.
12. A Simple Spider Dangling From a Thread
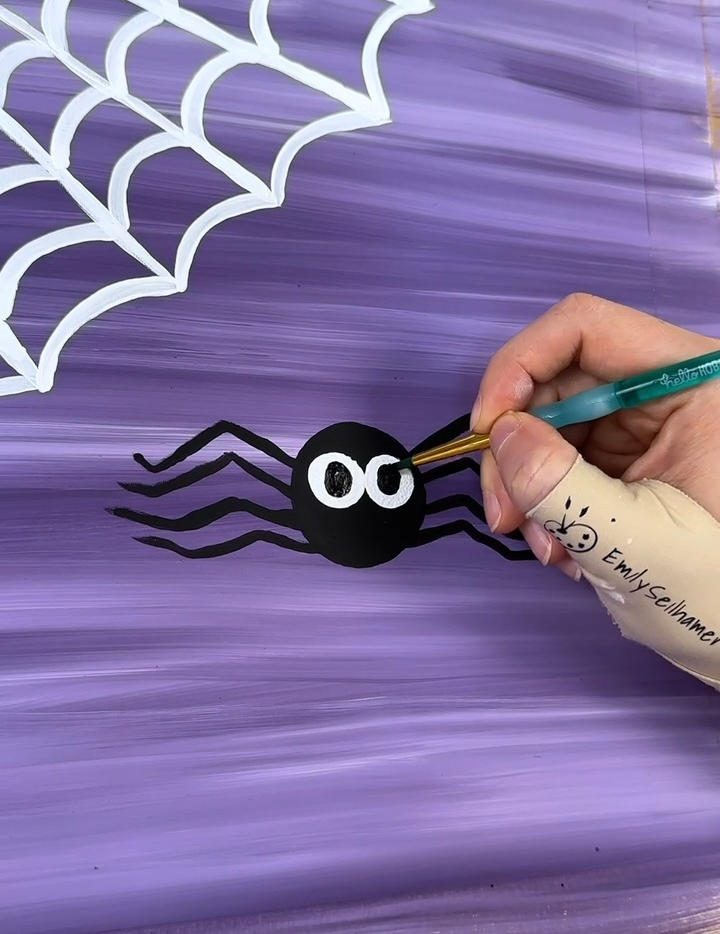
Draw one thin line from the top of the window and hang a spider at the end. The line does the work here; the spider can be a simple black circle with eight legs. It’s the fastest design on this list, and it looks surprisingly effective with a bit of empty glass around it.
13. A Row of Tombstones With Silly Names
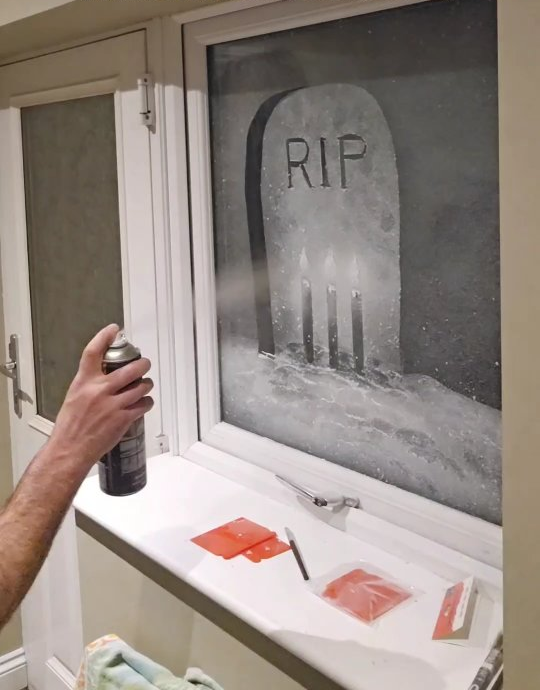
Paint gray or white tombstones along the bottom, and write a joke on each: “R.I.P. My Diet,” “Here Lies Summer,” “Ben Dover.” Humor gets people to walk closer and read, which is half the point of Halloween decor.
Keep the lettering small and neat with a fine-tip marker, and save the big brush for the tombstone shapes.
14. A Witch’s Cauldron With Bubbling Green Potion
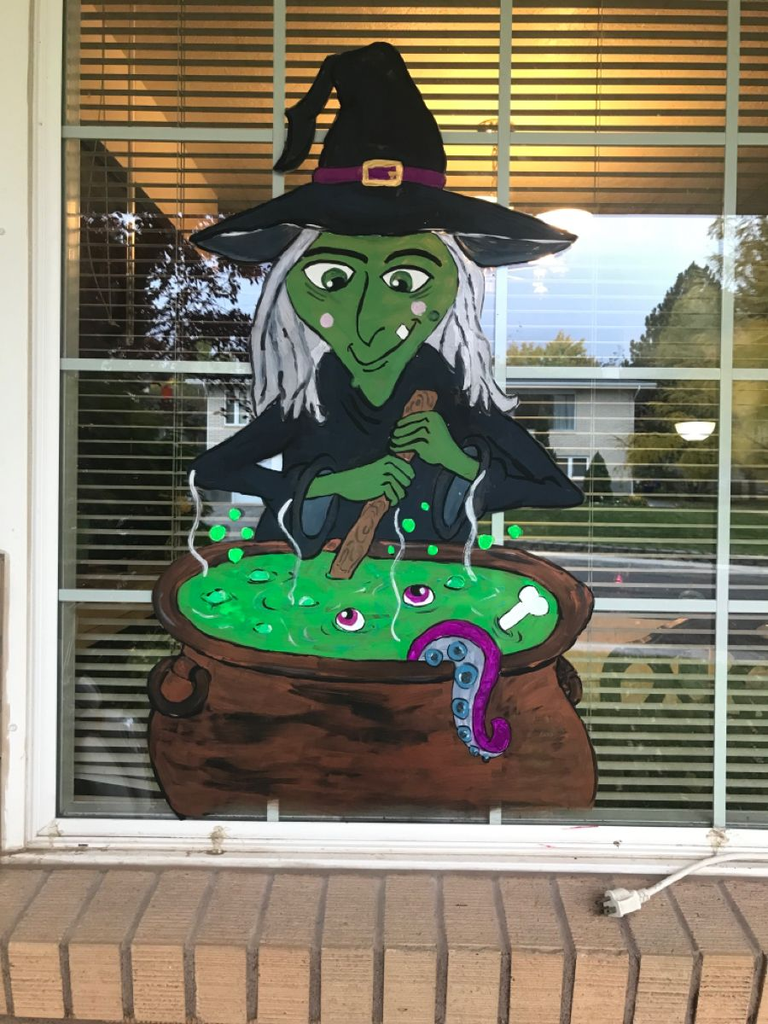
Paint a black cauldron on the bottom edge and let green bubbles rise from it in different sizes. Add a few small skulls or eyes floating in the bubbles for a creepier version. Green plus black is one of the strongest color pairings on glass, especially with a light behind it.
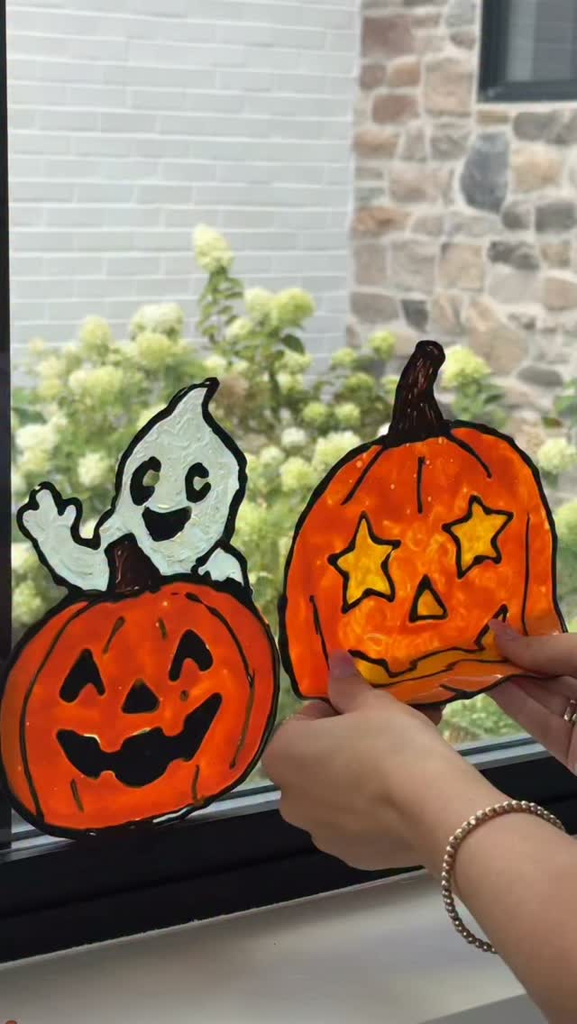
15. Stained-Glass Style Pumpkin or Bat
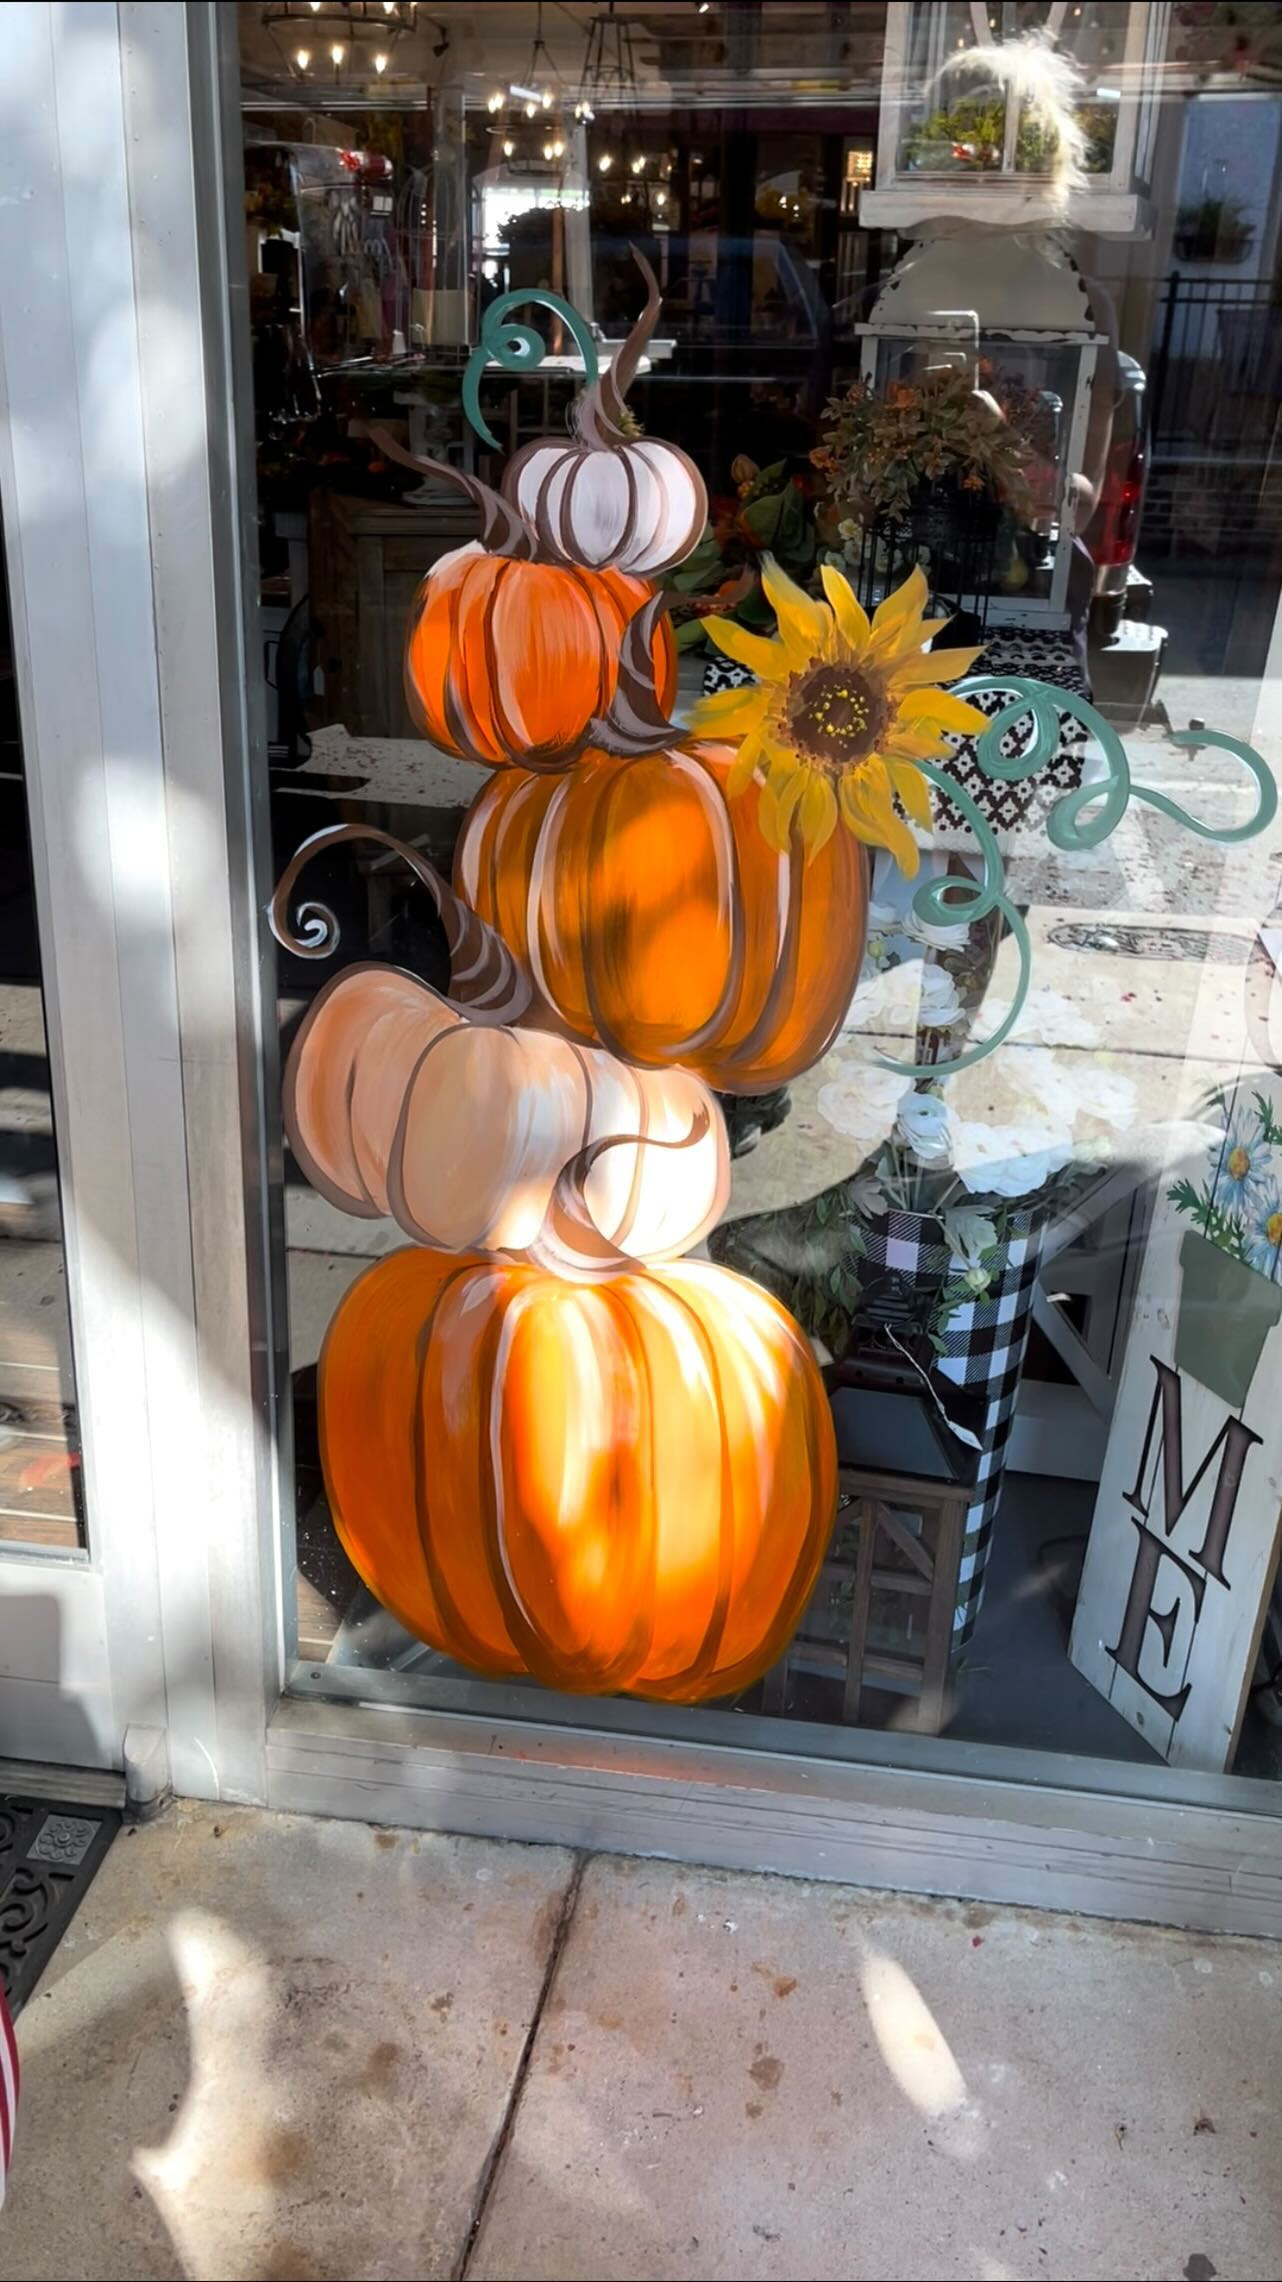
Outline a big pumpkin or bat in thick black, then fill each section with a different color, like stained glass. Window cling gel paint is ideal for this because it holds the outline. It takes longer, but it’s the design most likely to make people ask where you bought it.
If you’d rather not paint the whole thing at once, do the outline one evening and the color the next, so you’re not rushing.
16. A Frankenstein-Style Monster Face
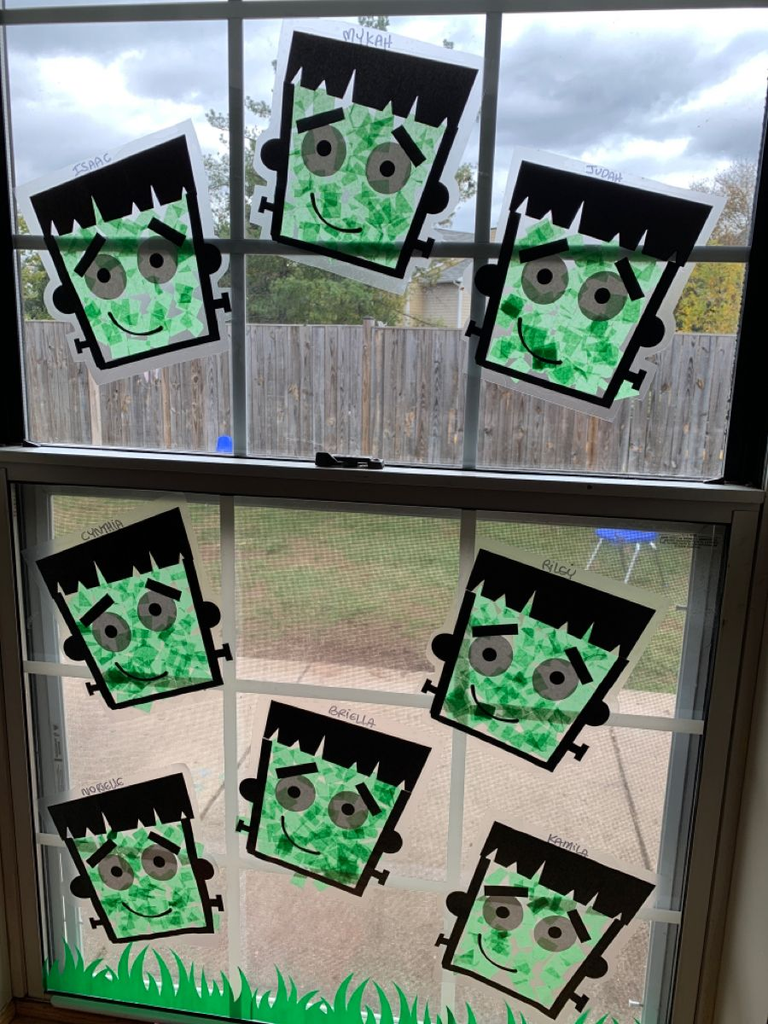
A green square head, flat hair, two bolts on the sides, and a stitched mouth. It’s mostly rectangles, so it’s very beginner-friendly. It’s also one of the most recognizable characters when painted simply.
17. A Mummy Peeking Through a Window Pane
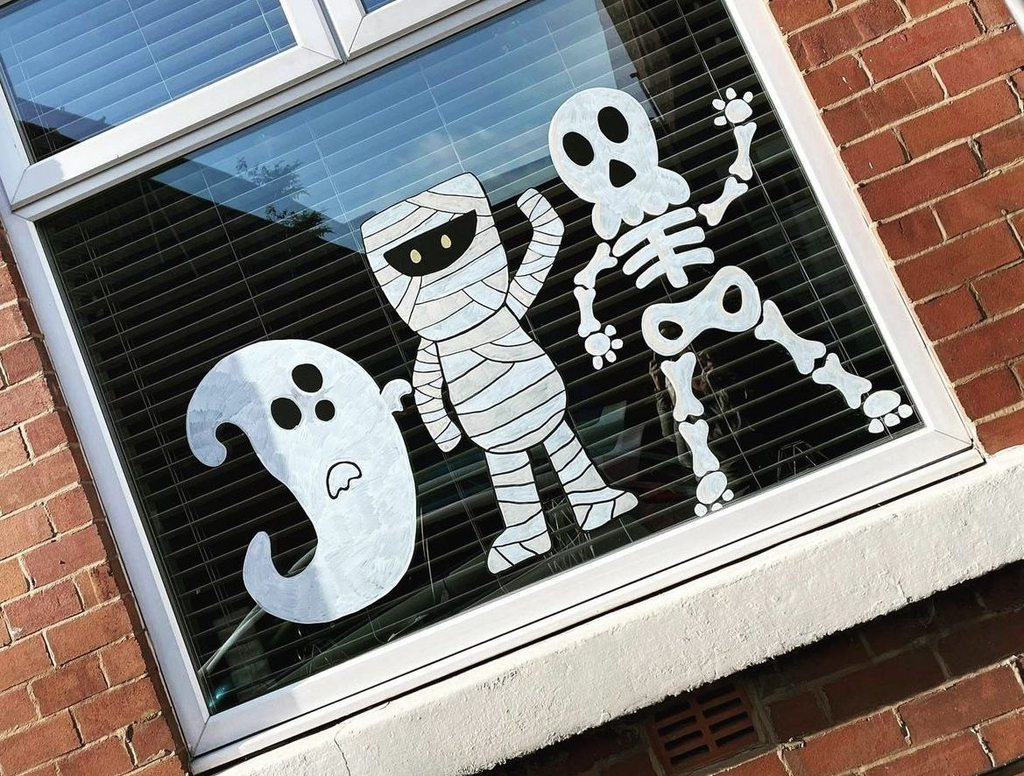
Paint white bandage strips crossing the glass in a slightly messy pattern, and leave a gap for two eyes. It’s a nice option if you have a window divided into panes, because each pane can be a different bandaged section.
This one pairs nicely with a mummy wrap on the door, which I cover in my Halloween door decor post, so the whole entrance shares one theme.
18. A Creepy Crawly Scene With Snakes or Worms
Paint a long wavy line snaking across the window, with a forked tongue and two dot eyes. It’s easy, it looks creepy, and it works nicely across a wide window where a single character would look lost.
19. A Vampire Bat With Tiny Fangs
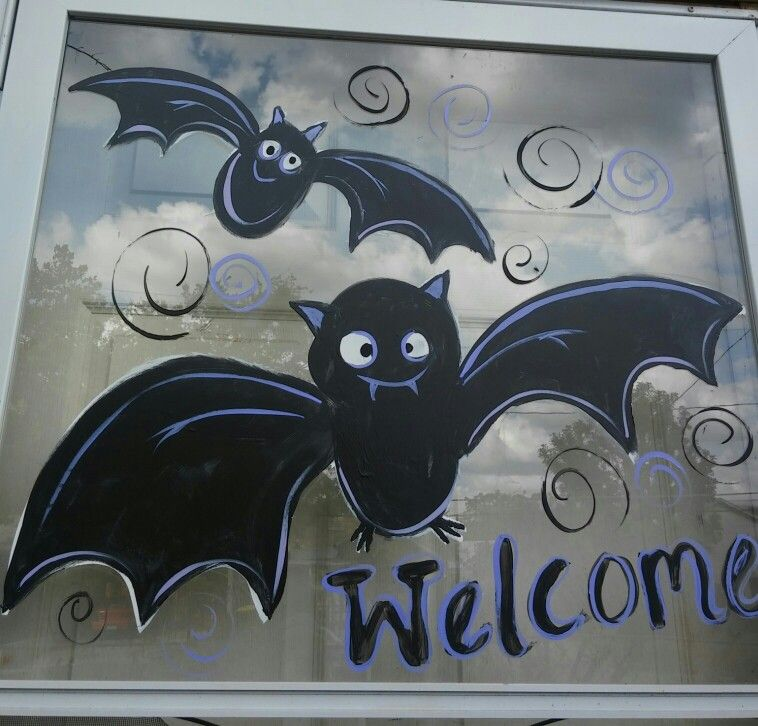
Take the bat design from earlier and give it a tiny face with two white fangs and red eyes. It only adds a few strokes but changes the feel from cute to slightly menacing. Great for a teenager’s window or an adult party.
20. A Night Sky With Stars and a Witch Flying Across
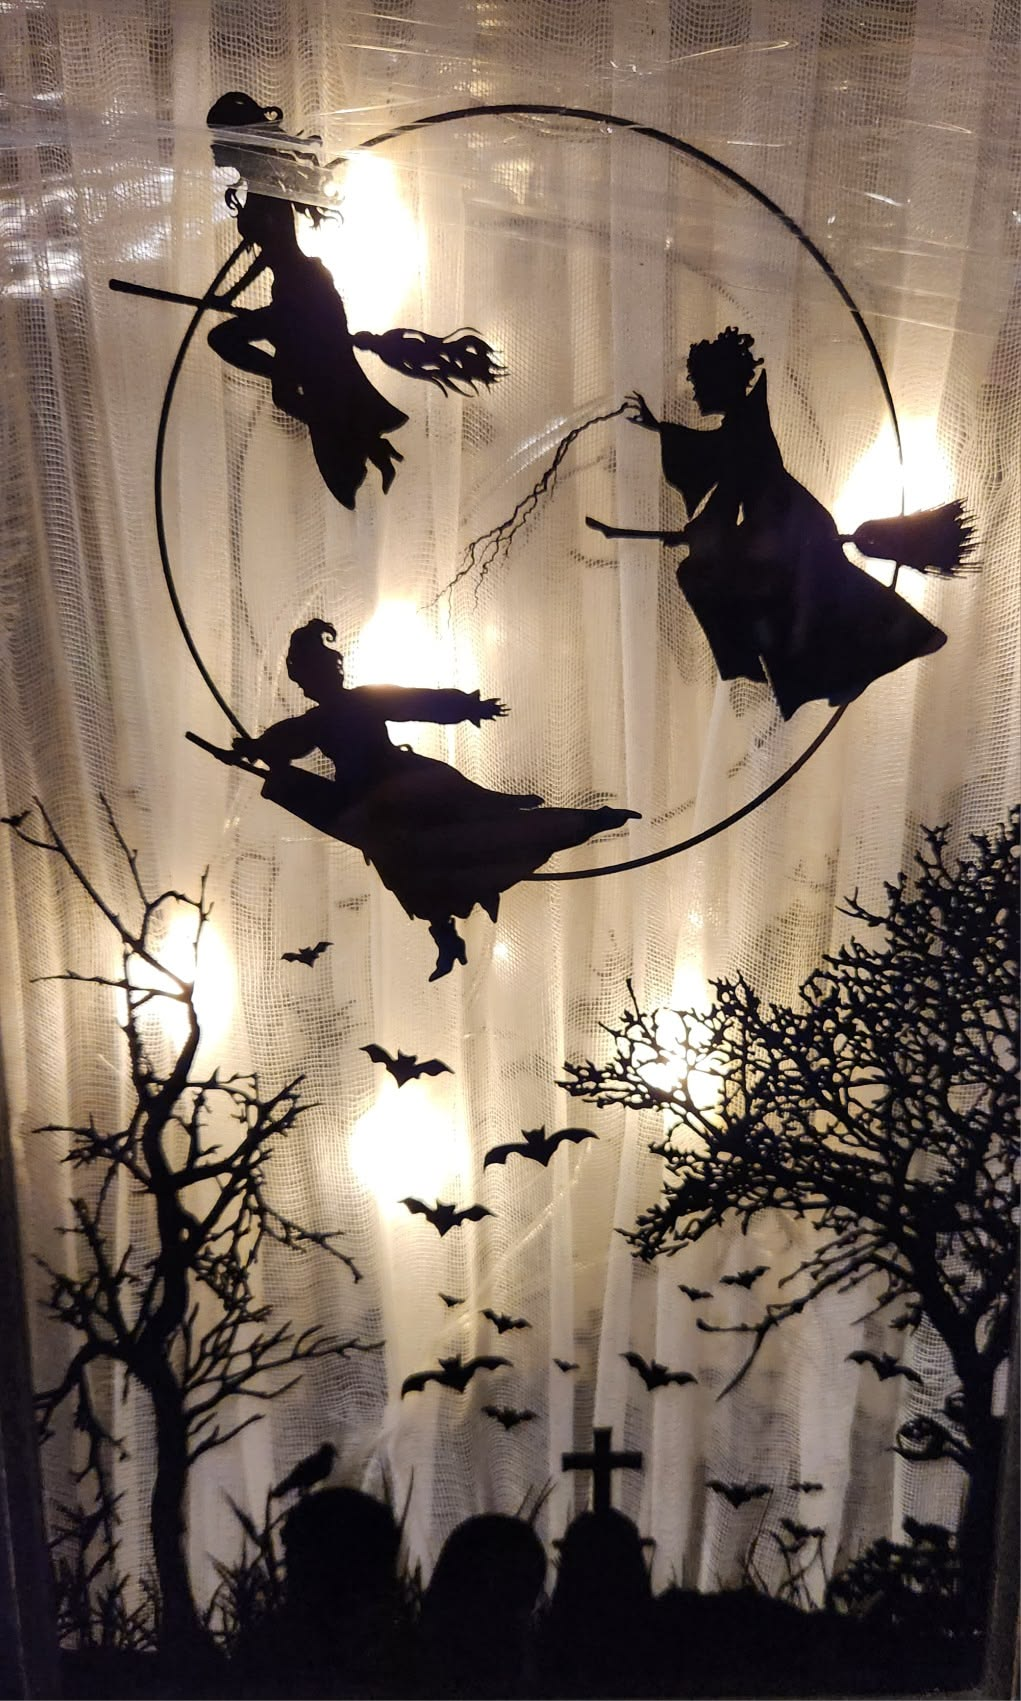
Paint a small silhouette of a witch on a broom crossing the upper part of the window, with a few stars and a moon. If your window is large, this can fill the whole pane, and it stays simple because the witch is just a black shape with a pointed hat.
If you’re working in a small room and the window is your main focal point, the ideas in my make a small apartment feel bigger post explain how to keep decor from crowding the space.
21. A Trick-or-Treat Message for Visitors
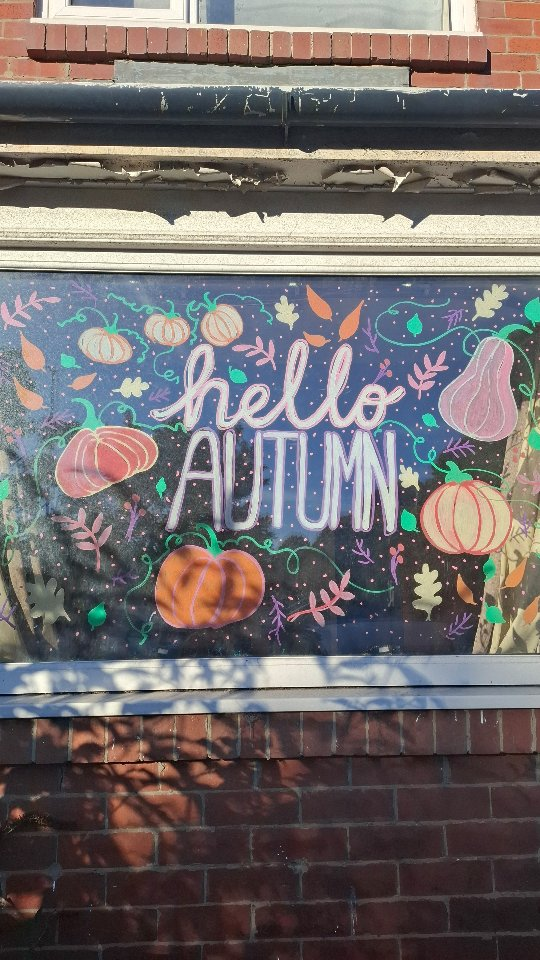
Paint a simple phrase like “Trick or Treat” or “Happy Haunting” in bold letters. If your window faces the entrance or the street, it works as a sign. Use a stencil or print the letters, tape the paper behind the glass, and trace.
Pro tip: Tape the printout to the outside of the glass and trace from inside. It gives you clean letters without any freehand wobble.
22. A Layered Scene Using Painter’s Tape Stencils
Use painter’s tape to mask shapes (a moon, a hill, a bat), paint over the tape, let it dry, and peel it off for crisp edges. This is my favorite technique on the list because it looks professional even if your hand-drawn lines wobble. It takes more time, but it’s the one people assume you paid for.
Peel the tape slowly and at an angle, before the paint dries completely, so you don’t lift chunks of the design with it.
How to Clean Halloween Window Paint Off Afterward
For washable markers and tempera, a damp cloth or sponge with a little dish soap usually does it. Wipe gently, then follow with a glass cleaner. For gel cling paint, peel it off in one piece when it’s fully dry. If you’ve used anything stubborn, a plastic scraper (not metal) helps, and always test on a small spot first, especially with tinted glass or window film.
If you’re dealing with a small space where every window matters, my small living room ideas and small apartment decorating ideas posts show how to decorate around windows without cluttering the room.
If I Were Starting From Scratch
If I were doing this again with almost no supplies, I’d buy one pack of white and black window markers, tape a printed silhouette to the outside of the glass, and trace a cat, a moon, and three bats. That’s about $10 and an hour, and it looks better than you’d expect. Once you’re comfortable, try the painter’s tape stencil method for cleaner edges.
The best Halloween window painting ideas aren’t the most complicated ones, they’re the ones with clear shapes and good contrast. Pick one scene, keep the palette to two or three colors, and leave some glass empty. That empty space is what makes a design pop.
FAQs
What is the best paint for Halloween window painting?
Washable window markers, liquid chalk markers, and washable tempera mixed with a little dish soap are the easiest to clean. Avoid regular acrylic unless you don’t plan to remove it.
Should I paint on the inside or outside of the window?
Inside is safer for weather and easier to reach, and you can still trace a design taped to the outside. Painting the outside gives a bolder look but rain and moisture can streak washable paint.
How do I get Halloween window paint off?
Wipe with a damp cloth and a little dish soap, then use glass cleaner. For gel paint, peel it off. Use a plastic scraper for stubborn spots, and test on a small area first.
Can I paint my windows if I’m renting?
Usually yes if you use washable markers or paint and clean it off afterward, but check your lease and test a small corner first, especially on tinted or coated glass.
How far ahead can I paint Halloween windows?
Early October is common. Washable paint holds up well indoors for a few weeks, but outdoor-facing paint may need touch-ups after rain.
What are easy Halloween window painting ideas for kids?
Friendly ghosts, jack-o’-lantern faces, pumpkin patches, and simple bats are the easiest. Use washable tempera and give each child their own pane or section.



Leave a Reply