

When I first moved into my studio, I spent an entire weekend pushing my bed, couch, and desk into different corners like I was solving a puzzle with no solution.
The problem wasn’t that the room was too small, it was that I kept trying to lay it out like a one-bedroom with the walls removed instead of treating it like its own specific thing.
Once I stopped copying floor plans from apartments that weren’t shaped like mine and actually worked with my particular layout (a long rectangle with windows on one short end), everything clicked into place in about two hours.
Studio apartments come in a handful of common shapes, and the “right” layout depends almost entirely on which shape you actually have.
A long rectangle needs a different approach than a square room, and a studio with an alcove needs a different approach than one that’s a single open box. This is why so much generic studio apartment advice doesn’t quite work: it’s written for a shape that isn’t yours.
Below, I’ve grouped ideas by the floor plan type they solve best, plus a section on room dividers and multi-functional furniture that applies no matter your shape. Find the section that matches your actual apartment first, then pull from the general ideas after that.
If You Have a Long, Narrow Rectangle
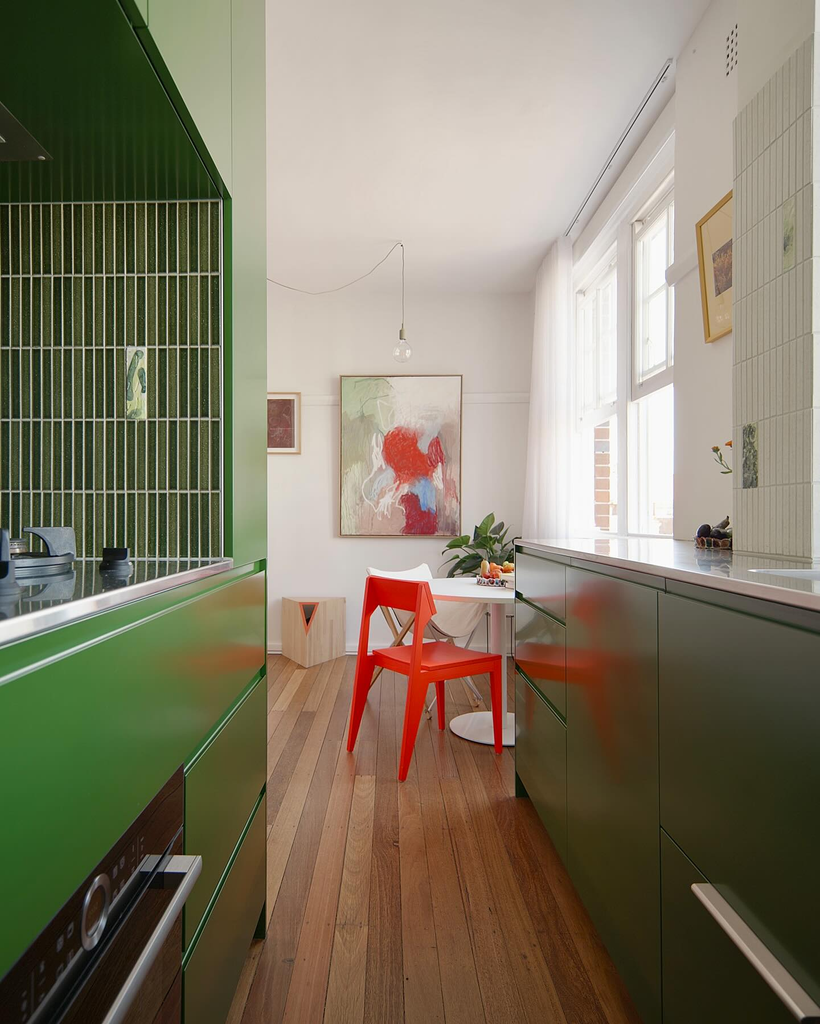
This is one of the most common studio shapes, and also one of the trickiest, because the instinct is to line everything up against the long walls, which just emphasizes how narrow the room is.
1. Split the rectangle into distinct zones along its length, not its width
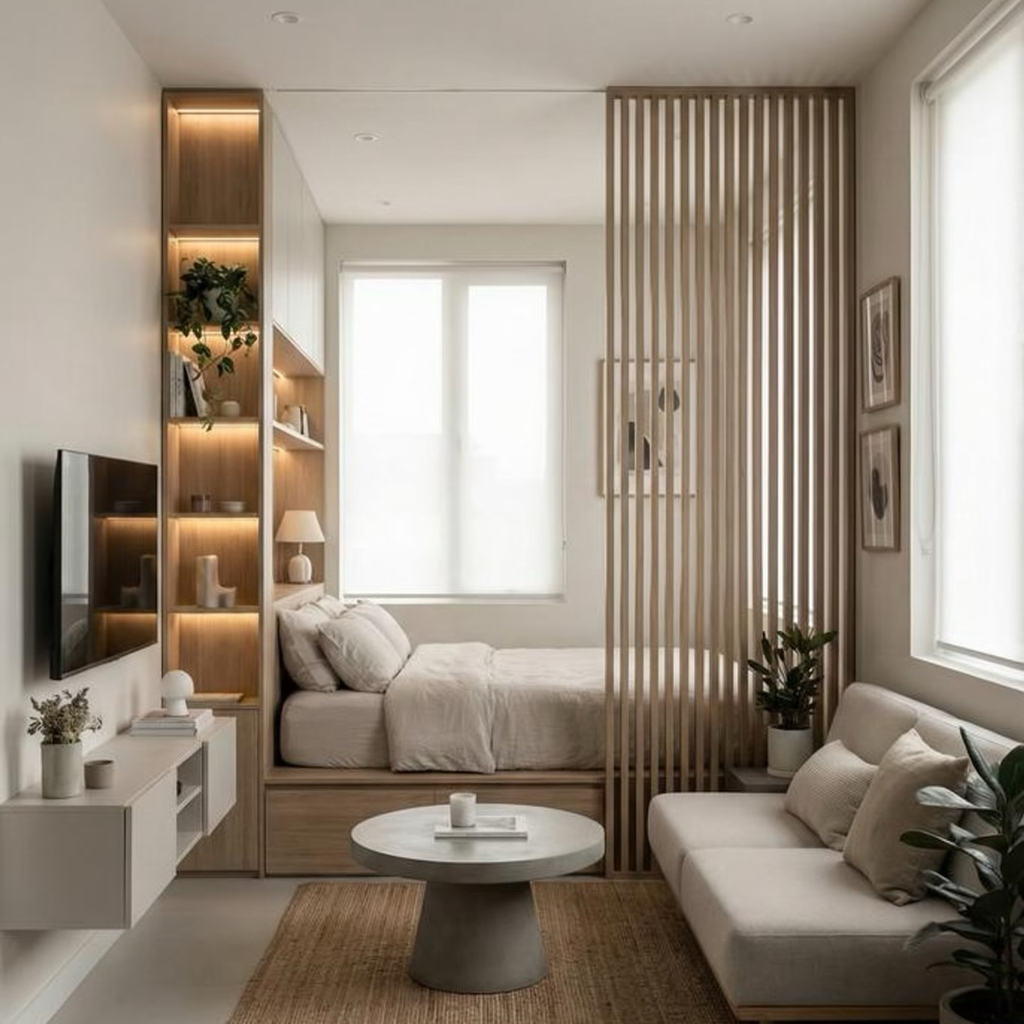
Instead of trying to divide a narrow rectangle side to side (which leaves you with two awkward skinny strips), divide it end to end: sleeping zone at one end, living zone in the middle, and a small entry or kitchen zone at the other end.
This works with the room’s actual proportions instead of fighting them.
2. Place your bed perpendicular to the longest wall, not against it
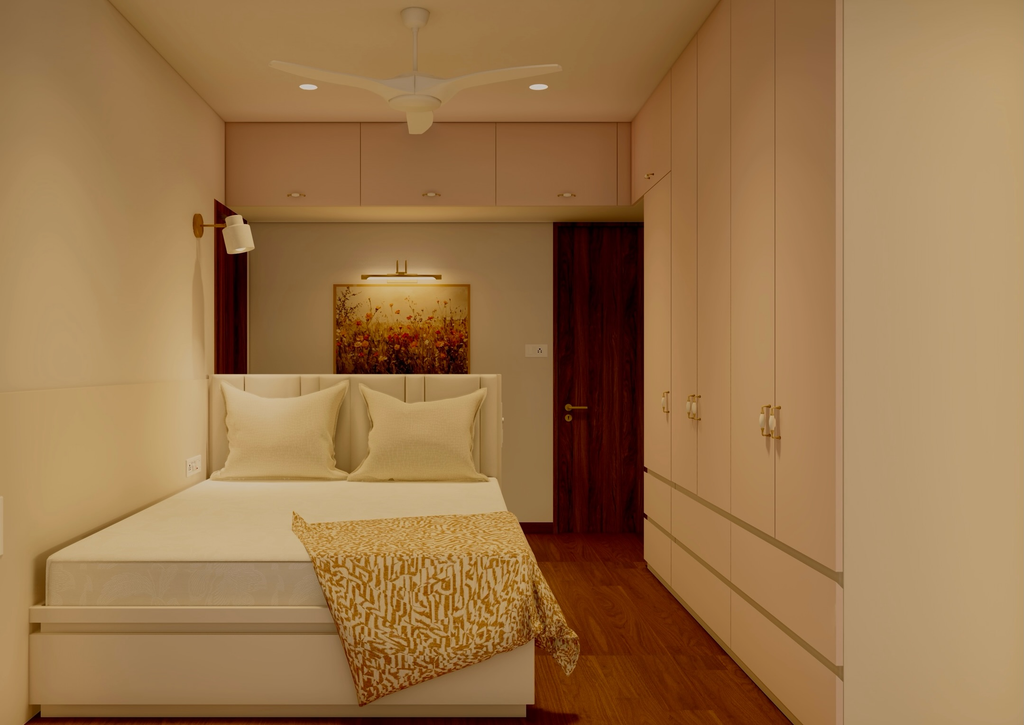
Pushing a bed lengthwise against the longest wall eats up a huge stretch of your most useful wall space.
Turning the bed so its headboard sits against a shorter wall (even if that means it juts a bit into the room) frees up the long wall for a dresser, desk, or shelving instead.
3. Use a runner rug to visually connect the zones
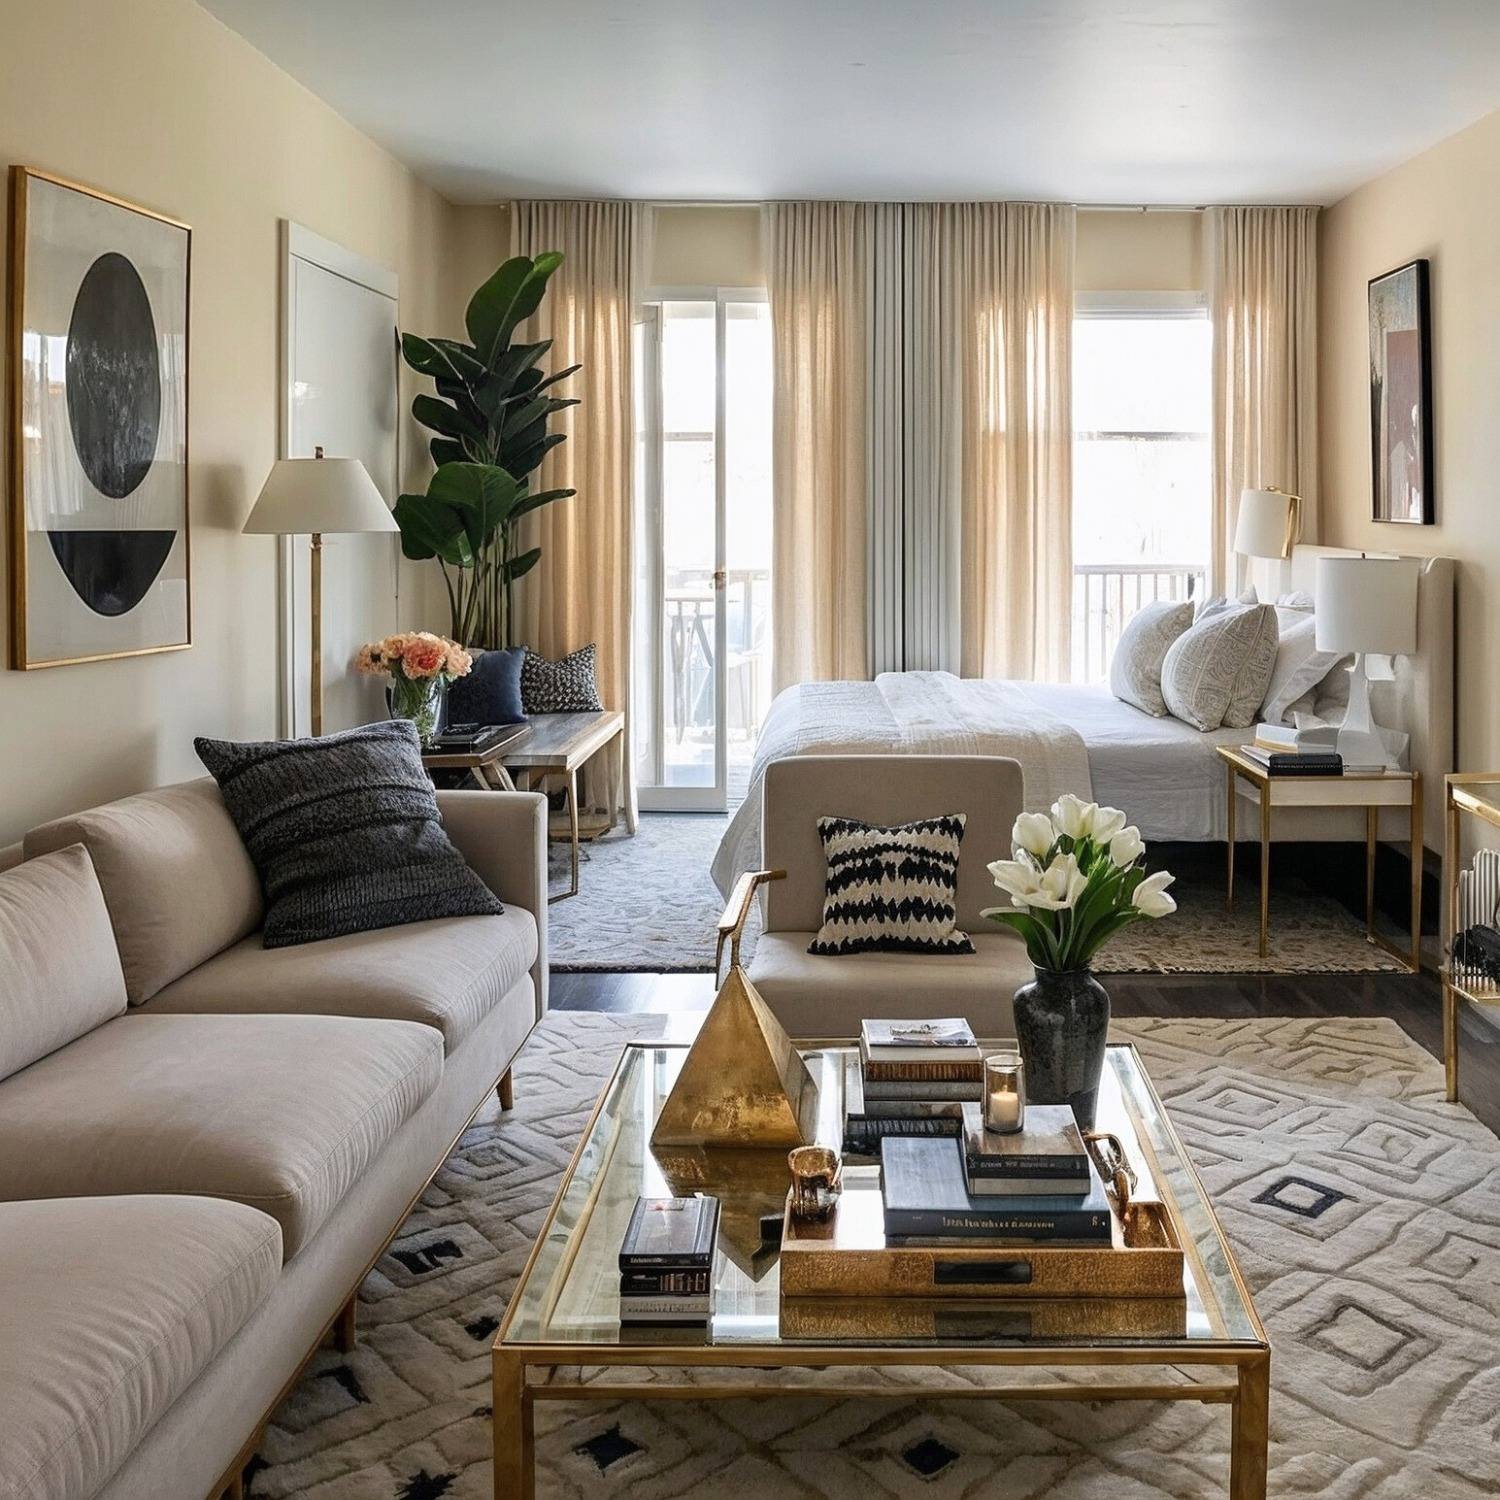
Because you’re dividing the room along its length, a single long rug (rather than separate smaller rugs per zone) helps the space read as one connected apartment instead of a hallway with furniture in it.
My friend Devon did this in his railroad-style studio and said it was the one change that made the whole place stop feeling like a bowling lane.
Pro tip: If your rectangle is genuinely narrow (under about 10 feet wide), skip a coffee table entirely and use a large ottoman instead. A rigid table edge in a tight walking path gets bumped constantly, and I know this from personally bruising my shin on mine for two months before giving up and swapping it out.
If You Have a Square or Near-Square Studio
Square studios are more forgiving on paper, but they come with their own trap: without a natural “front” of the room, it’s easy to end up with furniture floating in the middle with no clear zones at all.
4. Pick one wall to anchor your living area and build outward from it
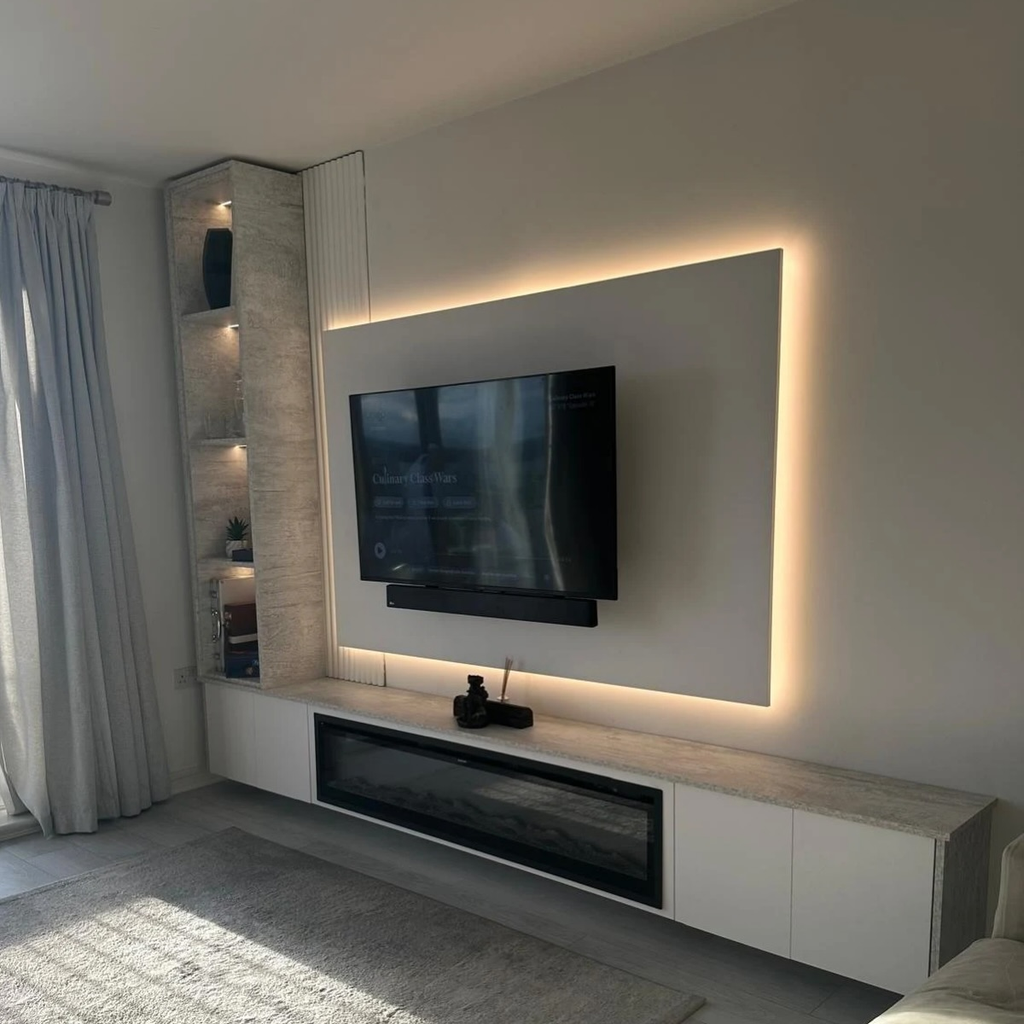
In a square room, choose the wall you want your seating to face (often the one with the best window or the TV wall) and treat that as your anchor.
Build the layout outward from that single decision point instead of trying to balance four walls equally, which tends to leave the room feeling directionless.
5. Use an L-shaped or corner layout for your seating
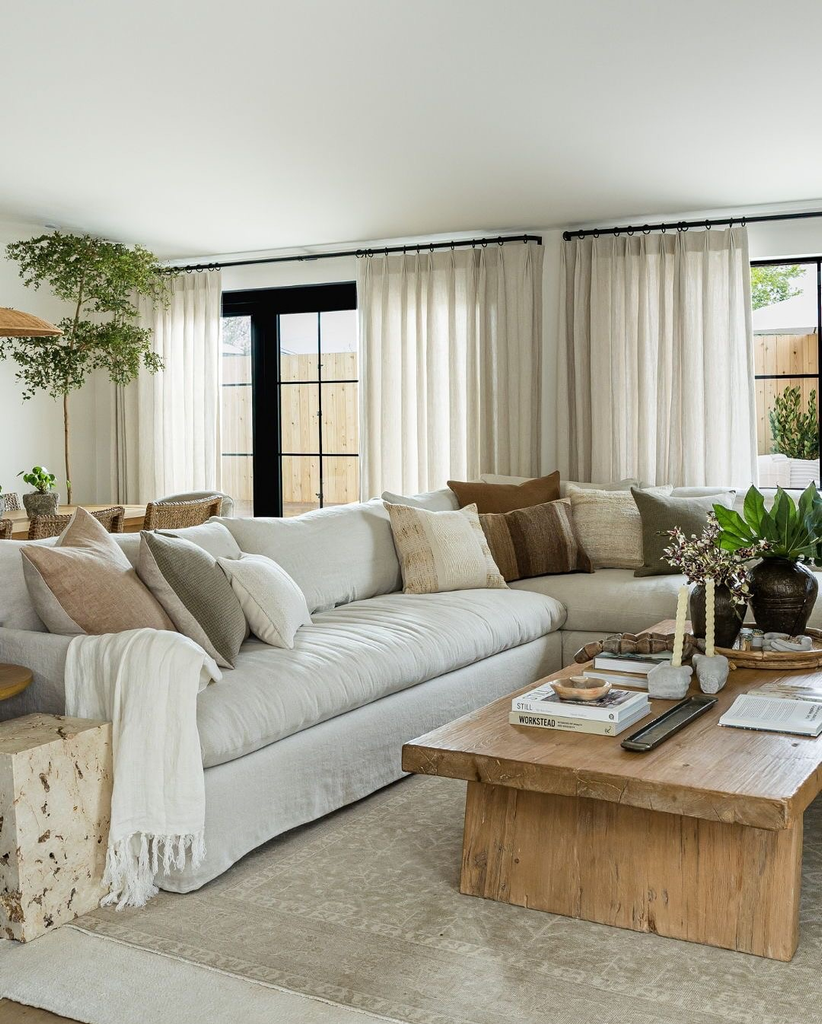
A square room has real corner potential that a narrow rectangle doesn’t. An L-shaped sectional or a loveseat paired with a chair angled into a corner uses that dead corner space productively and leaves the center of the room open for movement.
6. Center your rug on the room’s actual middle, not the furniture’s middle
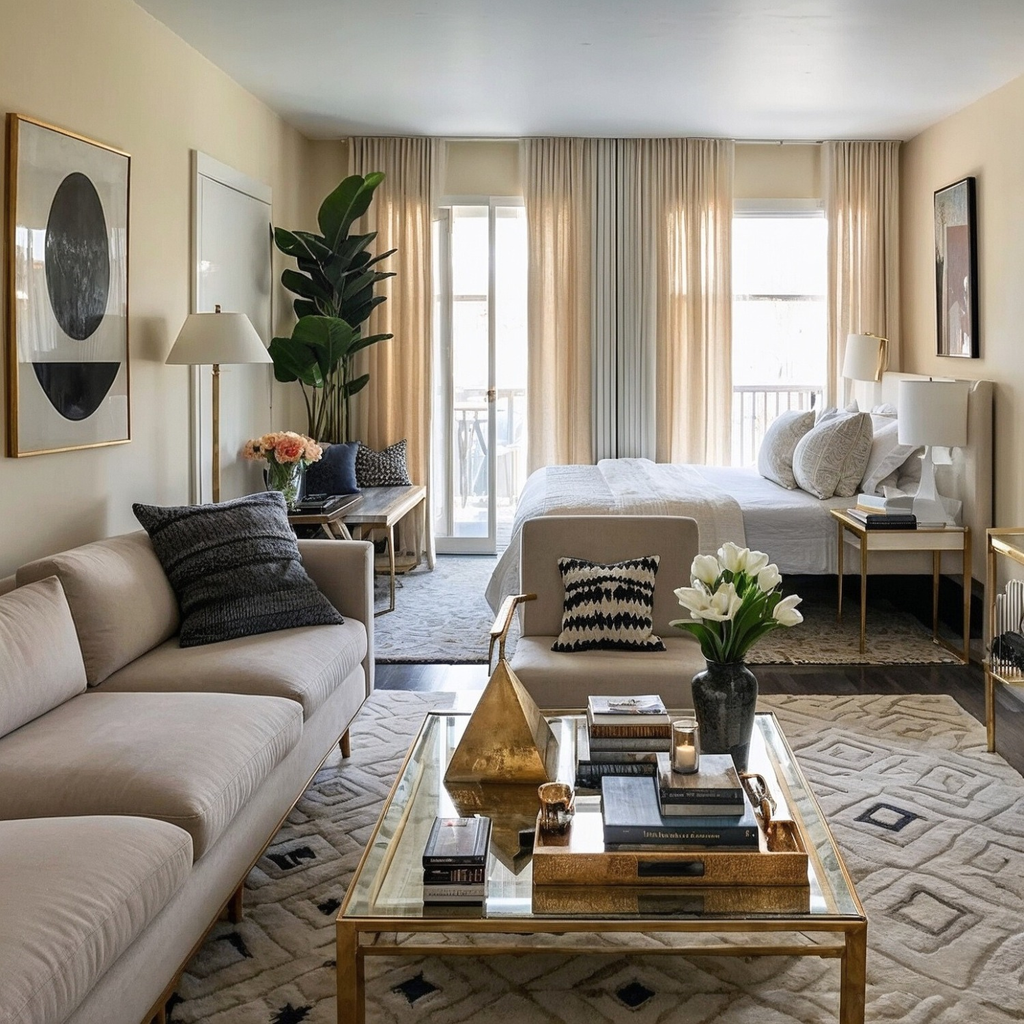
In a square layout, a rug placed slightly off-center (because it was sized to the couch rather than the room) reads as a mistake in a way it wouldn’t in a rectangular room, because a square space makes asymmetry more noticeable.
Measure from the walls, not just from your furniture, when placing the rug.
If You Have an Alcove or Nook
A lot of studios (especially older buildings) have a partial wall, a step-down, or a small recessed area that isn’t quite its own room but isn’t fully open either. This is genuinely the easiest layout to work with if you use the alcove correctly.
7. Use the alcove for sleeping, not for storage
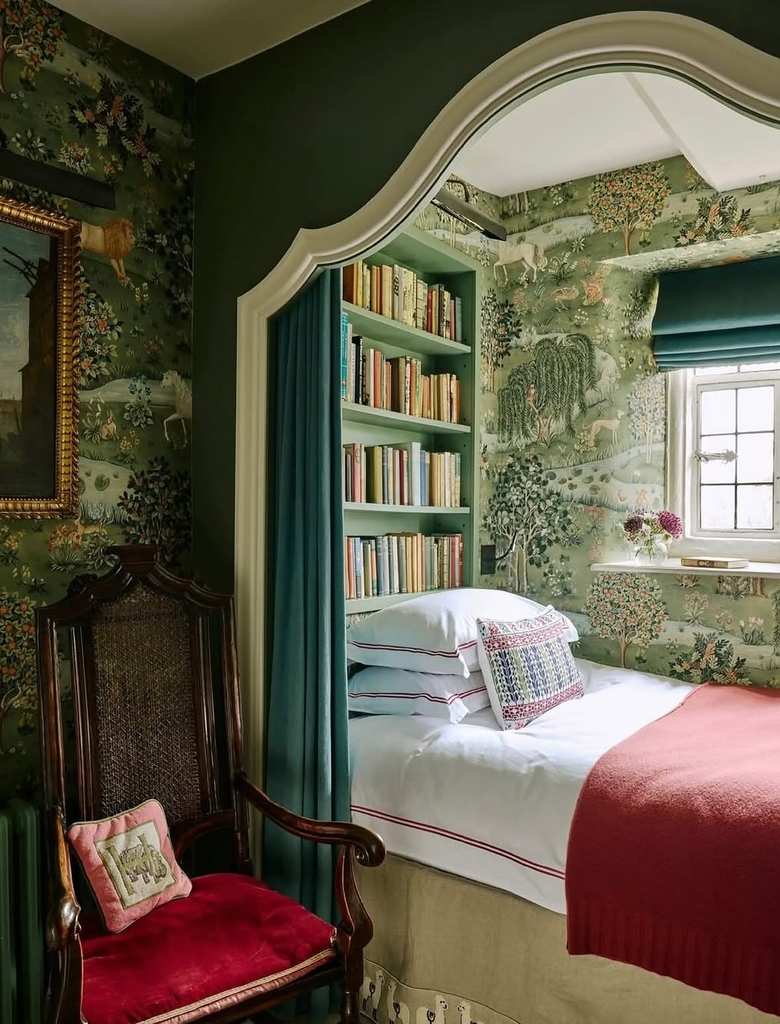
This is the single most common mistake I see with alcove studios: people use the recessed nook as a closet or storage zone and keep the bed in the main open area, when it’s almost always the reverse that works better.
The alcove gives your bed a sense of separation and privacy that the open main room can’t, even without a door.
8. Hang a curtain across the alcove opening
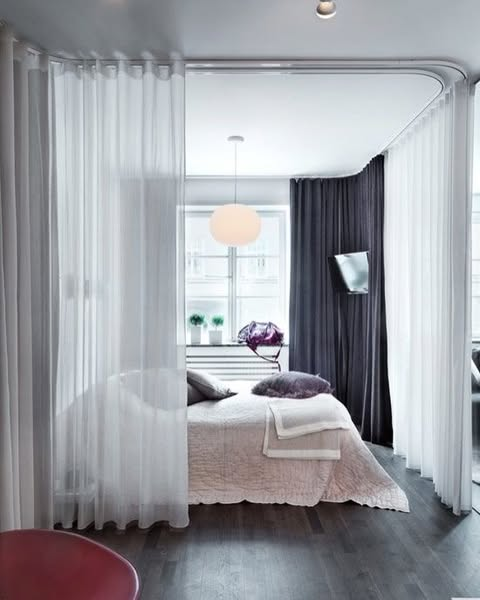
A ceiling-mounted curtain track across the alcove entrance gives you an actual closeable boundary for the sleeping area for the cost of a curtain and a track, no construction involved.
This is one of the highest-value, lowest-cost changes you can make in a studio with this layout, and it’s fully reversible if you move out.
9. Keep the alcove’s furniture minimal so it reads as a bedroom, not storage overflow
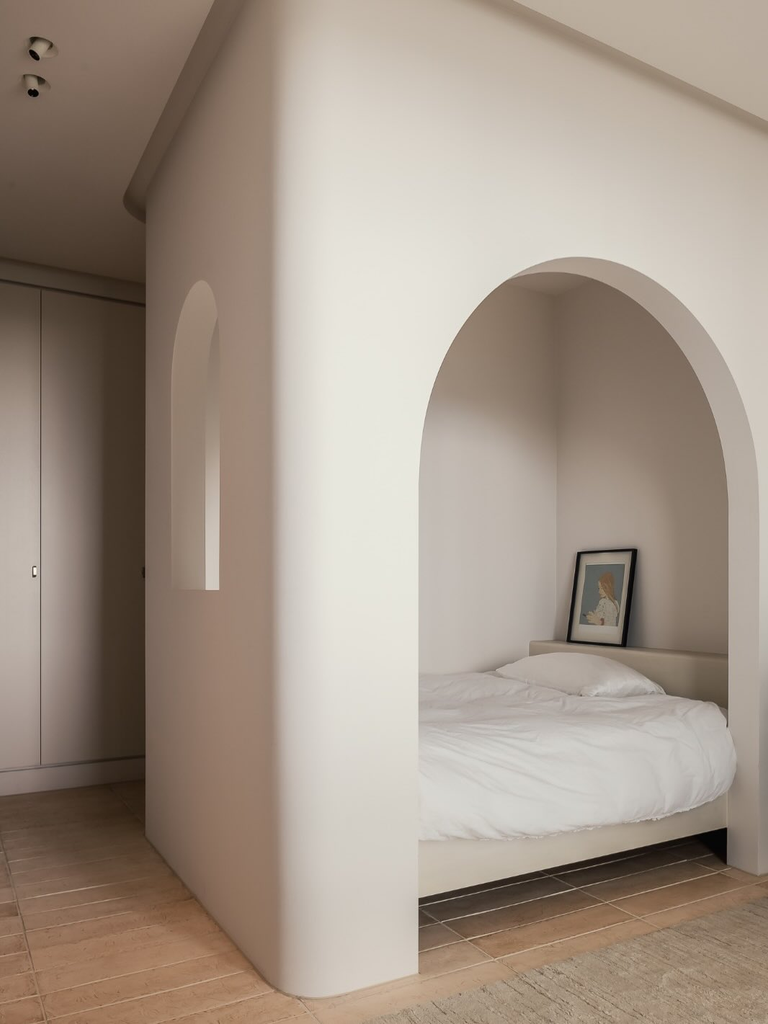
Once you commit the alcove to sleeping, resist the urge to also cram a dresser, exercise equipment, and off-season clothes storage into that same small footprint.
A bed, one nightstand, and maybe a slim floor lamp is usually enough; anything more starts to undercut the “separate room” feeling you’re trying to create.
If You Have a Fully Open Box With No Natural Divisions
This is the hardest shape to lay out precisely because it gives you the most freedom, and too many options with no built-in structure tends to lead to furniture floating with no logic at all.
10. Create your own architectural division with furniture placement
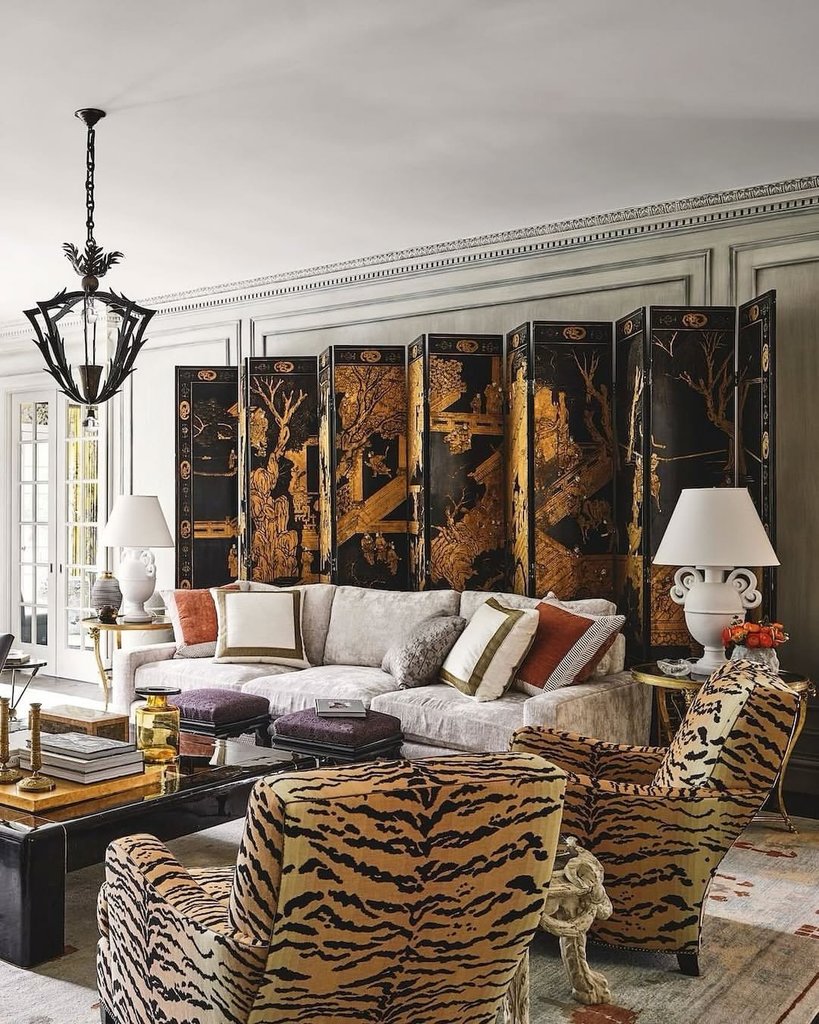
Since the room isn’t giving you a natural boundary, you have to manufacture one. A bookshelf, a low console, or the back of a couch positioned to separate the sleeping area from the living area does the job a wall would do in a one-bedroom, just without the wall.
11. Anchor each zone to a specific wall
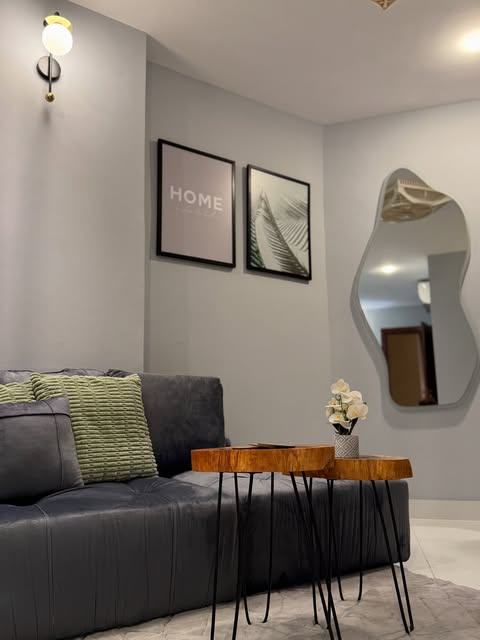
Pick a wall for sleeping, a different wall for the living area, and (if you have room) a third for a desk or dining spot, and commit each zone fully to its wall rather than letting them bleed together in the open middle of the room.
This creates the psychological separation between “bed zone” and “everything else” that a totally open room otherwise lacks.
12. Use a rug per zone instead of one rug for the whole room
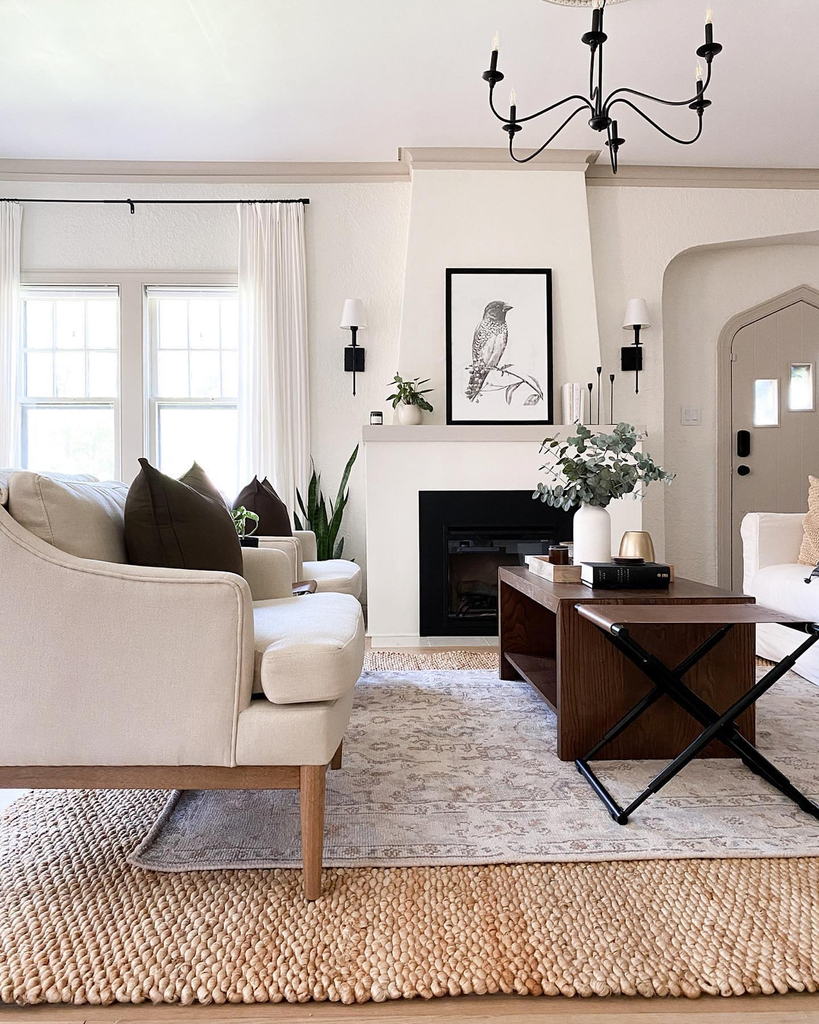
Unlike the long rectangle (where one connecting rug works better), a fully open square or rectangular box actually benefits from a separate rug under each zone, because the rug boundary itself becomes one of your only visual dividers.
Two distinct rugs (one under the bed, one under the seating) do real structural work here, not just decorative work.
Room Dividers That Work in Almost Any Studio Shape
These apply regardless of your specific floor plan, and they’re the tools that let you fine-tune whichever layout you’ve picked above.
13. A bookshelf, open on both sides, used as a room divider
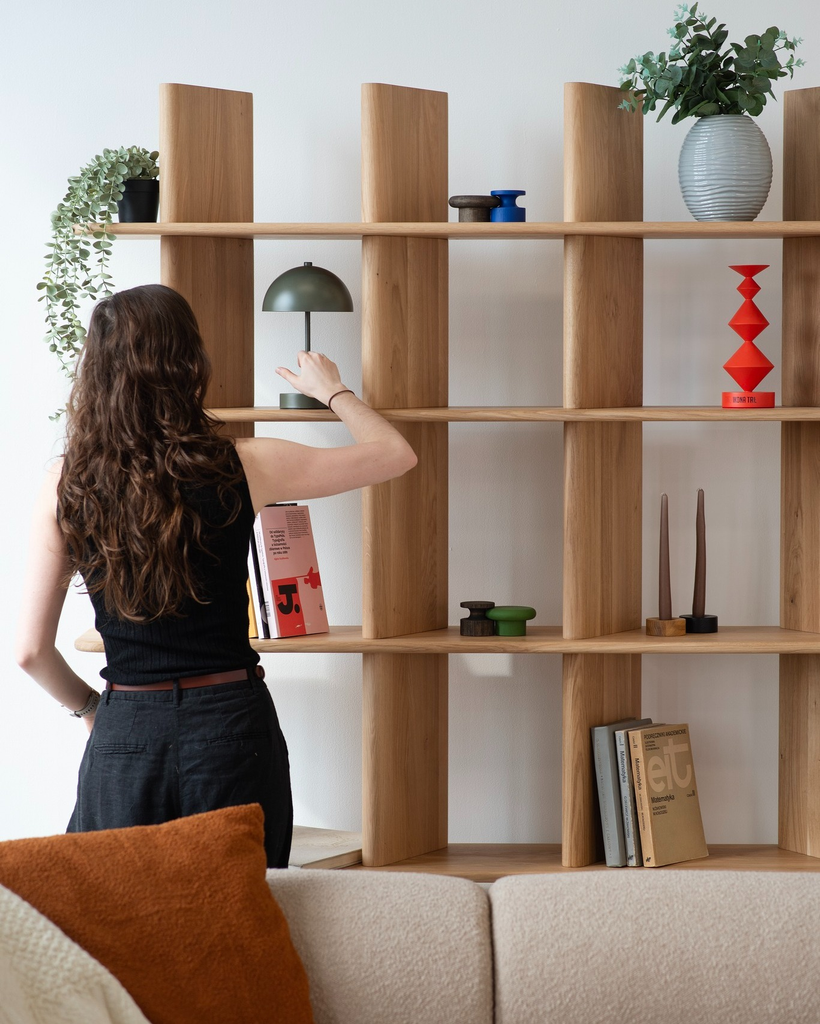
This is the classic studio move for a reason: it separates two zones while still letting light pass through and keeping the room from feeling chopped up the way a solid divider would.
Load the shelf facing your bed with books and personal items, and the side facing your living area with more “display” pieces, so each side has its own personality.
14. A folding screen for a flexible, no-commitment divider
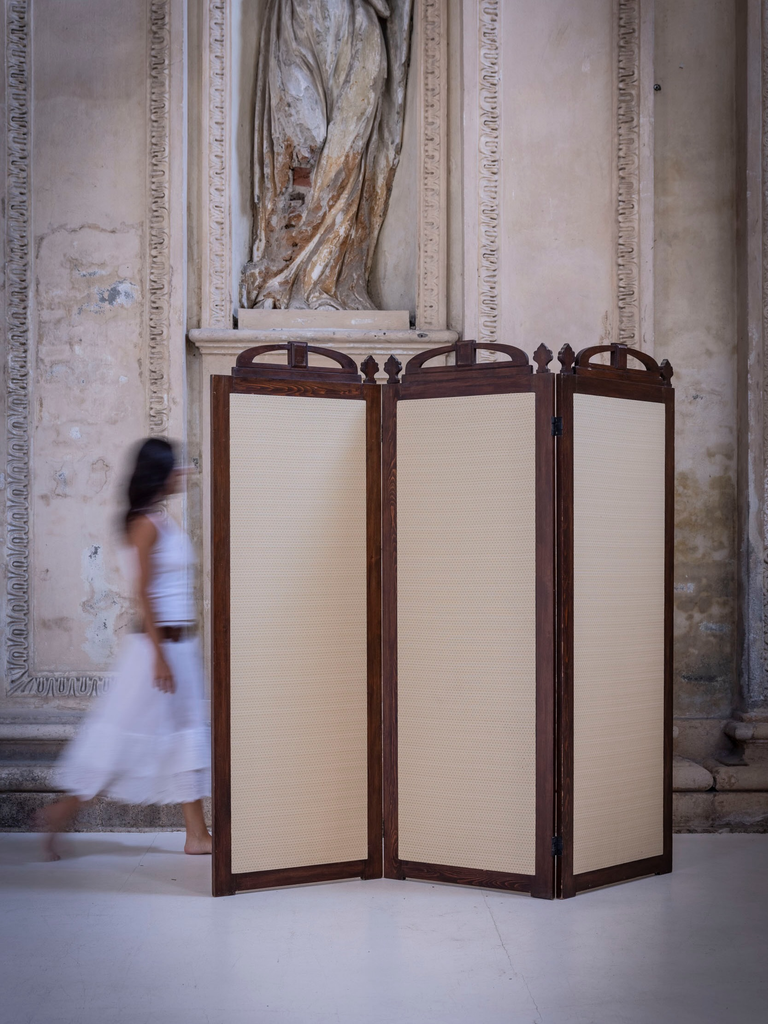
If you’re not ready to commit to a piece of furniture as a permanent divider, a folding screen gives you the same visual separation and can be folded flat and tucked away entirely when you want the room to feel fully open again, for a party or for cleaning.
This is the lowest-commitment option on this whole list.
15. Curtains on a ceiling track for a divider that disappears completely
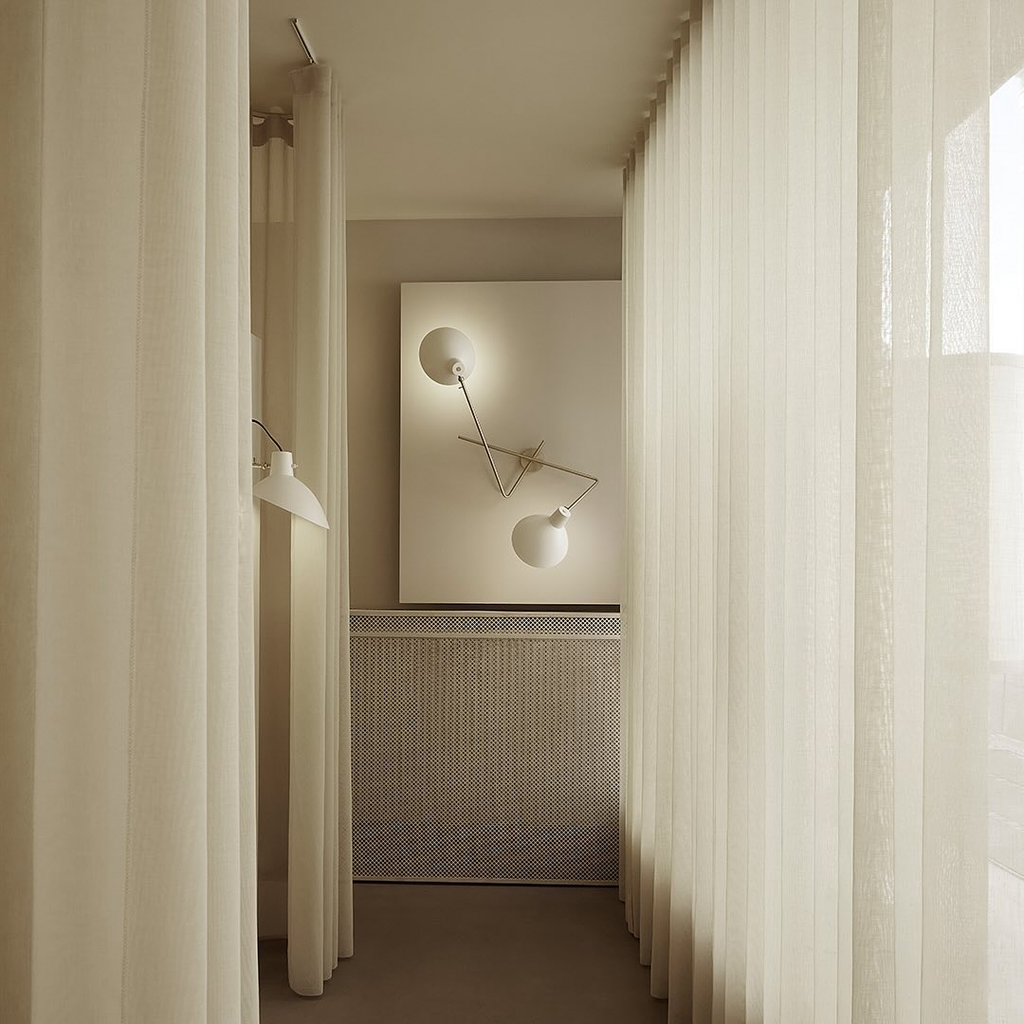
Unlike a bookshelf or screen, a ceiling-mounted curtain track lets you push the entire divider out of sight when you want the full open room back, and closes it fully when you want privacy.
This is more of an investment than a folding screen but gives you the cleanest “on or off” divider option.
16. A tall plant used as a soft, semi-transparent divider
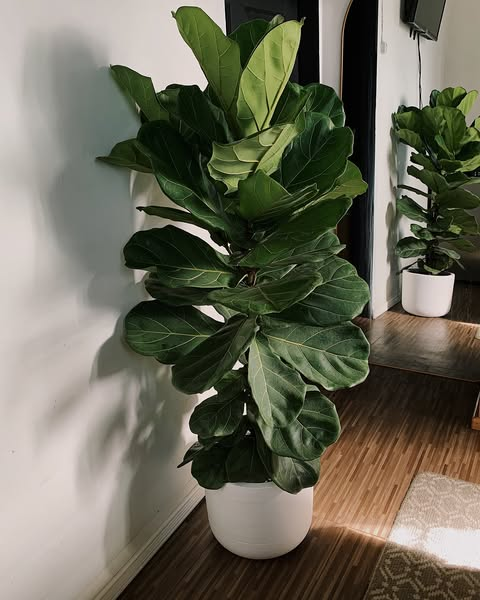
This is the option people underestimate. A single large plant (something like a fiddle leaf fig or a bird of paradise) placed at the boundary between two zones creates a soft visual break without fully blocking light or sightlines, and it does double duty as decor rather than reading as purely functional.
Multi-Functional Furniture Picks That Save Real Floor Space
Regardless of your floor plan shape, the furniture itself matters just as much as where you put it. A studio with the right layout but the wrong furniture will still feel cramped.
17. A storage bed frame instead of a bed plus a separate dresser
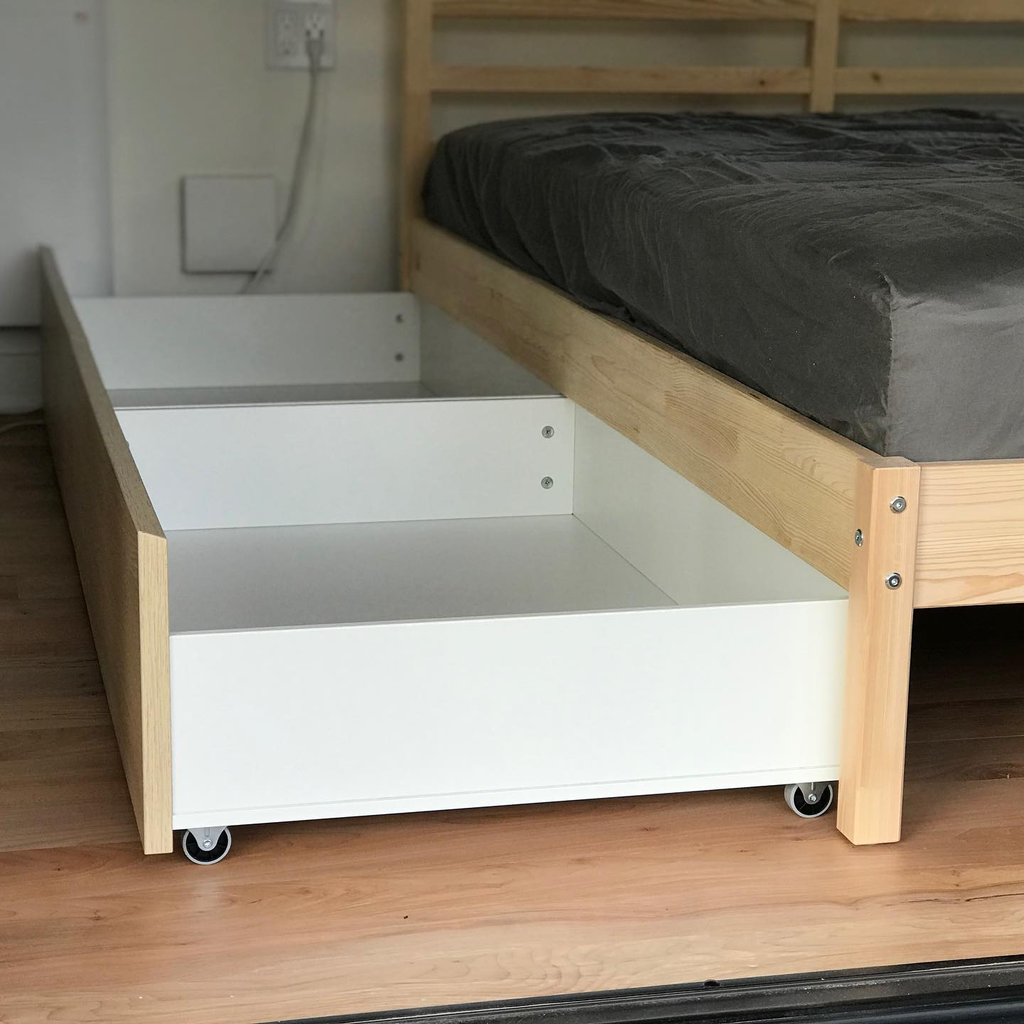
Drawers built into the bed frame’s base can absorb a significant chunk of what would otherwise need its own dresser, which matters enormously in a room where every square foot of floor space is doing double duty.
This is one of the single highest-impact furniture swaps for a studio specifically.
18. A murphy bed or wall bed if your ceiling and wall allow it
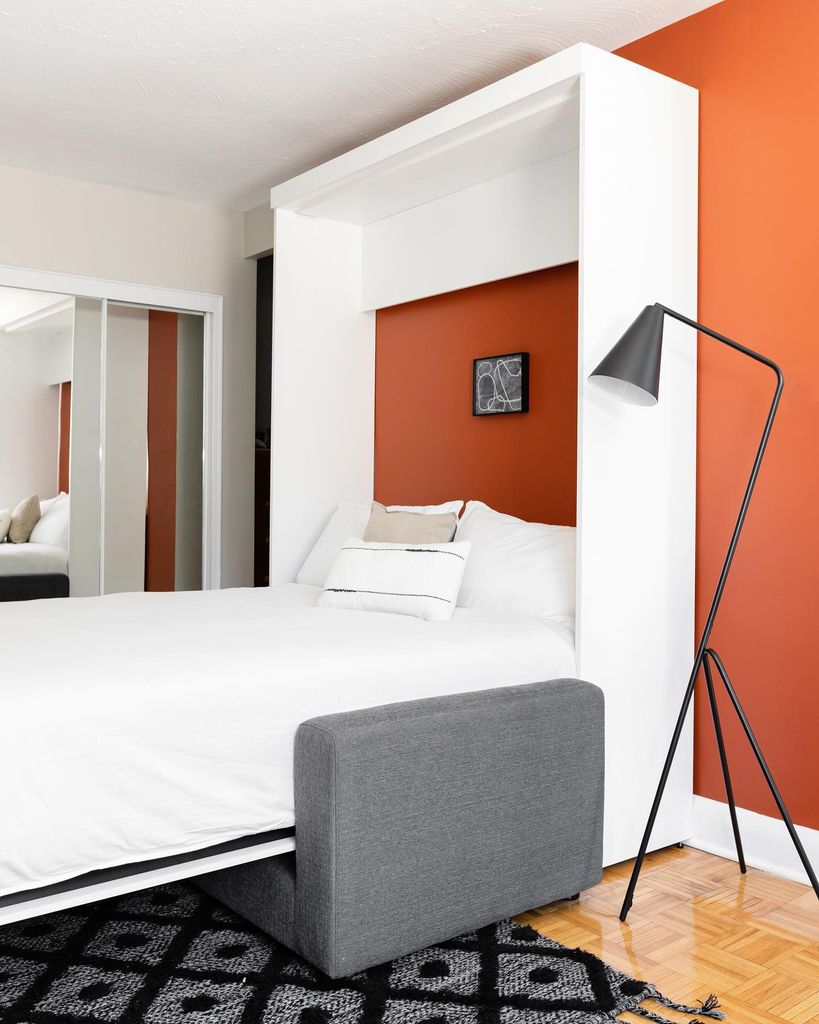
This is a bigger investment (and sometimes requires landlord approval or professional installation), but a wall bed that folds up during the day can functionally give you back an entire zone of floor space that a permanent bed frame would otherwise claim all day, every day.
19. A dining table that folds down from the wall or extends only when needed
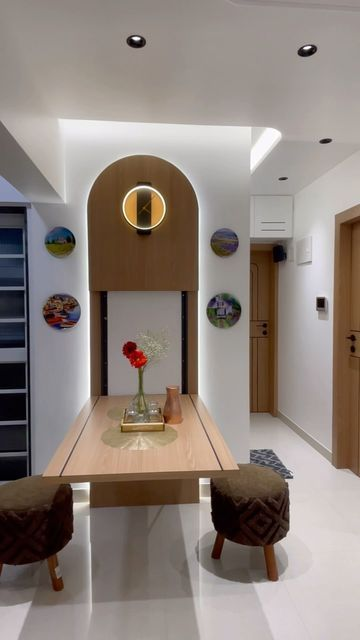
If you don’t host often, a wall-mounted drop-leaf table that stays folded flat against the wall most of the time and extends only for meals or guests reclaims that floor space for the other 90% of your day.
20. Nesting tables instead of one fixed coffee table
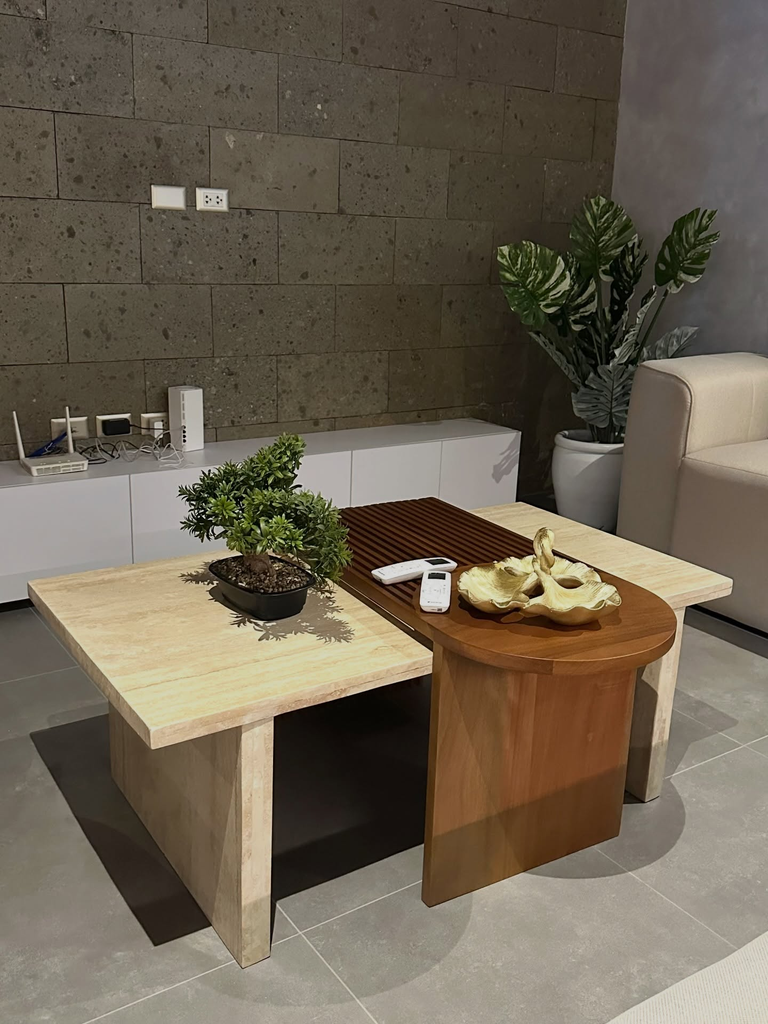
Nesting tables let you use just the smallest one most of the time and pull out the others only when you actually need the extra surface, like having guests over. This flexibility matters more in a studio than in a bigger apartment, where a single large coffee table doesn’t cost you nearly as much relative floor space.
Comparing the Divider Options at a Glance
| Divider Type | Cost | Commitment Level | Light Pass-Through |
|---|---|---|---|
| Open bookshelf | Medium ($60-200) | Semi-permanent | High |
| Folding screen | Low ($40-100) | None, fully removable | Low to medium |
| Ceiling curtain track | Medium ($50-150) | Permanent install, flexible use | Medium (fabric dependent) |
| Tall plant | Low to medium ($30-120) | None, easily moved | High |
If you’re renting and not sure yet whether you want a permanent divider, start with a folding screen or a tall plant. Both let you test whether you actually like having a visual boundary before you commit to something bolder like a curtain track or a bookshelf.
Two Final Layout Ideas Worth Trying Regardless of Shape
21. Float your bed away from the corner, even in a tight room
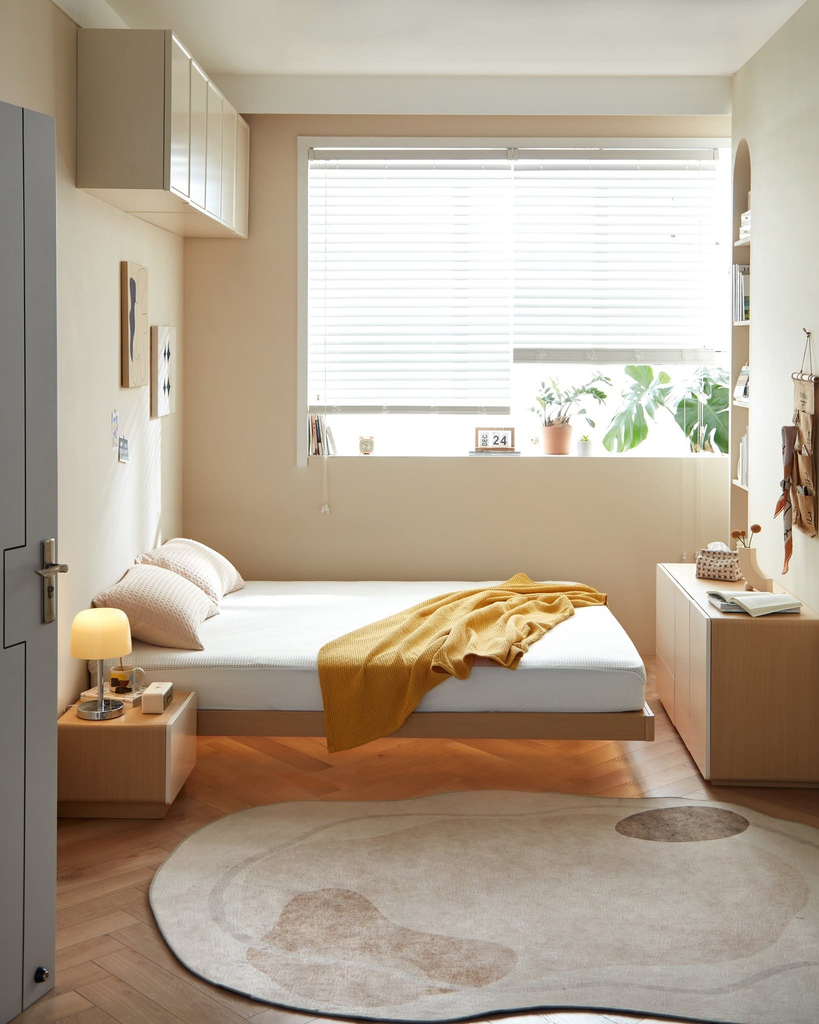
The instinct in a small studio is to jam the bed into the corner to “save space,” but a bed pulled even a few inches away from both walls, with a slim table on at least one side, tends to feel more intentional and less like the room ran out of options.
It also just makes the bed easier to make.
22. Use vertical space above eye level before you add more floor furniture
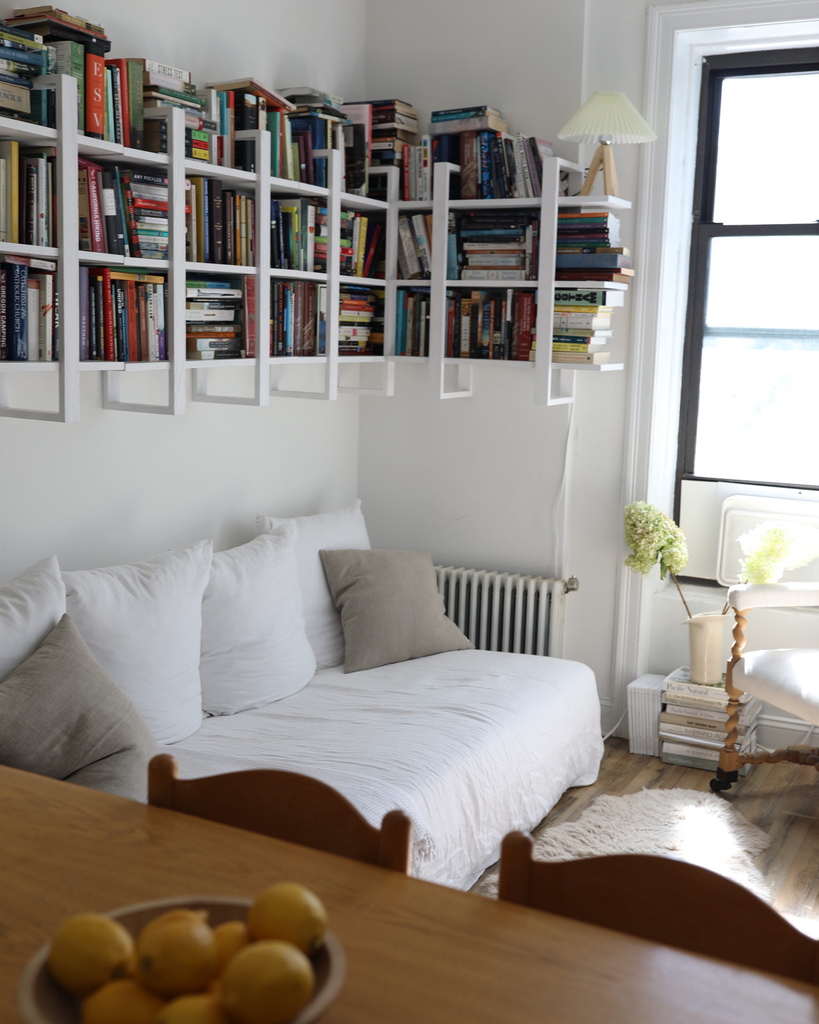
Before buying another shelf or cart that takes up floor space, look up: wall-mounted shelving above doorways, over the bed, or above a desk uses space you’re not otherwise using at all.
This is the single easiest way to add real storage to a studio without shrinking your usable floor space by another inch.
Where I’d Start Depending on Your Shape
If you take one thing from this whole list, match your layout strategy to your actual floor plan shape before you buy a single new piece of furniture.
A long rectangle wants zones split end to end, a square room wants one anchored wall to build outward from, an alcove wants to become your bedroom, and a fully open box needs you to manufacture your own divisions with furniture and rugs.
I wasted a full weekend rearranging my own studio before I figured out that the layout I kept trying to copy just wasn’t built for a room shaped like mine, and once I worked with the actual shape instead of against it, the “right” layout took about two hours to find.








Leave a Reply